Build
You can create your templates from scratch or describe a topic and have one generated for you. The main goal is to get comfortable with the Templates feature so you can maximize all its available functionalities and create the best forms for your organization.
What you'll need
Although it's possible to create templates on the mobile app, we recommend building templates via the web app for the best experience.
1. Create a template
Select Templates in the sidebar or select it in More.
Click Create on the upper-right corner of the template list.
Click Create blank to create a new template.
Proceed to edit your template.
We can walk you through editing or managing your templates, whether you simply want to customize your questions and response types or read more about logic fields, scoring, and calculations. Check out more in-depth content in the Templates (editing) and Templates (managing) sections.
Report
In Templates, you can set up how you would like your reports to look and even customize recipients and messages for when you email your inspection reports.
What are report layouts?
Report layouts allow you to customize how and what information appears in your inspection reports to highlight key details and present them effectively to stakeholders. You can also create email templates that pre-fill recipients and messages to help frontline teams share inspection results quickly while on-site. For example, use a summary layout to share inspection results with your team, or choose a detailed layout to provide a full breakdown for audits.
What you'll need
Layout settings and email template
When you create or update a report layout, you'll come across the following filters and settings to help customize your inspection reports:
Style-related settings
Setting | Description |
|---|---|
Cover page (Premium and Enterprise plans (opens in new tab) only) | The option to upload a cover page that is specific to a report layout. We recommend uploading an image that is A4-sized (3508 x 2480 pixels) and no larger than 5 MB. Images that are too tall or wide will be squeezed to fit A4 dimensions. |
Logo | The option to upload a logo that is specific to a report layout. We recommend uploading a file that is within 900 x 400 pixels and no larger than 5MB. The template logo will be used if no report layout logo is uploaded. |
Page size | The option to export reports with A4 (21 x 29.7 cm or 8.3 x 11.7 inches) or US letter (21.6 x 27.9 cm or 8.5 x 11 inches) sizing. The default size setting is A4. |
Thumbnail size (Premium and Enterprise plans (opens in new tab) only) | The option to choose the size of image thumbnails under each question. |
Photo resolution | The option to choose the resolution of images. |
Content-related filters and settings
Filter/setting | Description |
|---|---|
Footer | The option to include or not include a footer with page numbers for reports. You also have the option to show inspection titles in the footer and display additional information with a maximum of 100 characters. If an inspection's title exceeds one line, it'll be automatically trimmed. |
Table of contents | The option to include or not include a table of contents at the beginning of reports. |
Page break | The option to remove breaks between pages to save space on your reports. |
Summary (Premium and Enterprise plans (opens in new tab) only) | The option to include an AI-generated summary in your inspection reports. When turned on, the summary will be generated in English, regardless of your language settings, and cannot be edited or regenerated once created. |
Flagged responses | The option to display or omit flagged responses throughout reports and on the title page, or the "Flagged responses" summary page. |
Actions | The option to display or omit actions throughout reports and on the title page, or the "Actions" summary page. |
Disclaimer | The option to include or not include a disclaimer at the beginning of reports. You also have the option to customize the disclaimer if turned on. |
Inspection results | The option to display or omit inspection pages from reports. If the report layout is template-specific, you also have the option to display or omit specific pages from reports. Keep in mind that this does not remove the "Flagged responses" and "Actions" summary pages if both are turned on. |
Media summary | The option to choose the size of images for the media summary in your PDF and Word reports. |
Scores | The option to display or omit all scores from reports. |
Instructions | The option to display or omit template instruction fields from reports. |
Unanswered questions | The option to display or omit all unanswered questions from reports. |
Checkboxes | The option to display or omit checked and unchecked responses from reports. |
Email template fields
Setting up email templates doesn't result in completed inspection reports sending automatically. To automate emailing inspection reports, you can use an integration.
If you're interested in emailing inspection reports automatically without using integrations, please let us know by submitting your feedback.
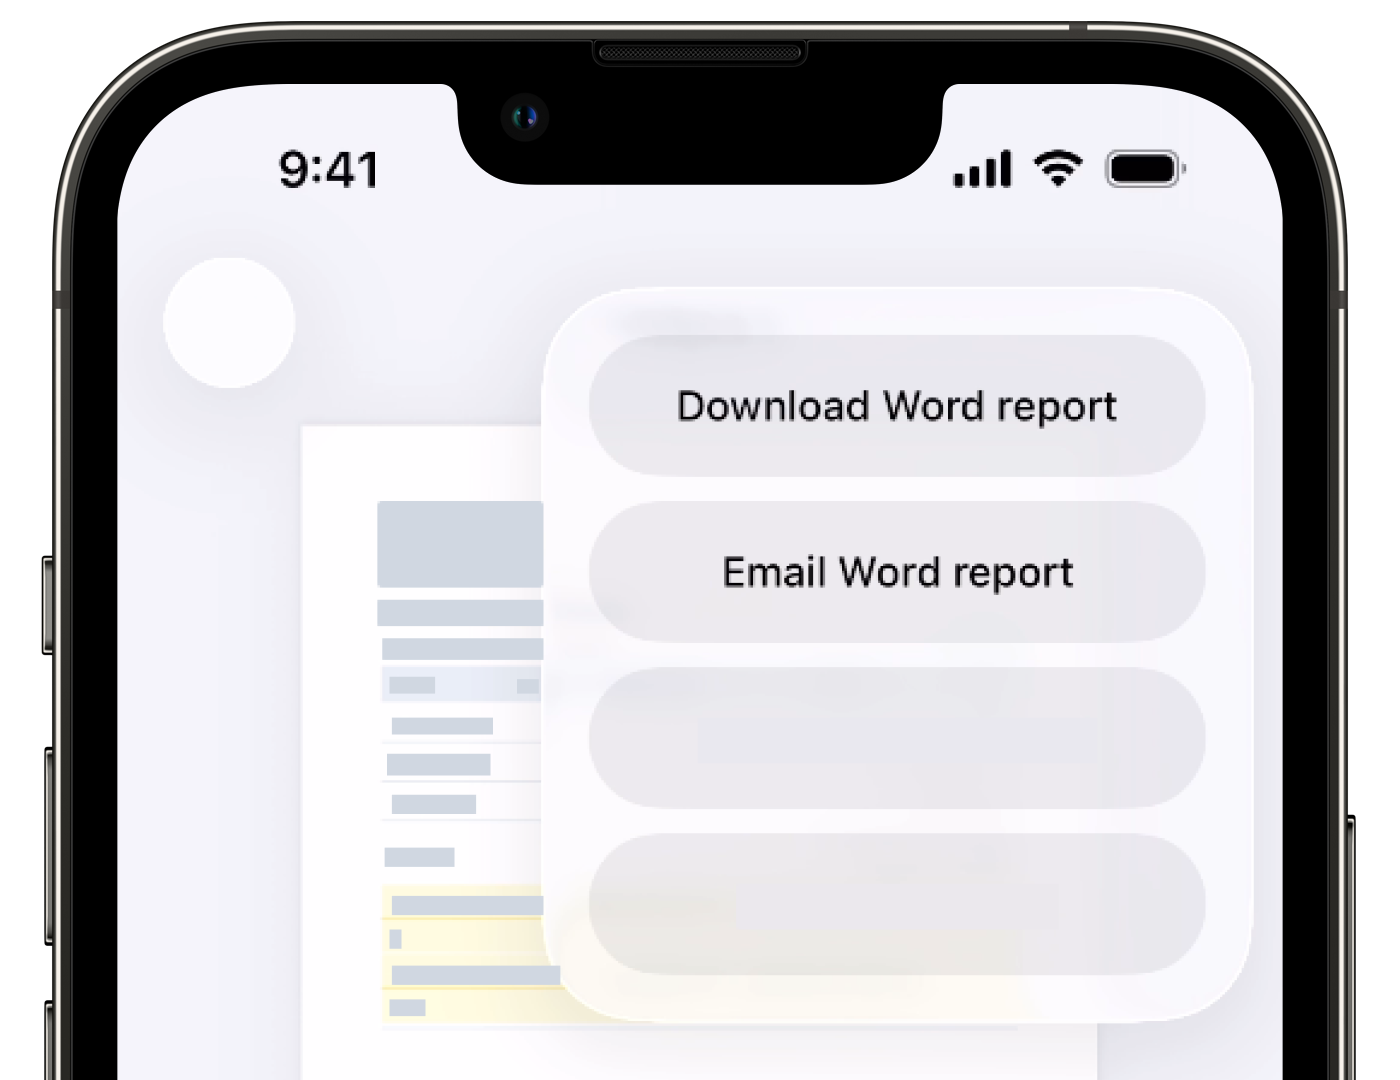
You can set up templates as part of report layouts to pre-fill email recipients and message bodies when users email inspection reports via the mobile app's "Send PDF" and "Send Word" options.
Field | Description |
|---|---|
To: | The email recipients to pre-fill. |
Cc: | The carbon copy (Cc) email recipients to pre-fill. |
Bcc: | The blind carbon copy (Bcc) email recipients to pre-fill. |
Subject: | The email subject to pre-fill. You can use the formatting options to pre-fill inspection details. |
Email body | The email body to pre-fill. You can use the formatting options below to pre-fill inspection details. |
The following formatting options can be used in the "Subject" and "Email body" fields to dynamically pre-fill inspection details:
[TemplateTitle]: The template title. For example, "Office Risk Assessment".
[InspectionTitle]: The inspection title. For example, "Surry Hills / 20 Jul 2020". Learn more about how to customize your inspection title for each template.
[InspectionDate]: The date and time the inspection was completed, in yyyy-Month-dd hh:mm XM format. For example, "2020-Feb-26 5:31 AM".
[Score]: The inspection score in percentage. For example, "80%".
Please note that the formatting options must be entered in the outlined uppercase and lowercase to work. For example, "[Score]" must be used with an uppercase "S".
The option to pre-fill email template fields when sending inspection reports is only compatible with the native mail apps on both Android and iOS devices.
Setting up email templates doesn't result in completed inspection reports sending automatically. To automate emailing inspection reports, you can use an integration.
If you're interested in emailing inspection reports automatically without using integrations, please let us know by submitting your feedback.
You can set up templates as part of report layouts to pre-fill email recipients and message bodies, for when users email inspection reports via the mobile app's "Send PDF" and "Send Word" options.
Field | Description |
|---|---|
To: | The email recipients to pre-fill. |
Cc: | The carbon copy (Cc) email recipients to pre-fill. |
Bcc: | The blind carbon copy (Bcc) email recipients to pre-fill. |
Subject: | The email subject to pre-fill. You can use the formatting options to pre-fill inspection details. |
Email body | The email body to pre-fill. You can use the formatting options below to pre-fill inspection details. |
The following formatting options can be used in the "Subject" and "Email body" fields to dynamically pre-fill inspection details:
[TemplateTitle]: The template title. For example, "Office Risk Assessment".
[InspectionTitle]: The inspection title. For example, "Surry Hills / 20 Jul 2020". Learn more about how to customize your inspection title for each template.
[InspectionDate]: The date and time the inspection was completed, in yyyy-Month-dd hh:mm XM format. For example, "2020-Feb-26 5:31 AM".
[Score]: The inspection score in percentage. For example, "80%".
Please note that the formatting options must be entered in the outlined uppercase and lowercase to work. For example, "[Score]" must be used with an uppercase "S".
The option to pre-fill email template fields when sending inspection reports is only compatible with the native mail apps on both Android and iOS devices.
Create a report layout
Select Templates in the sidebar or select it in More.
Click the template and select Edit report in the side panel.
If this template doesn't have any report layouts, you can start configuring the new one in the side panel. Alternatively, click New layout on the upper-left corner of the page.
If you have the "Templates: Report layouts" permission, select between For this template only and For all templates.
Click on the right-hand side of the layout's name to name the layout, then customize your settings in each tab.
Style: Set up how your report looks.
Content: Configure which information to include in your report.
Email template: Set up a pre-filled email for users who send inspection reports from the mobile app.
Click Save.
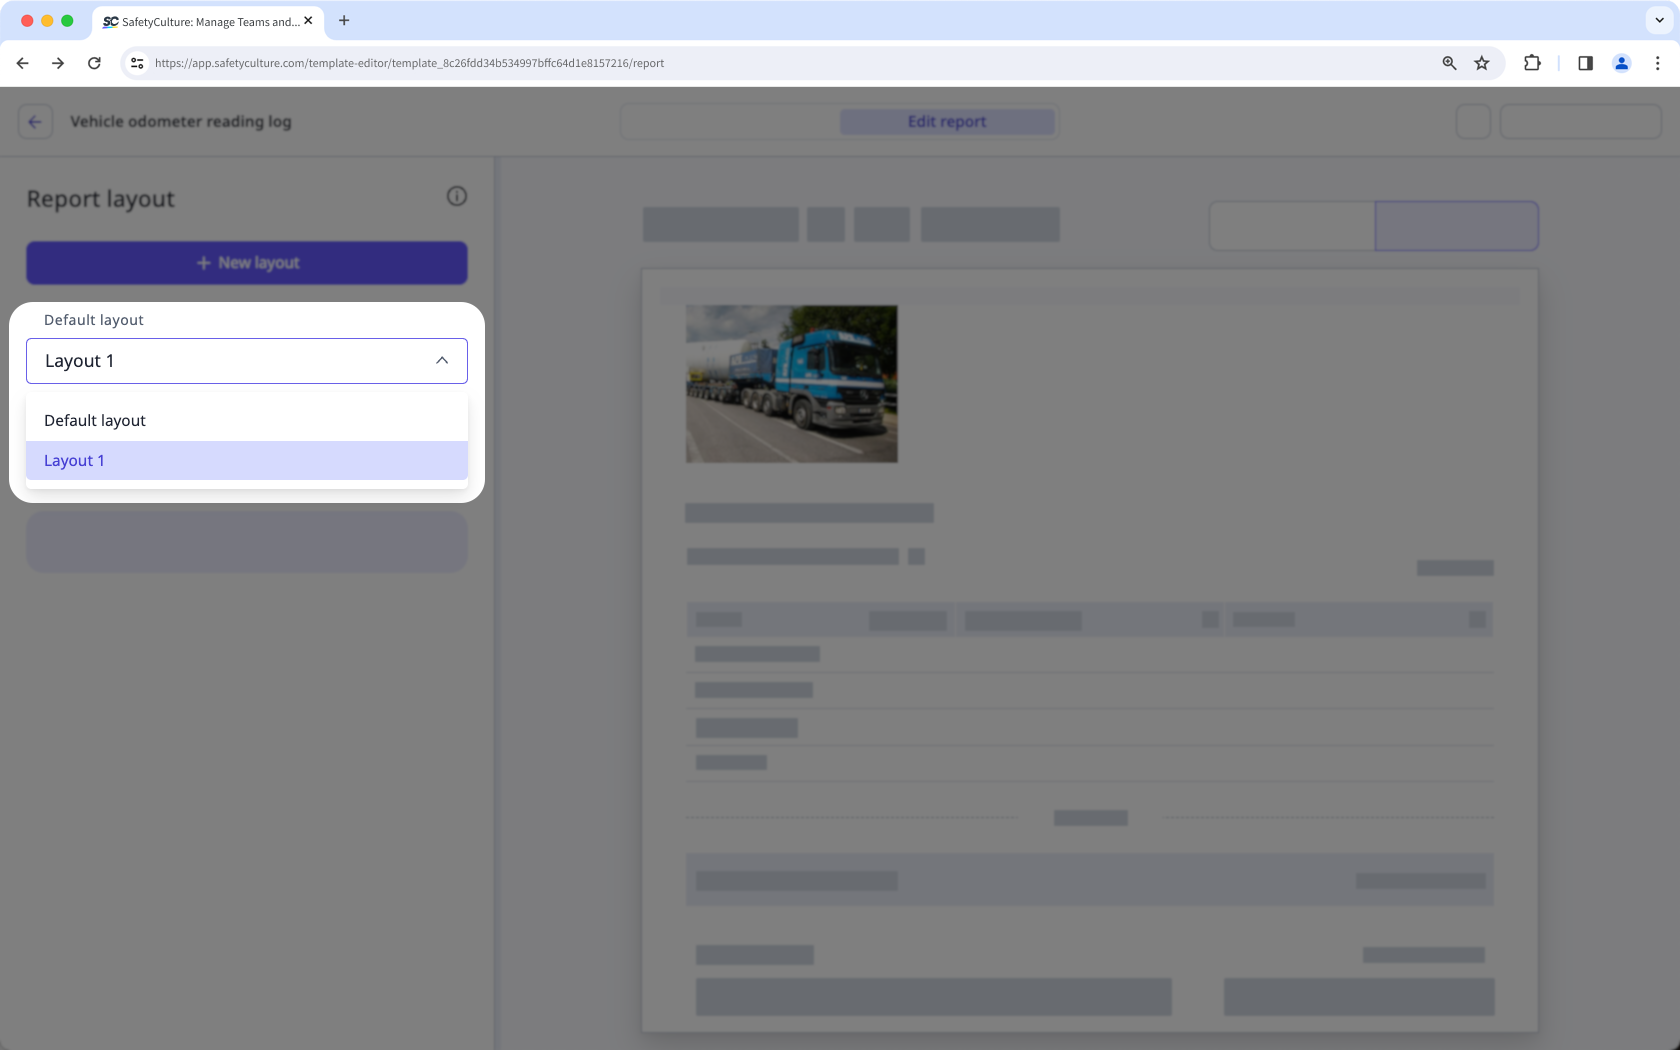
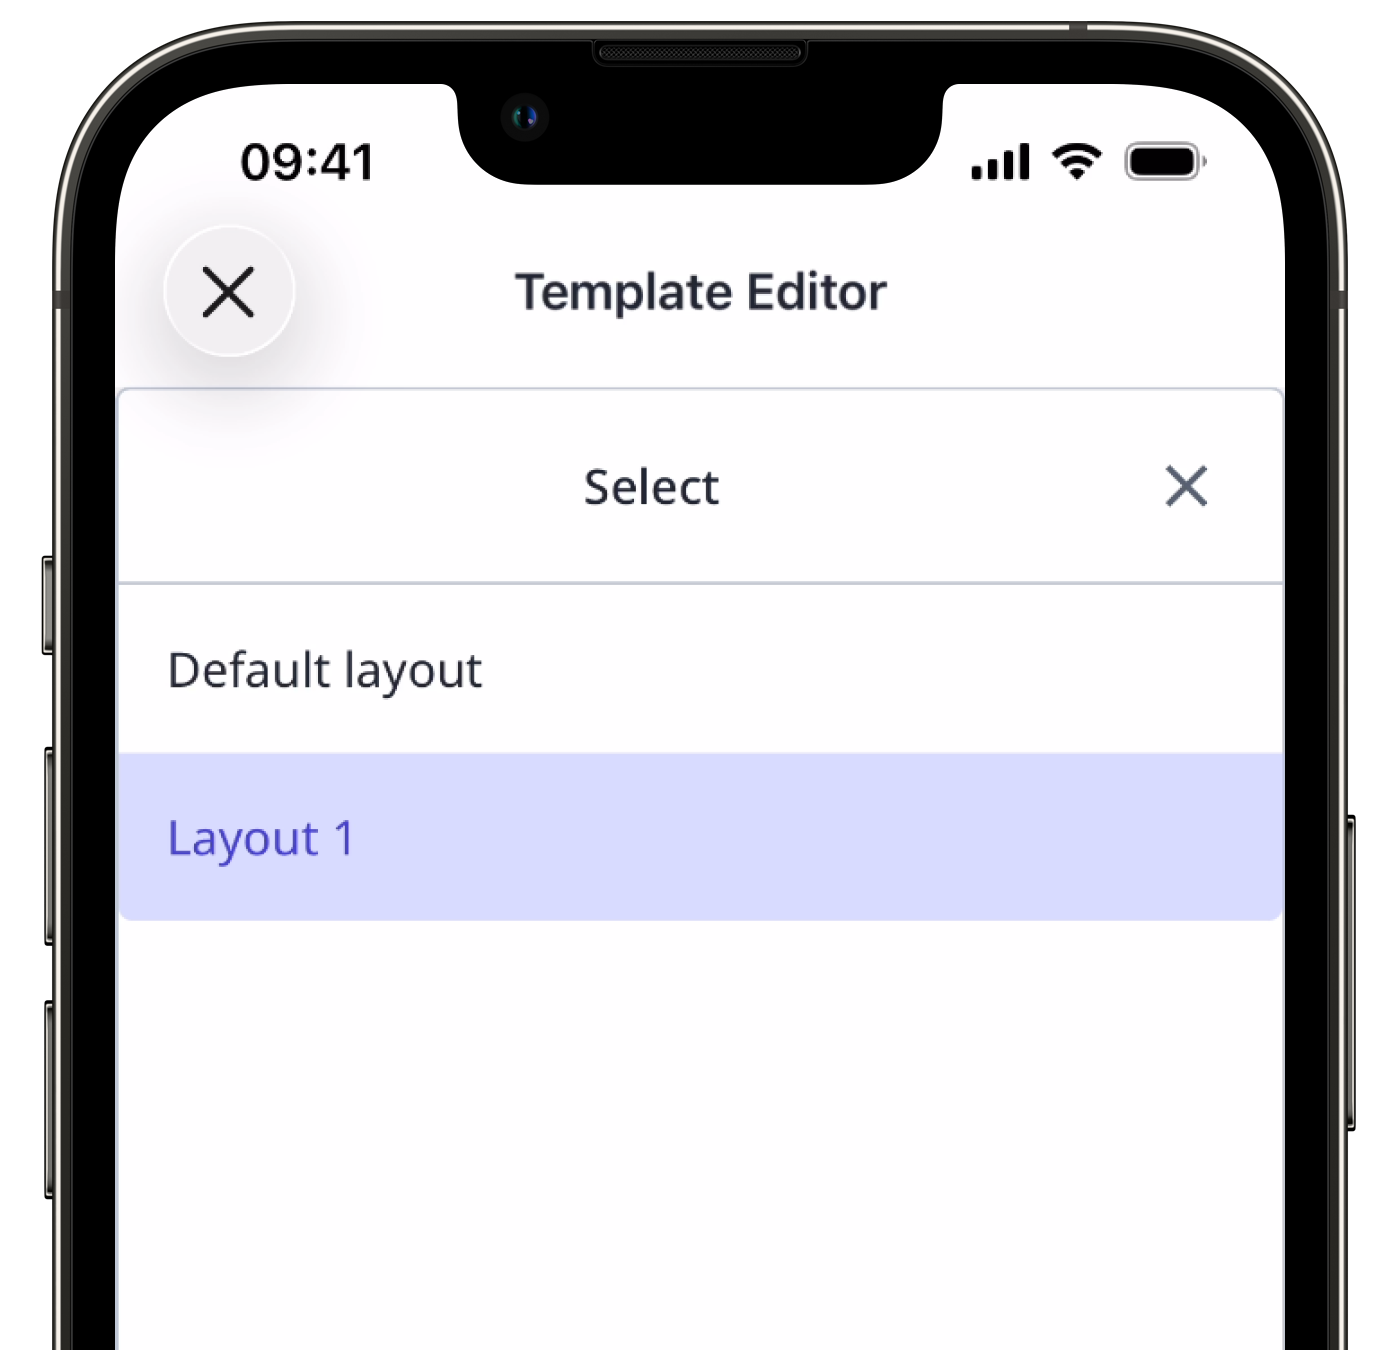
If you want this report layout to be the default layout for inspection reports created from this template, click under "Default layout" and select it.
Check out more in-depth content in the Reports section.
Access
Access rules control what templates and inspections your team has access to. Each access rule dictates which users can access a template to conduct inspections, and determines who those inspection results become available to.
Template and inspection access levels
Access rules allow you to determine who gets given inspection results automatically. If required, you can still give individual inspection access to groups and users.
We recommend that you read our guide on the four key questions to consider when it comes to template and inspection access.
Template
Conduct: Allows users to use the template to conduct new inspections.
Conduct, edit: Allows users to use the template to conduct new inspections, edit its content, and manage access rules.
Conduct, edit, delete: Allows users to use the template to conduct new inspections, edit its content and access rules, as well as archive and delete it. This access level can only be given by users who already have it.
Inspection
View: Allows users to view (read-only) the inspection report.
View, edit: Allows users to view the inspection report, edit its content, and manage access.
View, edit, delete: Allows users to view the inspection report, edit its content and manage access, as well as archive and delete it. This access level can only be given by users who already have it.
What you'll need
For the best experience, we recommend editing access rules via the web app.
Create an access rule
Select Templates in the sidebar or select it in More.
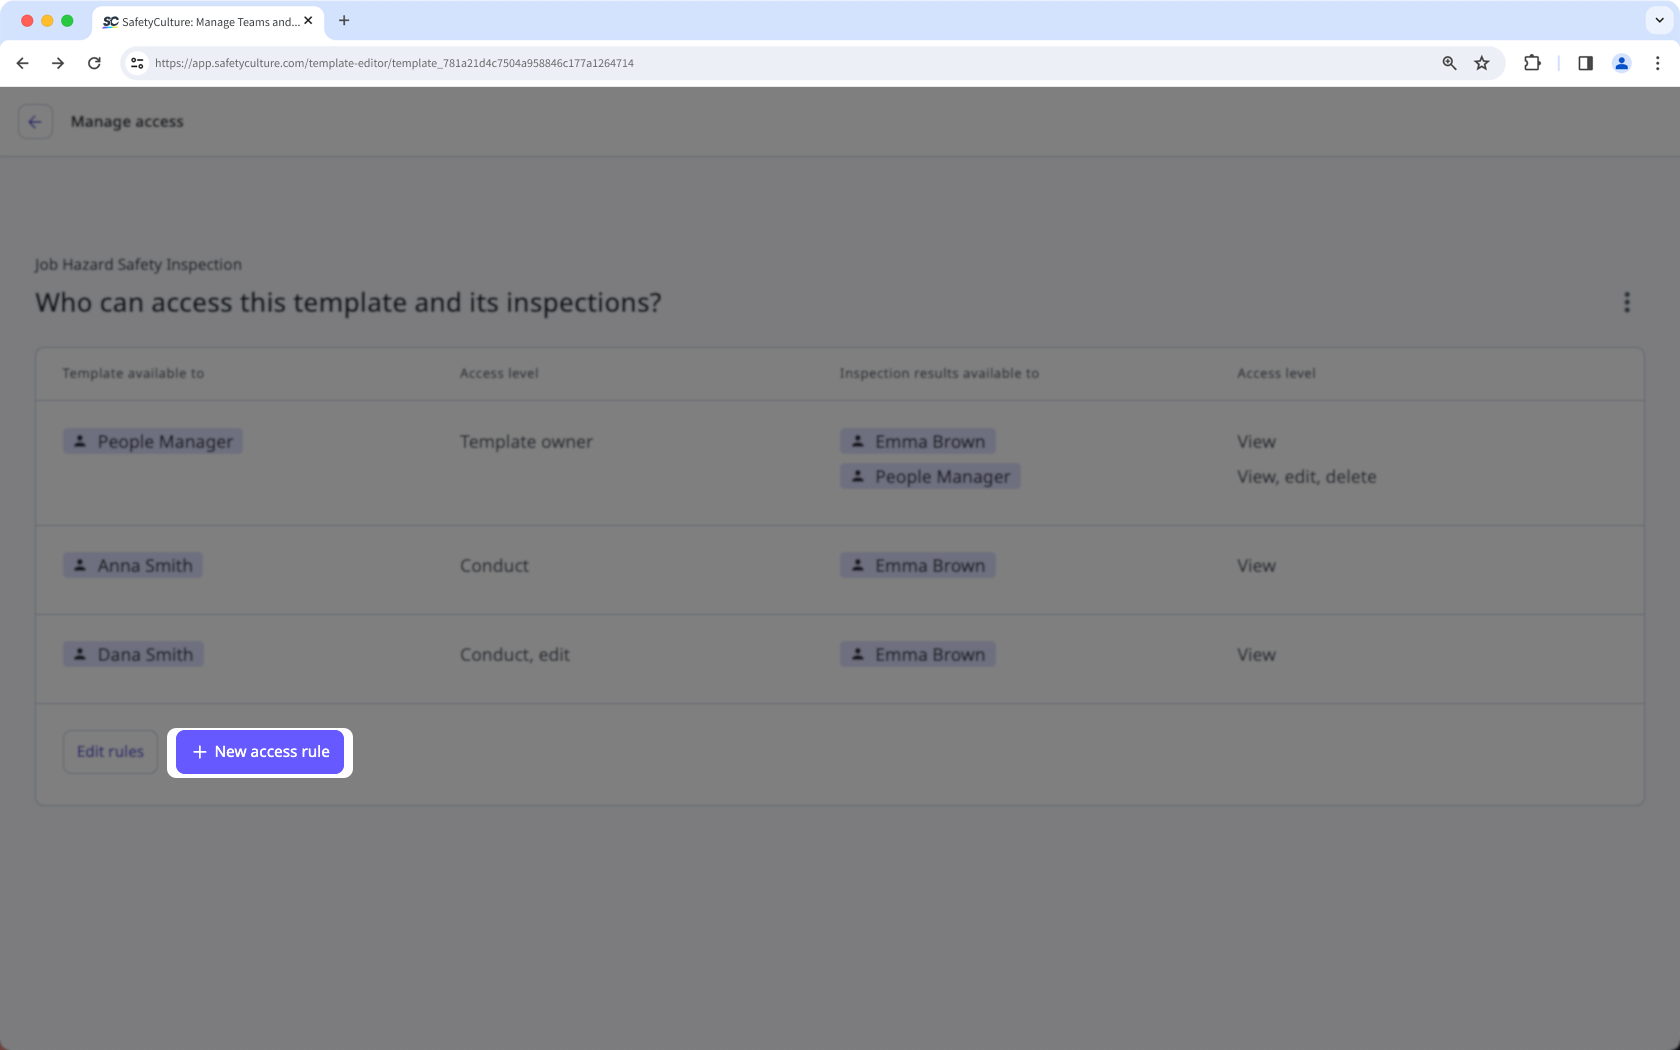
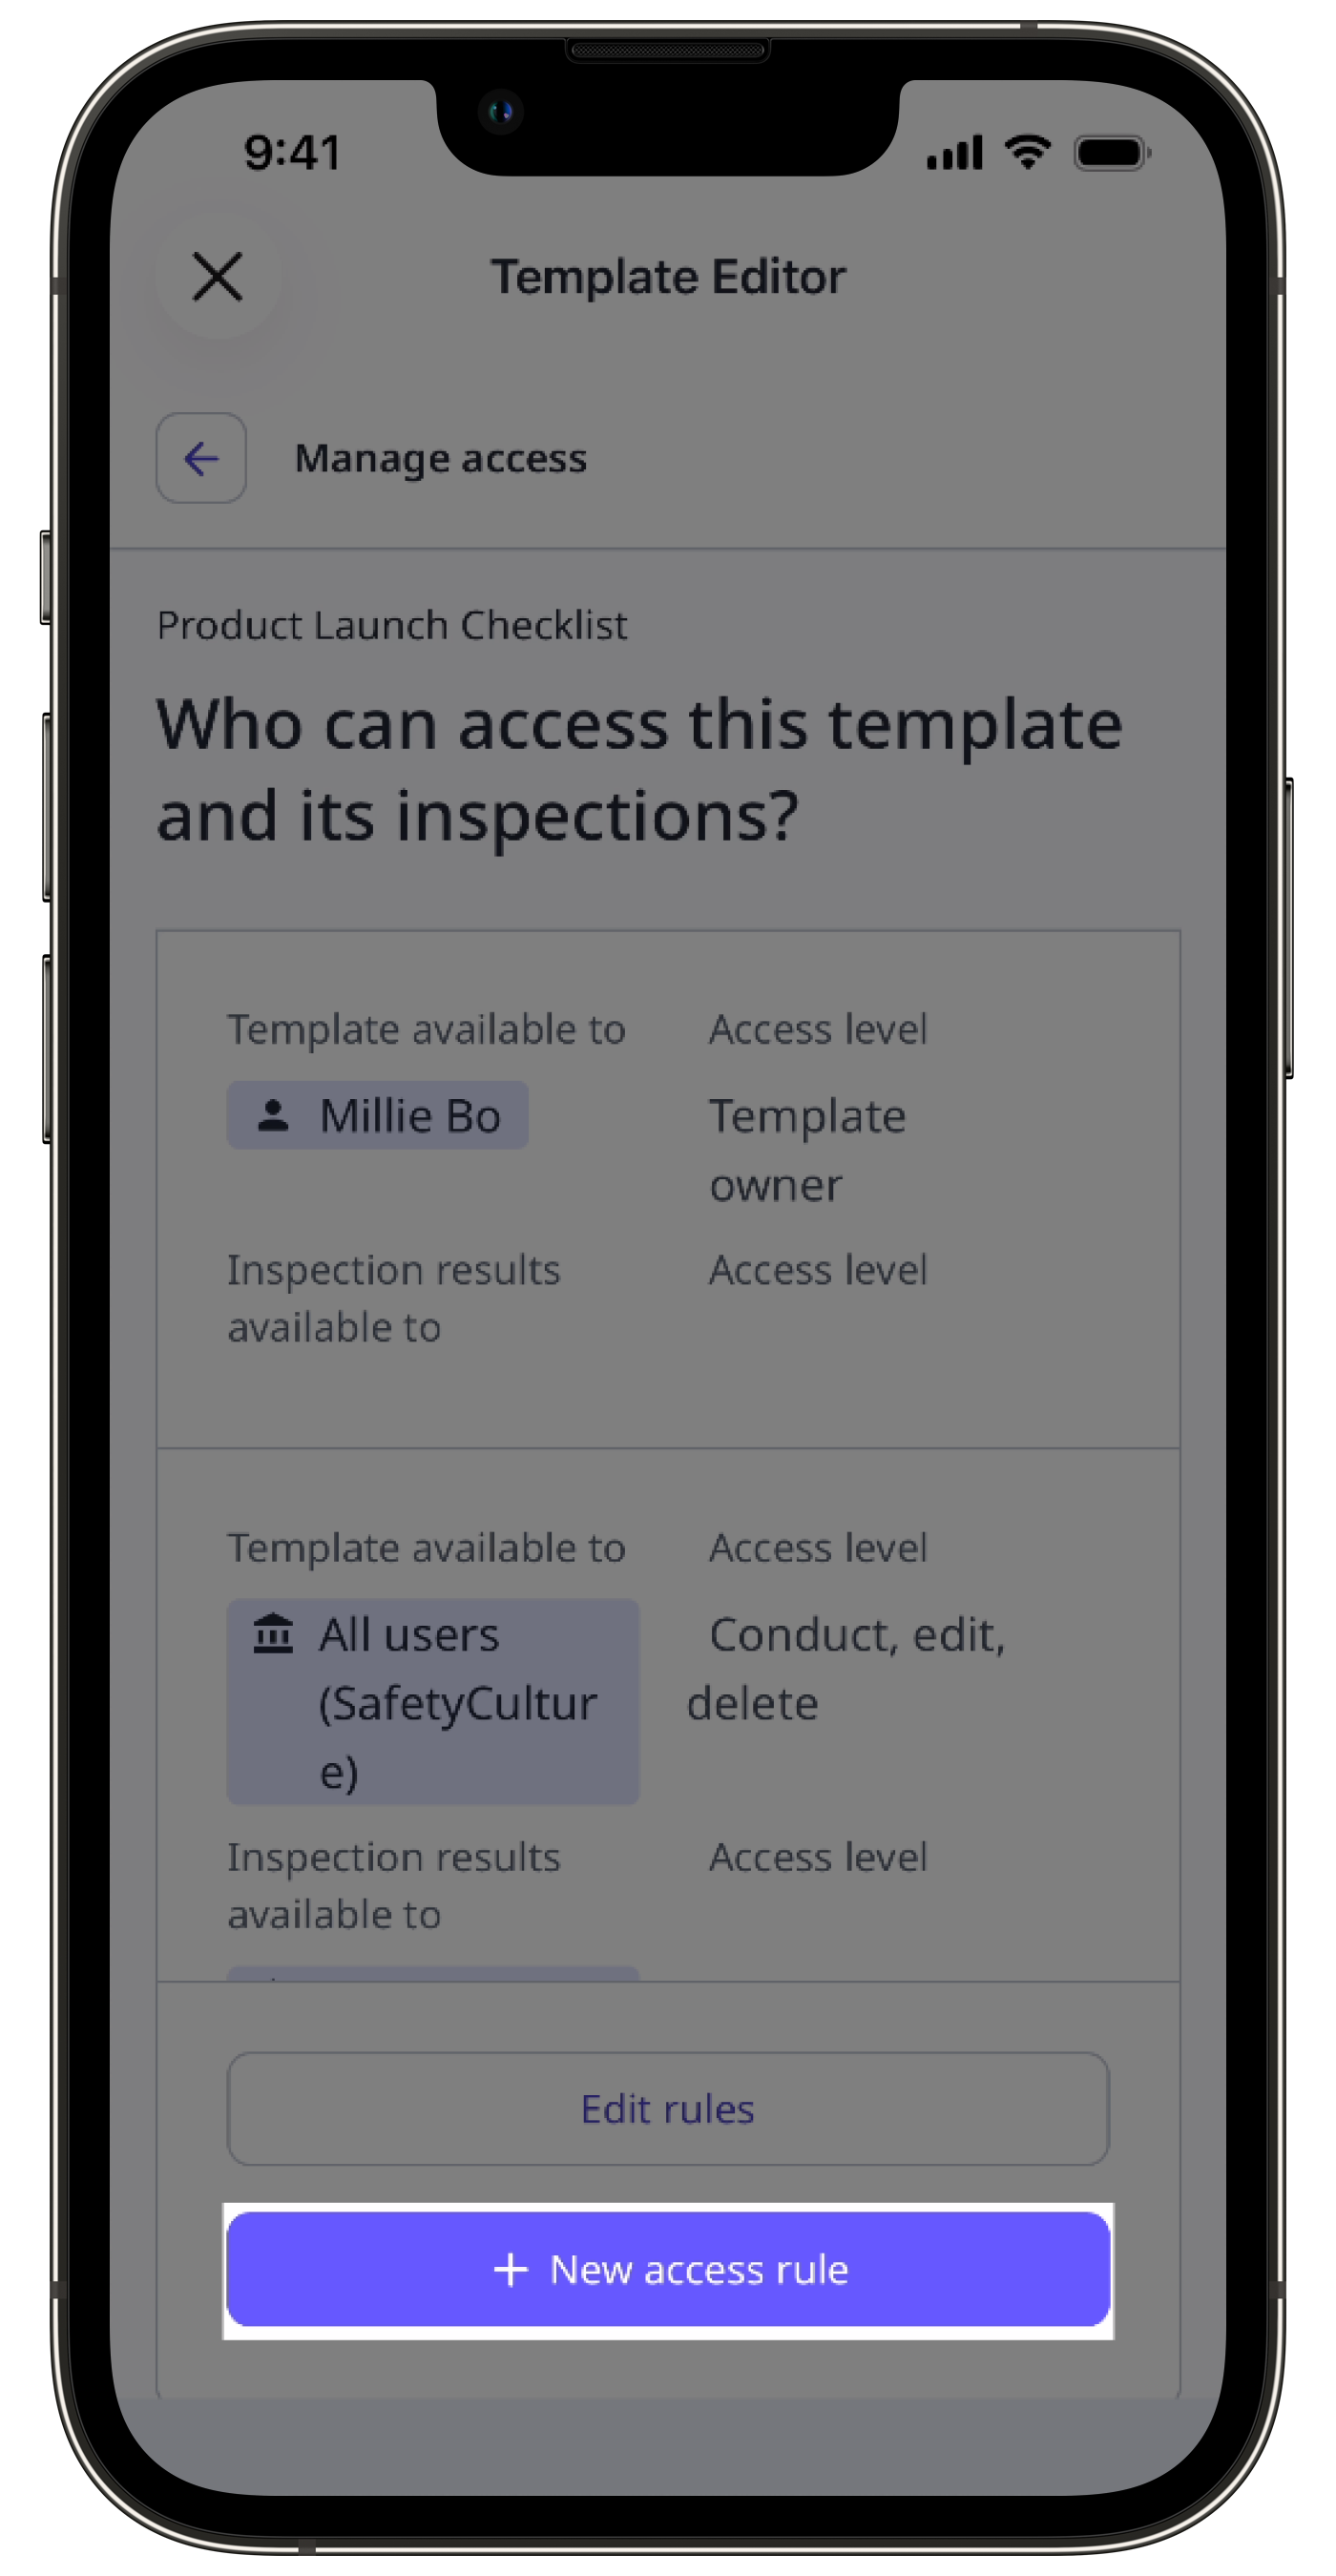
Click the template and select Manage access in the side panel.
Click New access rule.
In the side panel, click under "Template is available to" to select the groups or users you want to give template access to, and click Done.
Select the template Access level you want to give.
Click under "Inspection results will be available to" to select the groups or users who should have access to the inspections conducted by the groups or users above, and click Done.
Select the inspection Access level you want to give.
Click Done.
C lick Save and apply.
In the pop-up window, select No, apply to future only to apply the new access rules to future inspections, or Yes, apply to all to apply to existing inspections as well.
← Previous article: Digitize checklists (Part 2) | Next article: Convert training content (Part 1) →