What are report layouts?
Report layouts allow you to customize how and what information appears in your inspection reports to highlight key details and present them effectively to stakeholders. You can also create email templates that pre-fill recipients and messages to help frontline teams share inspection results quickly while on-site. For example, use a summary layout to share inspection results with your team, or choose a detailed layout to provide a full breakdown for audits.
Report layouts
When you create or update a report layout, you can tailor your inspection reports using filters and settings for style and content and pre-fill email templates to easily share with your team.
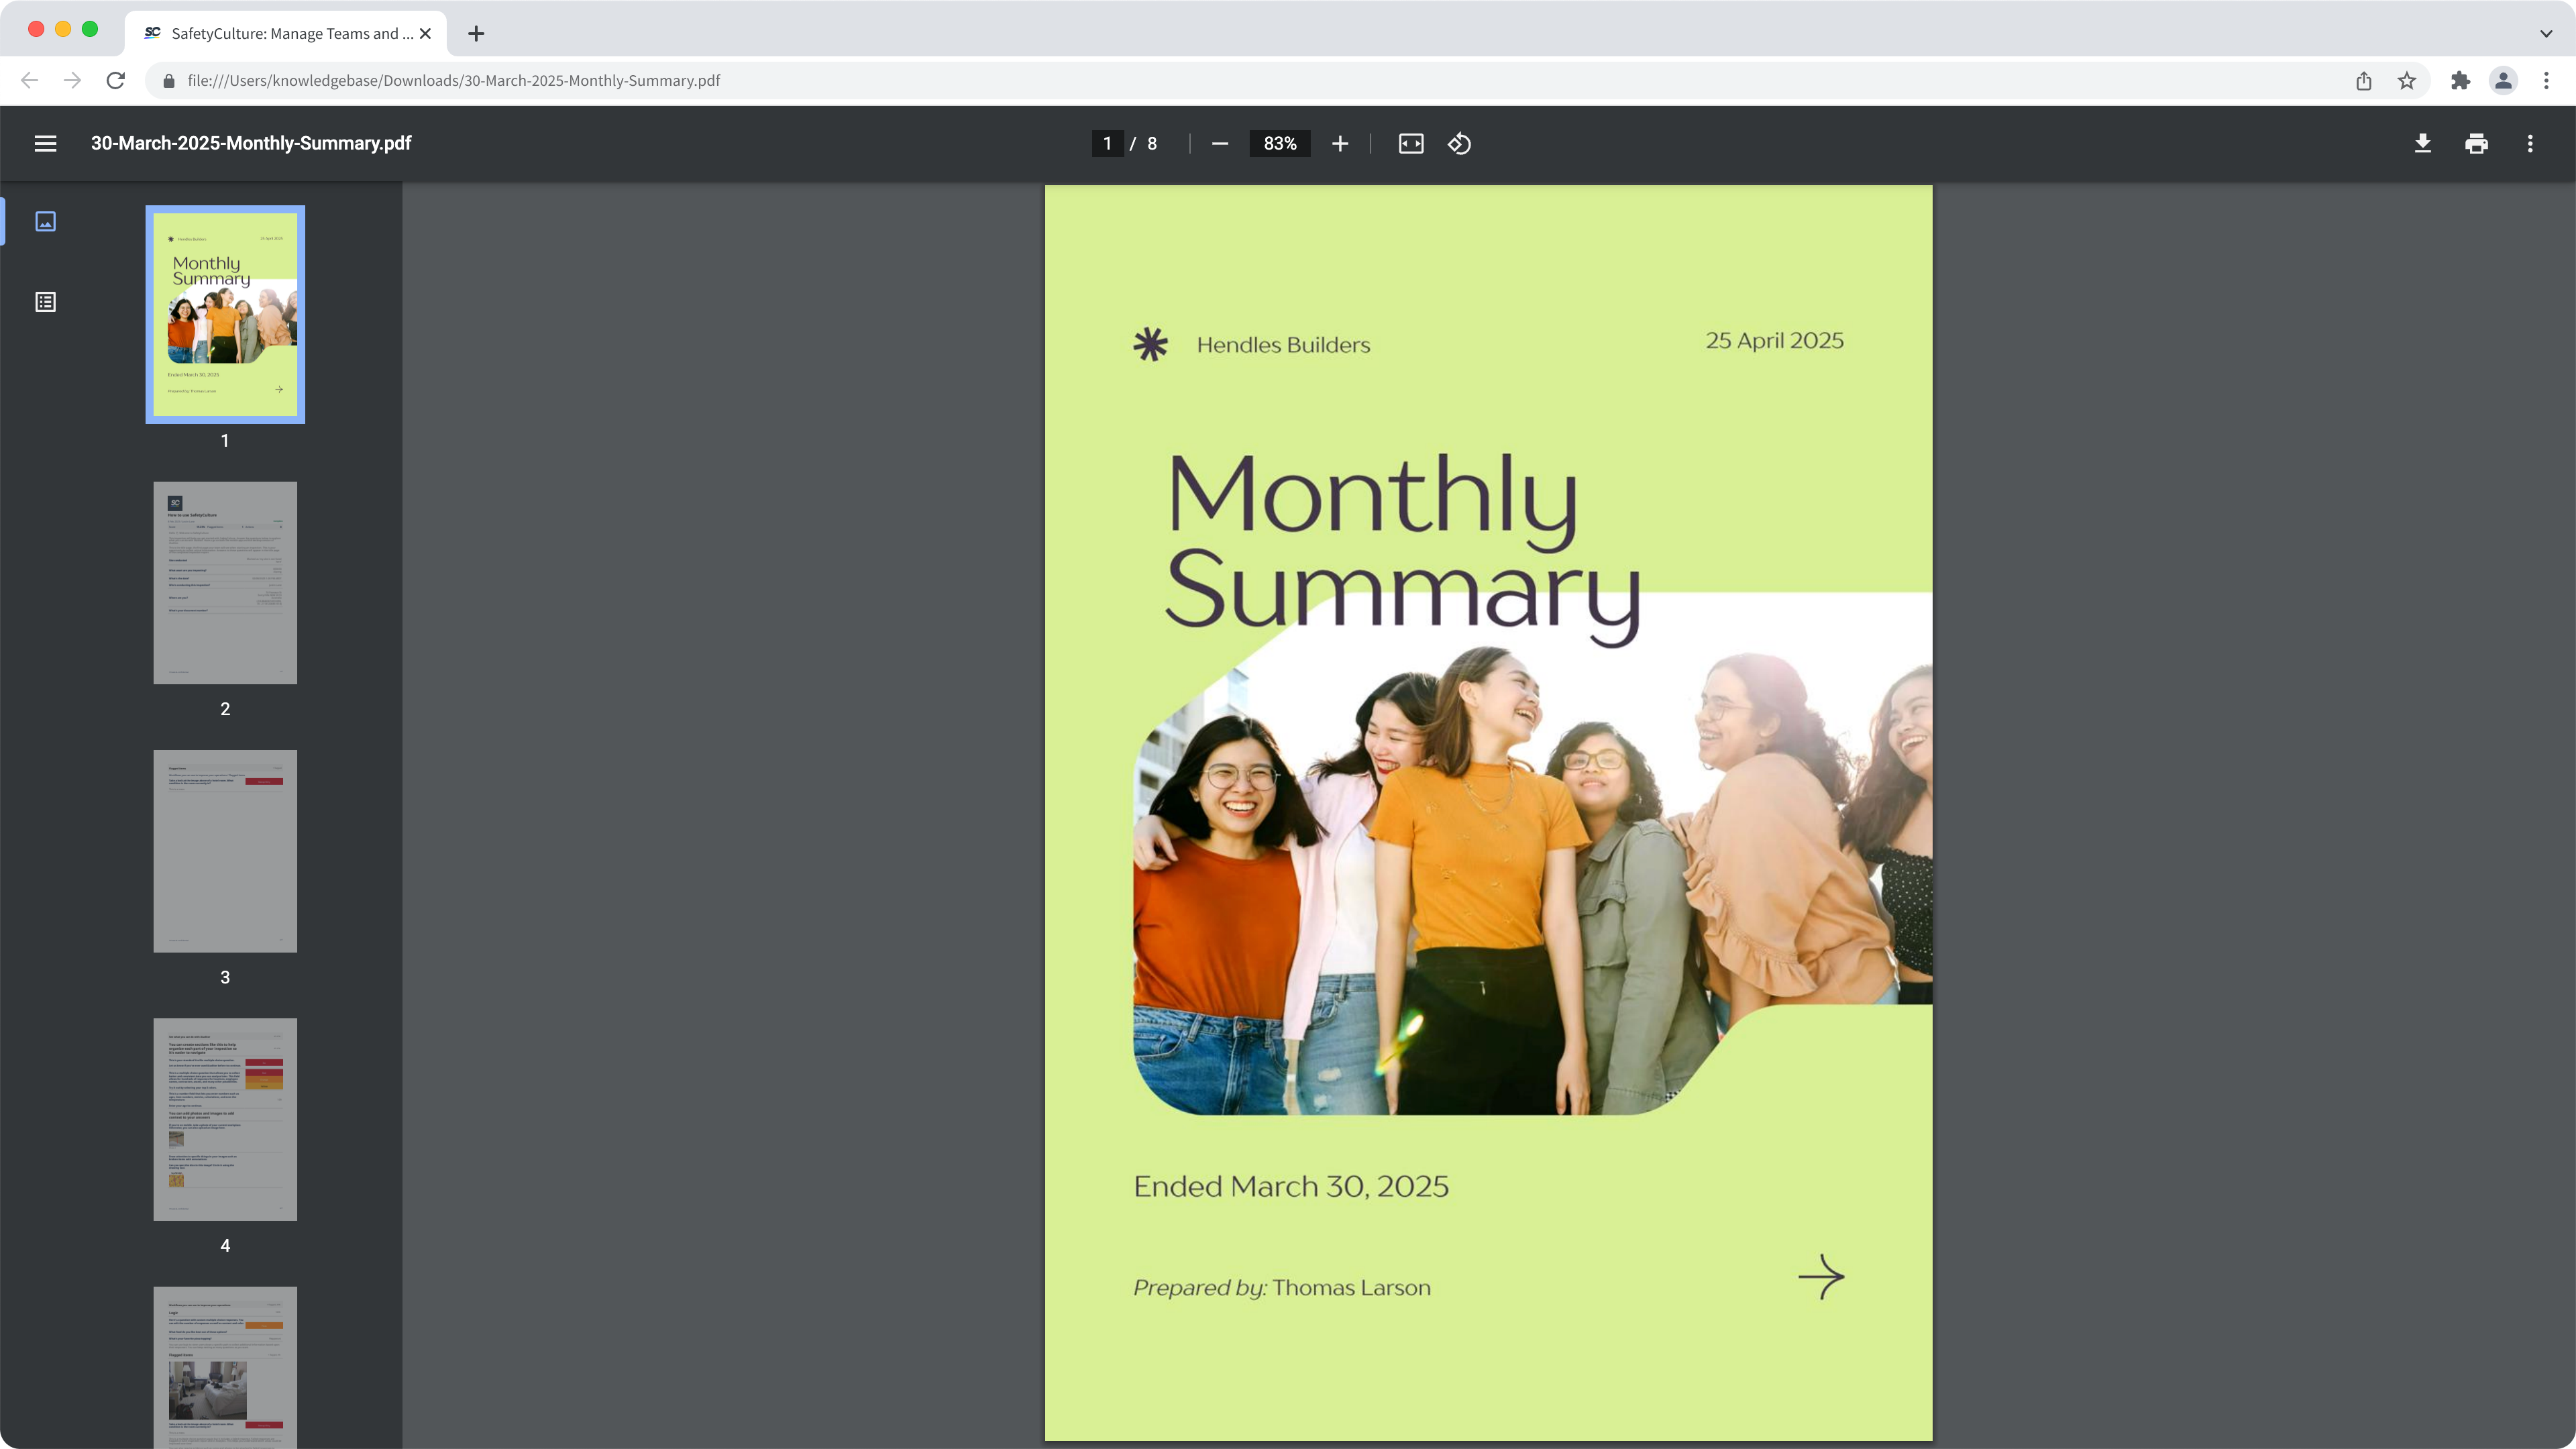
Style reports to match your brand
Adding style to your inspection report layouts makes them more personal and helps you share more about your company with your stakeholders. You can customize the cover page, add your company logo, change the page size, and adjust the size and quality of images to align with your organization.
Tailor content for different stakeholders
Create report layouts that focus on the most relevant information in your inspection reports. You can adjust the content by configuring filters and settings to match your organization’s needs. This lets you customize the layout and select the specific inspection details to include when exporting reports, ensuring each layout meets your stakeholders’ preferences.
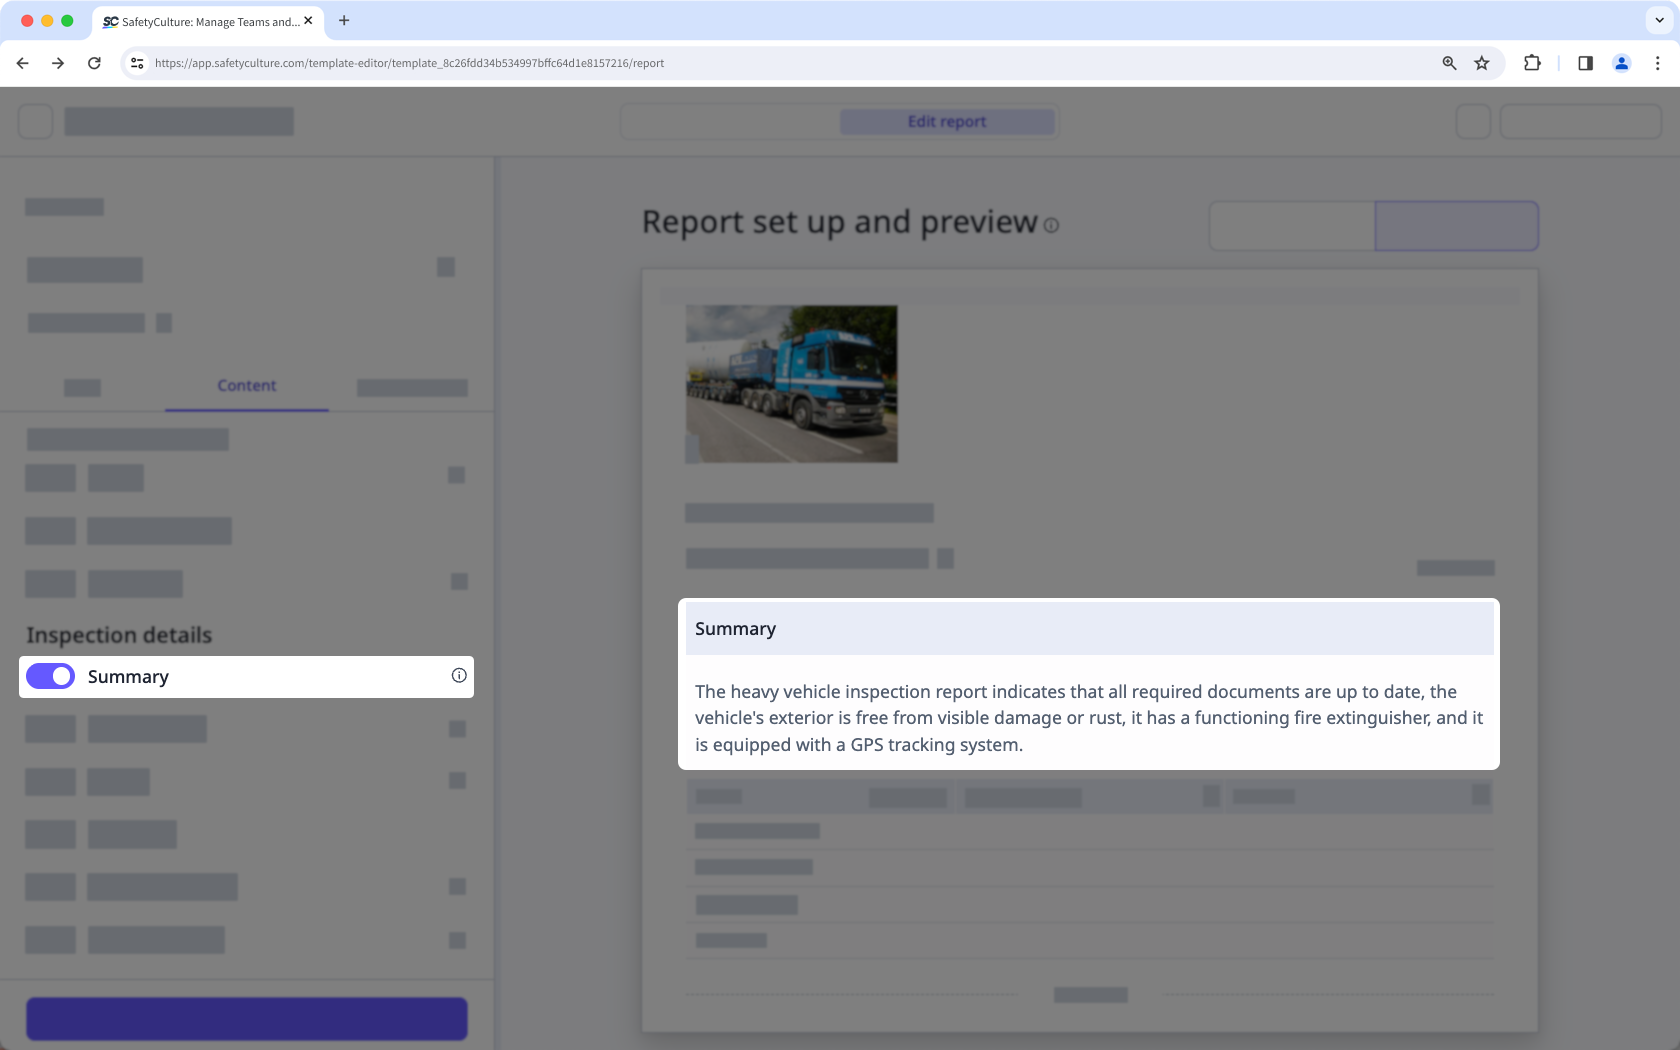
Make reports easier to read
Summaries in inspection reports are generated by a third-party AI provider. They help you quickly understand inspection results by highlighting the most important information in one place.When turned on, they call out key issues and non-compliances, follow-up actions, patterns and trends across inspections, and whether the asset, area, or site passed or failed.
Summary in report layouts is only available to organizations on Premium Plan or Enterprise Plan.
Send reports with pre-filled emails
Configuring email templates within the report layout lets you pre-fill email recipients and message bodies when sending inspection reports via the mobile app. You can also customize the email to include key details like the template title, inspection title, date, and score, streamlining the process and ensuring you include all crucial information in your report.
Setting up email templates doesn't result in completed inspection reports sending automatically. To automate emailing inspection reports, you can use an integration.
If you're interested in emailing inspection reports automatically without using integrations, please let us know by submitting your feedback.