- Administration
- Organization settings and permissions
- Create permission sets
Create permission sets
Learn how to create permission sets on the web app.What are permission sets?
Permission sets are bundles of granular permissions that allow administrators to manage which features their team members can use within their SafetyCulture organization. By assigning permission sets to particular users, you can control what changes they can make, such as adding users, updating billing details, or managing membership in groups and sites in SafetyCulture.
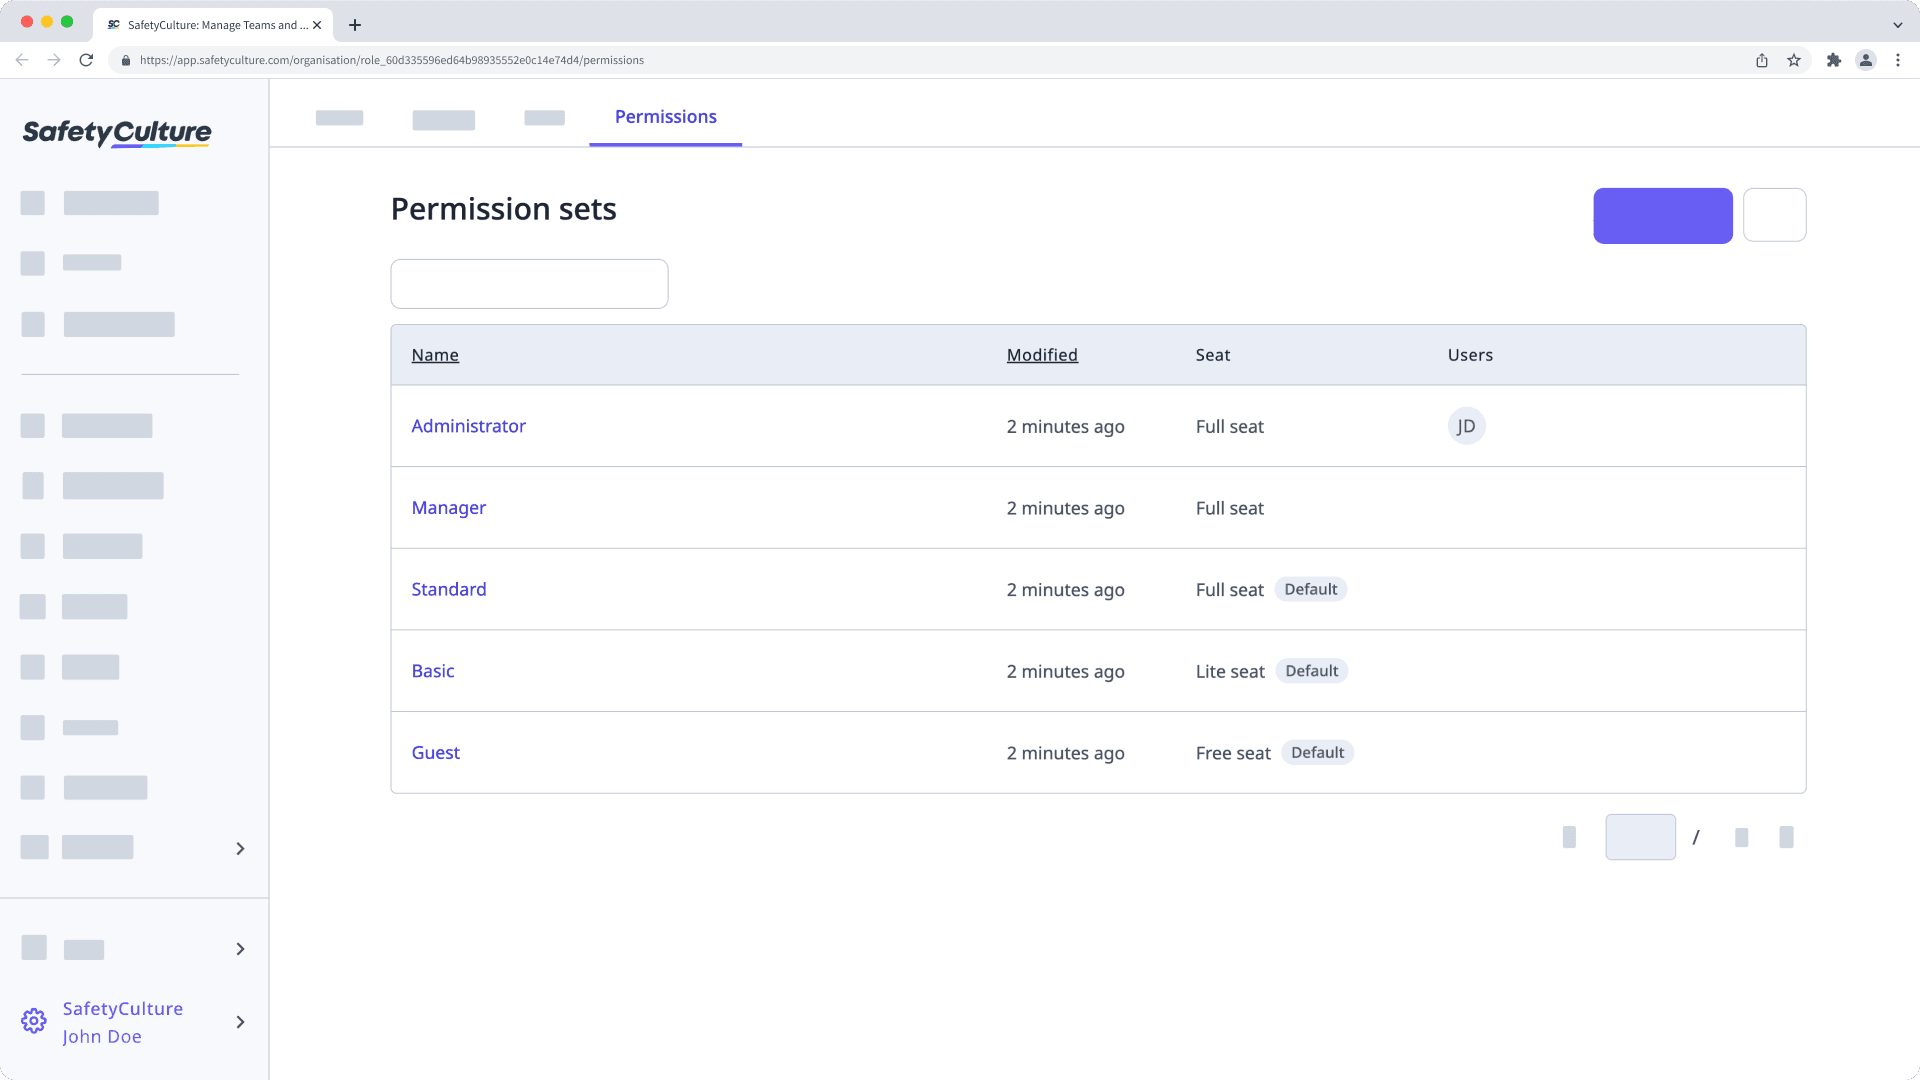
By default, each organization comes with the following permission sets, which you can use as a foundation for new permission sets you may want to create:

Administrator: This permission set gives a user full control of their organization, including management of users, groups, sites, and permissions.
Manager: This permission set gives a user functionalities that a manager might need, including creating templates and training content, managing feature settings, and more.
Standard: This is the default permission set for users in full seats, which gives a user the permissions they need to conduct inspections, report issues, create actions, and more.
Basic: This is the default permission set for users in lite seats, which gives a user the permissions they need to take assigned training, and more.
Guest: This is the default permission set for users in guest seats, which gives a user the permissions they need to report issues, create actions, view Heads Ups, and more.
You can fully customize or delete all the pre-built permission sets, apart from "Administrator". For the "Administrator" permission set, you can add the override permissions to view and manage all data in your organization.
The seat type for a permission set can't be changed once it's created.
Create a permission set
Click your organization name on the lower-left corner of the page and select Permissions.
Click Create and select Start from scratch.
On this page, select the seat type, and enter a title and description. Then, select the permissions you want to assign to this permission set.
Click Create.
Copy a permission set
Click your organization name on the lower-left corner of the page and select Permissions.
Click Create and select Copy existing permission set.
In the pop-up window, select the permission set you want to copy from and click Create copy.
On this page, select the seat type, and enter a title and description. Then, select the permissions you want to assign to this permission set.
Click Create.
Was this page helpful?
Thank you for letting us know.