- Administration
- Site management
- Add site members
Add site members
Learn how to add users to sites as members via the web app.What are the differences between a site manager and a site member?
Managers and members are two distinct types of site membership that can help you delegate user management and provide a more relevant experience for frontline teams.
When you're adding a user as a manager or member to a site, consider the following differences between the two types of membership:
Manager | Member | |
|---|---|---|
Role | A manager is someone who is expected to be responsible for managing membership and fellow managers in their sites, without the responsibility of completing assignments or the noise of having access to entities like templates and courses across the platform. | A member is someone who's expected to have access to entities, such as templates and courses, across the platform and be assigned jobs, such as inspection schedules, for completion. |
Experience | As a manager of a site, you can: • Add another user to the site as a manager or member. • Remove an existing manager or member from the site. | As a member of a site, you can: • Gain access to all entities that are shared with the site, such as templates, inspections, and more. • Complete jobs that are assigned to the site, such as actions, courses, and more. |
Users of any seat type can be added to a site as a member or manager, and a user can be a manager and a member of a site at the same time.
Each user can only be added to up to 40 sites as members or managers. However, a user can be a member of 40 sites and a manager of 40 sites at the same time.
If a user needs to be a direct member or manager of more than 40 sites, you can add levels or group sites and then add the user to the new levels to become an inherited member or manager for all sites below.
What you'll need
If you have "Platform management: Sites" permission, you can manage the membership for all sites in your organization.
Ways to add site members
You can add site members in six different ways:
Add via the site list: This is the best way to add multiple members to a single site or level.
Add via a user's profile: This is the best way to add a single user to multiple sites or levels. This method requires the "Platform management: Users" permission.
Add via a site or level's profile: This is an alternative way to add multiple members to a single site or level.
Add in bulk via the site list: This is the best way to add multiple members to multiple levels.
Add in bulk via the site matrix: This is an alternative way to add multiple members to multiple levels.
Add via CSV upload: This is an alternative way to add multiple members to multiple levels.
Add a user to a site or level
Click your organization name on the lower-left corner of the page and select Sites.
Click
on the right-hand side of the site or level's name.
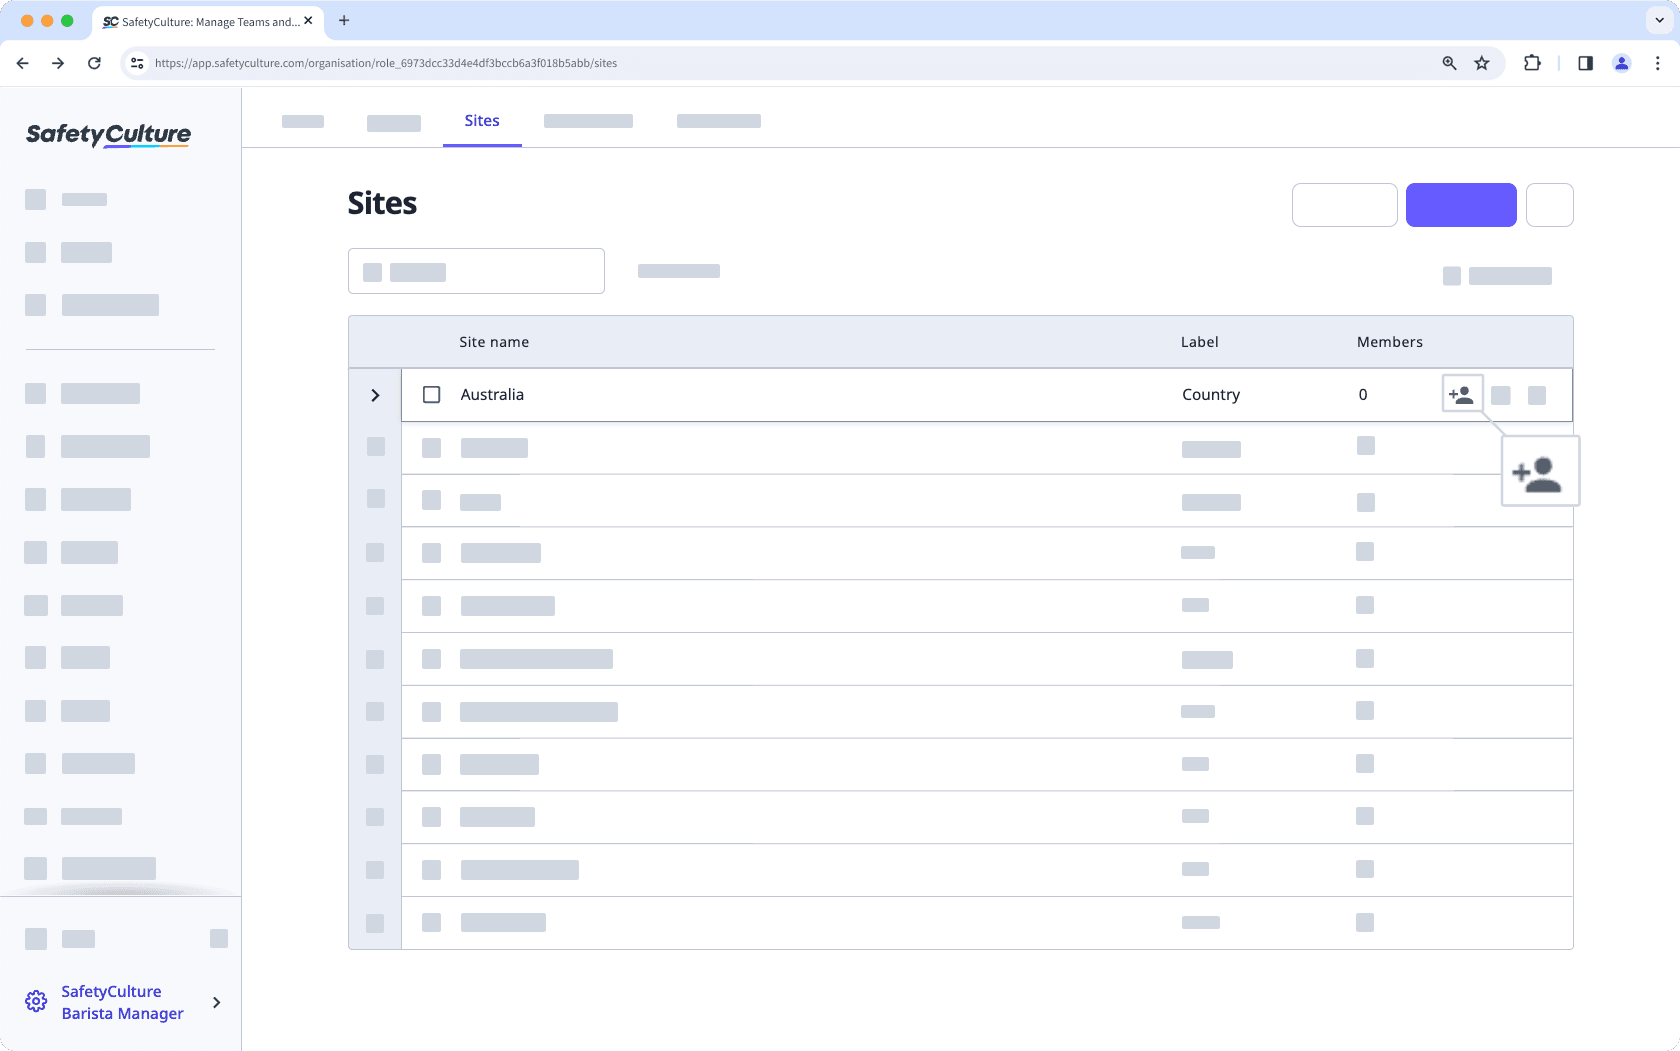
In the side panel, click the dropdown menu and select the users accordingly.
Click Done.
Click Save and apply.
Click your organization name on the lower-left corner of the page and select Sites.
Click the name of the site or level.
Select the Members tab and click Add users on the right-hand side.
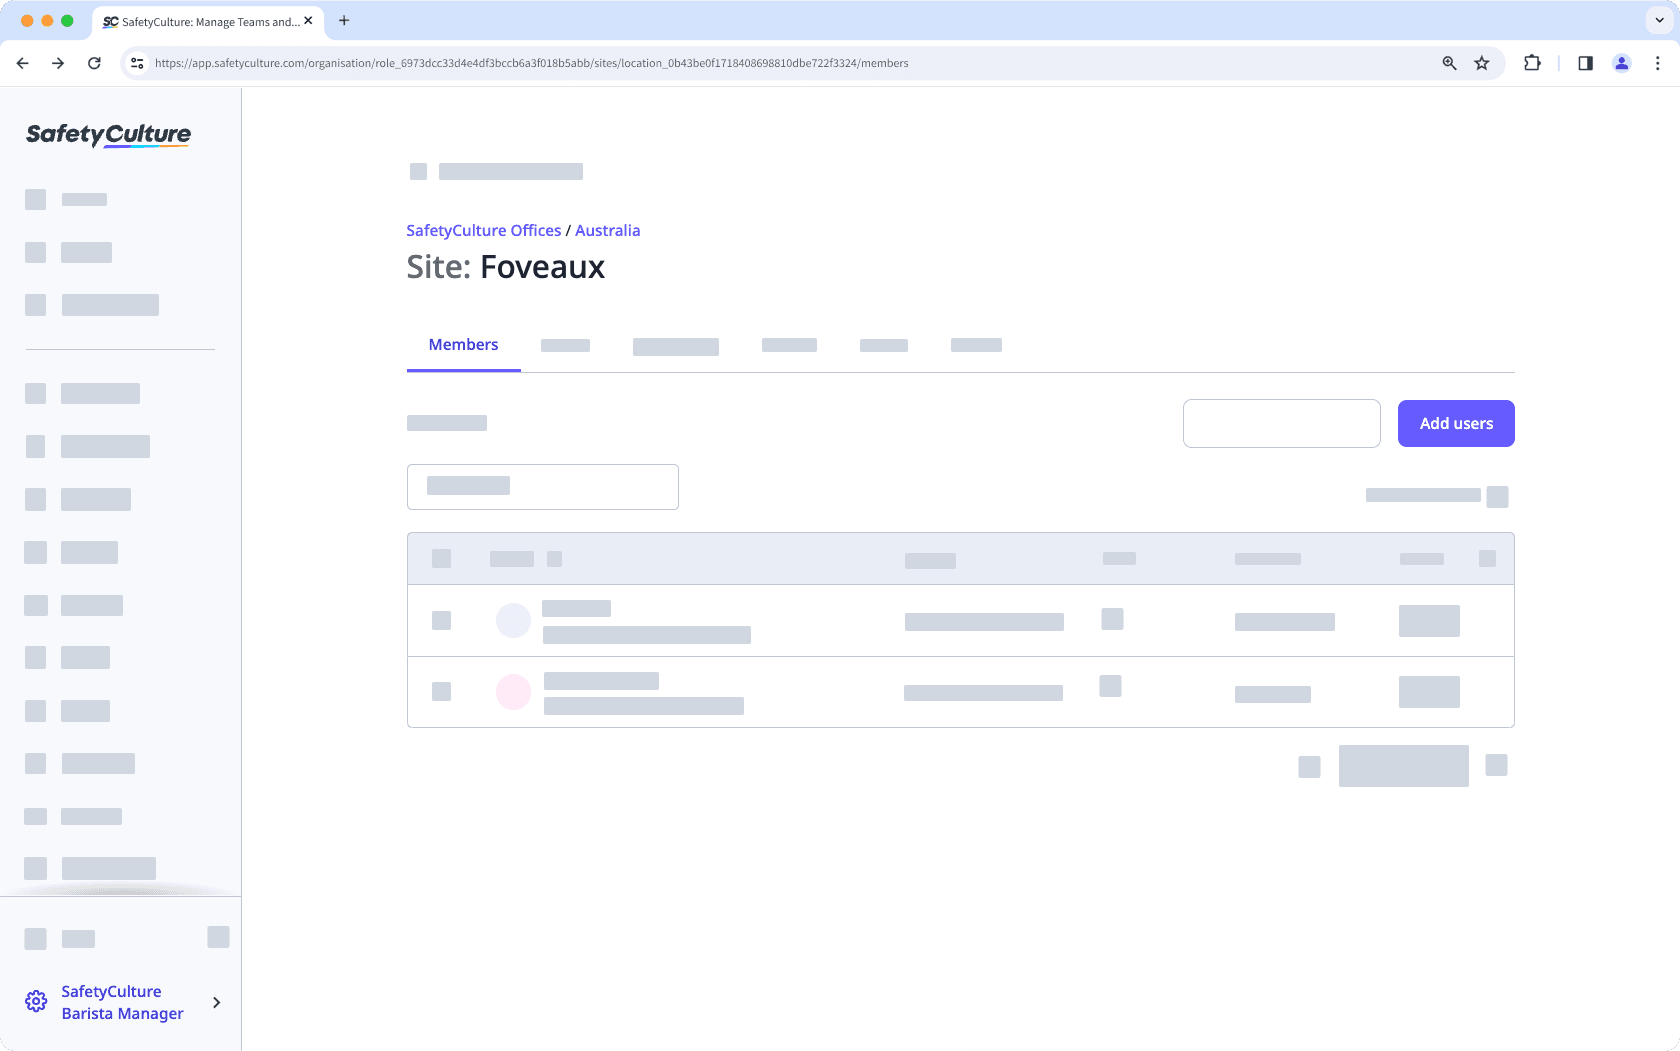
In the side panel, click the dropdown menu and select the users accordingly.
Click Done.
Click Save and apply.
Add a user to multiple sites or levels
Click your organization name on the lower-left corner of the page and select Users.
Click the name of the user.
Click
Settings on the upper-right of the page.
Select the Sites tab above the "Details" box.
Click Add user to sites on the right-hand side.
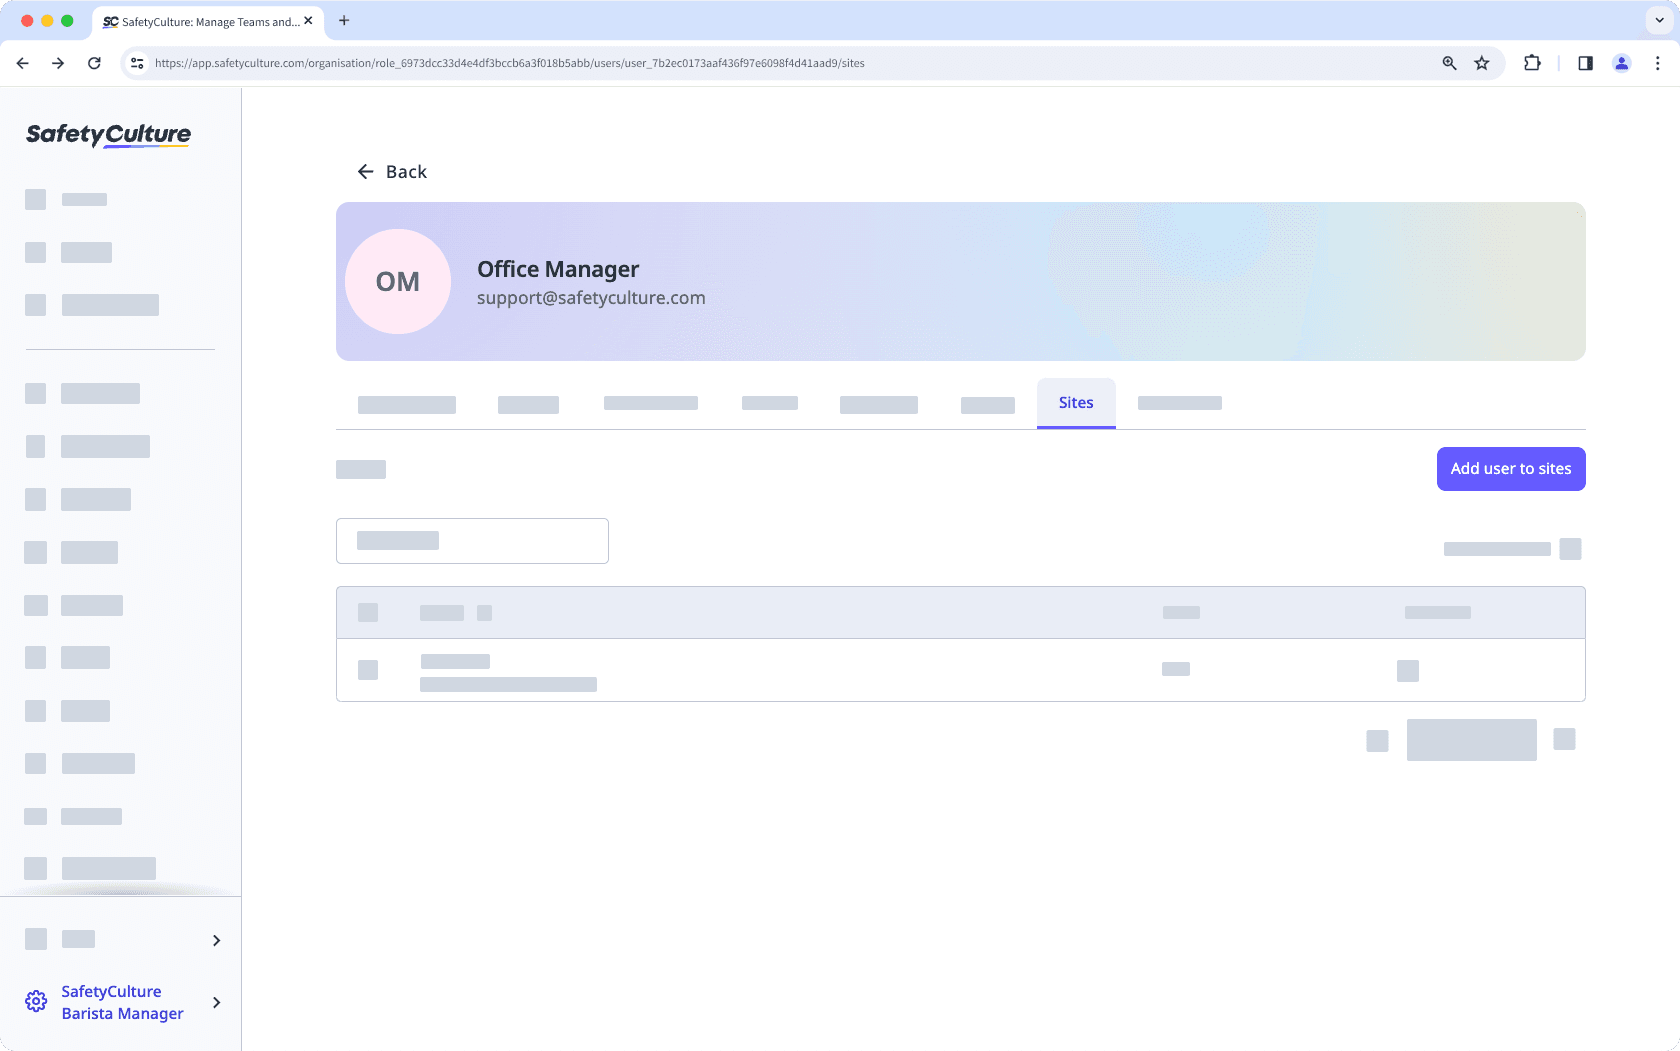
In the side panel, click the dropdown menu and select the sites or levels accordingly.
Click Done.
Click Save and apply.
Add multiple users to multiple sites or levels
Click your organization name on the lower-left corner of the page and select Sites.
Check the sites' or levels' boxes and click
Add users to site on the lower-right corner of the page.
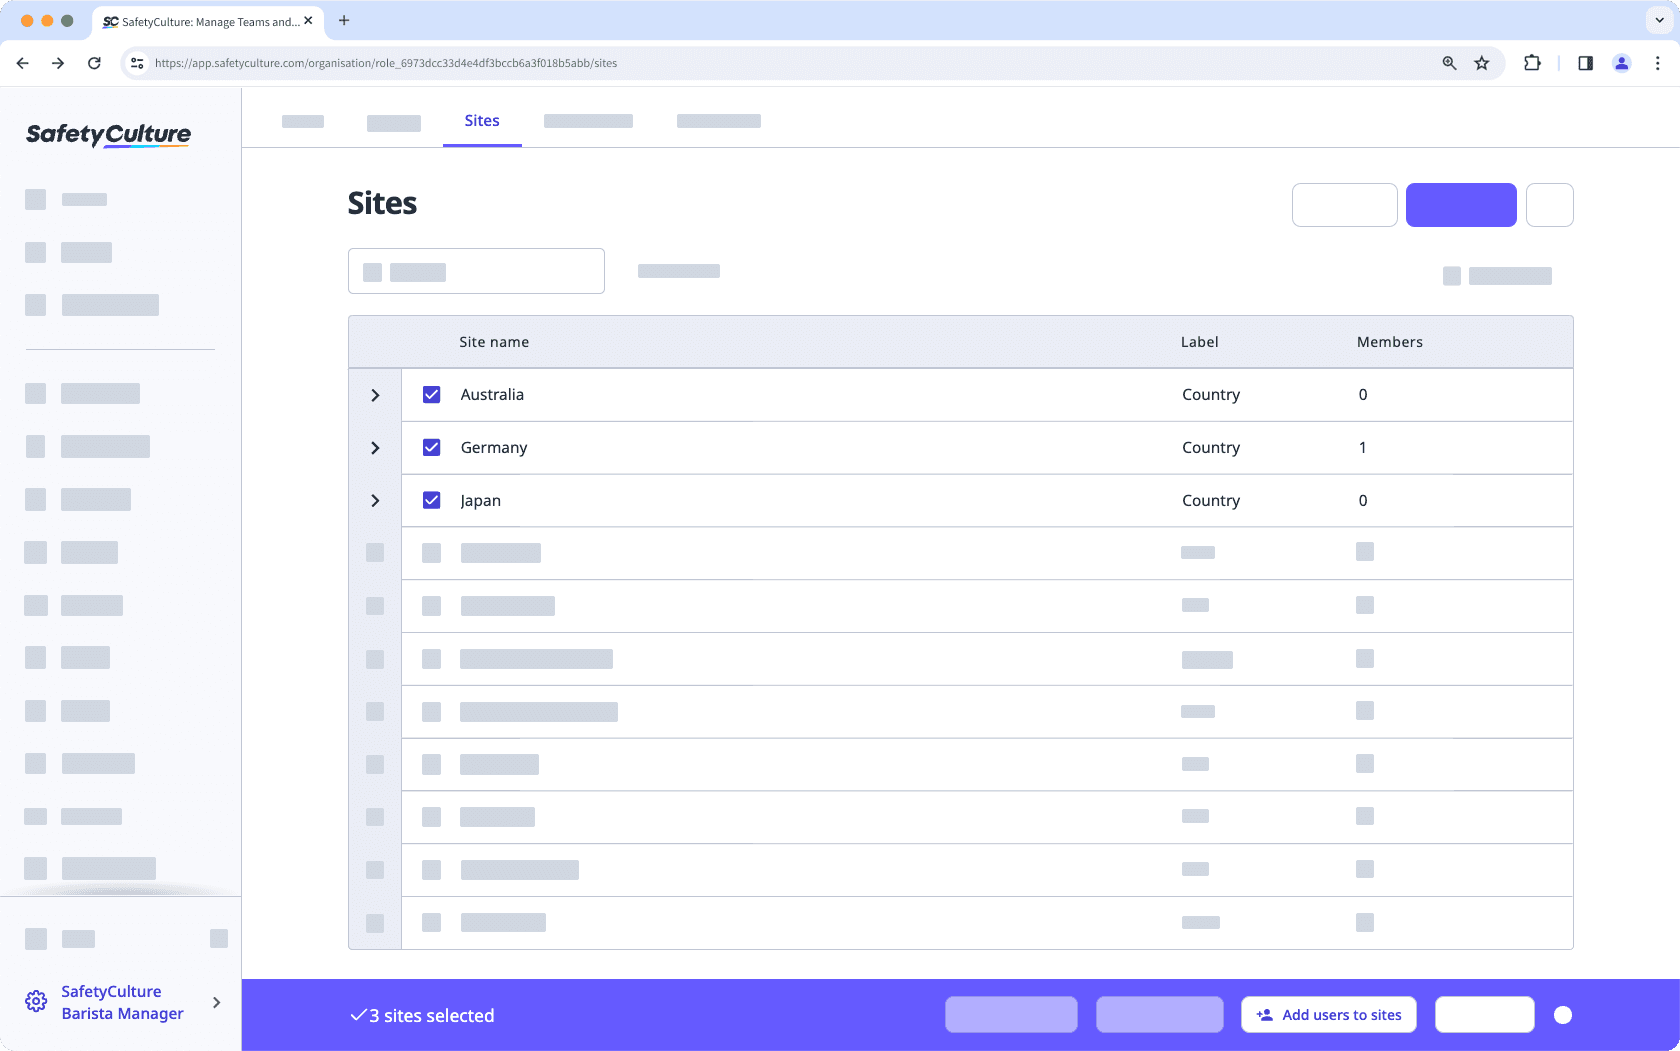
In the side panel, click the dropdown menu and select the users accordingly.
Click Done.
Click Save and apply.
Bulk add members from sites via the Site matrix
Click your organization name on the lower-left corner of the page and select Sites.
Click Site matrix on the upper-right of the page.
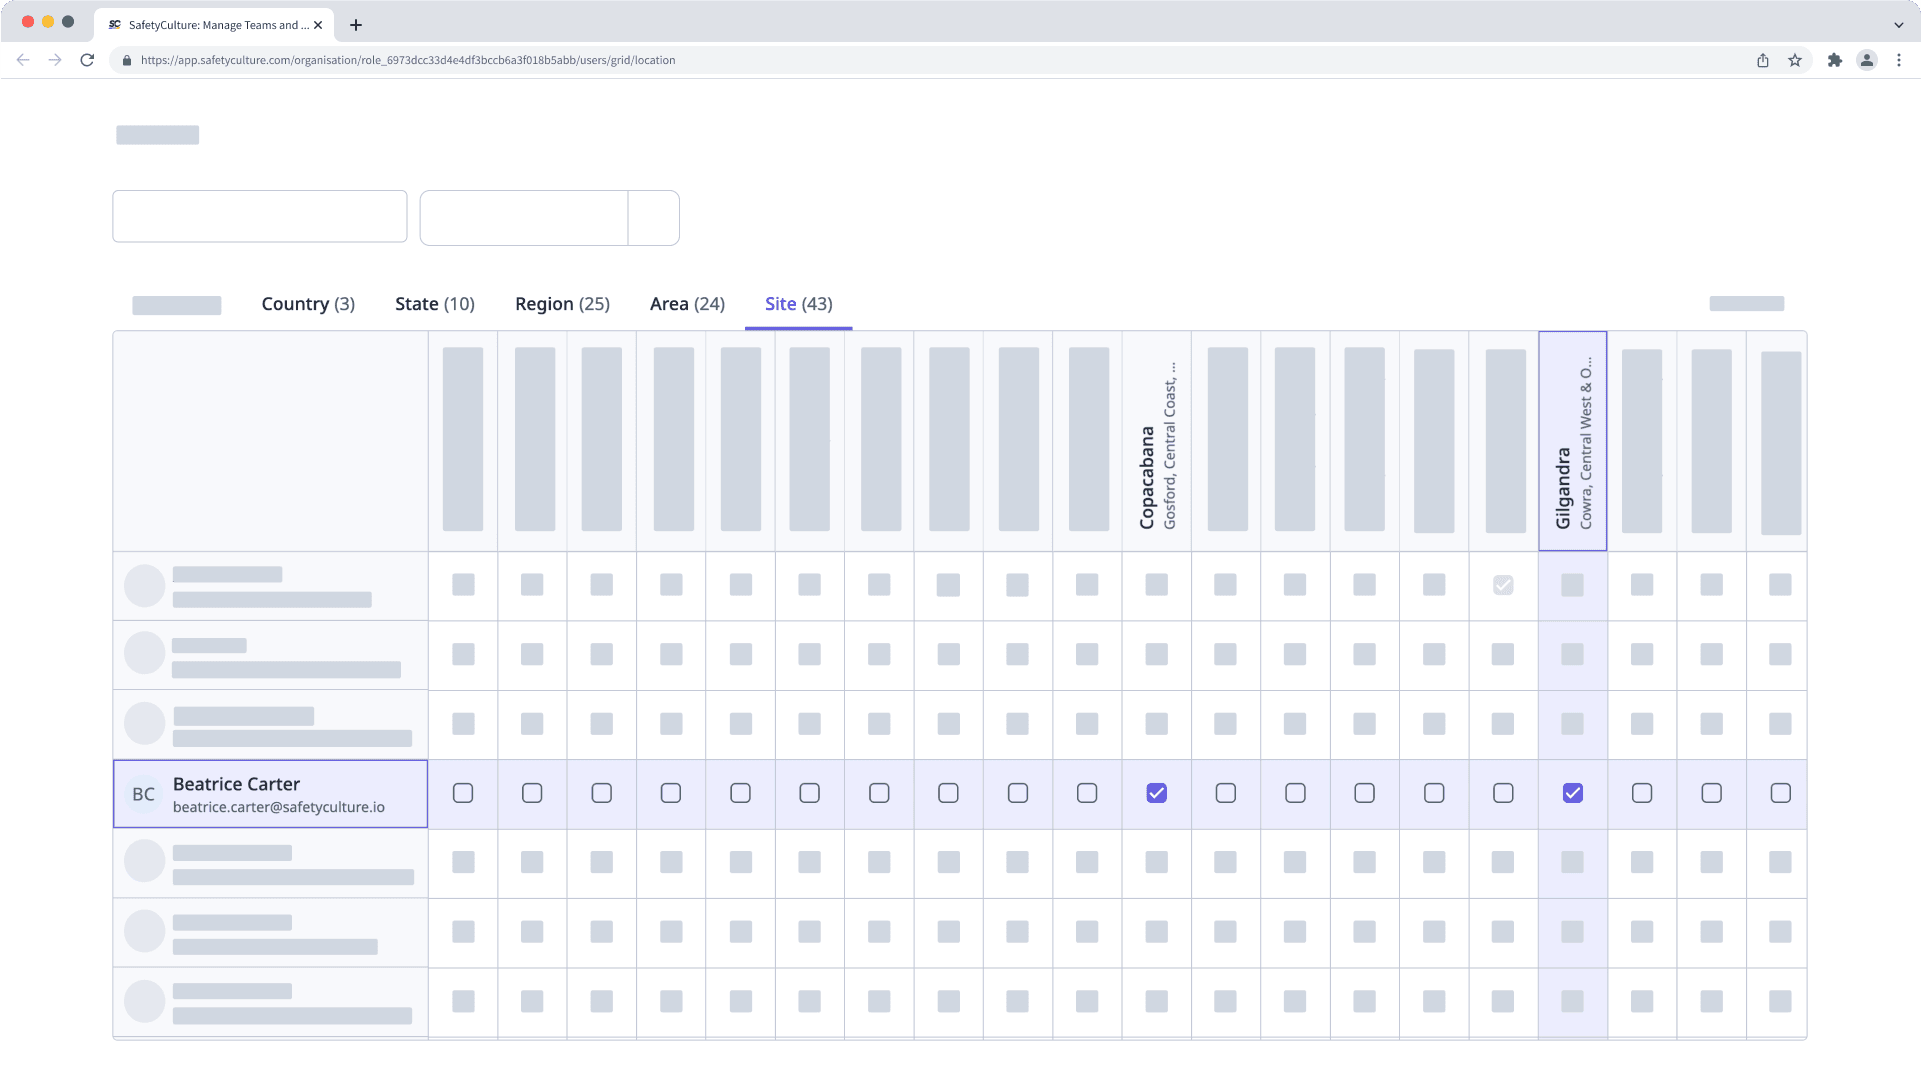
On this page, site names are listed horizontally, and users are listed vertically in alphabetical order.
Check the boxes on the right-hand side of the user's name. Changes are applied automatically.
Bulk add site members via CSV upload
Click your organization name on the lower-left corner of the page and select Sites.
Click
on the upper-right corner of the page and select
Bulk upload sites (CSV).
Download your site list as a CSV by clicking Download existing site list.
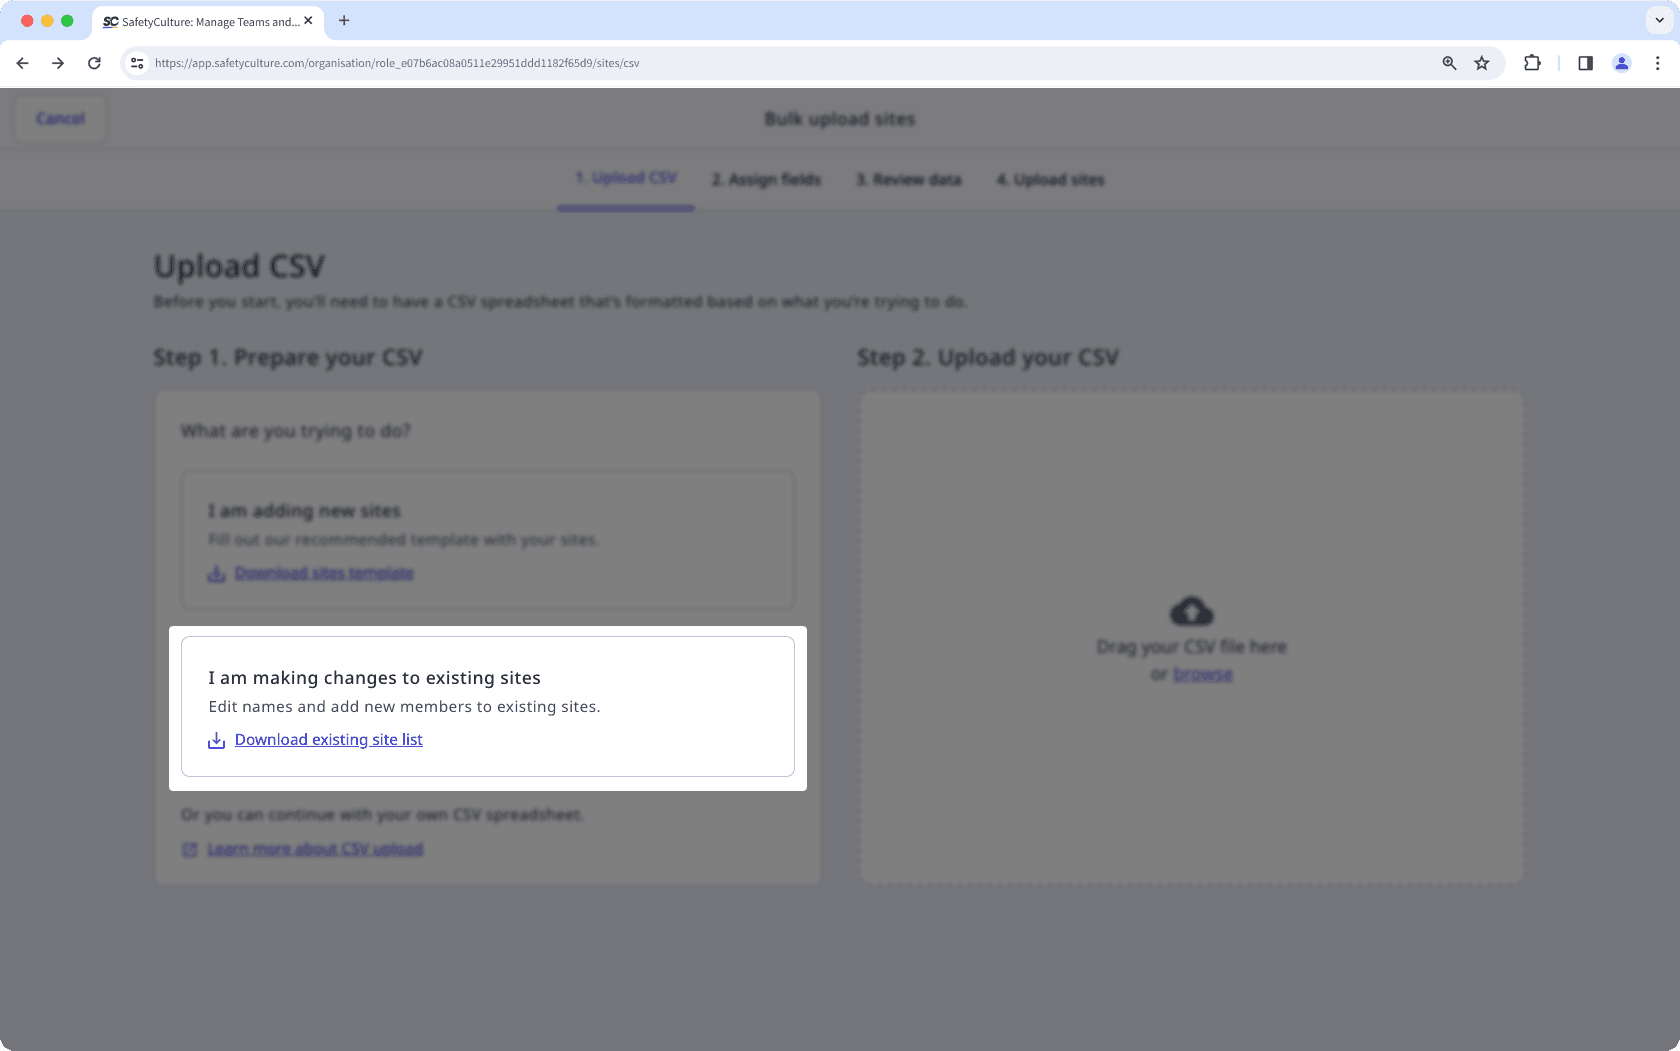
Add site members by entering their email addresses under the "members" column within your CSV, separated using a semicolon and a space, and save your changes.
Drag and drop your CSV file into the "Drag your CSV file here" box or click browse to select the file from your computer directory.
Match your CSV column headers with their corresponding fields, then click Review data.
Confirm that your CSV data has uploaded correctly, then click Save and upload.
When updating existing sites via CSV, leave the members column unchanged to avoid adding or removing current site members.
Add group members to a site or level
Click your organization name on the lower-left corner of the page and select Sites.
Click the site or level you want to add group members to.
Click Add group members on the upper-right of the page.
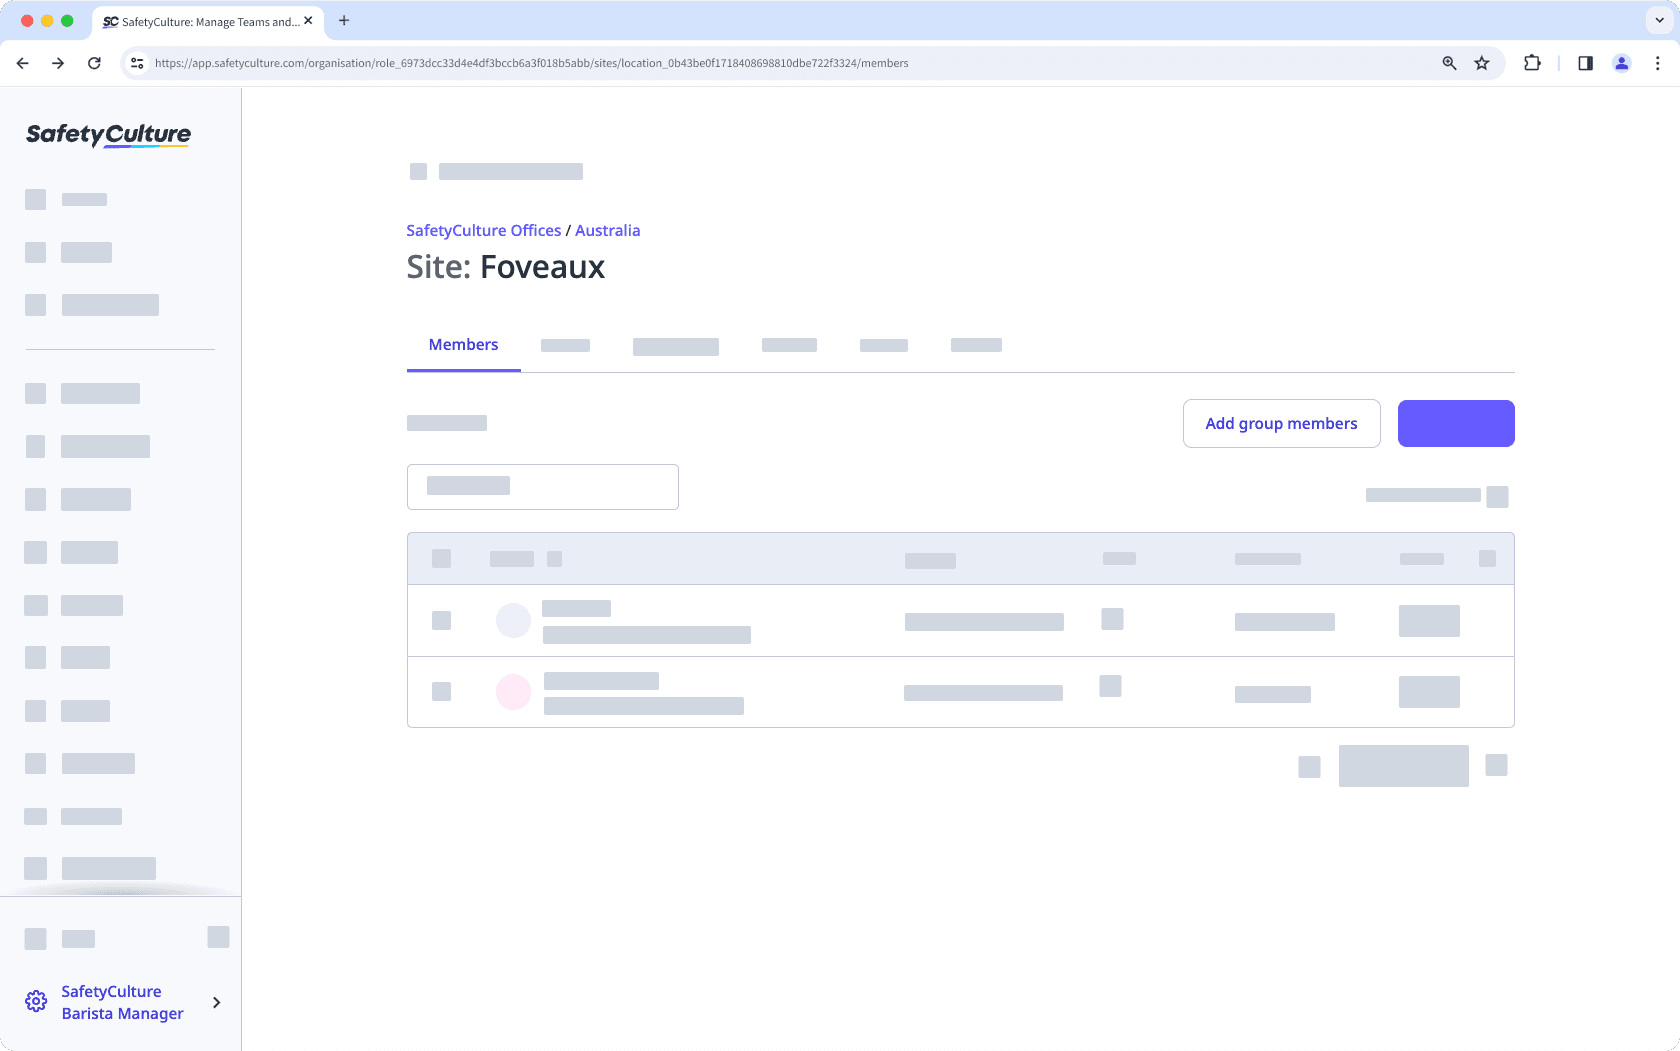
In the side panel, select the groups you want to add as site members and click Save and apply.
Was this page helpful?
Thank you for letting us know.