Why create groups?
As your organization grows, managing access and settings for each user individually becomes time-consuming and hard to keep consistent. Groups let you organize your workforce into logical units such as by team, location, role, or any structure that suits your business so you can apply settings to everyone at once, rather than updating each person separately.
Once you've set up your groups, you can:
Control which t emplates and inspections your team can access
Assign courses and quizzes to the right people in bulk
Set up lone-work alert escalations for specific teams
Create a group
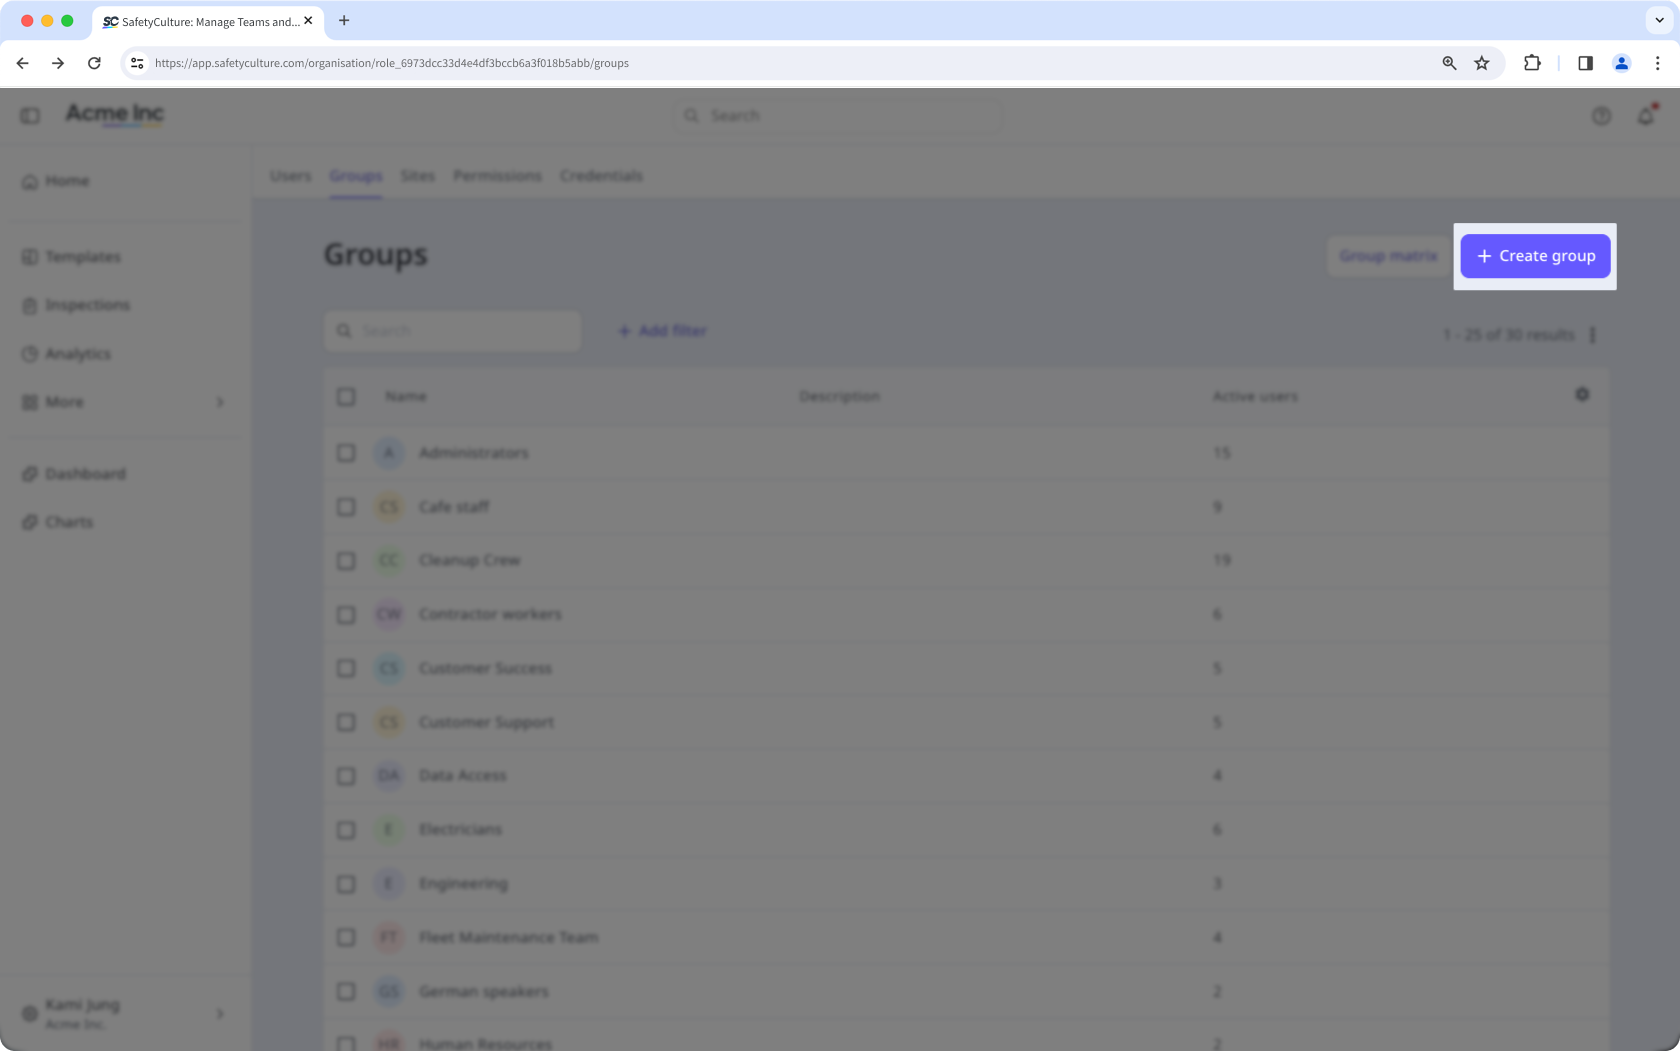
Click your organization name on the lower-left corner of the page and select Groups.
Click Create group on the upper-right of the page.
Enter the"Name" and "Description", and configure the organization fields accordingly.
Click Save on the upper-right corner of the page.
Depending on the people you want to organize into groups, you can create membership rules to automatically add or remove users based on user field values.
Edit a group
Click your organization name on the lower-left corner of the page and select Groups.
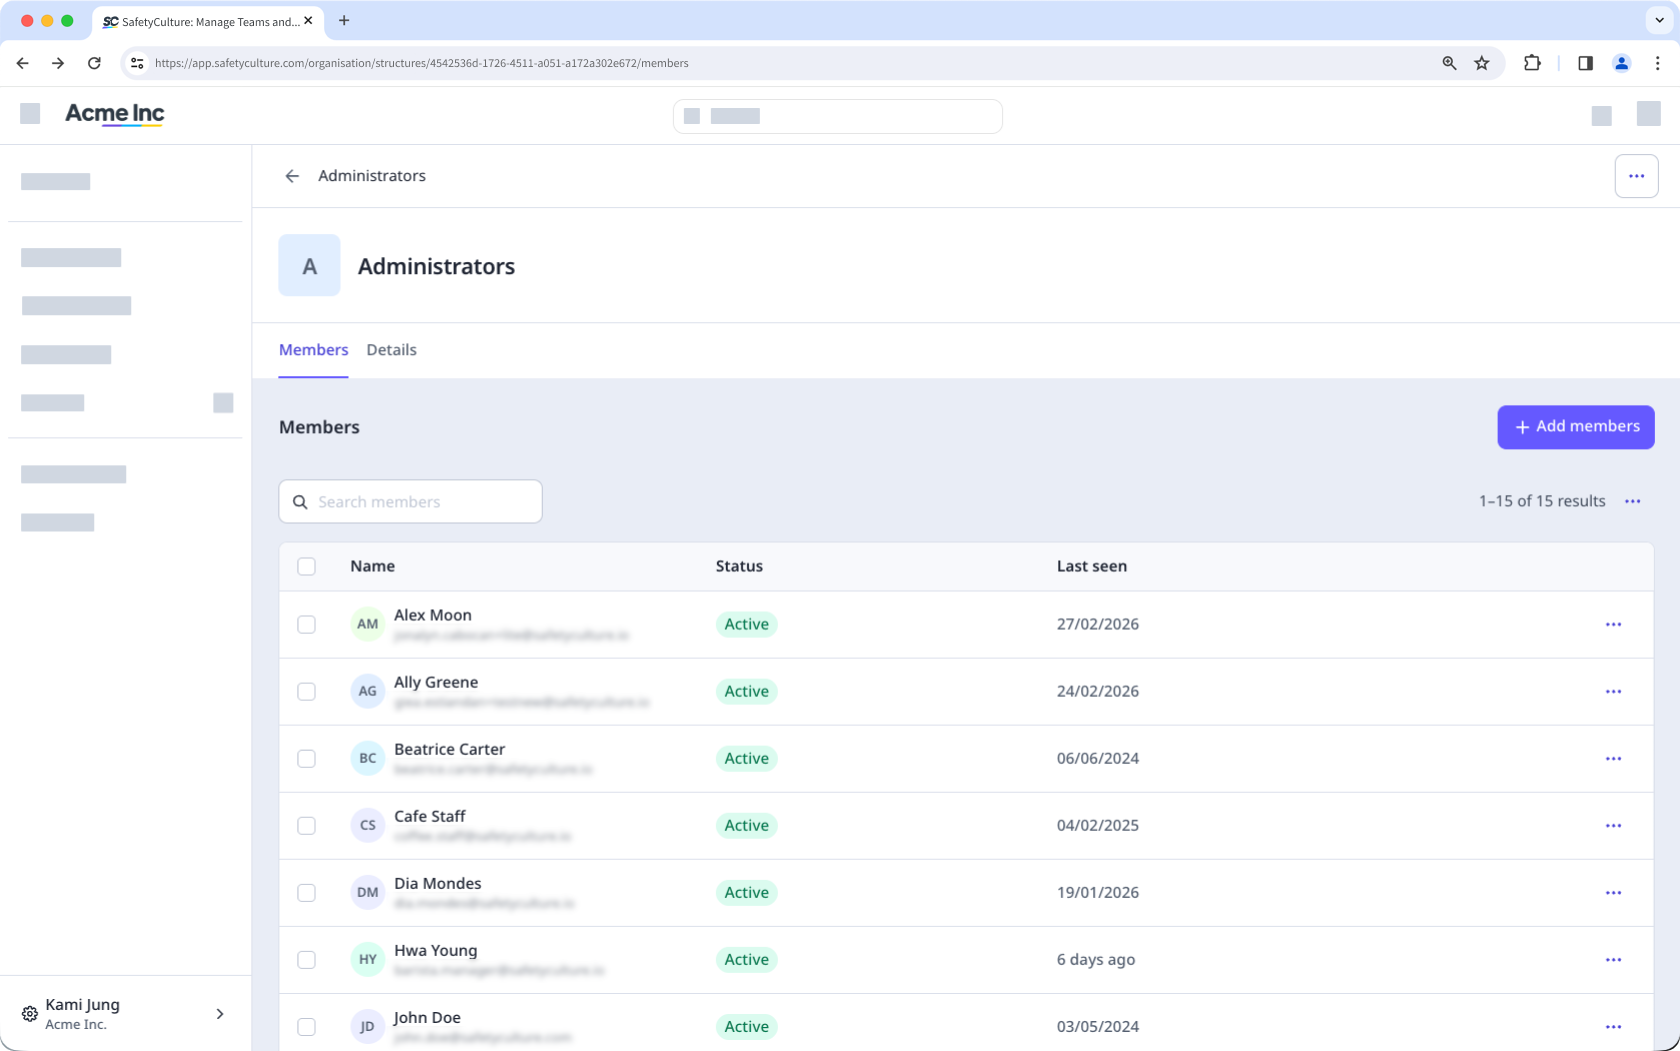
Click the group.
If the group has membership rules set up, click to edit the rules.
Select Details on the upper-left of the page.
Edit the following details:
Group name: Click Edit in the "Name" section, enter the group name, and click Save and apply.
Group description: Click Edit in the "Description" section, enter the group description, and click Save and apply.
Buying groups in the SafetyCulture Marketplace are managed separately from groups you can create and select in the rest of the platform.