What are users in SafetyCulture?
Every person who logs in to SafetyCulture is a user. Each user has an account identified by their email address and requires a seat to access features.
You can organize users into groups and assign them to sites to control what they can see and do across your organization. Pairing these with permission sets gives you a flexible way to scale your team's access as your organization grows.
Use invite links as an alternative to add multiple users with the same seat type, permission set, and group or site membership.
Before you can add users, you need to confirm your account's email address. If you haven't received the confirmation email, check your spam folder or request a new one via the web app.
If your organization doesn't have available seats when a user is added, SafetyCulture will either purchase a seat automatically or block the user from being added.
Automatic seat expansion is currently in Early Access. If a seat is purchased, your billing administrator will receive an email, and your next invoice will include a prorated charge.
Add a user
Click your organization name on the lower-left corner of the page and select Users.
Click Add users on the upper-right corner of the page.
Fill in the user's details accordingly. You can select the user's seat type if your organization is on the Premium Plan or Enterprise Plan.
Click Next.
Assign the user's permission set and membership details accordingly:
If you have "Platform management: Permissions" permission, you can assign the user's permission set.
If needed, you can assign the user to groups and sites, and add details with user fields.
Click Add users. The user will receive an email to activate their SafetyCulture account and set a password.
If you set a password for the user on the previous page, configure the settings in the pop-up window, then click Continue:
Send password instructions via email: The user will receive an email with password instructions. You can also edit the message.
Require password reset: The user will be required to reset the password provided for them when they first log in for security purposes.
If your organization uses a supported HR system, you can set up an HR integration to add and update users automatically each day.
Bulk add users
Click your organization name on the lower-left corner of the page and select Users.
Click on the upper-right corner of the page and select Bulk manage via CSV.
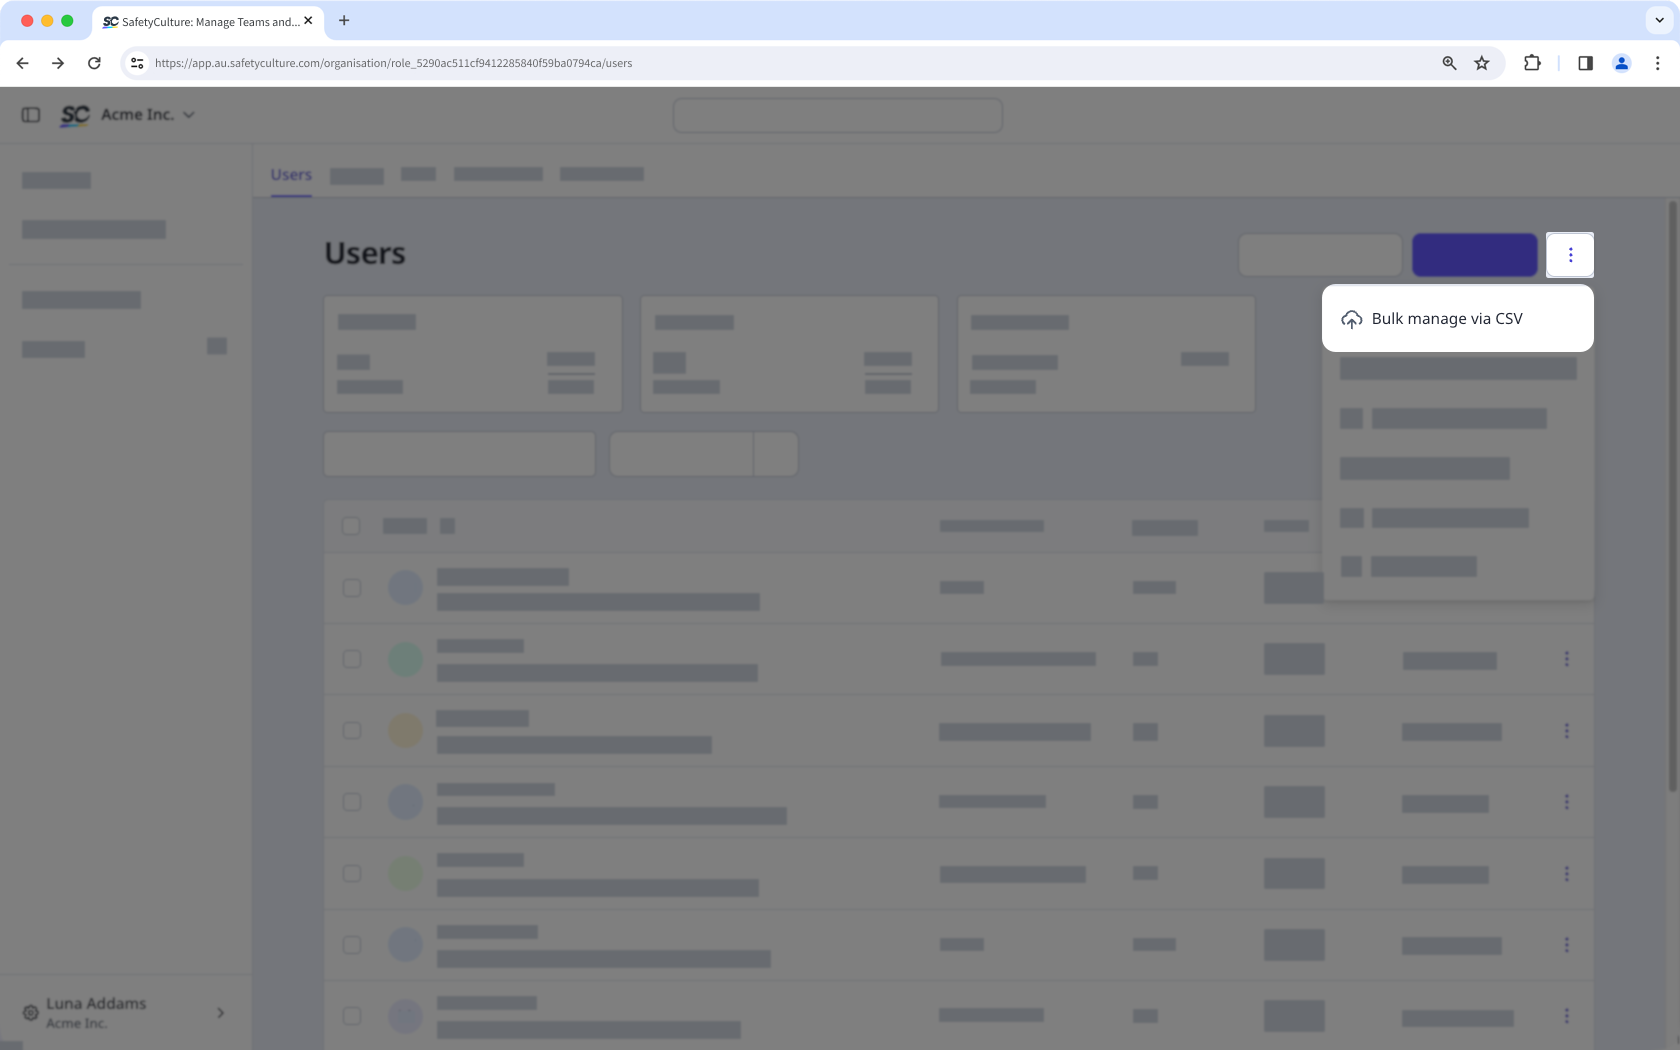
Follow the steps to bulk manage your users via CSV or Excel.