What are sites in SafetyCulture?
Sites in SafetyCulture help you track and manage your team's data by associating it with specific locations, projects, or teams. They provide a shared structure that connects users, content, and activity across multiple features and makes it easier for you to manage access, assignments, and insights as your organization grows.
You can organize sites in a hierarchy that reflects your organization's structure and group them into higher levels, like areas or regions, for easier management of site membership and trend analysis across multiple sites.
Depending on the feature, sites can be used to manage access and assignments, or to organize and filter data.
Feature | Manage access and assignments | Organization and filtering |
|---|---|---|
Templates | Yes | Yes |
Inspections | Yes | Yes |
Actions | Yes | Yes |
Training | Yes | No |
Issues | Yes | Yes |
Assets | Yes | Yes |
Heads Up | Yes | No |
Investigations | No | Yes |
Documents | No | Yes |
Analytics | No | Yes |
Contractors | No | Yes |
You can have sites of the same name under different levels. In addition, if you use sites in your templates'inspection title formats, changes to site names only apply to new inspections moving forward.
You can contact our customer support team to apply updated site names to existing inspections.
Change a site or level name
Click your organization name on the lower-left corner of the page and select Sites.
Hover your cursor over the site or level and click on the right-hand side.
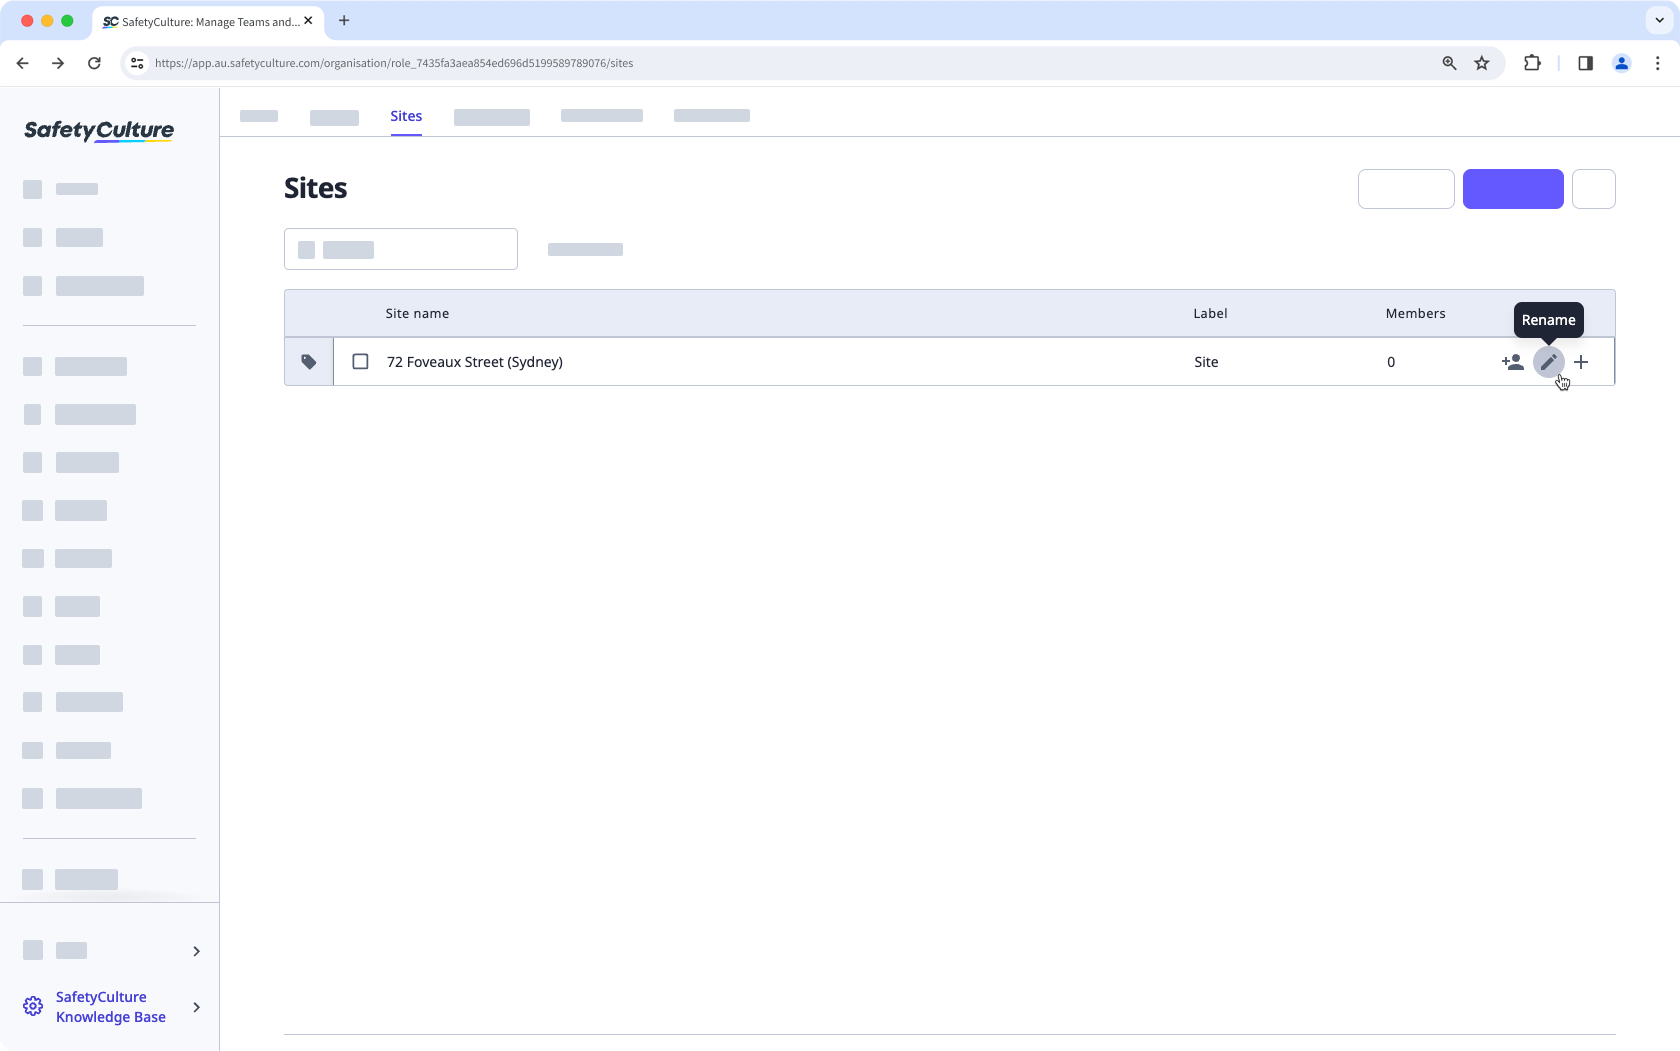
Change the site or level name accordingly and click .
Bulk change site names via CSV
Click your organization name on the lower-left corner of the page and select Sites.
Click on the upper-right corner of the page and select Bulk upload sites (CSV).
Download your site list as a CSV by clicking Download existing site list.
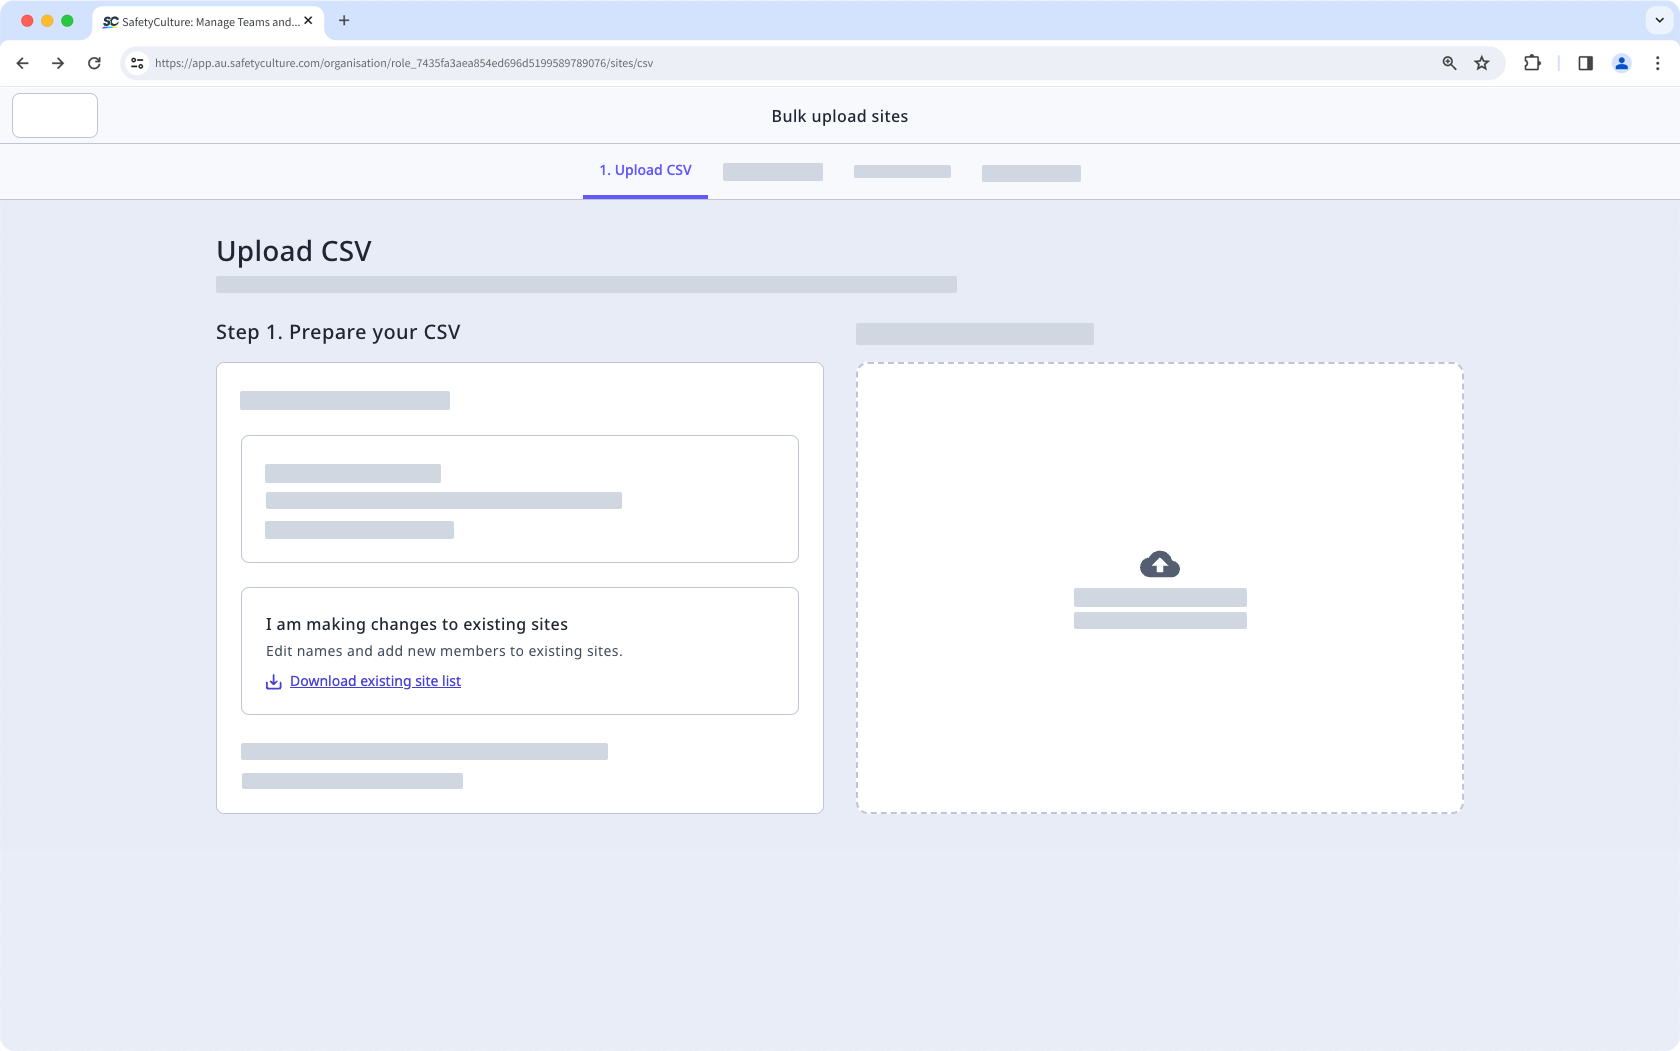
Open the CSV, and rename sites accordingly.

Drag and drop your CSV file into the "Drag your CSV file here" box or click browse to select the file from your computer.
Match each CSV column headers to the correct fields, then click Review data.
Confirm that your data is correct, then click Save and upload.