3. Publish and manage training content
Now that you have gone through your Training settings and created courses, it’s time for you to assign them to your users.
We recommend you schedule your courses to be published at the same time you’re ready to go live with SafetyCulture. This way, you can run your team through their key activities in the app and make the rollout more cohesive for them.
Check out more in-depth content in the Training (editing) and Training (learning) sections.
How does publishing a course work?
Course publishing gives you control over when to make a training course available to your team. When you publish a course for the first time, it becomes version one. Each time you republish the course, a new version number is created. This is important for courses that are already published and assigned, ensuring that any changes you make are only reflected to users when you republish the course.
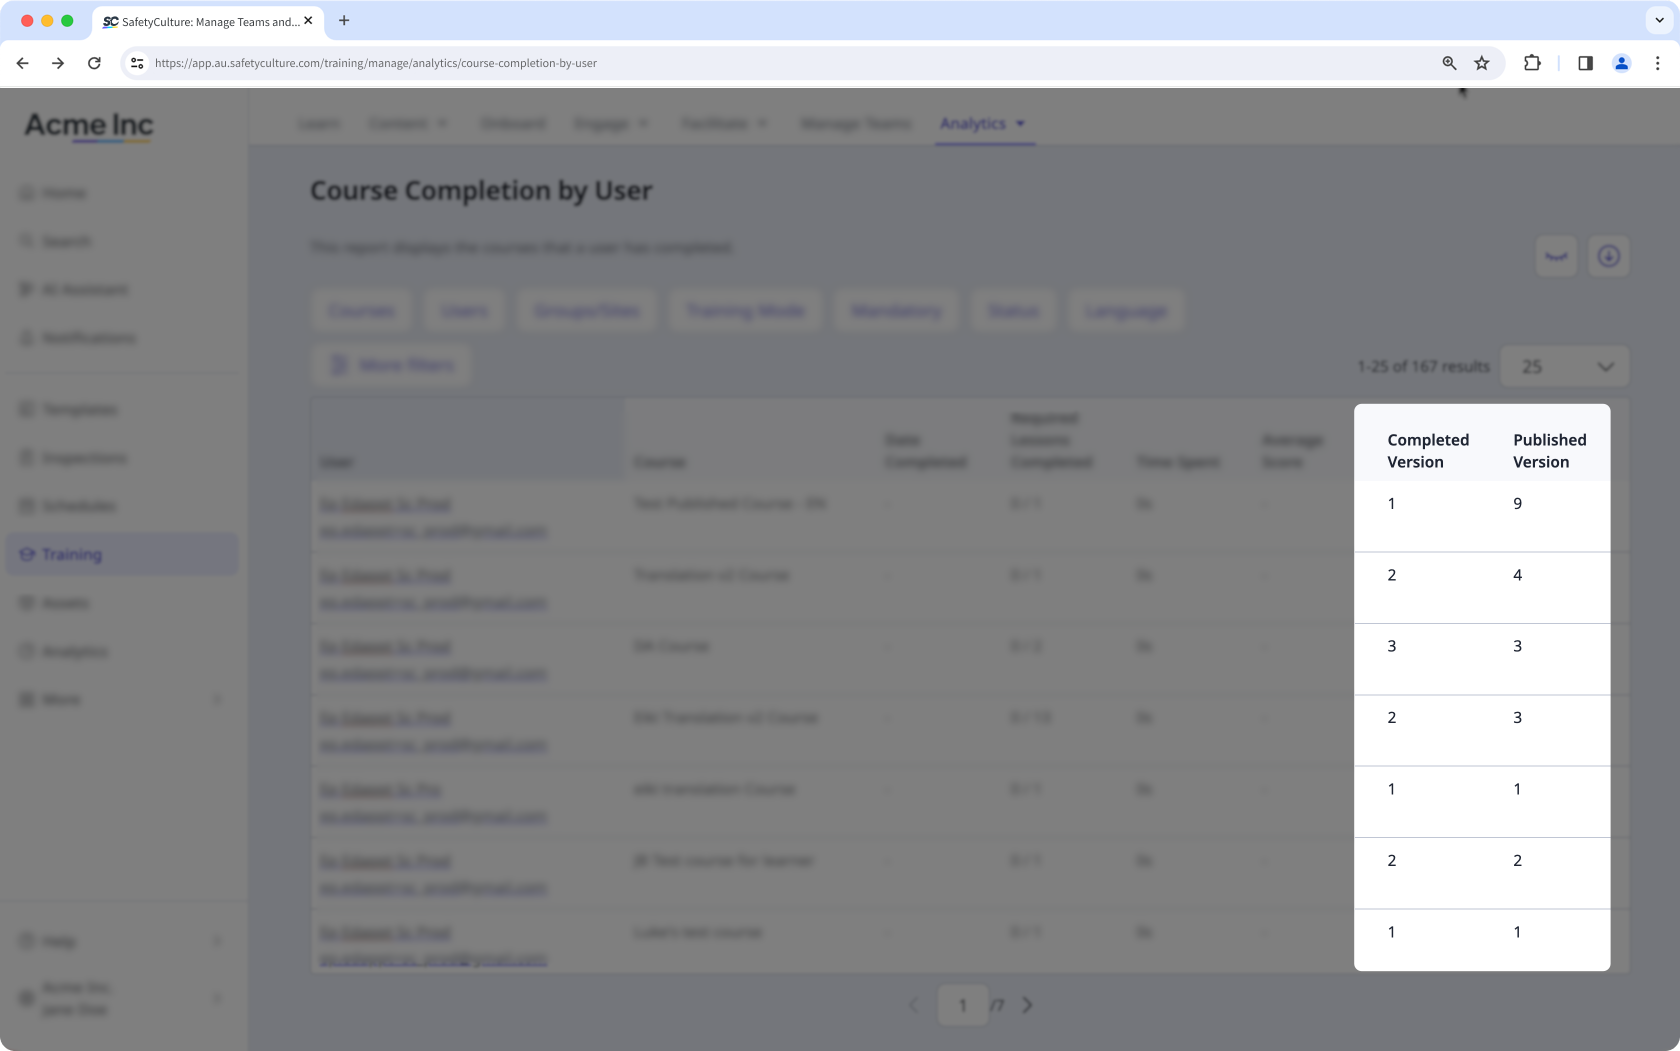
After a course is published or republished, you can view who made changes and when in the course's change log. To keep track of the different versions of courses your team is completing, you can also view which version of a course each user completed against the latest published version.
What you'll need
Publish a course
Select Training in the sidebar or select it in More.
If you're on the "Learn" page, click Content at the top of the page and select Courses.
You can choose how you want to view your courses by selecting between or on the upper-right of the page.
Select a course.
If the course is published, click Edit on the upper-right of the page.
Click Next: Set up on the upper-right of the page.
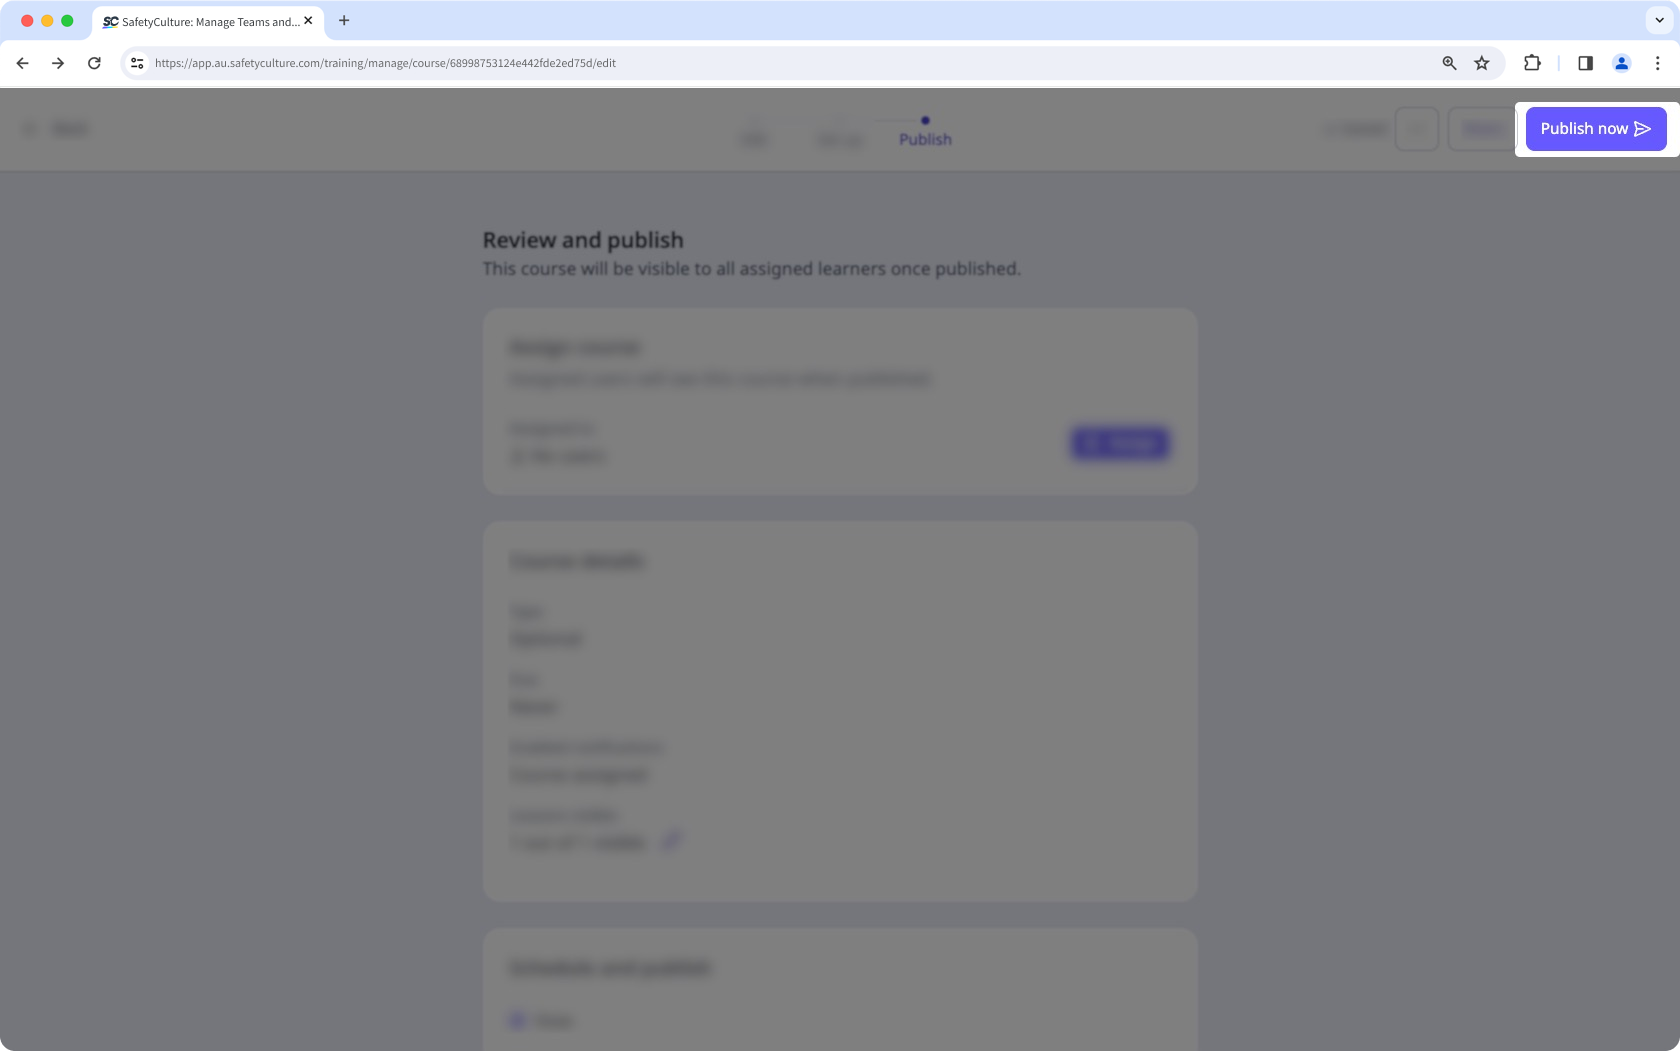
Click Next: Publish or Next: Republish on the upper-right of the page and review your publish settings:
Assigned to: Users, groups, or sites the course is assigned to.
Type: The type of the course.
Due: When the course is due after it's assigned.
Enabled notifications: Notifications users will receive for the course.
Lessons visible: Number of lessons users can see out of the total in the course. Click to update this setting.
Schedule and publish: Choose whether to publish the course now or later.
Once you're ready, click Publish now or Republish now on the upper-right of the page or Schedule now if you've set the course to publish later.
Revert a course to draft
Select Training in the sidebar or select it in More.
If you're on the "Learn" page, click Content at the top of the page and select Courses.
You can choose how you want to view your courses by selecting between or on the upper-right of the page.
Select a published course.
Click on the upper-right of the page and select Revert to draft.
Click Revert to draft in the pop-up window to confirm.
Reverting a course to draft will also hide the course from assigned users, even if they’ve started the course already.
How do course assignments work?
Depending on a course's context, we understand it may only be relevant to specific team members and perhaps time-sensitive. With course assignments, you can control who a course is available to, make it required for assignees, and even automatically assign courses at set intervals. There are two ways you can assign courses for your team:
Direct assignment
Assign courses to specific users, groups, sites, or everyone in your organization. This gives you full control and flexibility so you can roll out training exactly where it is needed.
Rule-based assignment
Use conditions based on user fields to assign courses. This way, when team members join, move, or change roles, they are automatically included by the rules so there is no need to reassign courses repeatedly.

Once you’ve chosen rule-based assignment, you can define the conditions using rules and operations. Here’s what’s available:
Rules and operations
You can assign courses using different rules and operations depending on the user field's data type.
Rule logic
The rule logic defines how rules are evaluated together, either requiring all rules to match or allowing any matching rule to apply. Only one combinator can be used to evaluate multiple rules at a time.
Combinator | Description | Example |
|---|---|---|
and | All rules must be true for a user to be added. | If "Start date" is after Jan 1, 2024; and If "Manager" is People Manager; and If "Shirt size" is Large; Only users who match all three of those rules will be added. |
or | A user only needs to match one or more of the rules to be added. | If "Start date" is after Jan 1, 2024; If "Manager" is People Manager; and If "Shirt size" is Large; Any user who matches at least one of those rules will be added. |
Text
You can add up to 250 values per rule.
Operator | Description | Example |
|---|---|---|
is | Matches if the user field is exactly the value you specify. | If Job role is "Customer Support", only users with that exact job role will be added. |
is not | Matches if the user field is anything except the value you specify. | If Job role is not "Customer Support", all users with a different job role will be added. |
contains | Matches if the user field includes the value you specify. | If Job role contains "Customer", users with roles like "Customer Support" and "Customer Success" will be added. |
does not contain | Matches if the user field doesn't include the value you specify. | If Job role doesn't contain "Customer", users whose job role doesn’t include "Customer" will be added. |
Values entered for the “Text” data type are case-sensitive.
Date
You can only select one value per rule.
Operator | Description | Example |
|---|---|---|
before | Matches if the user field is before the value you specify. | For example, if Hire date is before "January 1, 2024", users hired before that date will be added. |
after | Matches if the user field is after the value you specify. | For example, if Hire date is after "January 1, 2024", users hired after that date will be added. |
is | Matches if the user field is exactly the value you specify. | For example, if Hire date is exactly "January 1, 2024", users hired on that date will be added. |
is not | Matches if the user field is anything except the value you specify. | For example, if Hire date is not "January 1, 2024", users hired on any other date will be added. |
User
You can select up to 250 values per rule.
Operator | Description | Example |
|---|---|---|
is | Matches if the user field is exactly the value you specify. | For example, if Manager is "John Doe", users with that exact manager will be added. |
is not | Matches if the user field is anything except the value you specify. | For example, if Manager is not "John Doe", users with any other manager will be added. |
Multiple choice
You can select up to 250 values per rule.
Operator | Description | Example |
|---|---|---|
is | Matches if the user field is exactly or one of the values you specify. | For example, if Shirt size is "Small" and "Medium", users with "Large" won't be added. |
is not | Matches if the user field is anything except the value(s) you specify. | For example, if Shirt size is "Large", users with other sizes will be added. |
Rapid Refresh quiz assignments are only available to organizations on Premium Plan or Enterprise Plan. If your organization is on the Free Plan, the quizzes you create are available to all users by default.
What you'll need
Assign a course
Select Training in the sidebar or select it in More.
If you're on the "Learn" page, click Content at the top of the page and select Courses.
Hover your cursor over the course and click View. If the course needs to be published, consider publishing it first before assigning it.
Click Assign on the right-hand side of the page.
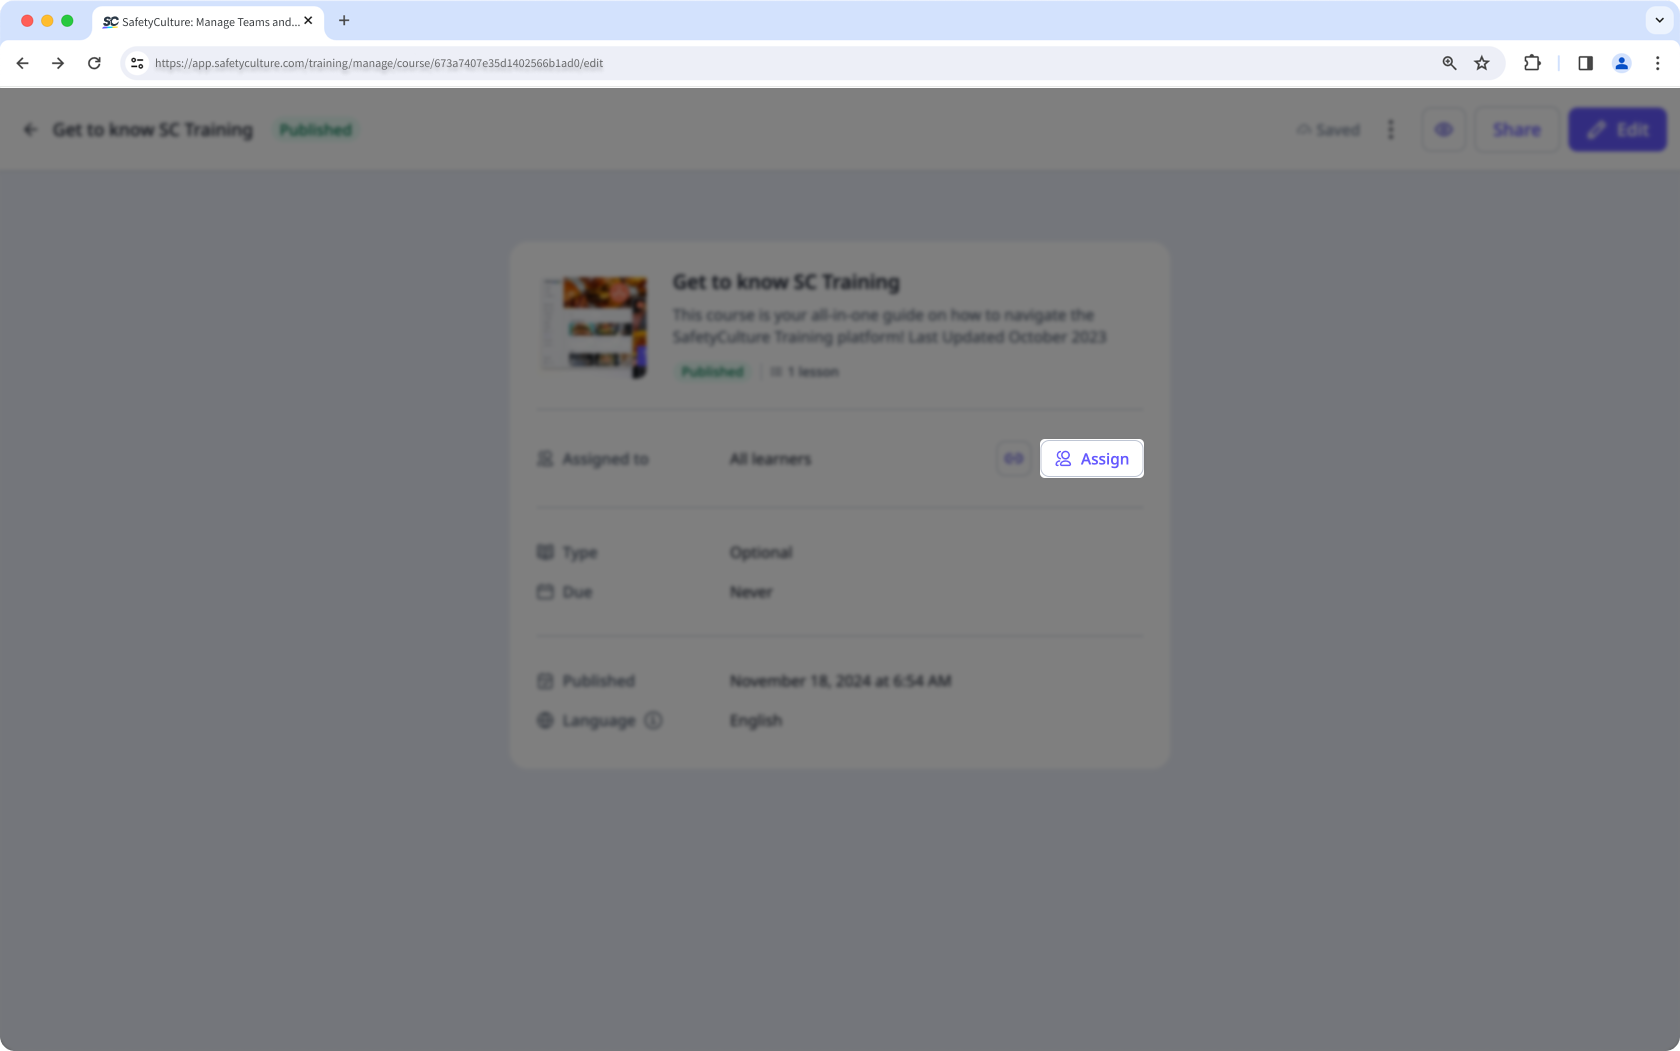
In the pop-up window, select who you want to assign the course to:
Click Save.
Click
 next to Assign to share the course's link or QR code with users.
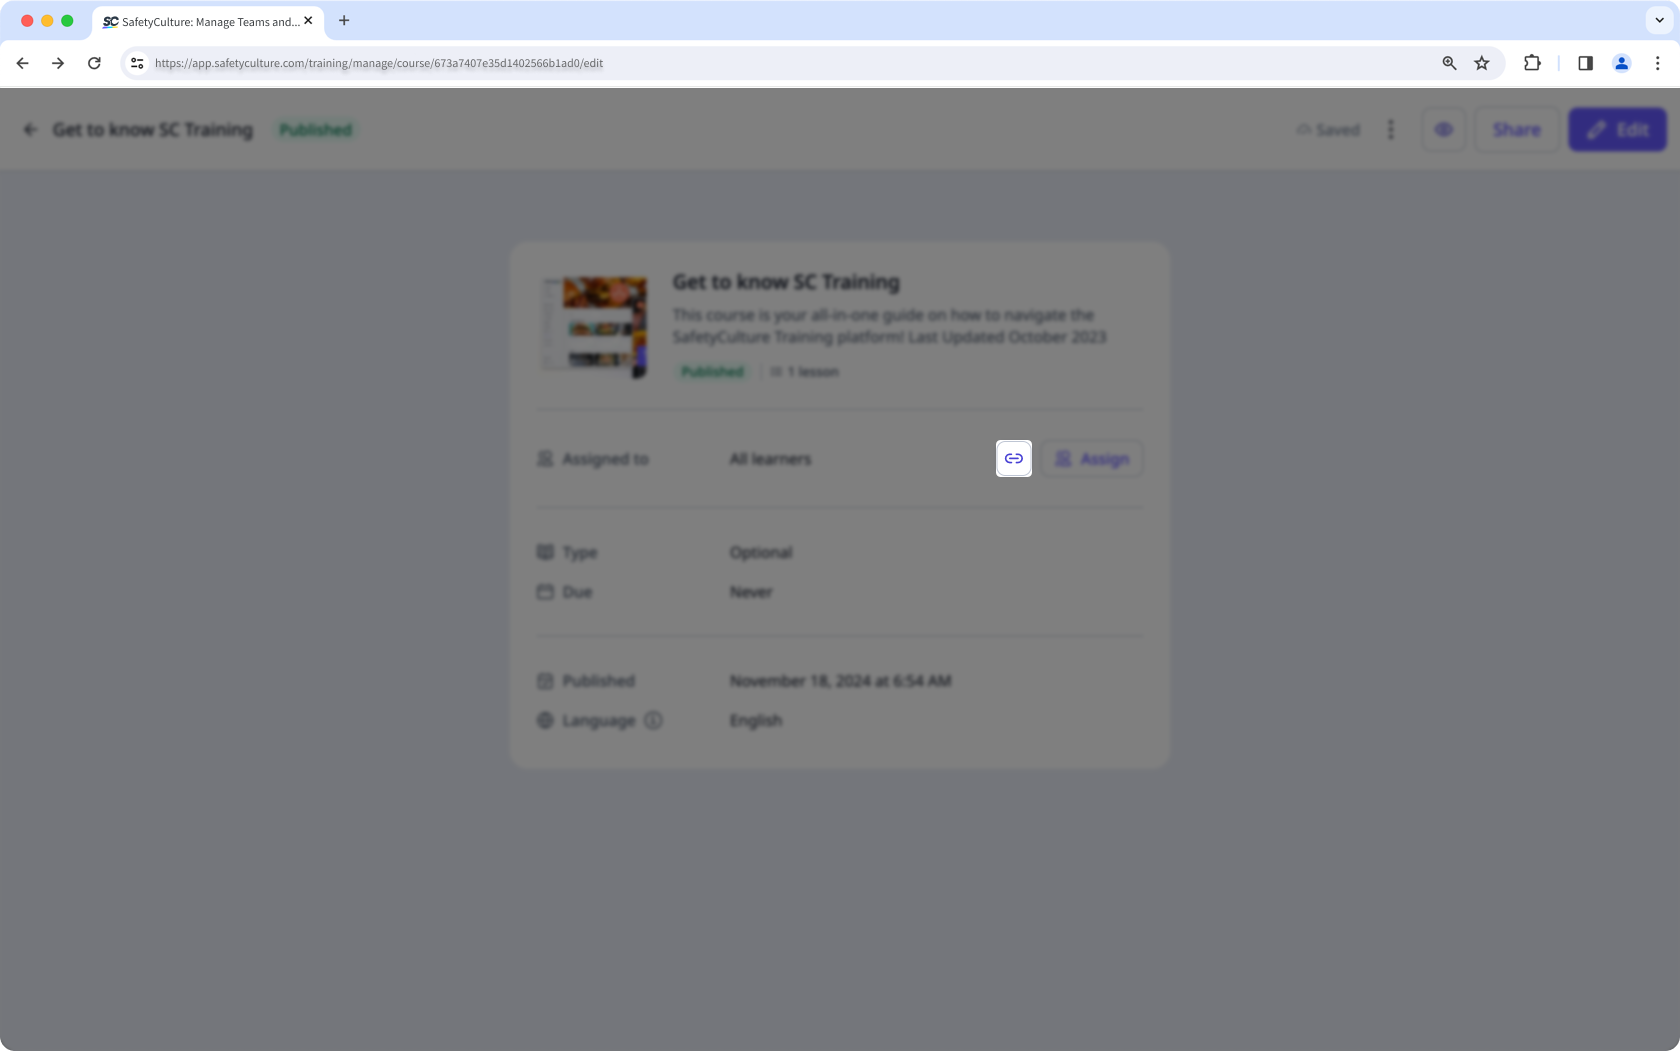
When assigning courses, you can also update its course type:
Optional: A course can be completed at any time.
Mandatory: A course must be completed before a due date.
Recurring: A course is designed to be completed repeatedly on a schedule.
Assign a Quiz
Select Training in the sidebar or select it in More.
If you're on the "Learn" page, click Content at the top of the page and select Quizzes.
Click on the right-hand side of the Quiz and select Edit.
In the "Quiz Summary" section, click Assign.
In the pop-up window, select who you want to assign the quiz to:
All users: Turn Universal Access on to assign the Quiz to all users in your organization.
Only selected: Turn Universal Access off to assign the Quiz to selected groups (opens in new tab), or sites (opens in new tab).
Click on the upper-right of the pop-up window.
If the Quiz is in draft, click Schedule quiz on the upper-right of the page and configure your Quiz schedule and settings accordingly.
What are course briefcases?
Course briefcases let you upload supporting files such as images, videos, and documents alongside a course to provide additional context for training. This is useful when you have reference materials that help users understand or apply what they’re learning, but don’t need to sit directly within a lesson. You can also set prerequisites so files stay locked until specific lessons are completed. This keeps courses focused and easy to follow while making sure users have access to the supporting information they need to complete their training.
What you'll need
Add a file to a course's briefcase
Select Training in the sidebar or select it in More.
If you're on the "Learn" page, click Content at the top of the page and select Courses.
Hover your cursor over the course and click View or Edit.
If you're viewing an existing published course, click Edit on the upper-right of the page.
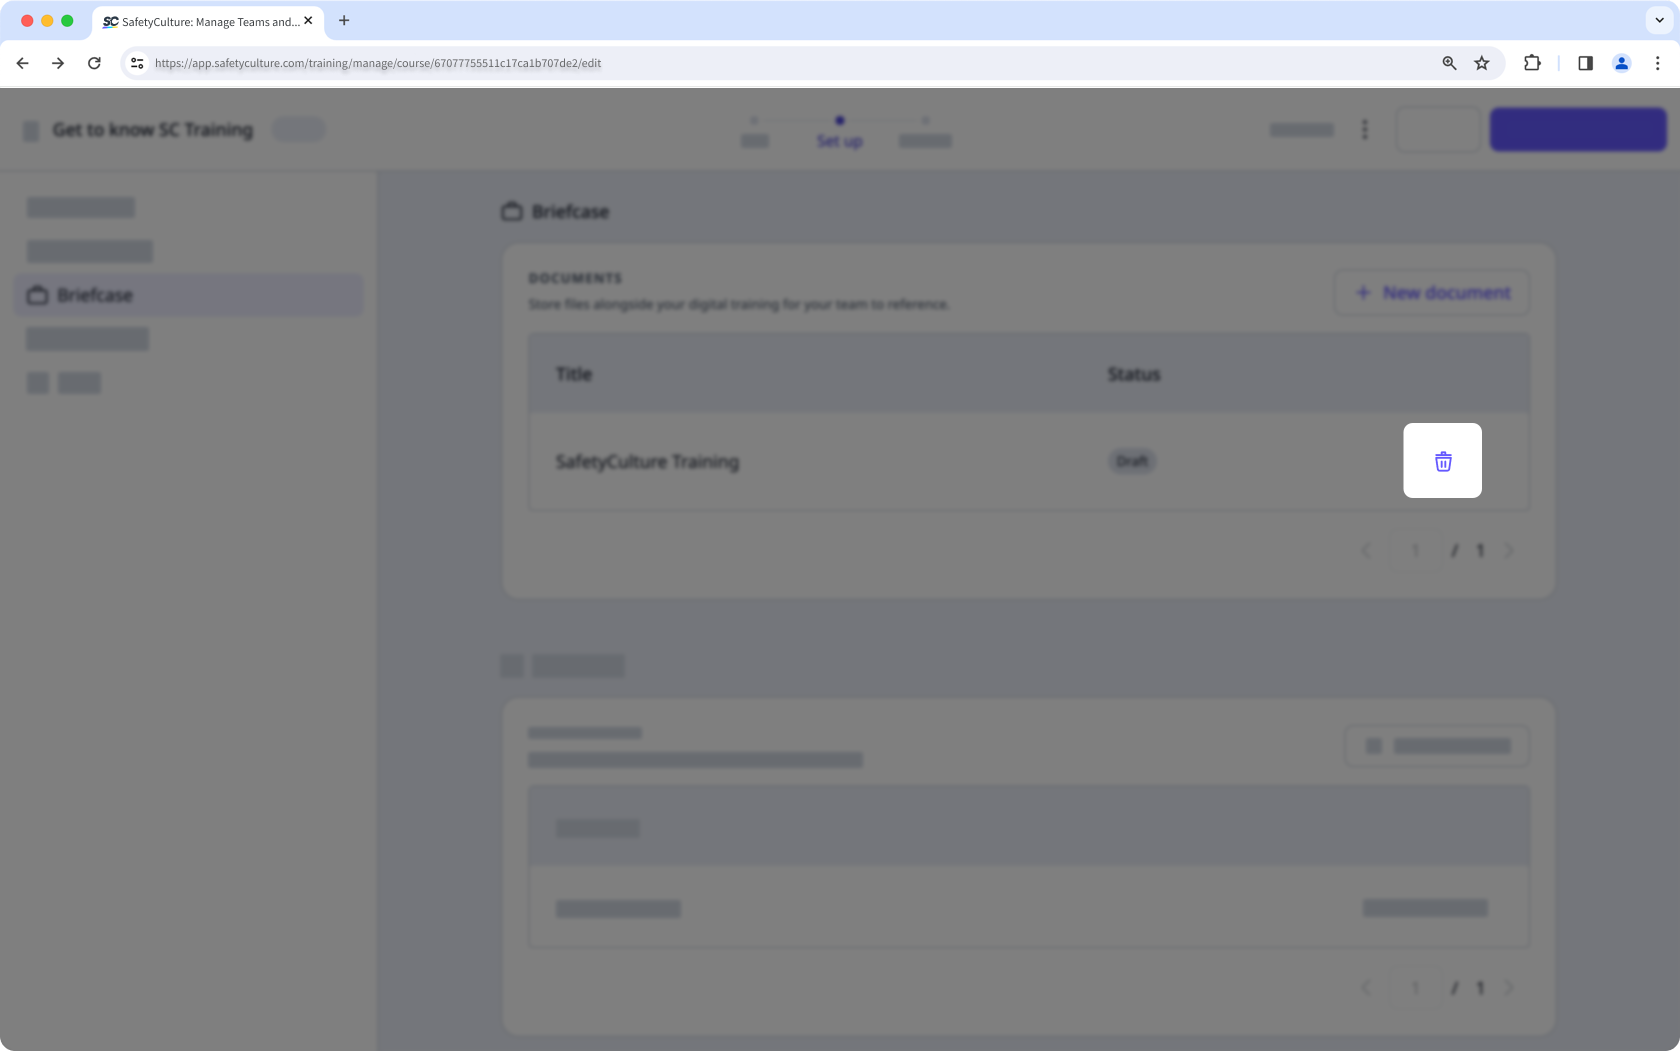
Select Set up at the top of the page and select
 Briefcase on the left-hand side.
Click New document.
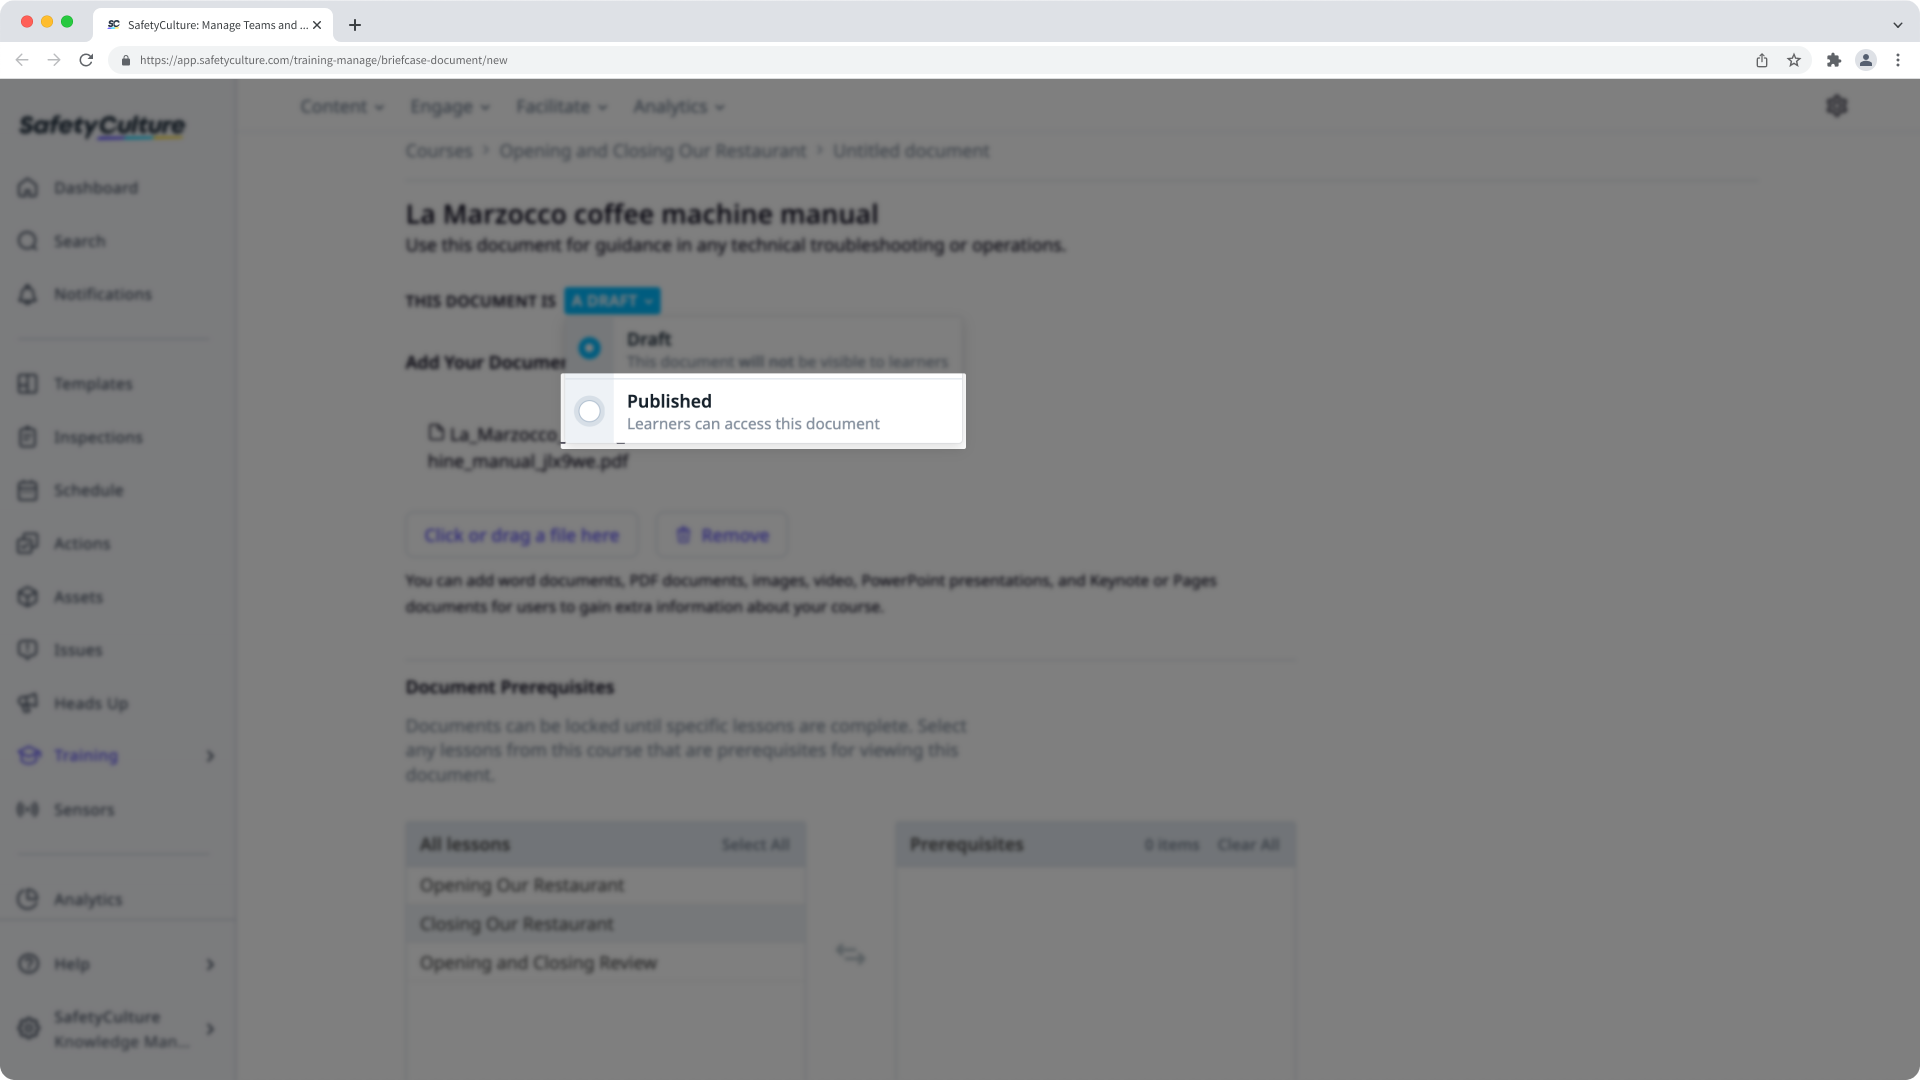
On this page, configure the following settings for the file:
Title (required): Enter a title for the file.
Description: Describe the purpose of the file.
Add Your Document (required): Upload your file. You can upload a supported file of up to 60MB in size.
Document Prerequisites: Depending on the file's content, you can set it to be locked until selected lessons are completed in the course.
Once you're ready, click the "A DRAFT" dropdown menu and select Published.
Changes are saved automatically.
Delete a file from a course's briefcase
Select Training in the sidebar or select it in More.
If you're on the "Learn" page, click Content at the top of the page and select Courses.
Hover your cursor over the course and click View or Edit.
If you're viewing an existing published course, click Edit on the upper-right of the page.
Select Set up at the top of the page and select
Briefcase on the left-hand side.Click on the file's right-hand side.
In the pop-up window, click Delete.
What is considered completion for courses and lessons?
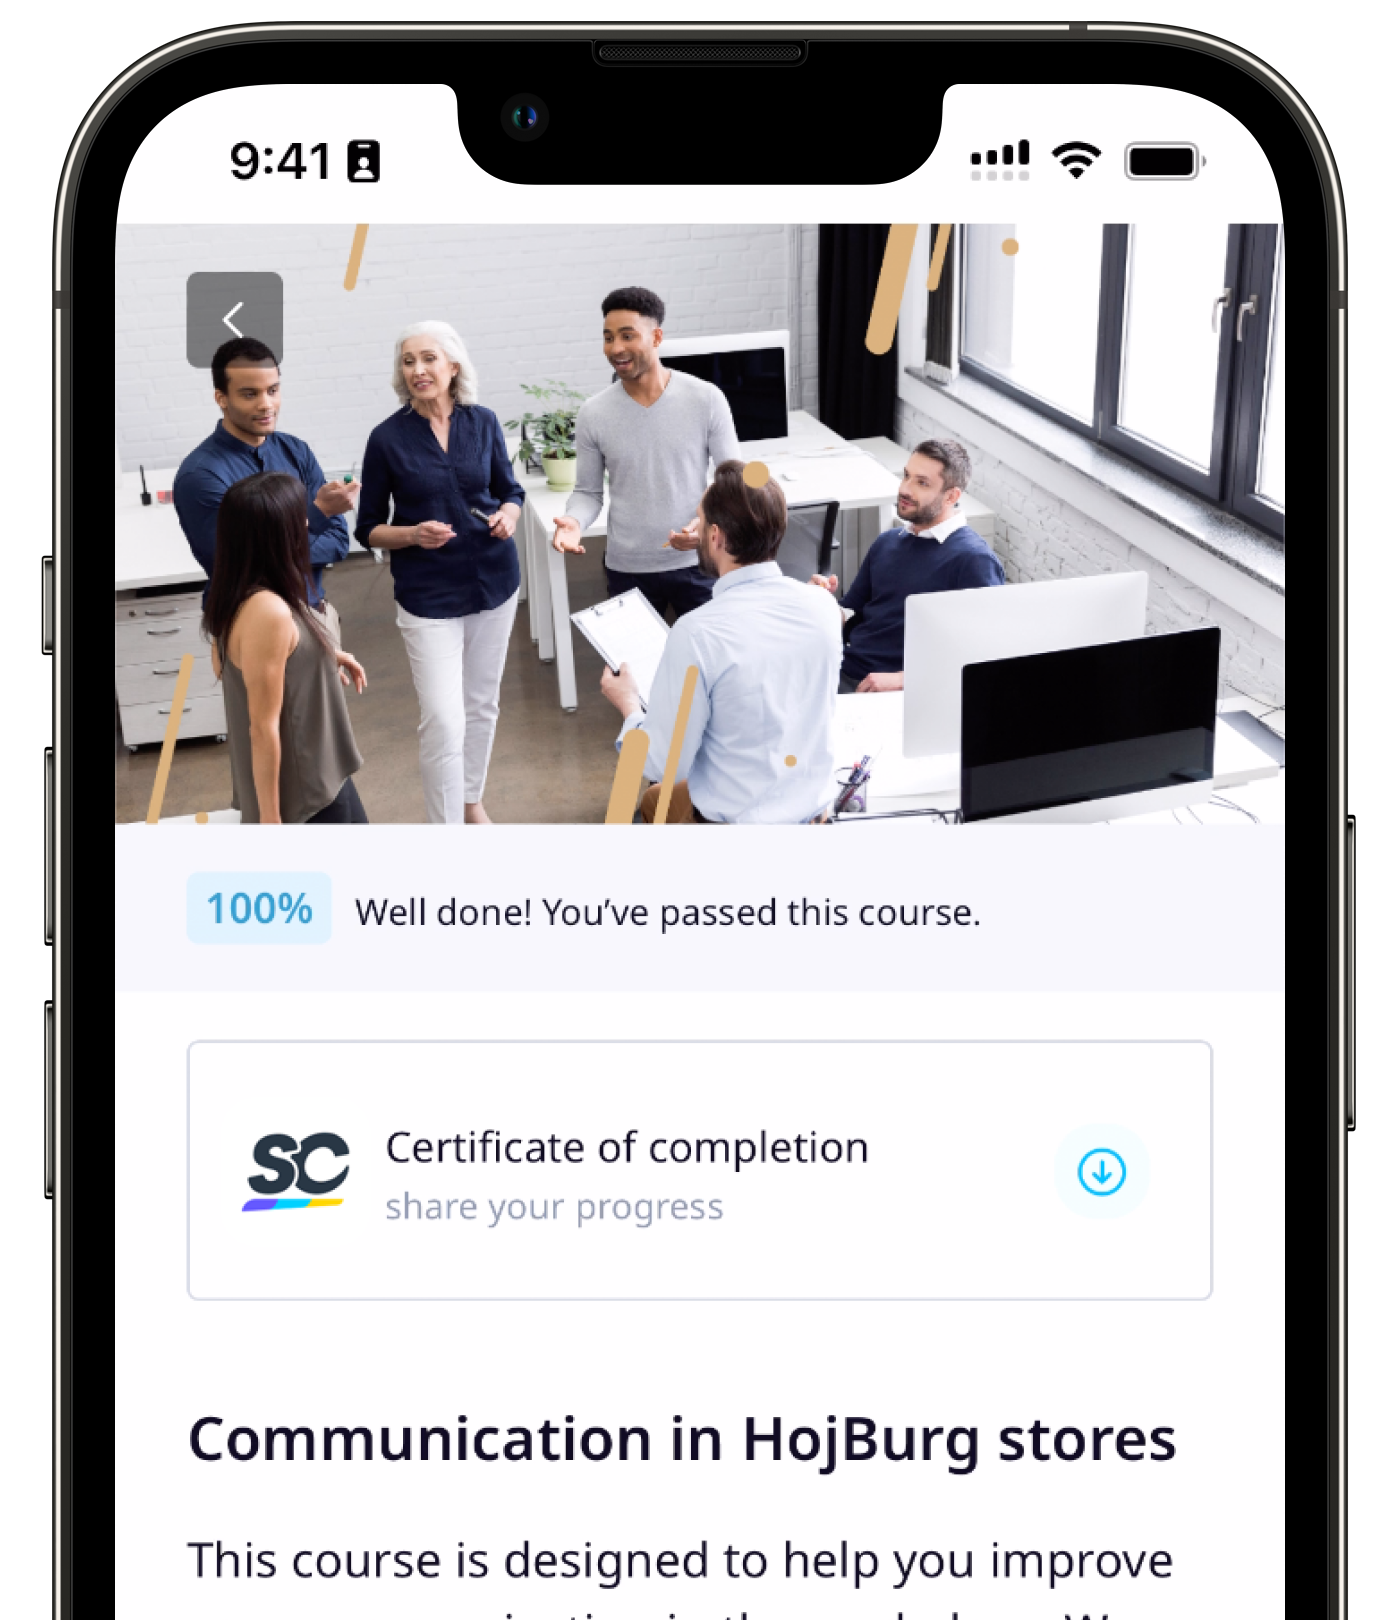
Completion is an important part of the Training feature as it allows you to track your team’s learning progress. To give you confidence that your team is completing their assigned training and help them improve, each course and lesson can be configured to expect certain requirements before it can be considered complete. To reward completion, each user can also receive achievements and completion certificates for their effort.
What you'll need
Manage a course's completion settings
Select Training in the sidebar or select it in More.
If you're on the "Learn" page, click Content at the top of the page and select Courses.
Hover your cursor over the course and click View or Edit.
If you're editing an existing course and it's published, click Edit on the upper-right of the page.
Select Set up at the top of the page and then select Completion on the left-hand side.
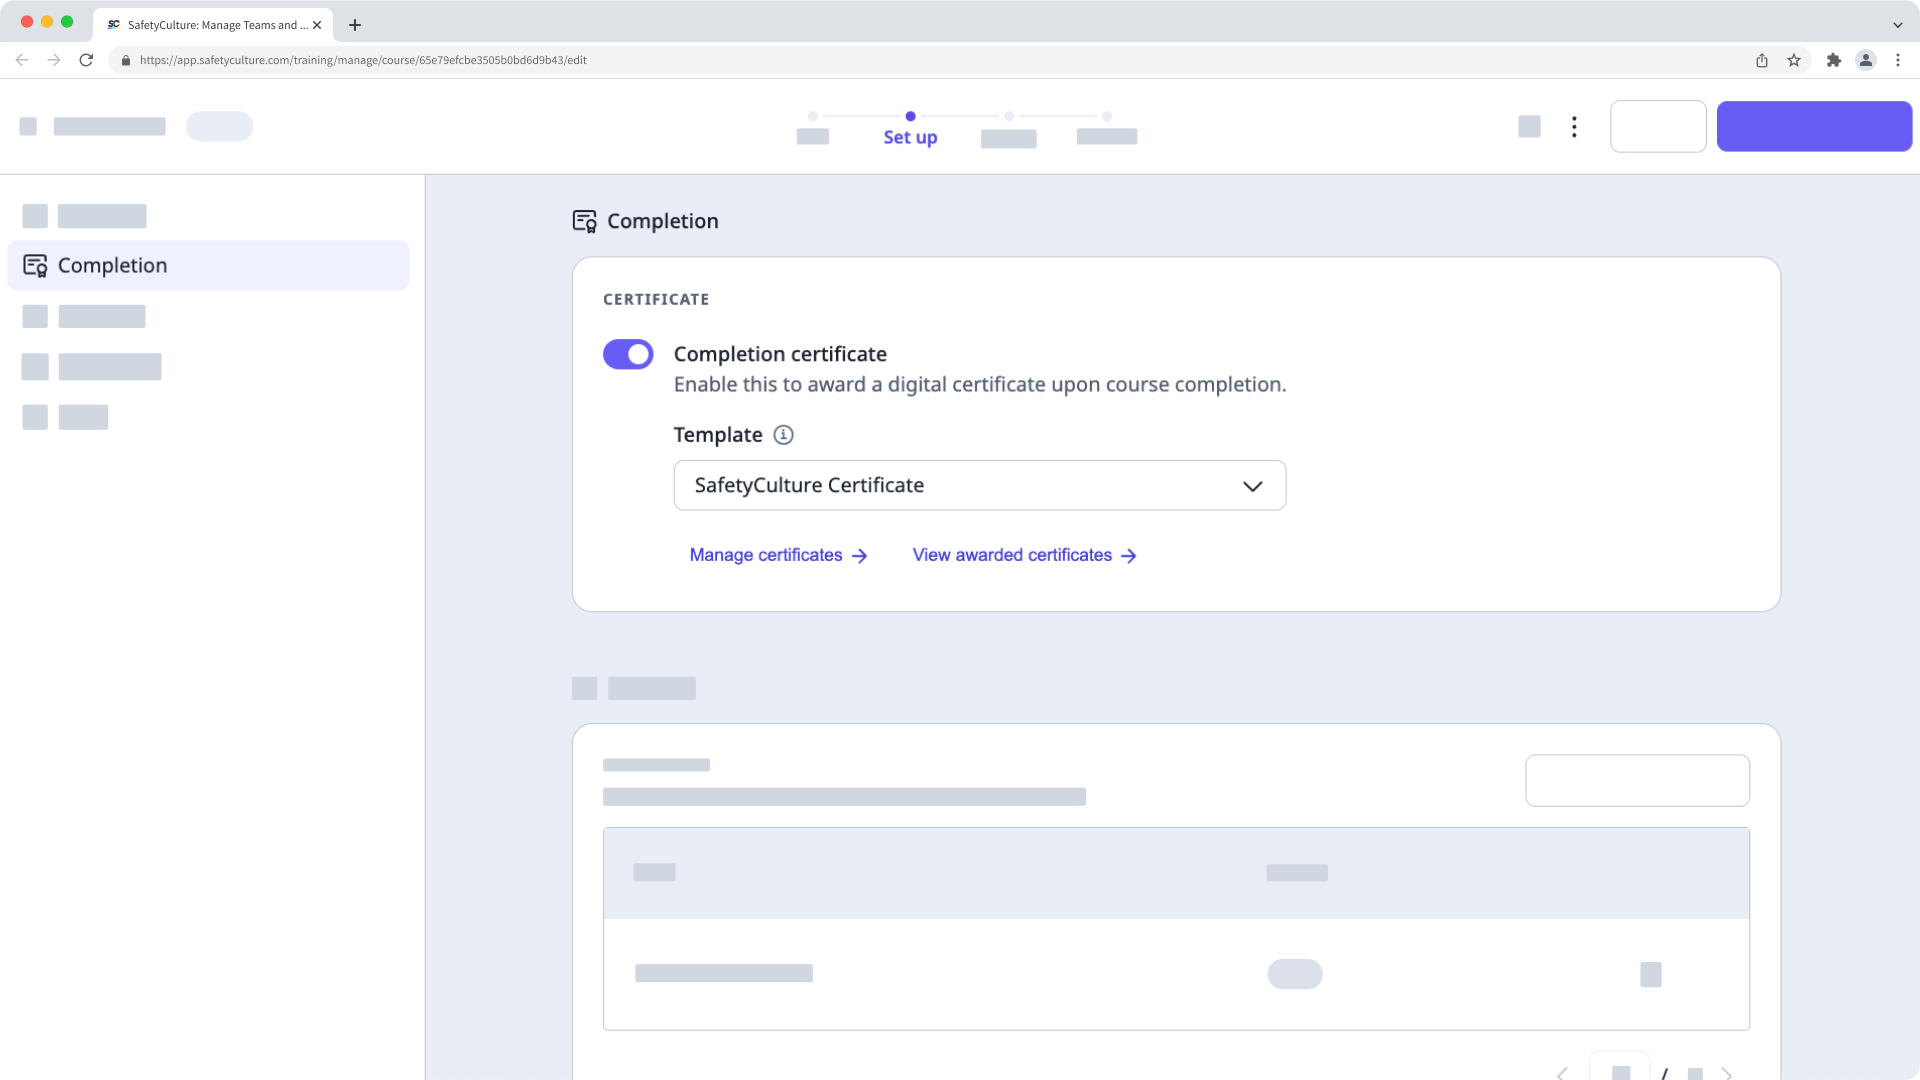
In this section, you have the option to select whether to provide completion certificates or not. If "Completion certificate" is turned on, you can choose which certificate template you want to apply.
Custom completion certificates are only available to organizations on Premium Plan or Enterprise Plan.
Manage a lesson's completion settings
Select Training in the sidebar or select it in More.
If you're on the "Learn" page, click Content at the top of the page and select Courses.
Create a new course or click View or Edit on an existing one.
If you're editing an existing course and it's published, click Edit on the upper-right of the page.
Create a new lesson or click on the standard lesson and select Settings.
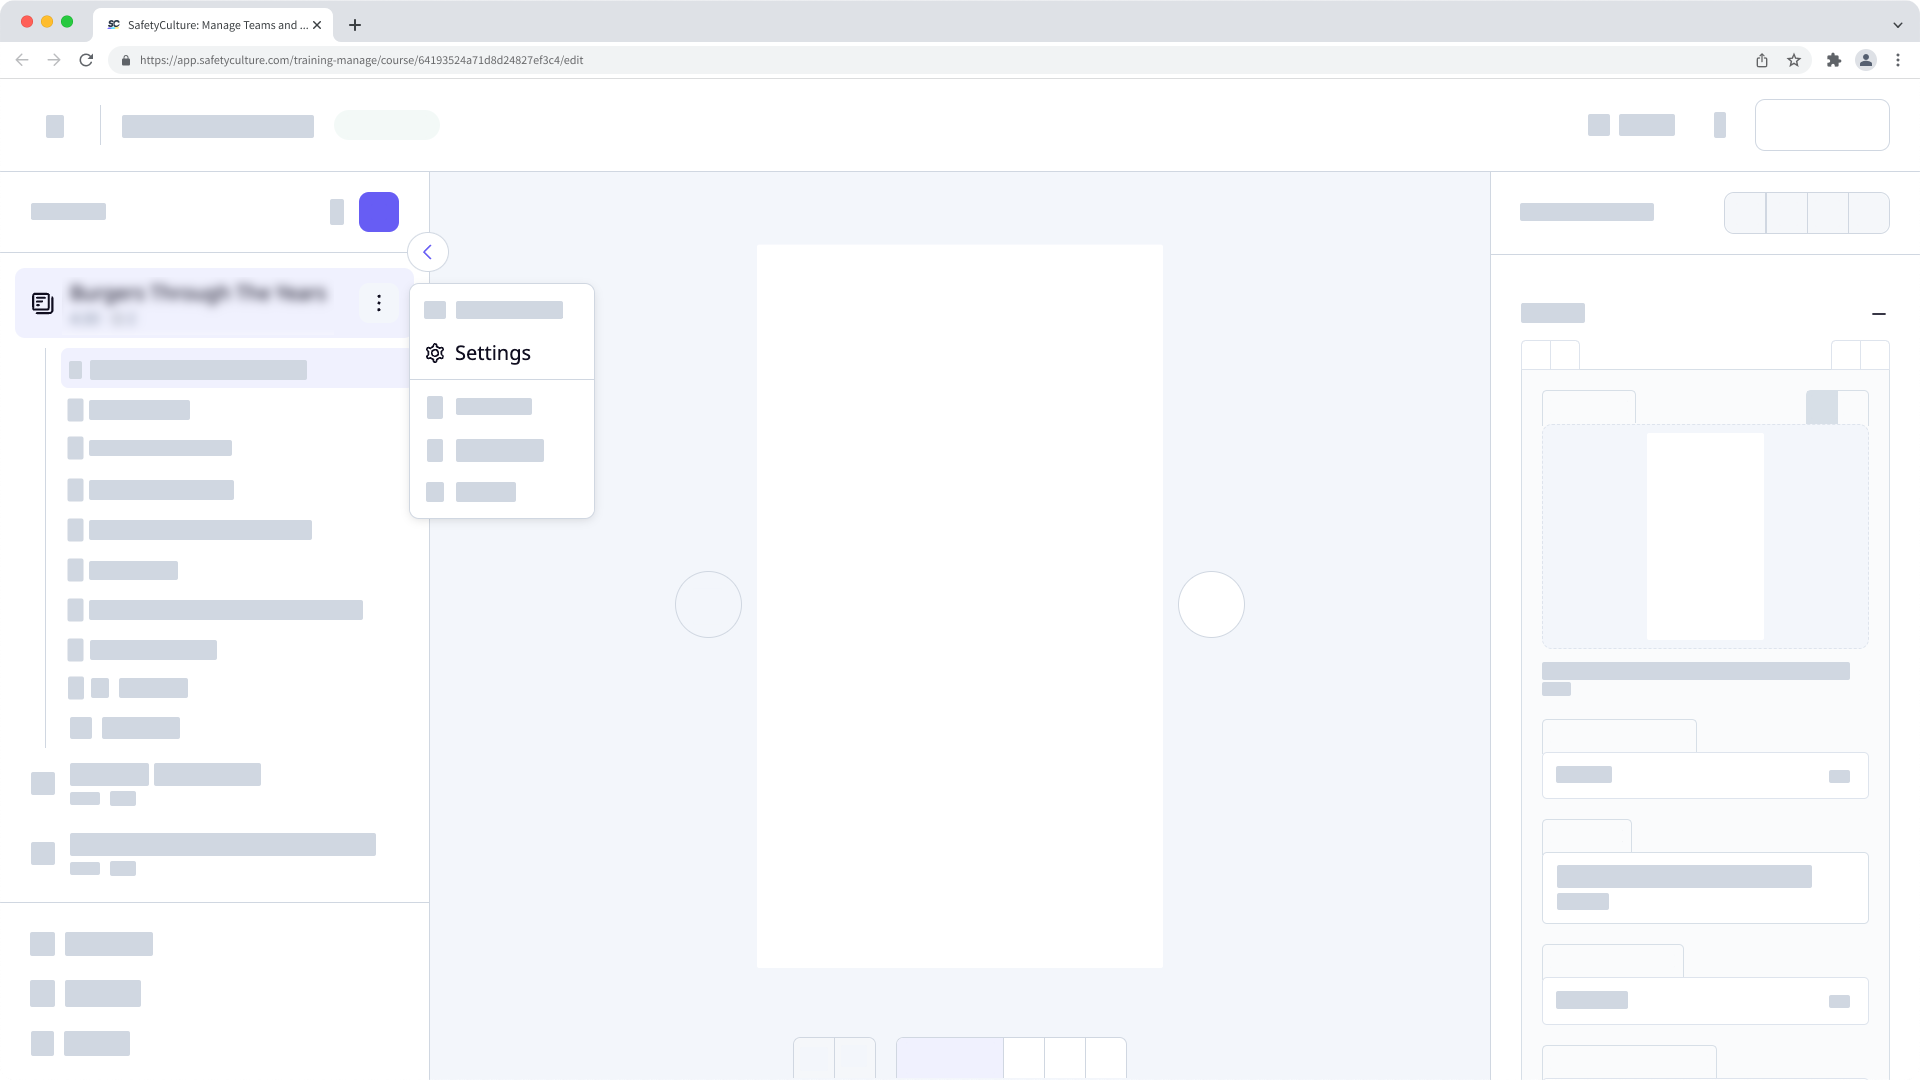
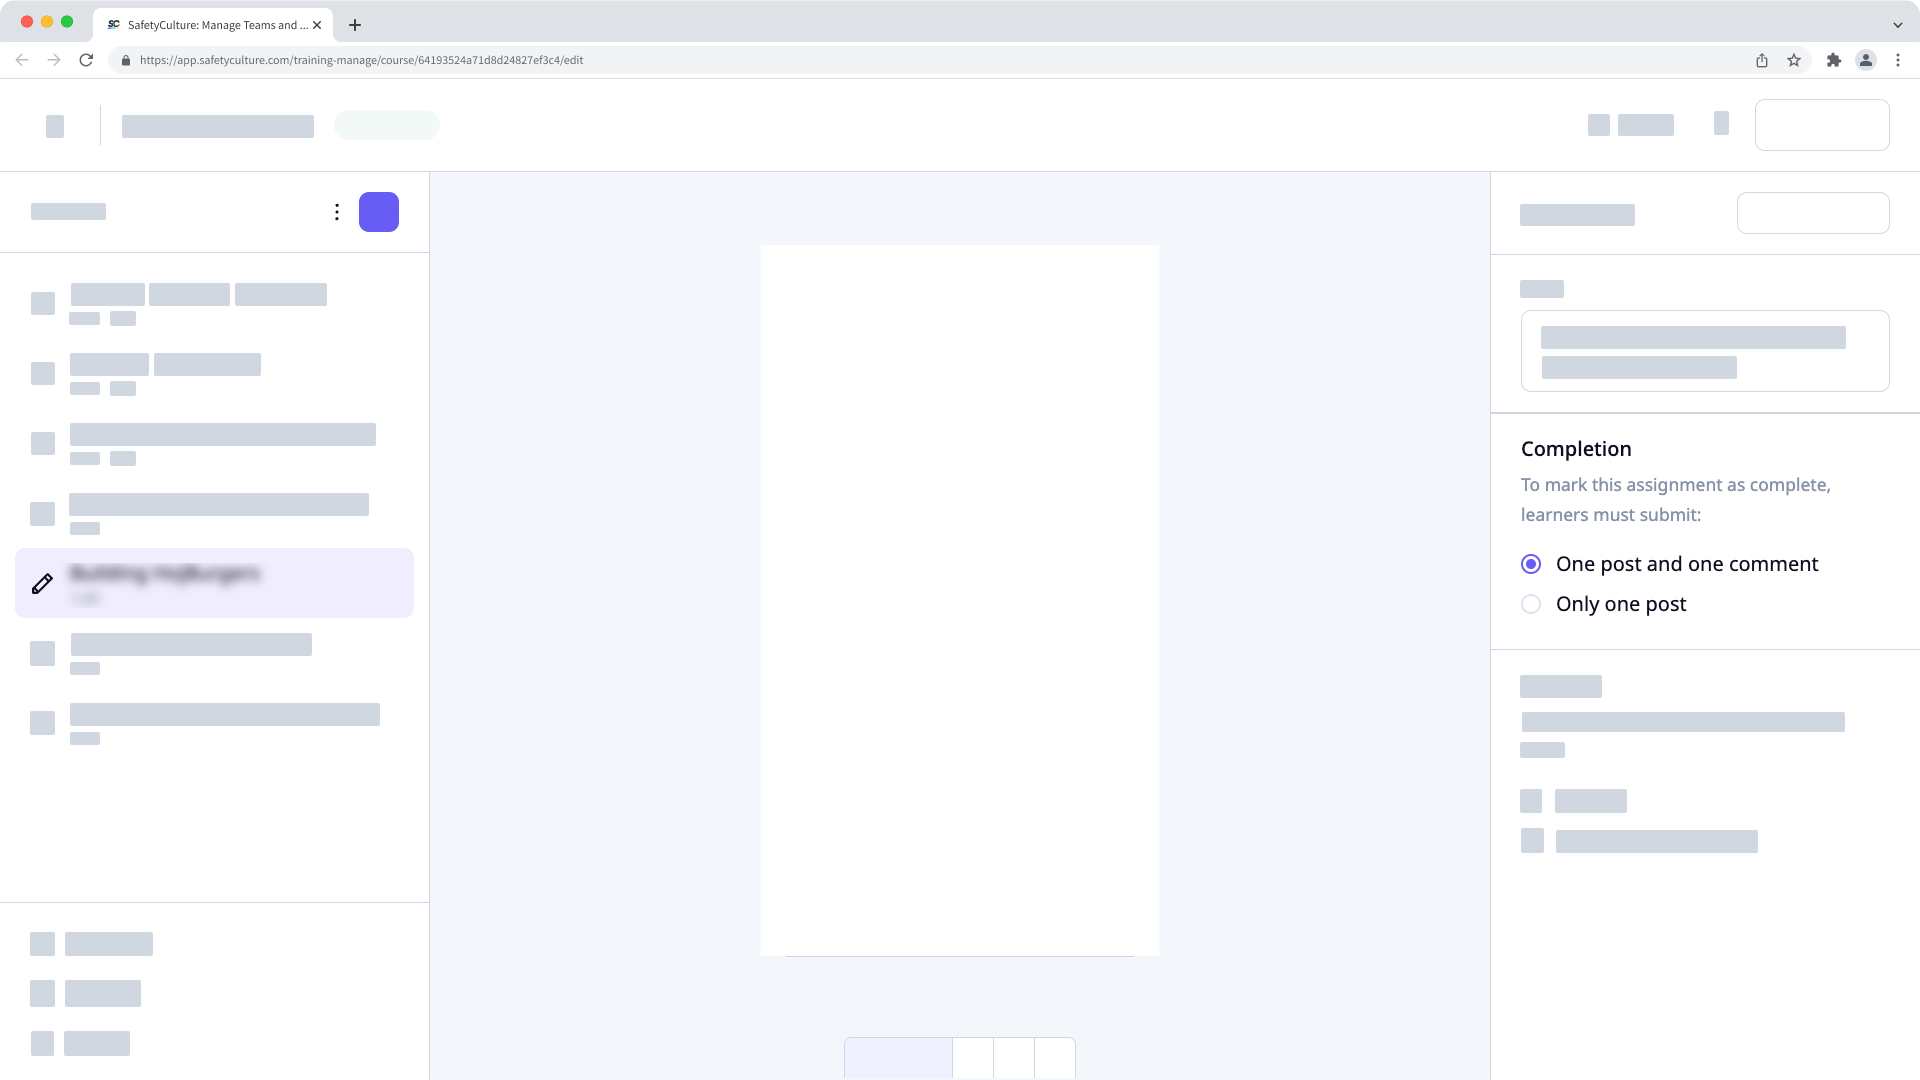
In the pop-up window, select Completion.
In this tab, configure the following settings:
Require a minimum score: Select whether to require a minimum score to be achieved before a lesson can be completed or not.
Lock after completion: Select whether to lock the lesson once it's completed or not, meaning users won't be able to restart the lesson.


If your course is currently a draft, remember to publish it to make your changes available to your team.
Paths is no longer available for new users or existing users who haven’t used it before on both the web app and mobile app. Existing users who already use Paths will continue to have access to the feature.
You can create onboarding workflows instead to guide your workers through the training courses and required credentials they need to complete before starting their roles.
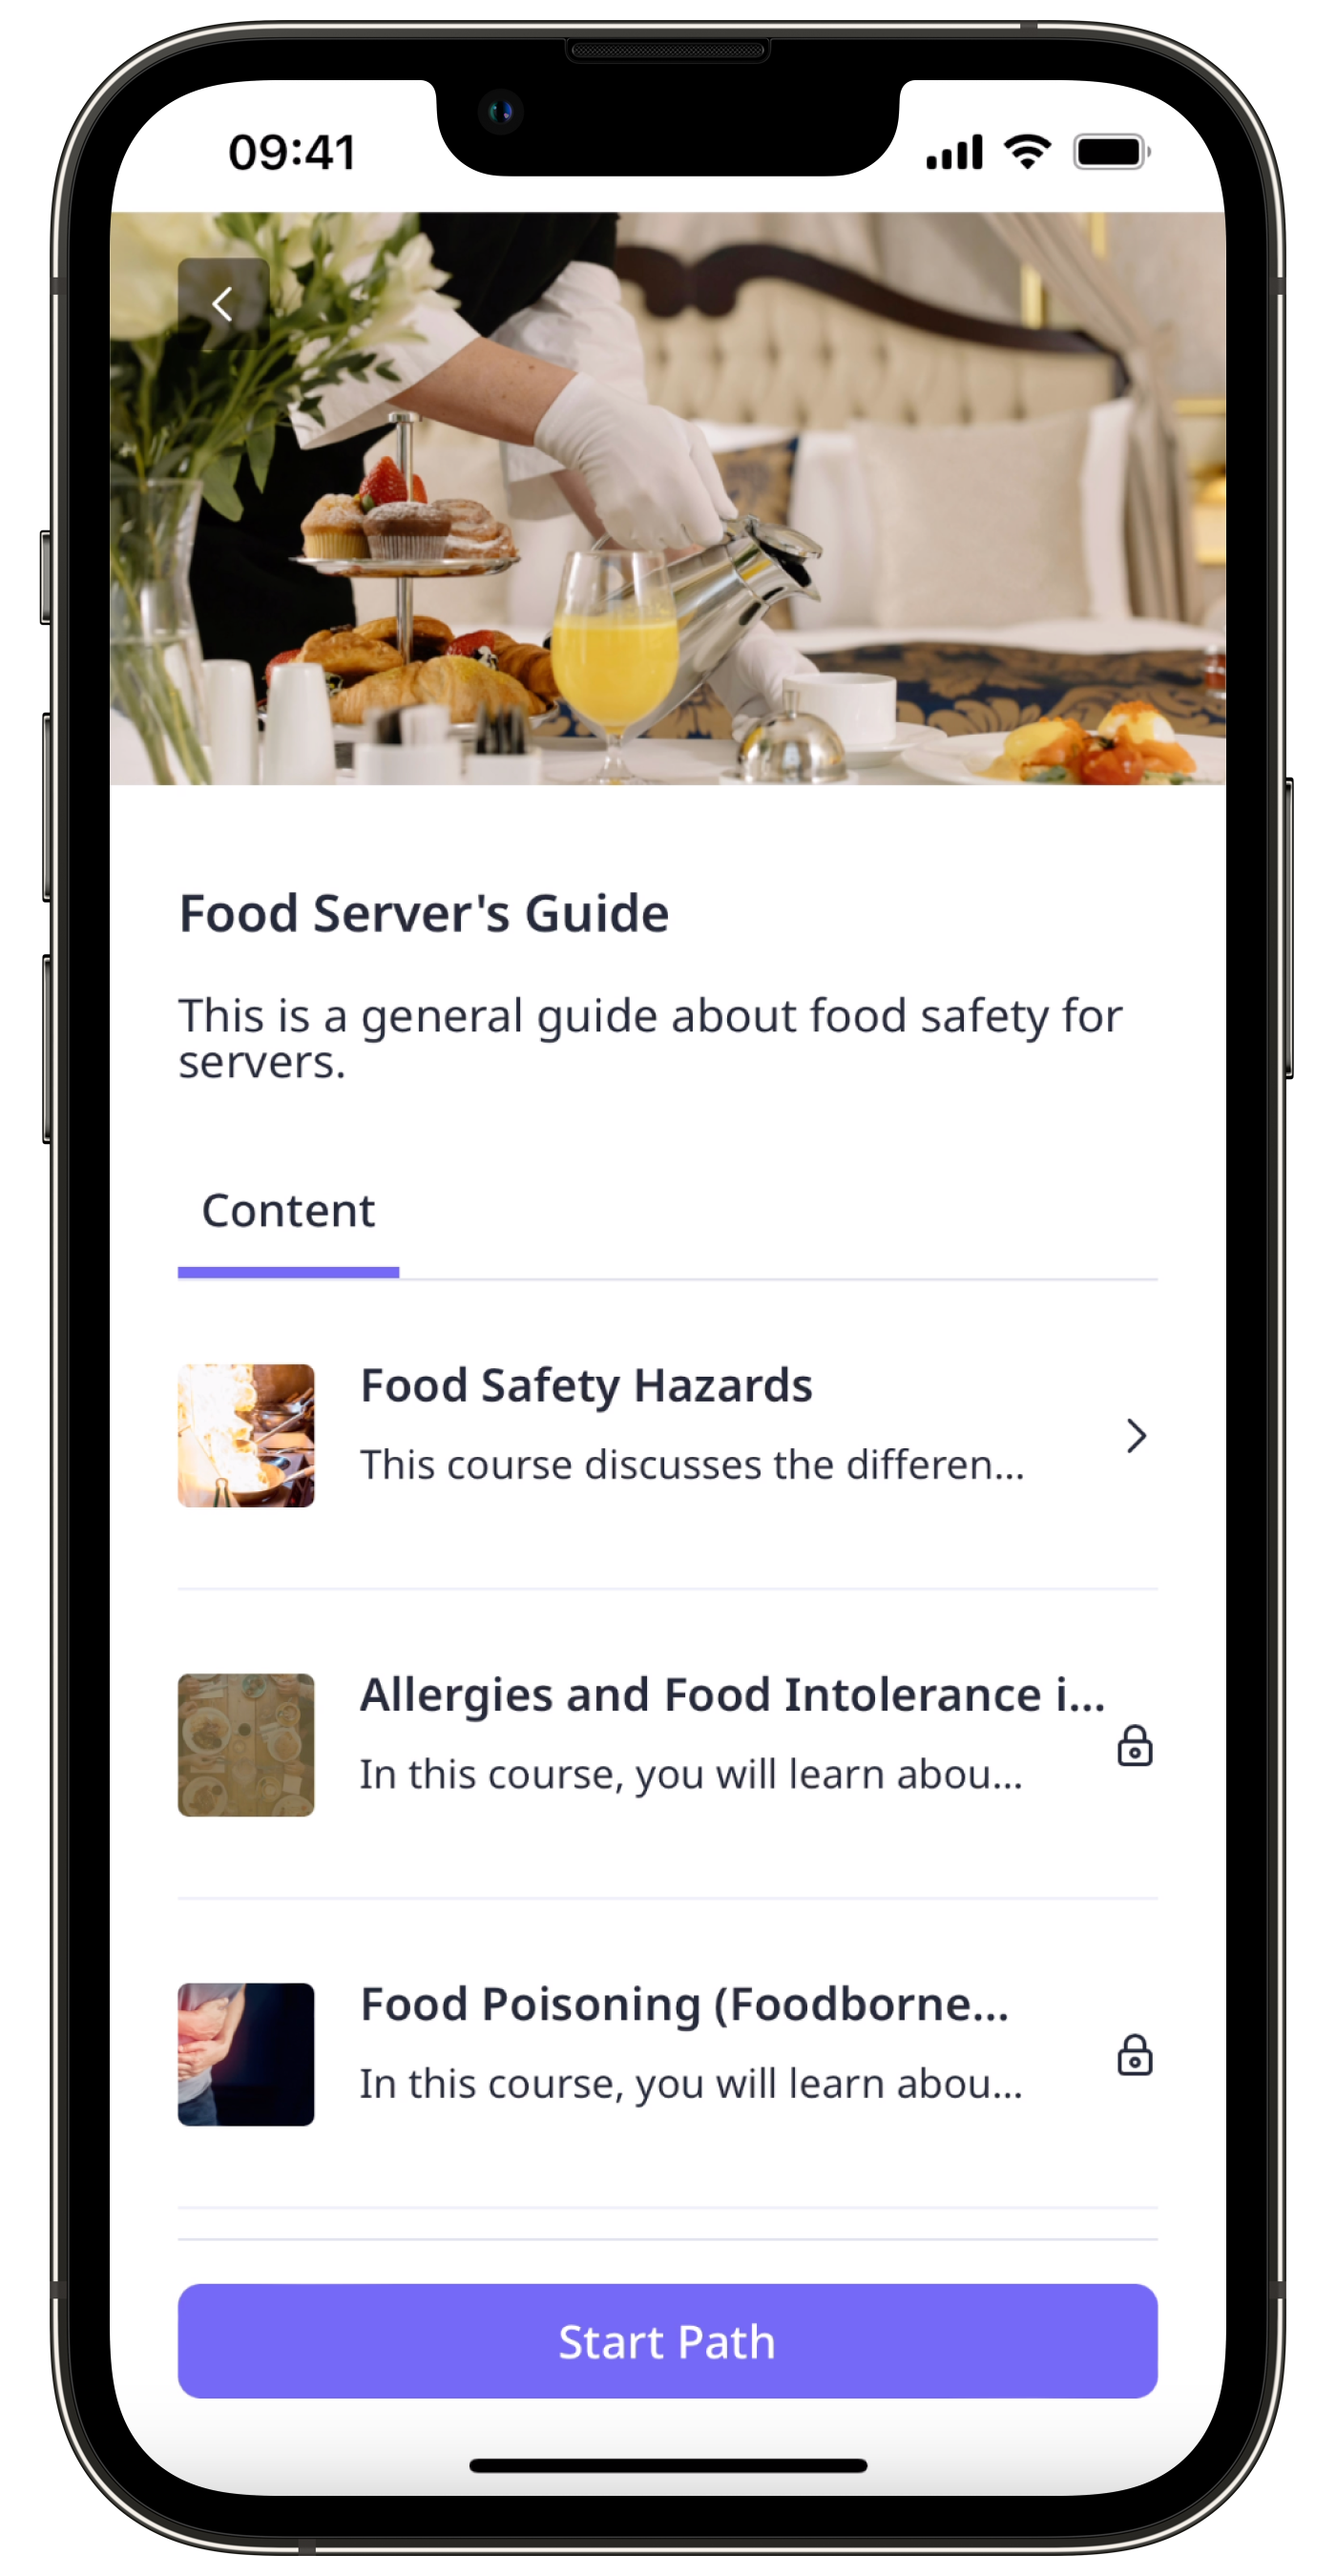
What are paths?
Paths are dedicated learning pathways within the Training feature that allow your team to be guided through a sequence of courses. Paths are a great way to facilitate higher success rates across learning programs with further guidance.
You can also try adding lesson prerequisites. These prerequisites are lessons that users have to take before they can take a certain lesson within the course.
What you'll need
Create a path
Select Training in the sidebar or select it in More.
Click Content at the top of the page and select Paths.
Click Create path on the upper-right of the page.
On this page, configure the following settings for the path:
Title: Enter a title for the path.
Path description: Enter a description for the path.
Courses: Click Add courses to select the courses to add to the path. You can also drag and drop the courses you’ve added into your preferred order.
Settings: Click Settings on the upper-right of the page to configure the path's access rules, branding, and translation.
Once you're ready, click the toggle below the description field to set it to "PUBLISHED", and click Save changes on the upper-right of the page.
Path settings
Enrollment: By default, paths you create are available to all users in your organization who can take training. You can uncheck Universal Access and make a path only available to selected groups and sites.
Branding: Customize your training paths to match your branding or the topic of the relevant courses.
Translations: By default, the path title, description, and completion message will only appear in the language you've entered. You can add translations to accommodate a multilingual team.
Order: Select whether the courses in the path should be completed in the order you've set or in any order team members prefer.
← Previous article: Convert training content (Part 2) | Next article: Test your SafetyCulture setup →