What are the differences between Briefcase and Documents?
In EdApp, Briefcase allows you to attach reference files and videos to a specific course so users can access them alongside their training. Documents is a central workspace for storing and managing files across your organization in SafetyCulture, independent of any single course.
Functionality | Briefcase | Documents |
|---|---|---|
Admin setup | Added by admins or authors from the Briefcase tab in a course Set Up page | Users with Autorisation « Documents : Administrateur » can create and manage files and folders |
Access control | Controlled by publish status and optional lesson prerequisites | Admins can assign view or edit permissions to users |
Platform availability | Admin portal (web) and learner's app (mobile) | Available on the web app and mobile app |
Bulk file upload | Unavailable | Files can be uploaded individually or in bulk |
Expiration dates | Unavailable | Admins can set expiration dates on files to keep content up-to-date |
File management | Dedicated Briefcase tab within a course | Folders and subfolders, with options to archive or move files |
File owners | Unavailable | Files have assigned owners to keep content up-to-date |
Supported file types and sizes | PDF, JPG, PNG, GIF, videos, PowerPoint, Keynote, and Pages documents up to 60 MB | DOCX, DOC, GIF, JPEG, JPG, PNG, WEBP, PDF, XLS, and XLSX up to 50 MB |
Integration with other features | Copied automatically when a course is copied | |
Offline access | Unavailable | Files can be made available offline |
QR codes | Unavailable | QR codes can be generated for files and folders |
Version control | Updated by uploading a new file, with no version history | Maintains version history, but previous versions can't be restored |
La fonctionnalité Porte-documents d'EdApp n'est pas disponible dans SafetyCulture. Pour stocker et gérer vos fichiers, utilisez plutôt Documents. Si vous utilisiez auparavant Briefcase pour partager des fichiers dans un cours, vous pouvez ajouter des fichiers directement à une diapositive pour les lier à un cours.
Ce dont vous aurez besoin
Ajouter un dossier
Select
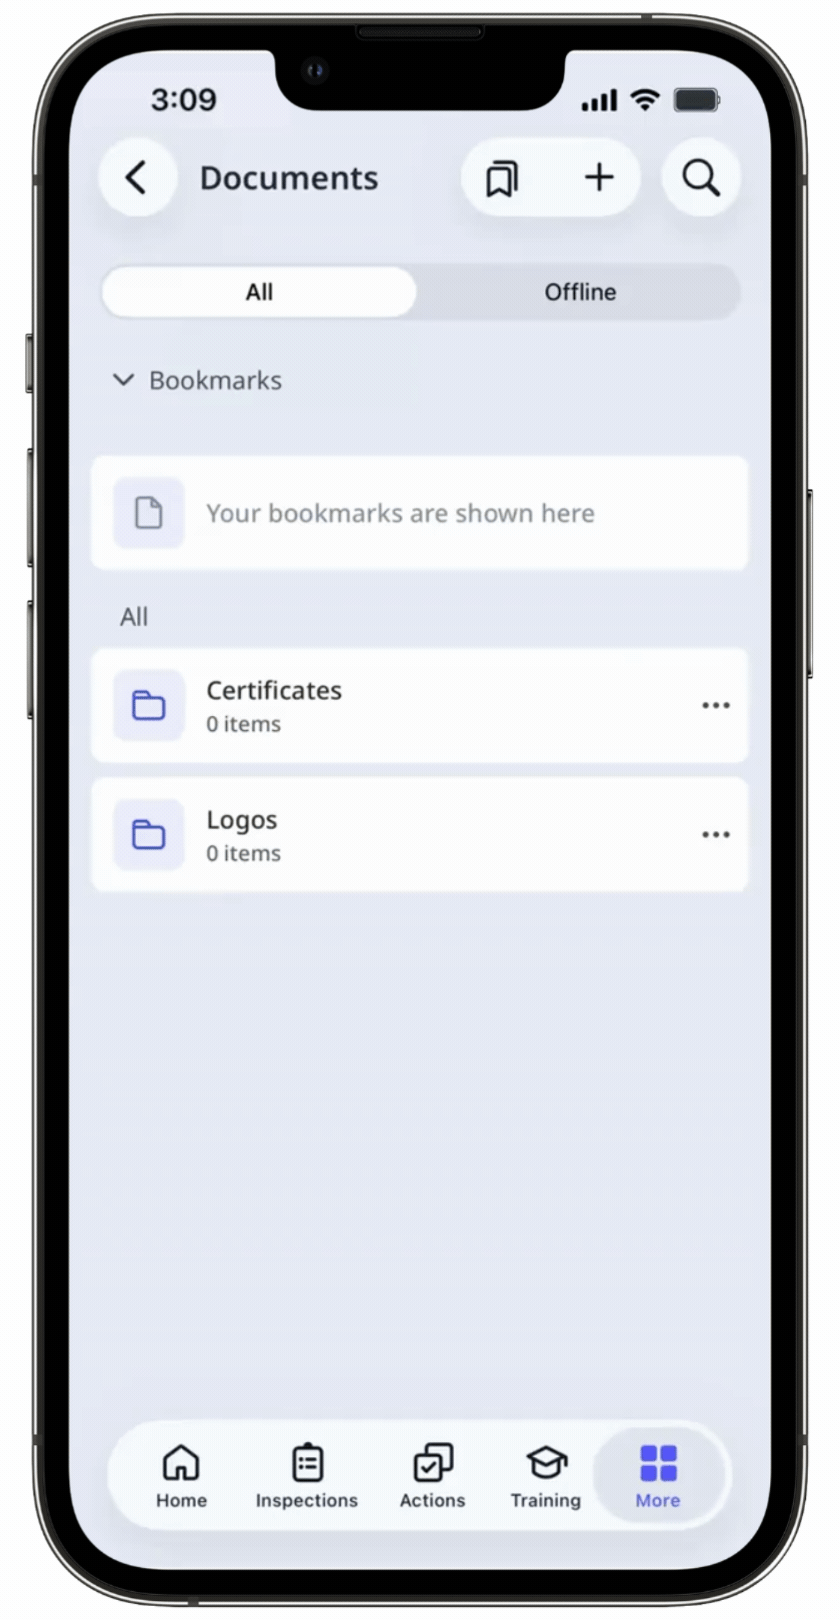
 Documents in the sidebar or select it in Plus.
Select a folder if you want to create subfolders in it.
Click Ajouter on the upper-right of the page.
Select Ajouter dossier.
In the pop-up window, enter the folder name and click Créer.
Ajouter un fichier
Select
Documents in the sidebar or select it in Plus.Select a folder if you want to add files in it.
Click Ajouter on the upper-right of the page.
Select
Ajouter un (des) fichier(s).Upload your file accordingly. Alternatively, you can drag and drop up to 100 files in one go.
Add or link files to a course
Select Formation in the sidebar or select it in Plus.
If you're on the "Learn" page, click Contenu at the top of the page and select Cours.
Create a new course or click Afficher or Modifier on an existing one.
If you're editing an existing course and it's published, click Modifier on the upper-right of the page.
Click on the upper-left and select Standard.
Click
 Nouvelle diapositive on the left-hand side of the page.
In the pop-up window, click Fichier and select Ajouter un fichier.
Click Parcourir in the "File" section on the right-hand side panel to select files.
In the pop-up window, choose whether to link an existing file from Documents or upload a new one:
To link a file: Click Associer, then select the file you want to link from Documents.
To upload a file: Click Télécharger, then drag your file or click parcourir to select it from your device. Select a folder from the dropdown, or create a new one, to save your file in Documents. Then, click Enregistrer ici.
Once you're ready, click Ajouter un fichier.
Vous pouvez importer des fichiers jusqu'à 100 Mo aux formats PDF, DOCX, DOC, XLS et XLSX.
Gérer l'accès à un fichier ou à un dossier
Sélectionnez
Documents dans la barre latérale ou sélectionnez-le dans Plus.Sélectionnez un dossier si vous souhaitez gérer l'accès à un fichier ou à un dossier qui s'y trouve.
Cliquez sur à droite du fichier ou du dossier et sélectionnez Gérer l'accès.
Dans la fenêtre contextuelle, recherchez et sélectionnez les groupes dans le menu déroulant.
Cliquer Ajouter la sélection.
Par défaut, chaque utilisateur ou groupe se voit attribuer le niveau d'accès « Afficher » au fichier ou dossier. Vous pouvez cliquer sur le menu déroulant à côté de chaque utilisateur ou groupe pour mettre à jour le niveau d'accès.
Cliquer Partager.