What is Training in SafetyCulture?
Training in SafetyCulture lets you create, assign, and track bite-sized courses so frontline and operational teams can learn as part of their day-to-day work. It’s designed for people on site, on the road, or in the field, where learning needs to fit into short breaks rather than extended time away from the job.
With Training, everything is managed in one place, with clear visibility into who has completed each course and when. Admins can build their own courses or start from the Training Library, then assign them to individuals or groups. They can also set up quizzes, practical assessments, and assignments to reinforce key information after a course is completed, and facilitate group training and discussions across teams.
This helps bring new starters up to speed, cover safety and compliance requirements, explain new procedures after an incident or process change, and share quick refreshers to people across multiple sites.
In the following sections, you'll learn how to effectively use the Training feature in SafetyCulture to enhance your team's training experience.
Training feature settings: Explore the customizable settings to tailor your training content to your organization's needs, including branding and completion certificates.
Create your training content: Follow detailed steps to create engaging and effective training content.
Publish and manage training content: Learn how to publish and efficiently manage your training materials to ensure they reach the right users.
We recommend reading this article if you intend to use the Training feature or are just curious about how your team can benefit from it. Know that you can always check it out when you're ready.
Learn how to create courses, manage users, engage your teams, and more at our free onboarding bootcamps. Sessions are run weekly by one of our customer success managers via Zoom.
1. Training feature settings
As you get started with the Training feature, it's beneficial to explore what you can customize, such as your organization's branding and completion certificates that you can award to your users.
What are course default themes?
Course default themes are customization options applied automatically to all new courses in your organization, unless a specific course or lesson theme is set. These themes help maintain consistency across your training materials by defining default colors, logos, and other visual elements.
What you'll need
Manage the course default theme
Select Training in the sidebar or select it in More.
Click Settings on the upper-right corner of the page.
Select Content and manage the following settings for your default theme:
Default color scheme: Configure the primary and secondary colors and fonts. We recommend that you use contrasting colors.
Default logo: Upload a logo to use in your courses. We recommend that you use an image that's 40 x 40 pixels.
Default background: Upload a background to use in your courses. We recommend that you use an image that's 1200 x 600 pixels.
Default CSS: Check the box to add custom CSS code to your courses.
Changes are saved automatically.
What are course and lesson themes?
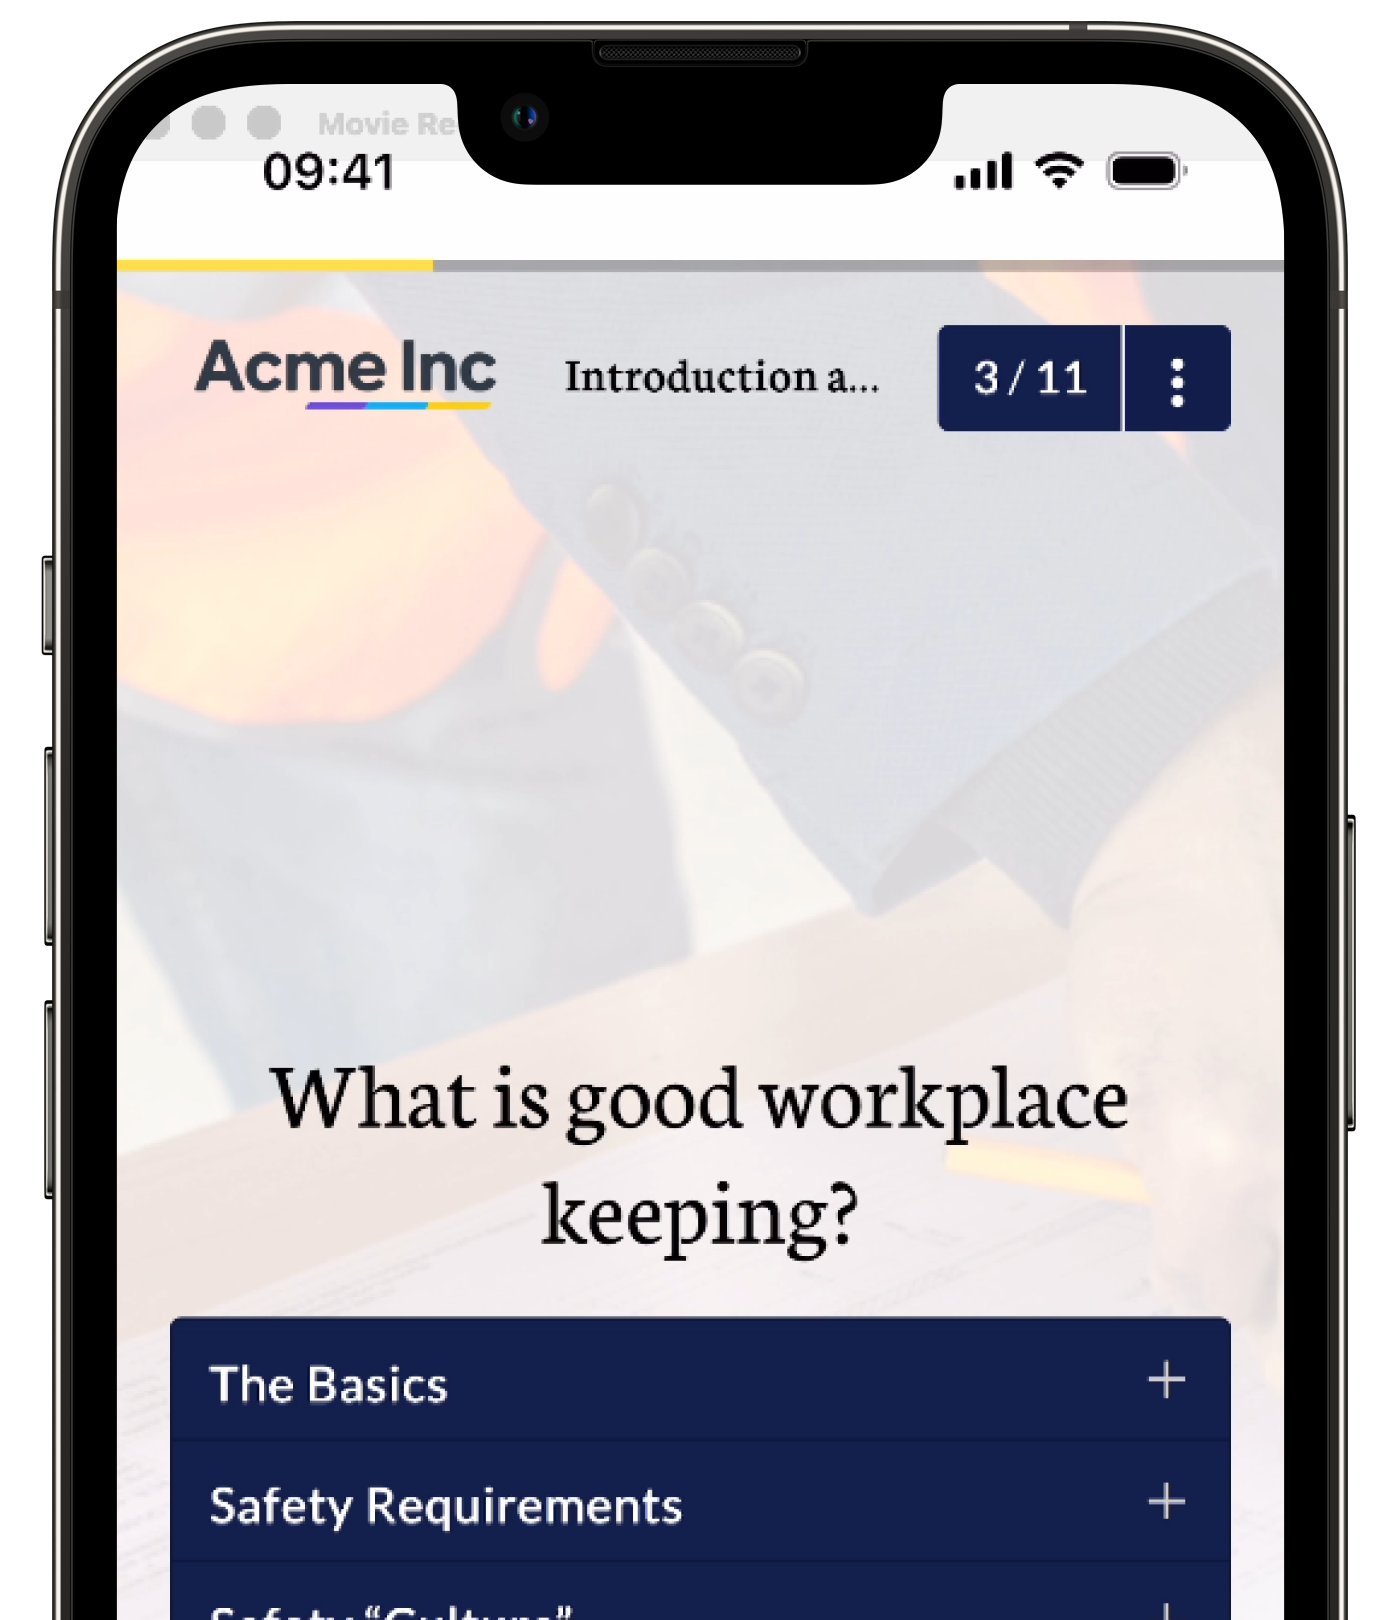
Course and lesson themes allow you to customize individual courses and lessons beyond the default theme to make the learning experience even more engaging for your teams. From selecting color schemes to adding logos, you can create visually stunning courses that help distinguish between companies, sub-brands, and topic groupings.

What you'll need
Please note that theme customization options are limited for "Discussion", "Assignment", "Practical", and "Meeting" lessons.
Manage the theme for a course or lesson
Select Training in the sidebar or select it in More.
If you're on the "Learn" page, click Content at the top of the page and select Courses.
Create a new course or click View or Edit on an existing one.
If you're editing an existing course and it's published, click Edit on the upper-right of the page.
You can edit the theme for your course in two ways. Either at the course level or the lesson level:
Course level: Click Theme on the lower-left corner of the page. Then, edit the course's theme on the right-hand side.
Lesson level: Click Theme on the lower-left corner of the page. Then, click the lesson on the left-hand side to edit its theme on the right-hand side.
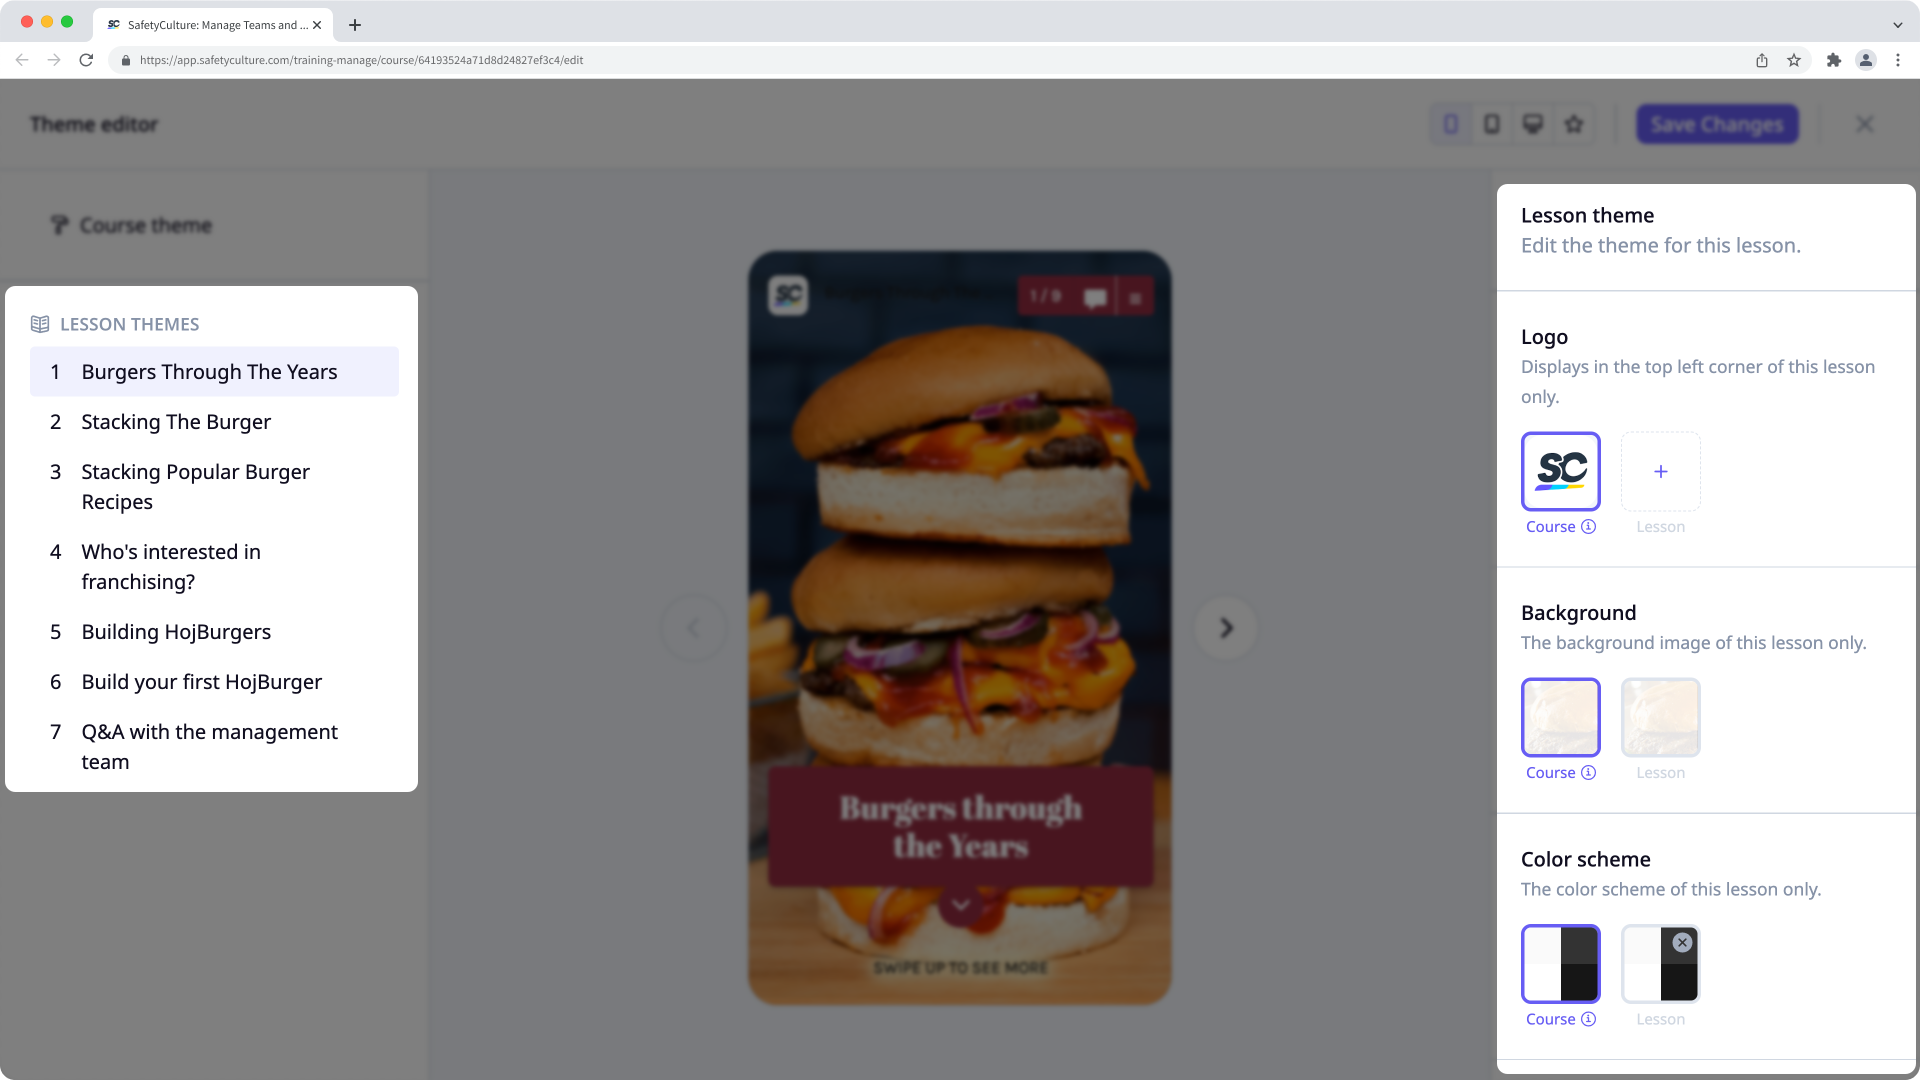
Depending on how you're managing your course's theme, you have the following settings available:
Logo: Upload a logo to use in your course. We recommend that you use an image that's 40 x 40 pixels.
Background: Upload a background to use in your course. We recommend that you use an image that's 1200 x 600 pixels.
Color scheme: Configure the primary and secondary colors and fonts. We recommend that you use contrasting colors.
Advanced: Add custom CSS code to your course. You can also add CSS code at the lesson level.
Once you're ready, click Save changes on the upper-right of the page.
Publish or republish the course to make the changes available.
Course themes don't apply to quizzes, and depending on where you update your course themes, customizations may override each other. For example, slide customizations override lesson themes, lesson customizations override course themes, and course customizations override the default theme.
What are Quiz themes?
Quiz themes let you customize the appearance of your Quizzes. You can adjust colors, fonts, and branding to match your course design. This helps users easily recognize quizzes and provides visual context that supports the content being assessed.
What you'll need
Manage the theme for a quiz
Select Training in the sidebar or select it in More.
Click Content at the top of the page and select Quizzes.
Hover your cursor over the quiz and click Edit.
Click Settings on the upper-right of the page.
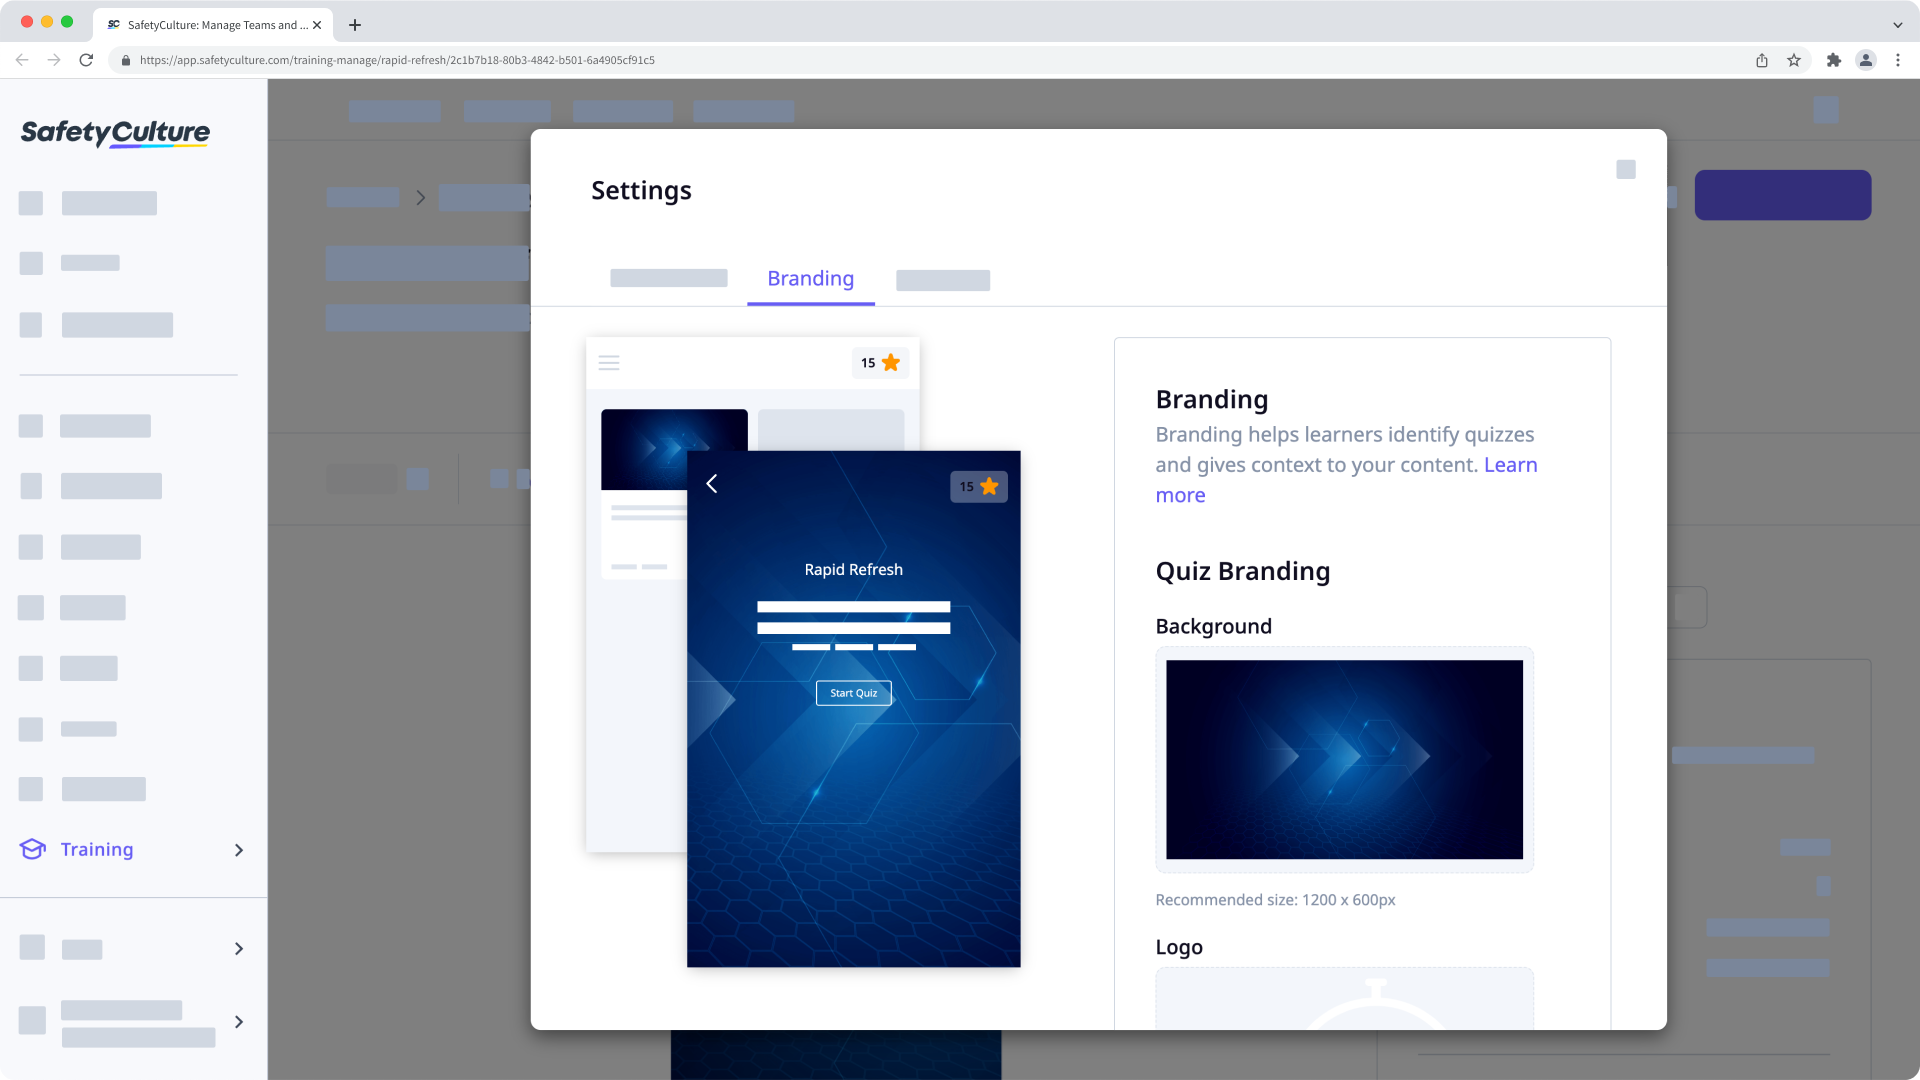
In the pop-up window, select Branding.
In this tab, you have the following options to manage the quiz's theme:
Background: Upload a background to your quiz. We recommend that you use an image that's 1200 x 600 pixels.
Logo: Upload a logo to use in your course. We recommend that you use an image that's 80 x 80 pixels.
Color Scheme: Select the primary and secondary colors.
Custom CSS: Add custom CSS code to your quiz.
Changes are saved automatically.
What are course completion certificates?
Certificates are an important part of training as they validate skills and knowledge gained through learning programs. With SafetyCulture, you can provide certificates for each course your team members complete. To make it more relevant, you can even customize certificates to match your branding.
Although creating new certificate templates is only available to organizations on Premium Plan or Enterprise Plan, organizations on Free Plan can still customize the default certificate template.
What you'll need
Create a certificate template
Select Training in the sidebar or select it in More.
Click Settings on the upper-right of the page.
Select Certificates tab at the top of the page.
Turn "Enable certificates" on.
Click Create template.
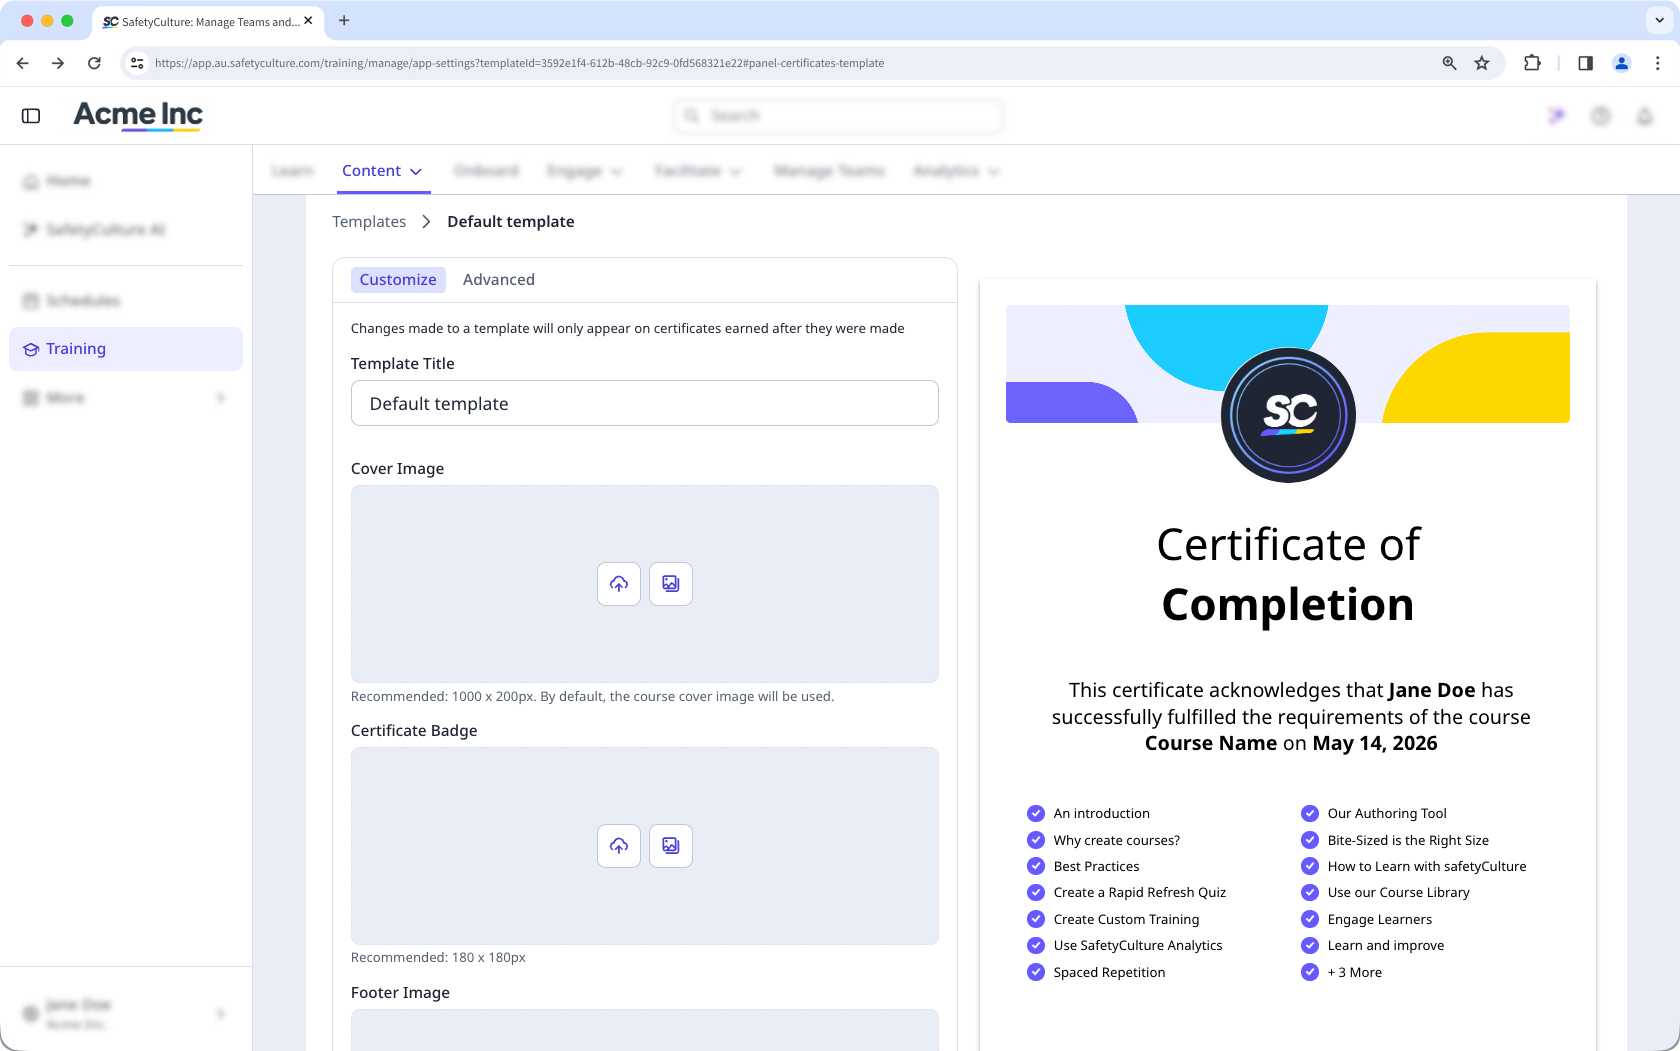
Customize your certificate accordingly.
Template Title: Enter a title for the certificate.
Cover Image: Upload a cover image for the certificate.
Certificate Badge: Upload a badge for the certificate.
Footer Image: Upload a footer image for the certificate.
For advanced customization, select Advanced tab.
Turn "Advanced customization" on to customize the certificate's wording using rich text editing.
Edit the certificate’s title, body, and footer accordingly.
To change the template, click Template Field and select the template accordingly.
Turn "Display lessons" on to show the lesson on the certificate.
Once you're ready, click Templates.
To use this template as the certificate for your courses, you can either set it as the default by clicking on the template's right-hand side and selecting Set as default, or by managing each course's completion settings to select this template.
Changes are saved automatically and only apply to certificates earned moving forward.
← Previous article: Digitize checklists (Part 3) | Next article: Convert training content (Part 2) →