We recommend you create groups, upload sites, assign permissions, and then add users for the best experience.
This approach would help you visualize your organization's overall structure better, determine how to group your users accordingly, choose areas or projects you can use as sites, and narrow down which permissions are appropriate for everyone.
Why create groups and sites?
As your organization scales, managing document access on an individual user level can become very taxing. To address this problem, you can create groups to organize your users into teams. Whereas, using sites allows you to track and manage the data your team captures in SafetyCulture by associating it with a particular location, project, or team.
Groups
Creating groups is a great way to provide template and inspection access. For example, you can add a "Managers" group for people with supervisory or administrative roles, such as team leaders and project managers. These individuals typically require elevated access levels to oversee and manage documents, monitor the team, and make critical strategic decisions.
Create a group
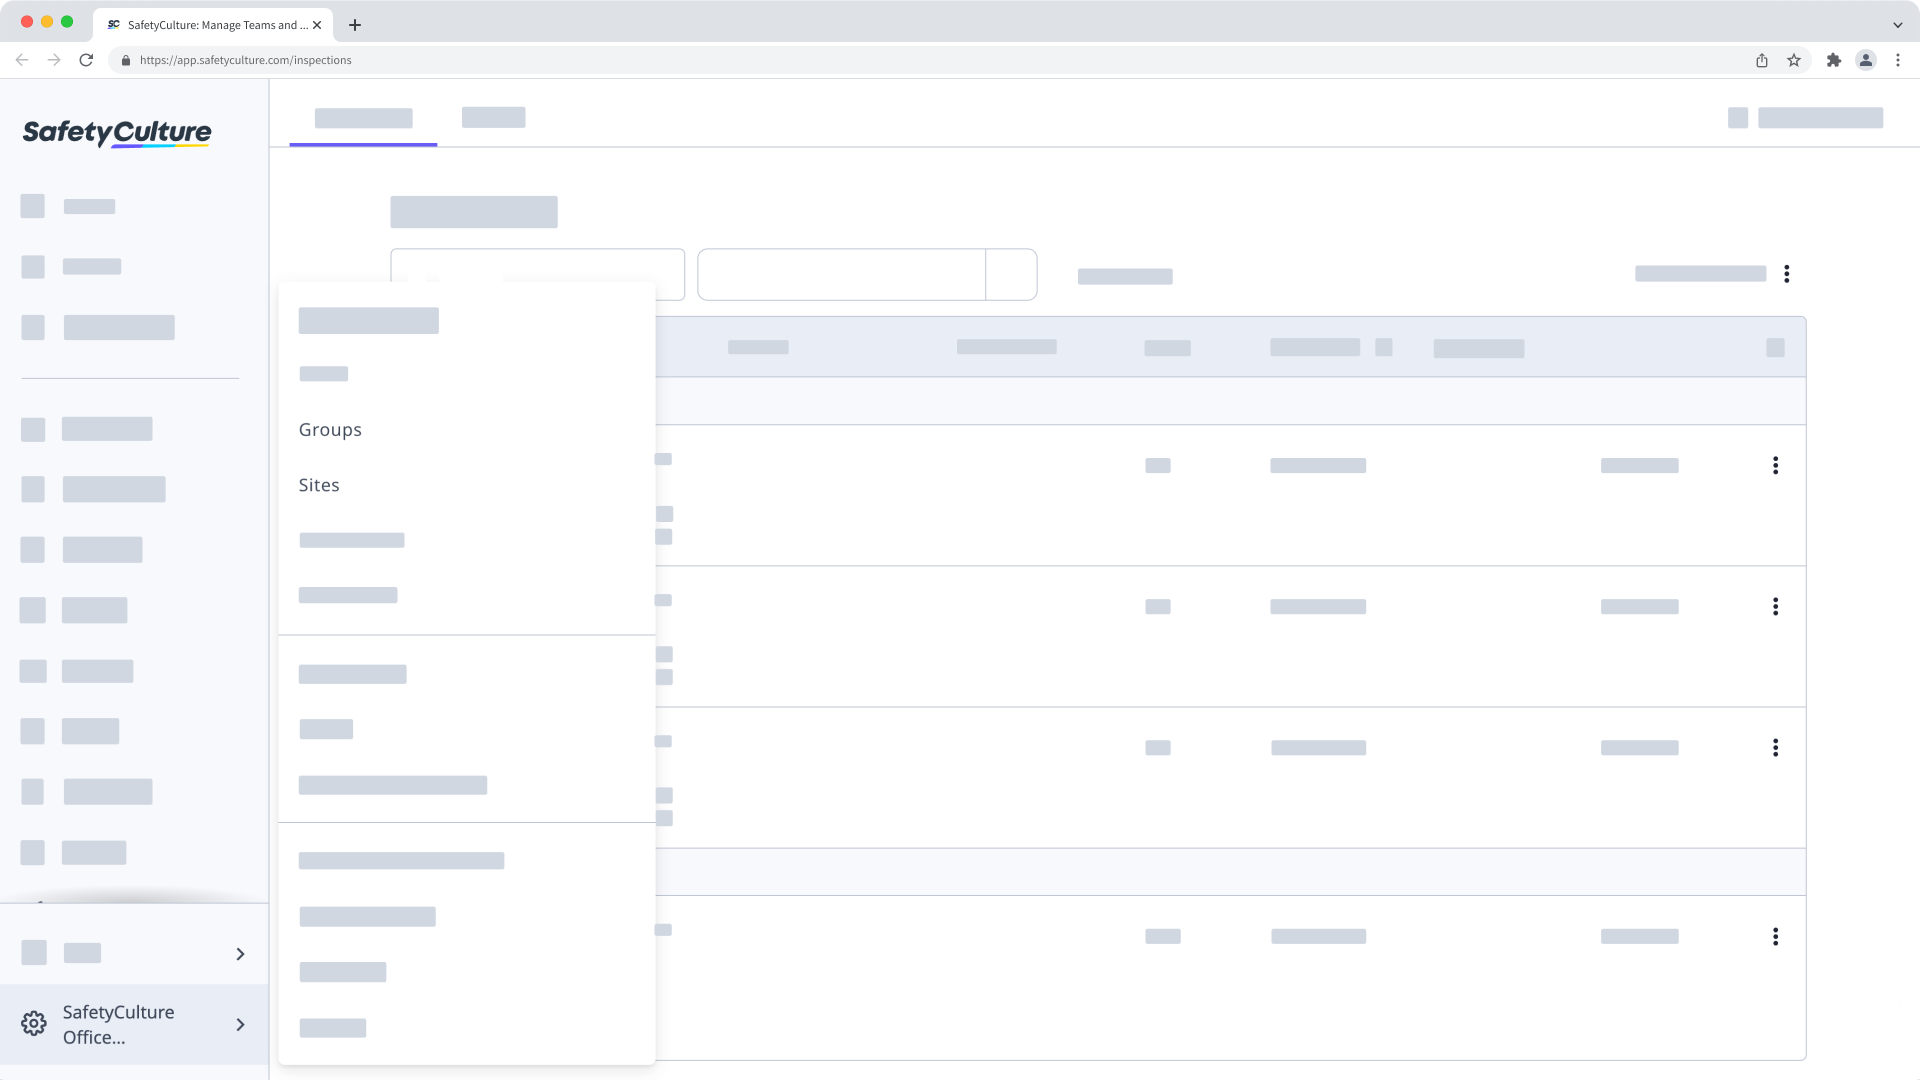
Click your organization name on the lower-left corner of the page and select Groups.
Click Create group on the upper-right of the page.
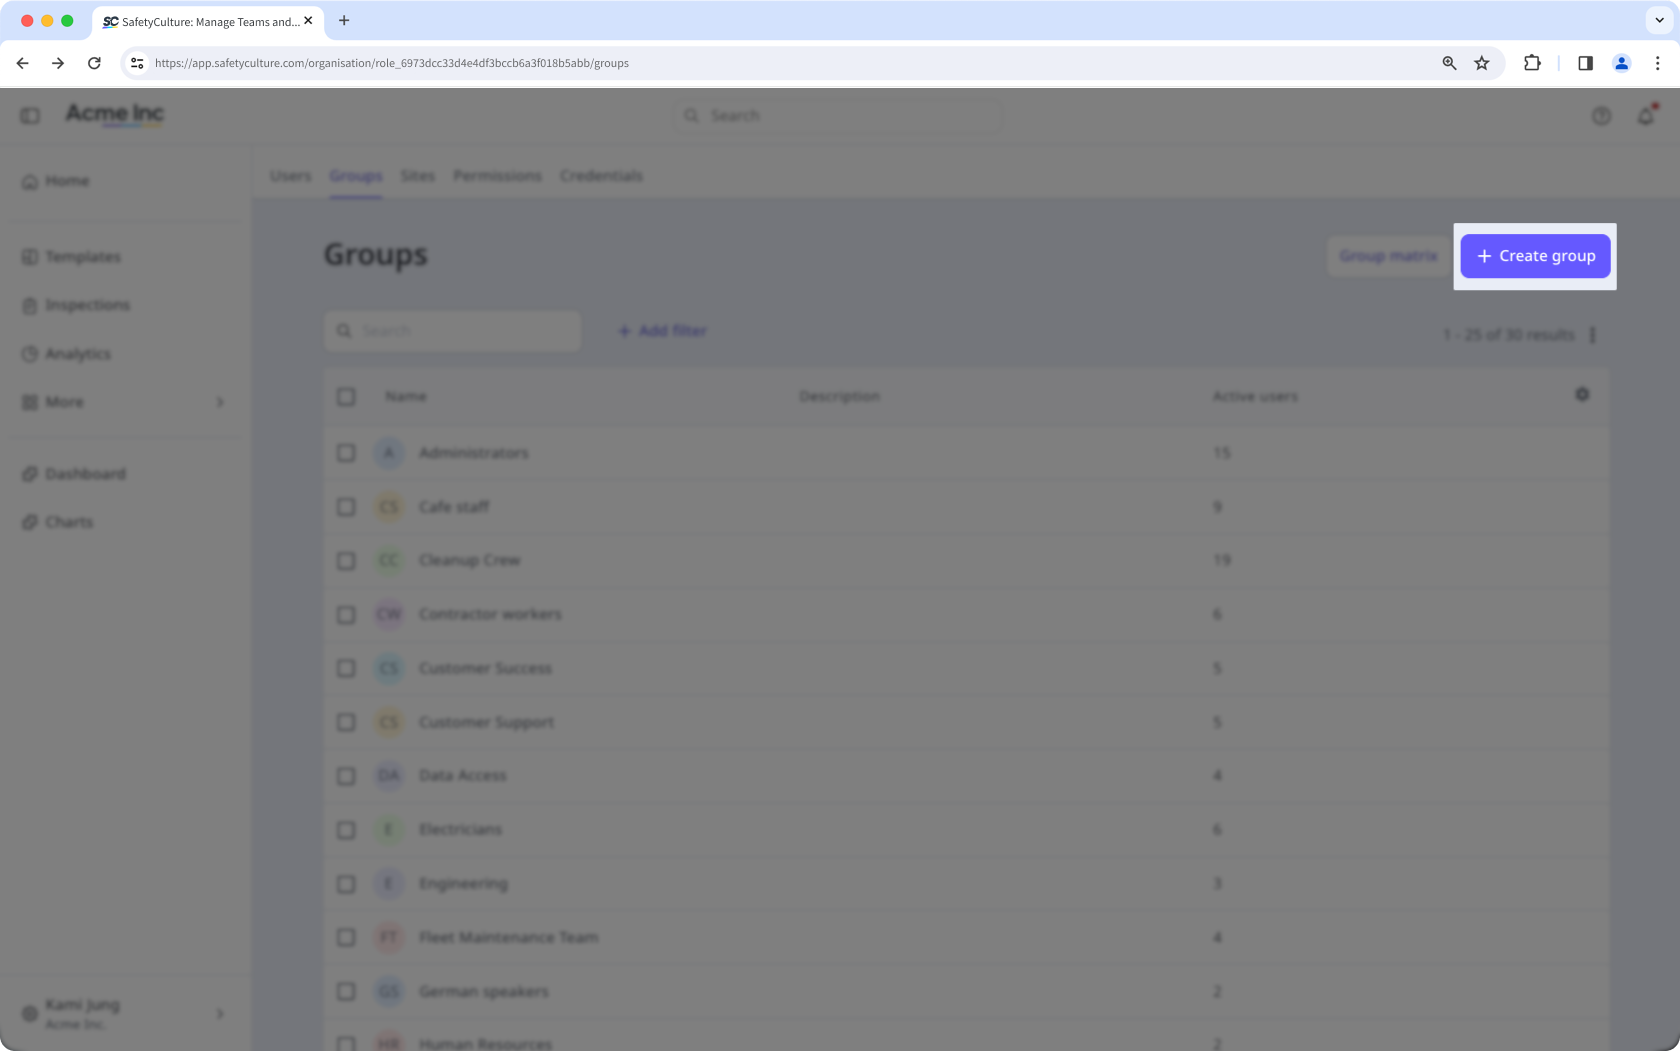
Enter the"Name" and "Description", and configure the organization fields accordingly.
Click Save on the upper-right corner of the page.
Sites
You can use sites to filter your inspection results, drill down into site-based trends via Analytics, and set up advanced access rules. You can also associate inspections, actions, and issues with them. Then, to manage site membership and analyze trends across multiple sites, you can group these sites into higher levels, such as areas and regions.
Use your organization's terminologies as site labels to suit your team's preferences, and if you've accidentally created a site that's irrelevant to your organization, you can permanently delete it via the web app.
Add a site
Click your organization name on the lower-left corner of the page and select Sites.
Click Add site on the upper-right corner of the page.
In the site list, enter the site's name and click .
Move a site
Click your organization name on the lower-left corner of the page and select Sites.
Click the name of the site or level.
S elect the Details tab. In the "Hierarchy" section, click
 Move site.
In the side panel, click the dropdown menu and select the new level.
Click Save and apply.
If you need to track data and users across several sites at once, consider grouping your sites to manage your site membership more effectively.
← Previous article: Billing and integrations | Next article: Structure your organization (Part 2) →