What happens when I edit a published course?
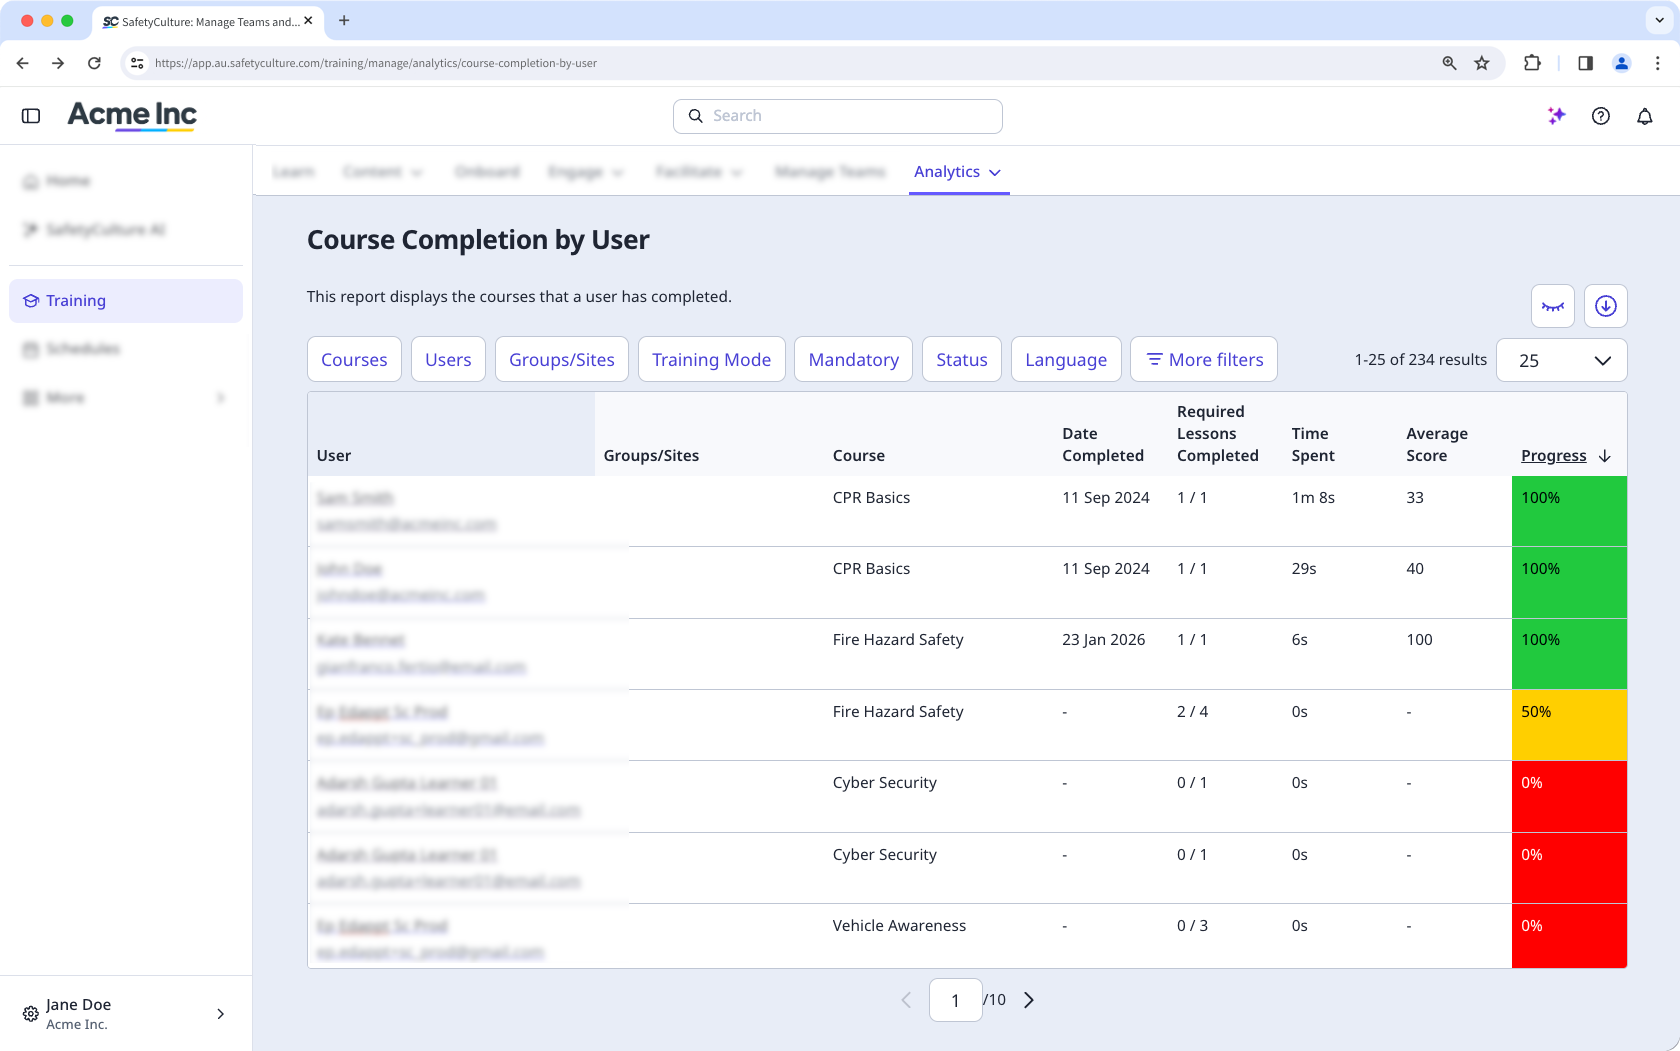
When you edit a published course, your changes are saved as a new draft version that only you can see. This gives you time to review and refine changes without disrupting your team's training. Users continue to access the current published version until you republish. After you republish, the updated version of the course becomes available to your team. If your edits include adding a new lesson, the progress of users who have already completed the course is updated to reflect the total course progress in Course Completion by Users.
If you need to preserve existing progress records, consider duplicating the course and assigning the new version to your team instead of editing the published one.
What you'll need
If the course you're editing has translations, r emember to make the same changes in all course translations.
Edit a course
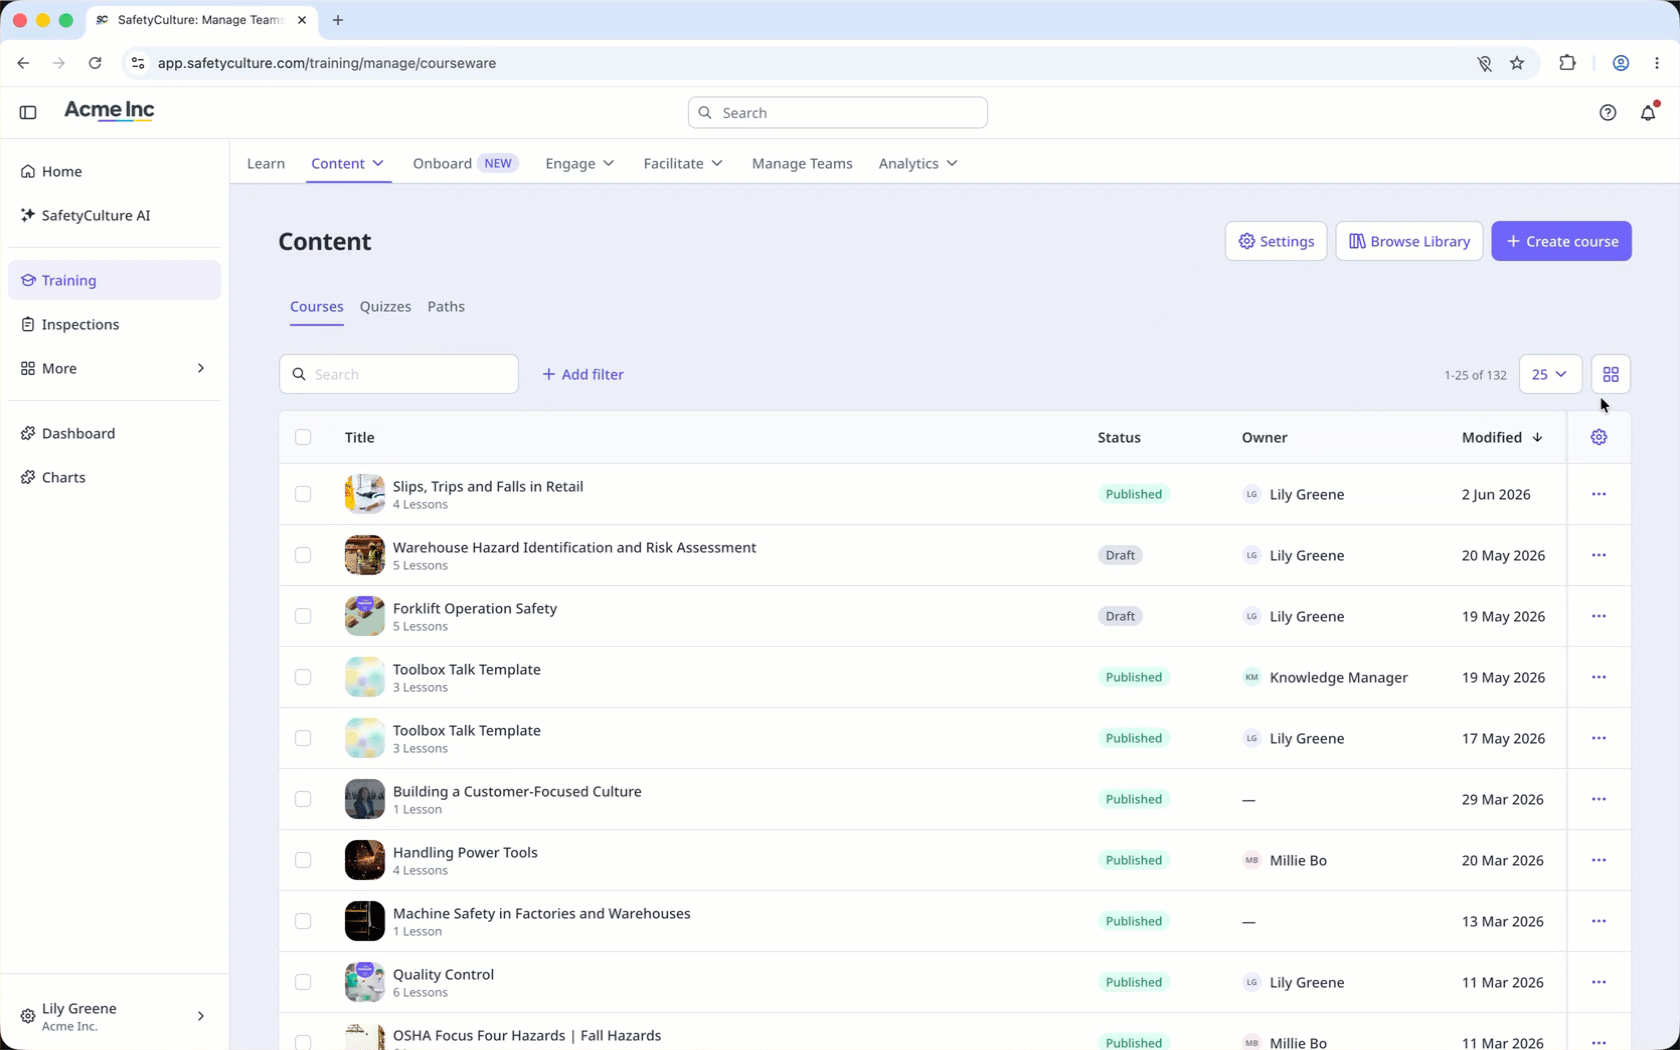
Select Training in the sidebar or select it in More.
If you're on the "Learn" page, click Content at the top of the page and select Courses.
You can choose how you want to view your courses by selecting between or on the upper-right of the page.
If you’re on , hover your cursor over the course and select .
If you’re on , click on the right-hand side of the course.
Select Edit on the upper-right of the page.
Edit the course accordingly.
Once you’re done, publish or republish the course to make your changes available to your team.
If you have SCORM (Sharable Content Object Reference Model) packages from existing learning management systems, you can also import them as lesson slides to your courses.
Edit a lesson
Select Training in the sidebar or select it in More.
If you're on the "Learn" page, click Content at the top of the page and select Courses.
Create a new course or edit an existing one.
Create a new lesson or click an existing one to configure it accordingly. If you need some help to get started, you can create a lesson or lesson slide using AI.
Configure each lesson you create accordingly. For text fields, you can highlight your text and edit its text format, alignment, and style. You can also improve texts using AI Edit with these options:
Rewrite: Transform text into more engaging content.
Adjust tone: Adjust the tone of the text and make it Natural, Friendly, Excited, Persuasive, and Intellectual to suit your audience better.
Reduce: Trim down lengthy passages to keep your content concise and impactful.
Extend: Expand on ideas without rewriting entire paragraphs.
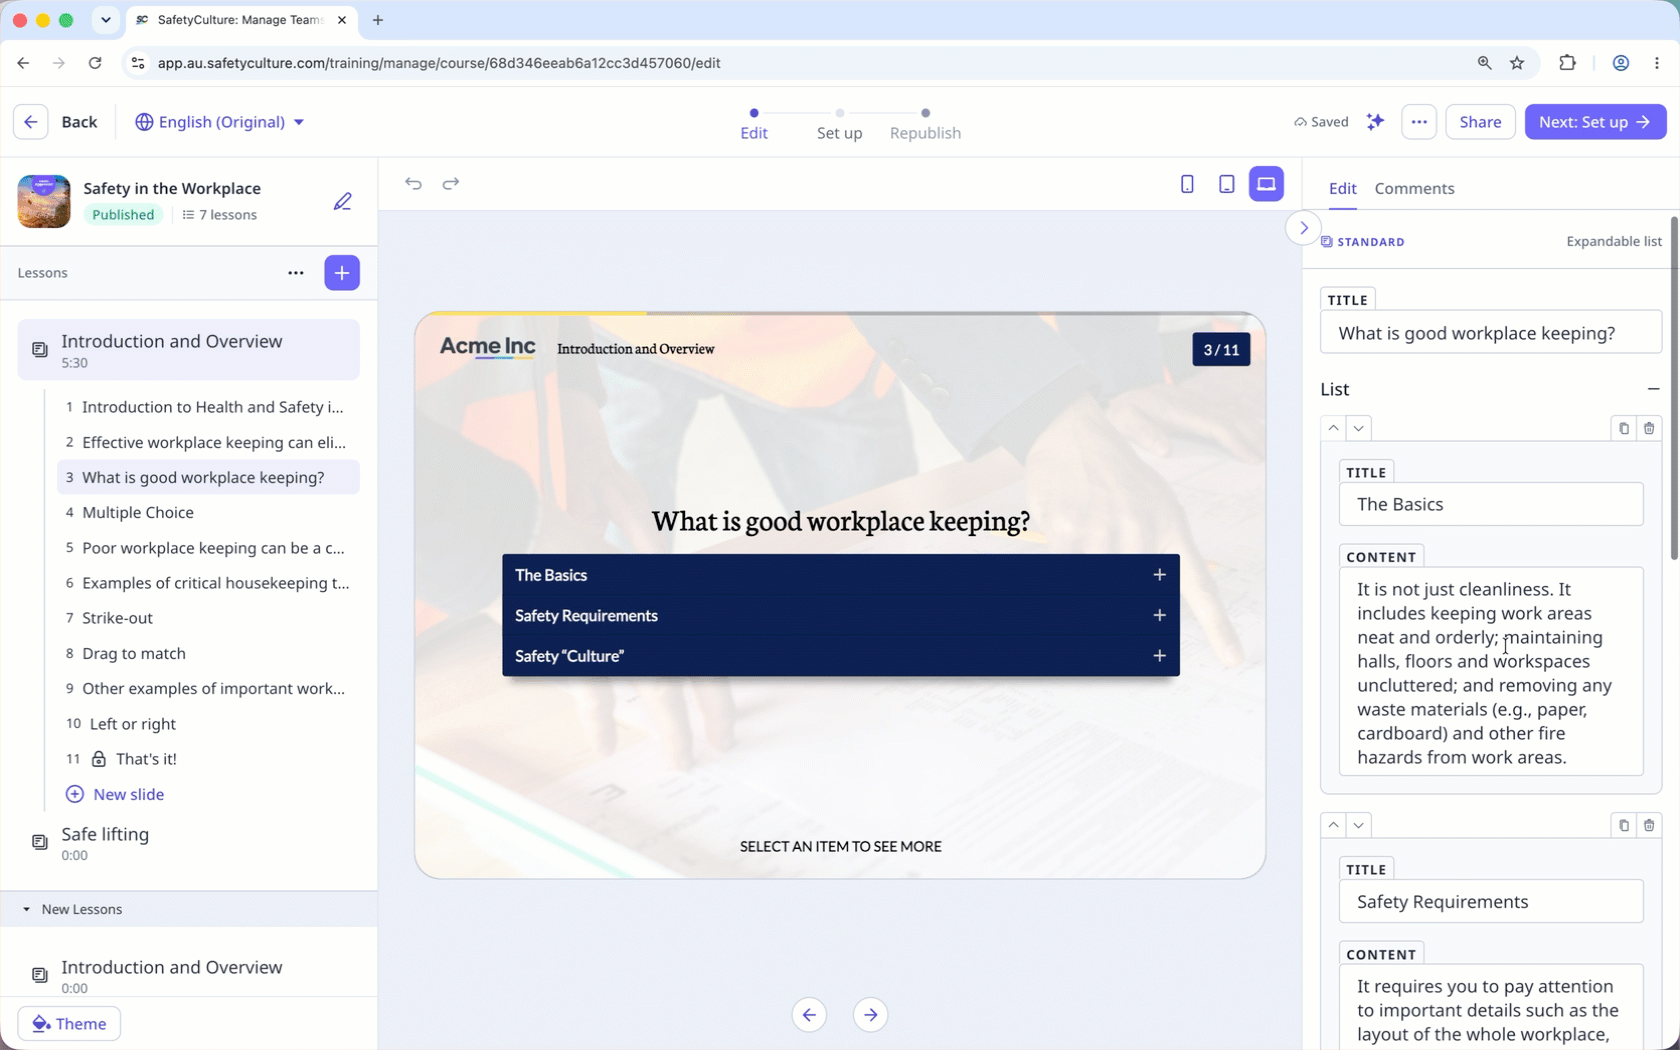
Changes are saved automatically.
The type of a lesson can’t be changed once it’s created. If you want to change the type, delete the lesson and recreate it.
If your course is currently a draft, remember to publish it to make your changes available to your team.