What are asset types?
Asset types in SafetyCulture help categorize assets in your organization, ensuring you can track the correct details for each kind. Examples include vehicles like trucks or forklifts, facilities like buildings or rooms, and office equipment like laptops or mobile devices. Each type also determines what asset fields you can store for each asset. For instance, a vehicle asset type will automatically include a unique ID and site and might have custom fields for the model, VIN, license plate, and more.
Asset fields
Fields for each asset type are divided into summary and detail fields.
Summary fields
Summary fields are essential identifiers for each asset and are displayed in most views. They're the key information you see when selecting assets from dropdown menus. By default, each asset type comes with the following fields:
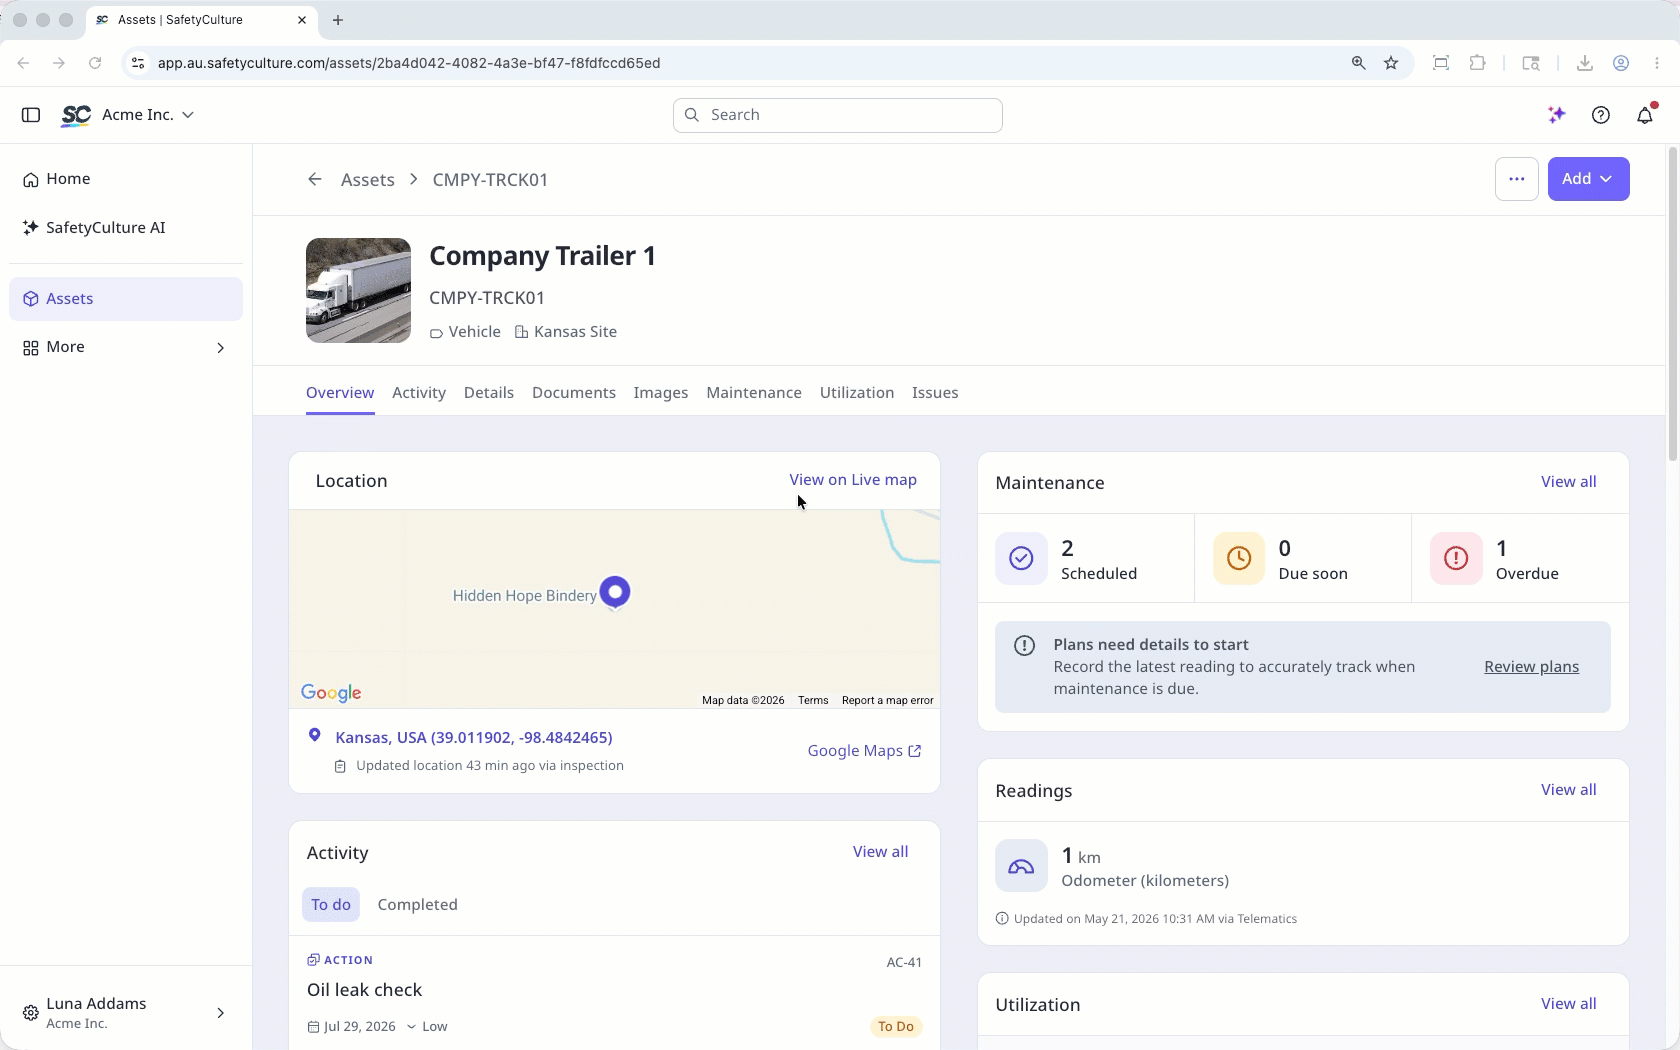
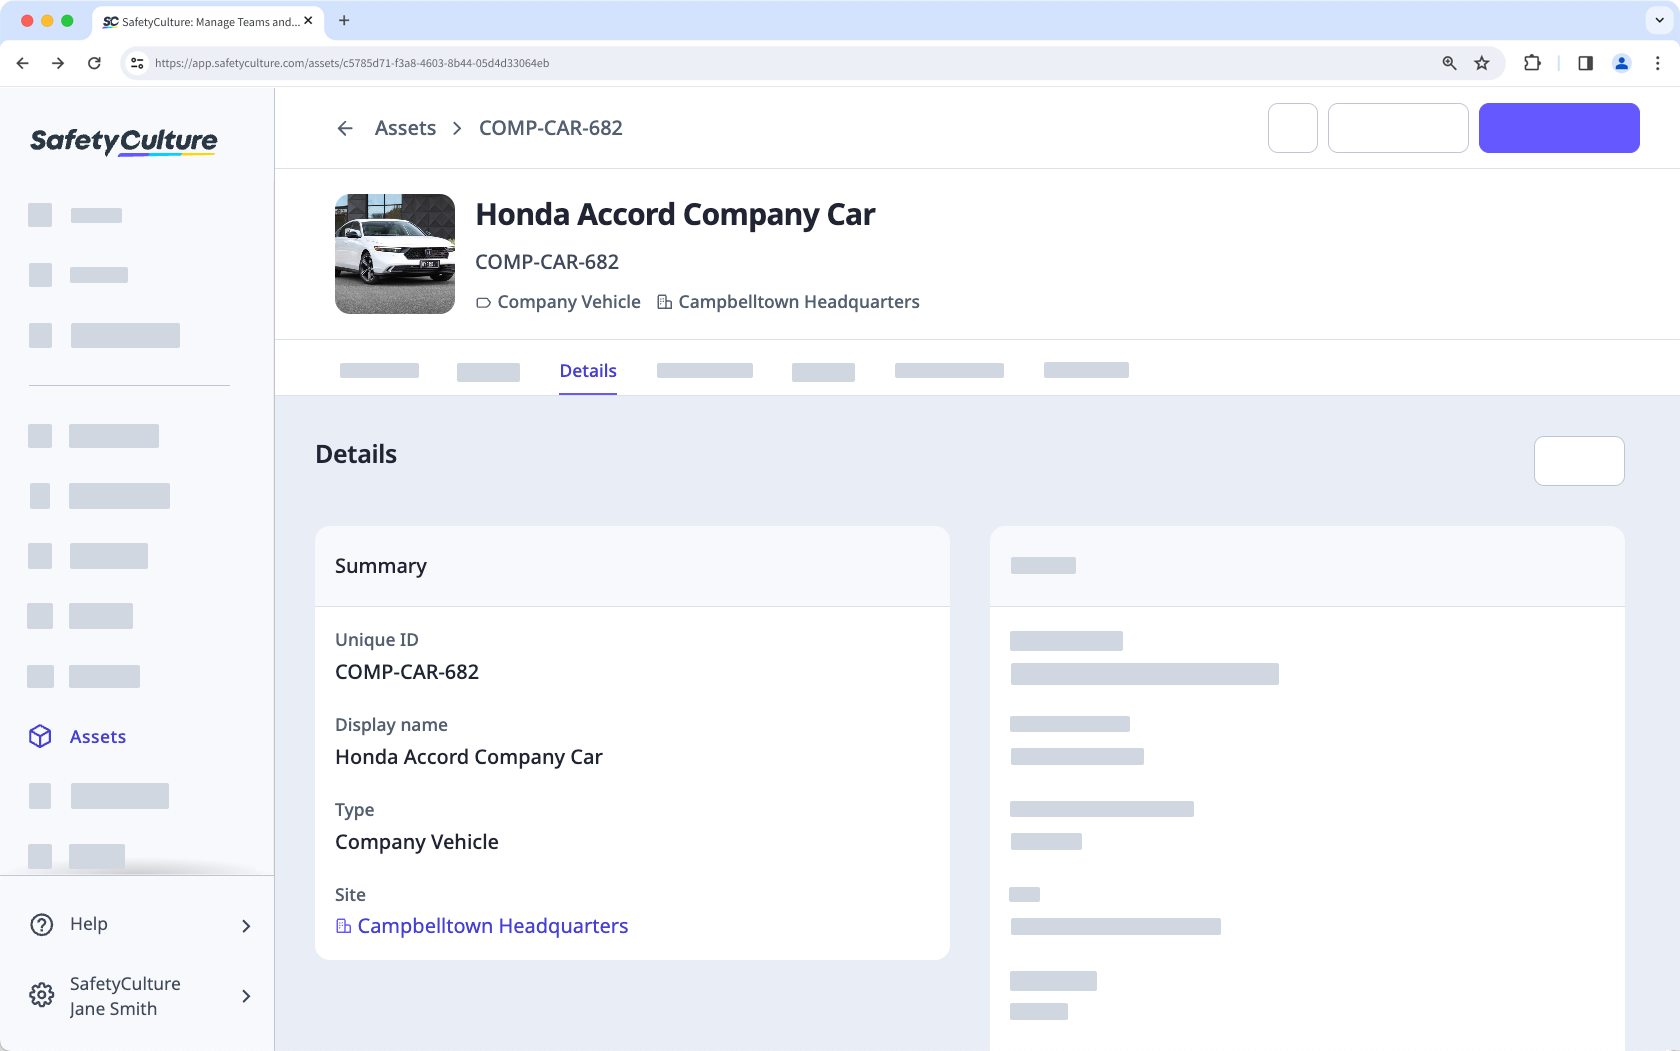
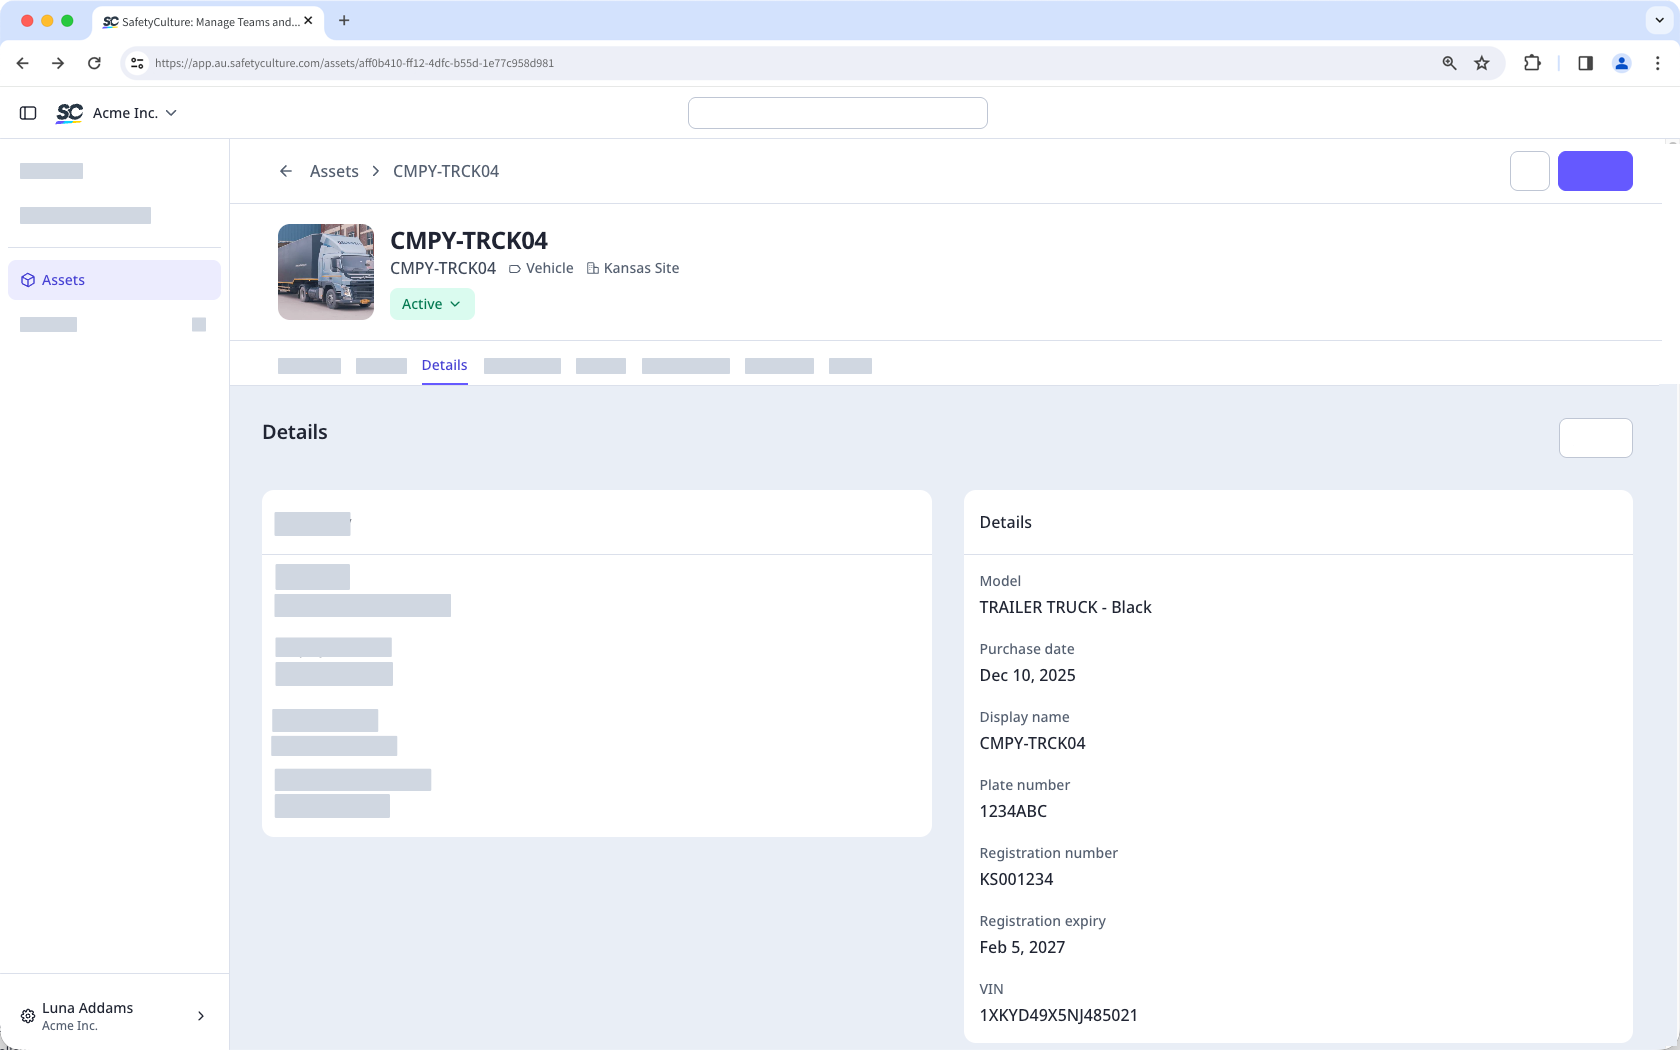
Unique ID: The unique identifier of an asset in your organization.
Site: The site where an asset is assigned.
Detail fields
Detail fields allow users to add more information about assets.
Display name: This field is available by default and serves as the asset's primary label, making it easier for users to identify assets at a glance.
Custom fields: You can create additional fields based on different field types to capture specific asset information.
Text: This field type allows you to limit input to text only. Users can enter details like serial numbers, descriptions, or notes.
Date: This field type allows users to select a date. It is helpful in tracking purchase dates, expiration dates, and other similar dates.
Currency: This field type allows you to limit input to monetary values. It is ideal for logging costs, purchase prices, and more. Currency values are displayed with up to two decimal points, except for currencies following a zero-decimal or three-decimal standard.
Single select: This field type allows you to set a predefined list of options. Users can select just one option, such as vehicle color or fuel source.
Want to monitor how your equipment or machinery is used? Track asset usage effortlessly by collecting asset readings via inspections or c onnecting your assets via telematics!
Names for asset types and fields must be unique. You can also add up to 200 custom fields for your asset types.
Create an asset type and fields
Select Assets in the sidebar or select it in More.
Click Settings on the upper-right of the page.
In Types, click Create type on the upper-right of the page.
In the pop-up window, enter the name of the type and click Create.
Select the new asset type.
On the right-hand side of the page, create new or manage existing asset fields accordingly.
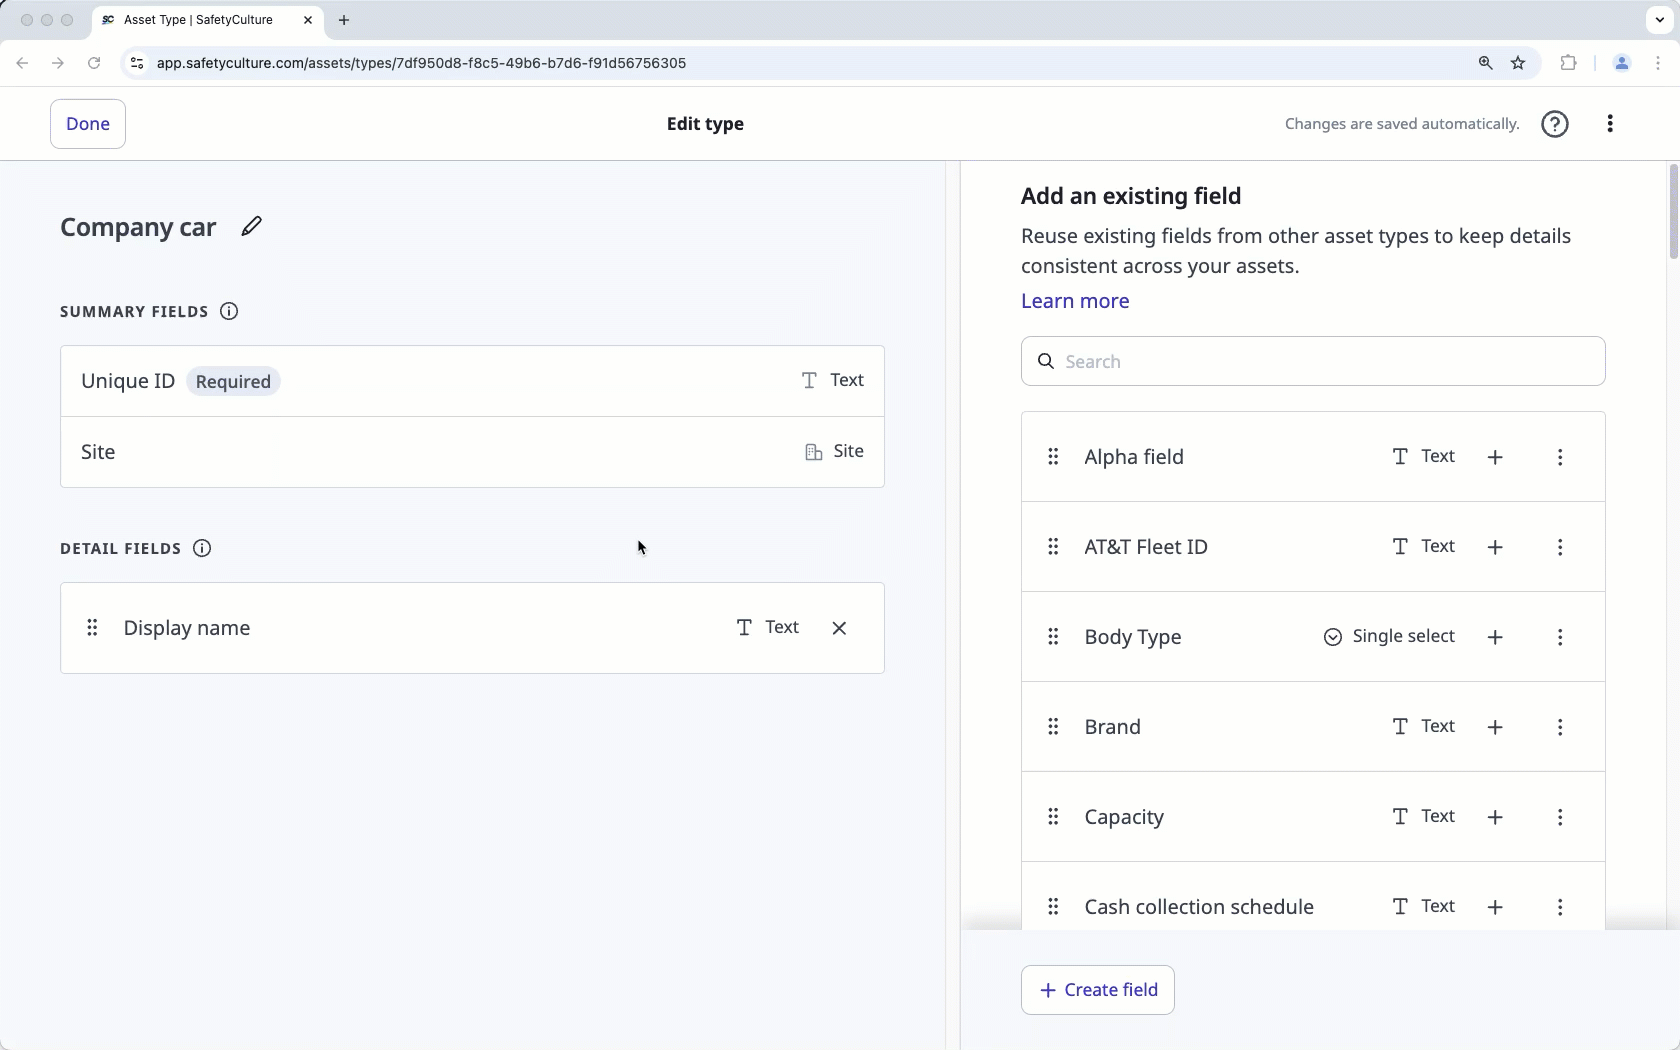
Create a new field: Click Create field on the lower-right of the page. In the pop-up window, enter the name of the field and select the field type. Then, click Save.
Add an existing field: Click on a field's right-hand side. Alternatively, click
 to drag and drop the field to the "Detail fields" section on the left-hand side of the page.
Edit a field: Click on a field's right-hand side and select Edit field. In the pop-up window, you can rename the field or edit any options for single select fields.
On the left-hand side of the page, manage your detail fields accordingly.

Remove a field: Click on a field's right-hand side or click
to drag and drop the field to the right-hand side of the page.Reorder detail fields: Click
to drag and drop the field to your preferred arrangement.
Click Done.