- Administración
- Credenciales
- Aprenda a gestionar las credenciales de los usuarios de su organización a través de la aplicación web.
Aprenda a gestionar las credenciales de los usuarios de su organización a través de la aplicación web.
Aprenda a gestionar las credenciales de los usuarios de su organización a través de la aplicación web.¿Qué son las credenciales?
La función de Credenciales de SafetyCulture simplifica y agiliza la gestión de las cualificaciones de su personal. Ya sean certificaciones o cualificaciones externas, como permisos de conducir y cursos de primeros auxilios, nuestra plataforma ofrece un repositorio único y organizado para todas ellas.
Puede gestionar sus propias credenciales o las de su personal clasificándolas en diferentes tipos de credenciales. También puede añadir nuevas versiones de credenciales que estén a punto de vencer, ver su estado de aprobación y revisar su historial. Asimismo, puede realizar un seguimiento de la actividad de cada versión, que registra los cambios realizados en la fecha de emisión, la fecha de vencimiento y los archivos multimedia adjuntos.
En combinación con la Formación en SafetyCulture, la función de Credenciales garantiza que sus equipos cumplan completamente con las regulaciones. Por ejemplo, un operador de carretillas elevadoras puede hacer un curso de iniciación en el sitio y tener un carnet de carretillero como credencial para realizar operaciones sin problemas en el sitio.
Los usuarios pueden personalizar sus ajustes de notificación para recibir una notificación cuando su credencial esté a punto de caducar.
Tenga en cuenta que debe tener Permiso de "Administración de plataformas: Usuarios"para gestionar las credenciales de otro usuario de la lista de usuarios de su organización.
Añadir la credencial de un usuario
Haga clic en el nombre de su organización en la esquina inferior izquierda de la página y seleccione Usuarios.
Seleccionar un usuario.
Haga clic en Guardar.
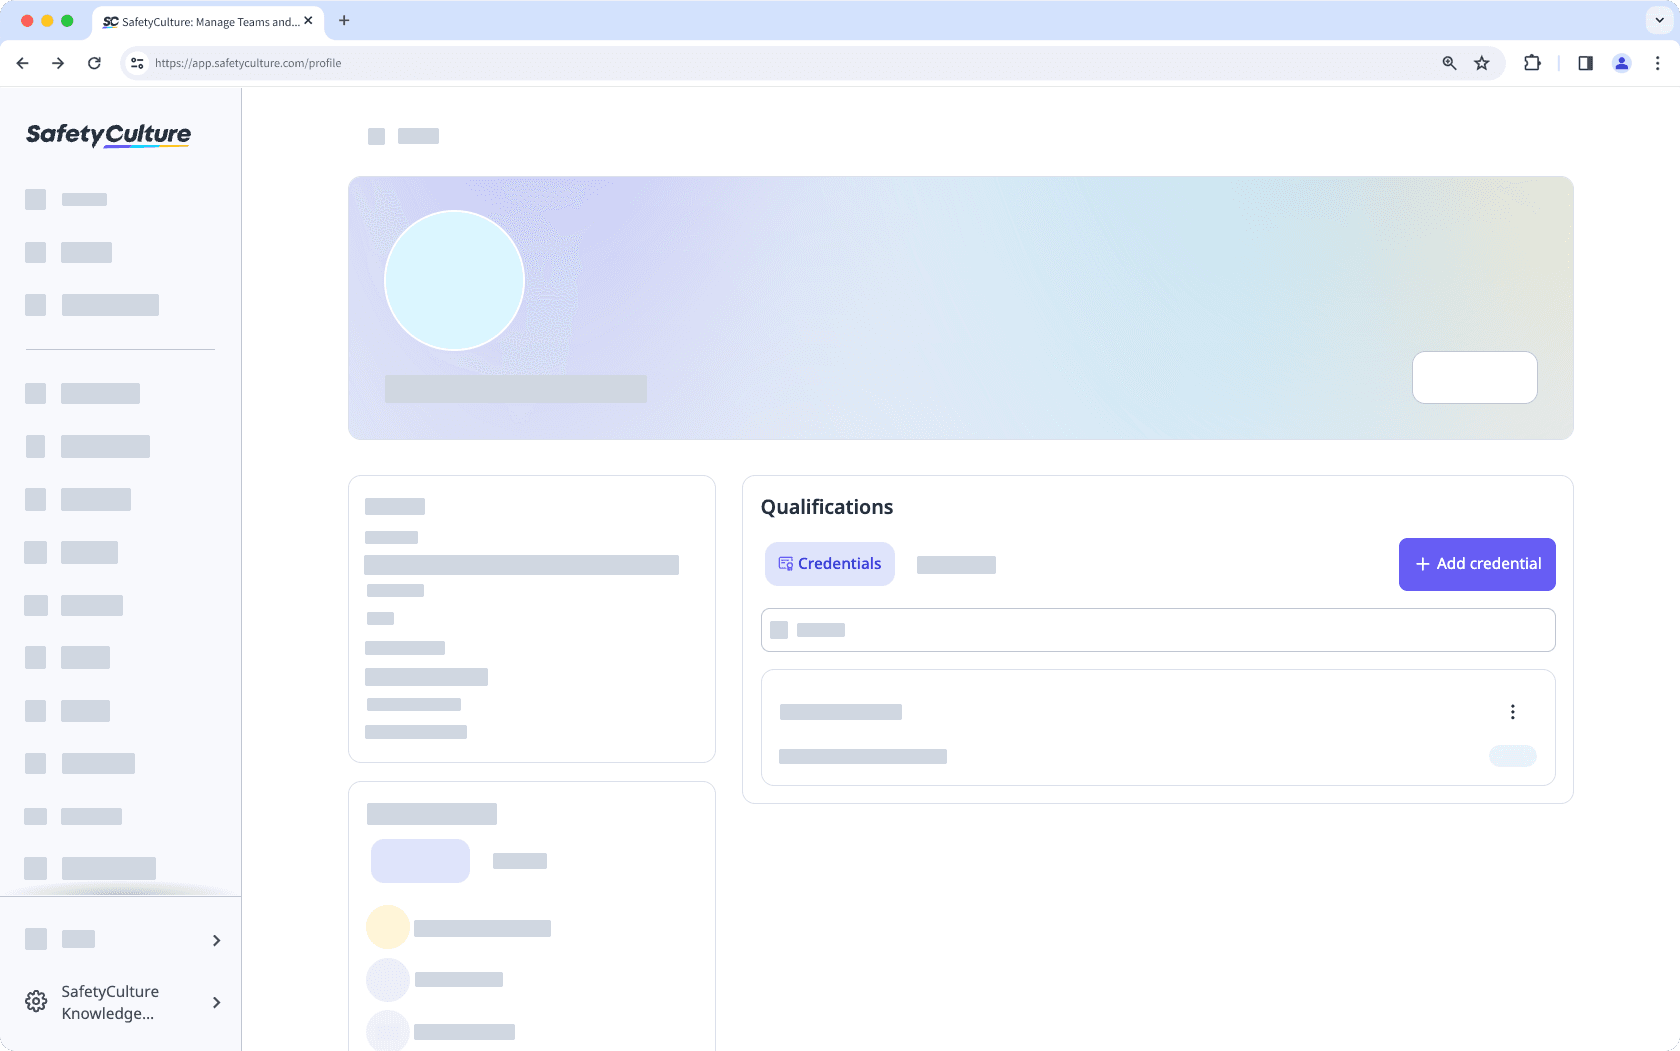
Suba fotos o archivos en PDF de la credencial del usuario.
Introduzca los siguientes datos de credenciales obligatorios:
Tipo de credencial: el tipo de una credencial. Por ejemplo, "Carnet de conducir".
Usuario: el usuario con el que una credencial está asociada.
Fecha de emisión: la fecha de emisión de una credencial.
Fecha de vencimiento: la fecha de vencimiento de una credencial.
Haga clic en Guardar.
You can upload credentials for users in your organization in one go using CSV.
Editar las credenciales de un usuario
Haga clic en el nombre de su organización en la esquina inferior izquierda de la página y seleccione Usuarios.
Seleccione un usuario.
Haga clic en
en el lado derecho de la credencial.
Seleccione
Añadir versión o
Editar la última versión para crear una nueva credencial o actualizar una existente.
Actualice la credencial como corresponda.
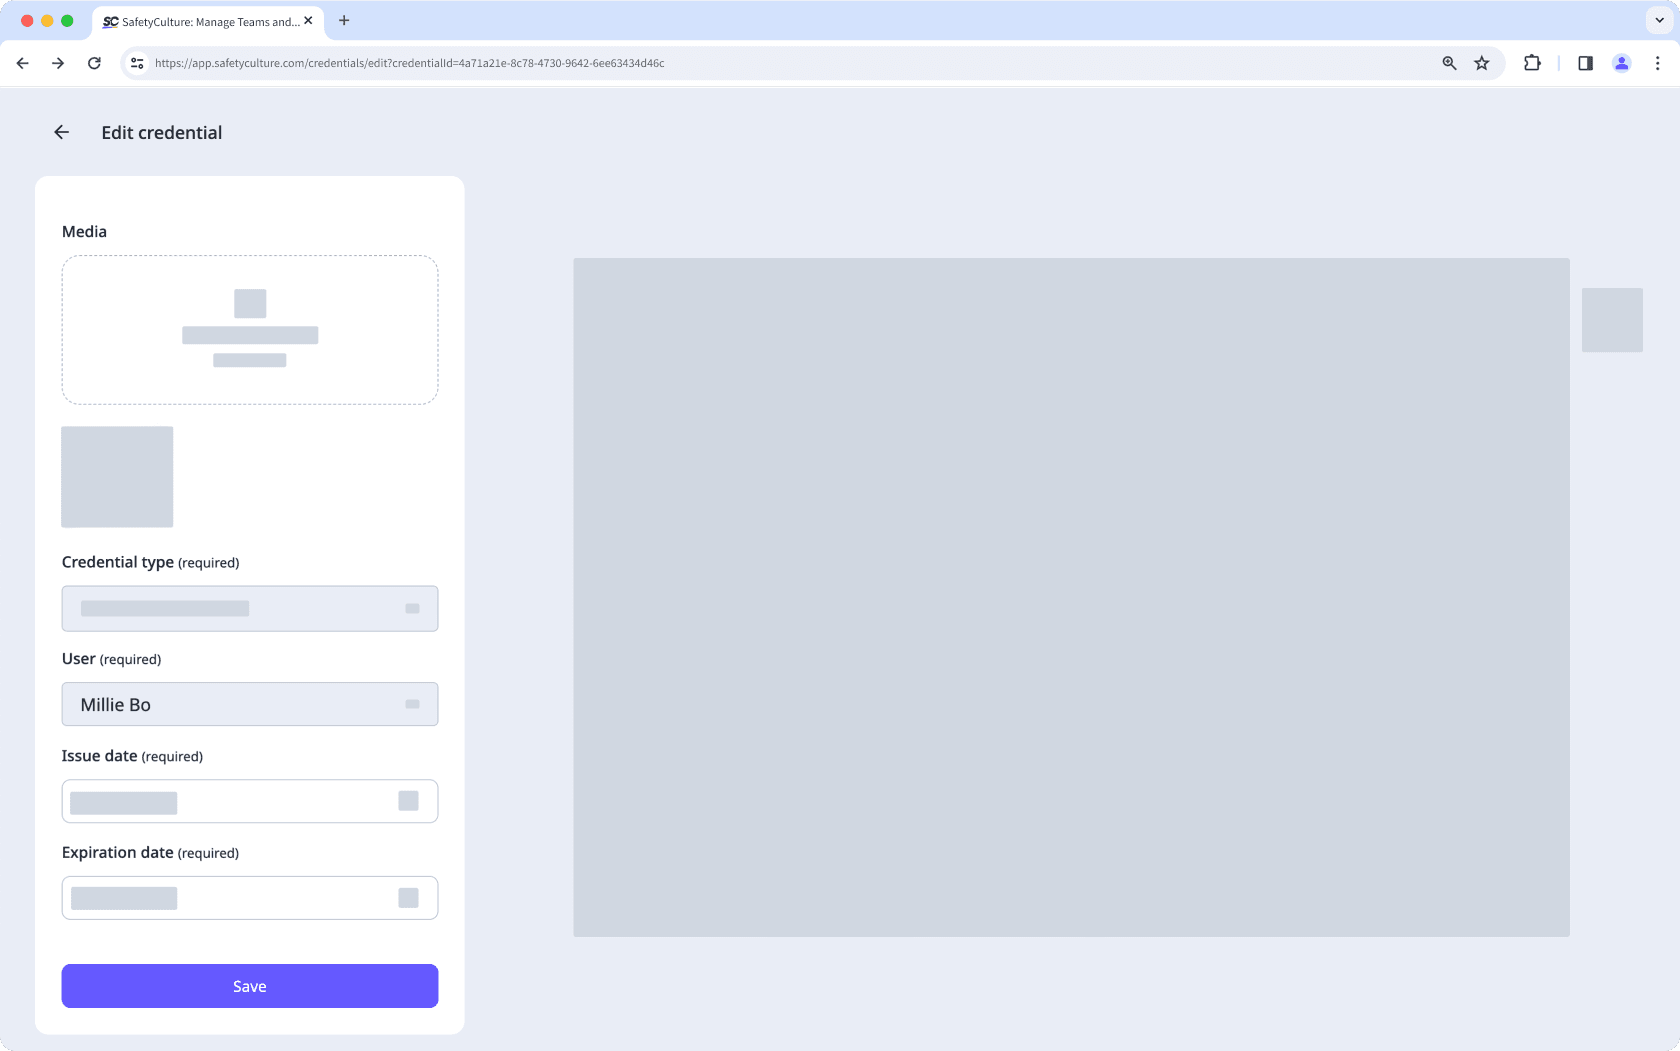
Haga clic en Guardar.
Ver el historial de credenciales de un usuario
Haga clic en el nombre de su organización en la esquina inferior izquierda de la página y seleccione Usuarios.
Seleccione un usuario.
Haga clic en
en el lado derecho de la credencial y seleccione
Ver historial.
En esta página, puede ver todas las versiones de la credencial y seleccionar cualquiera de las versiones para ver más detalles.
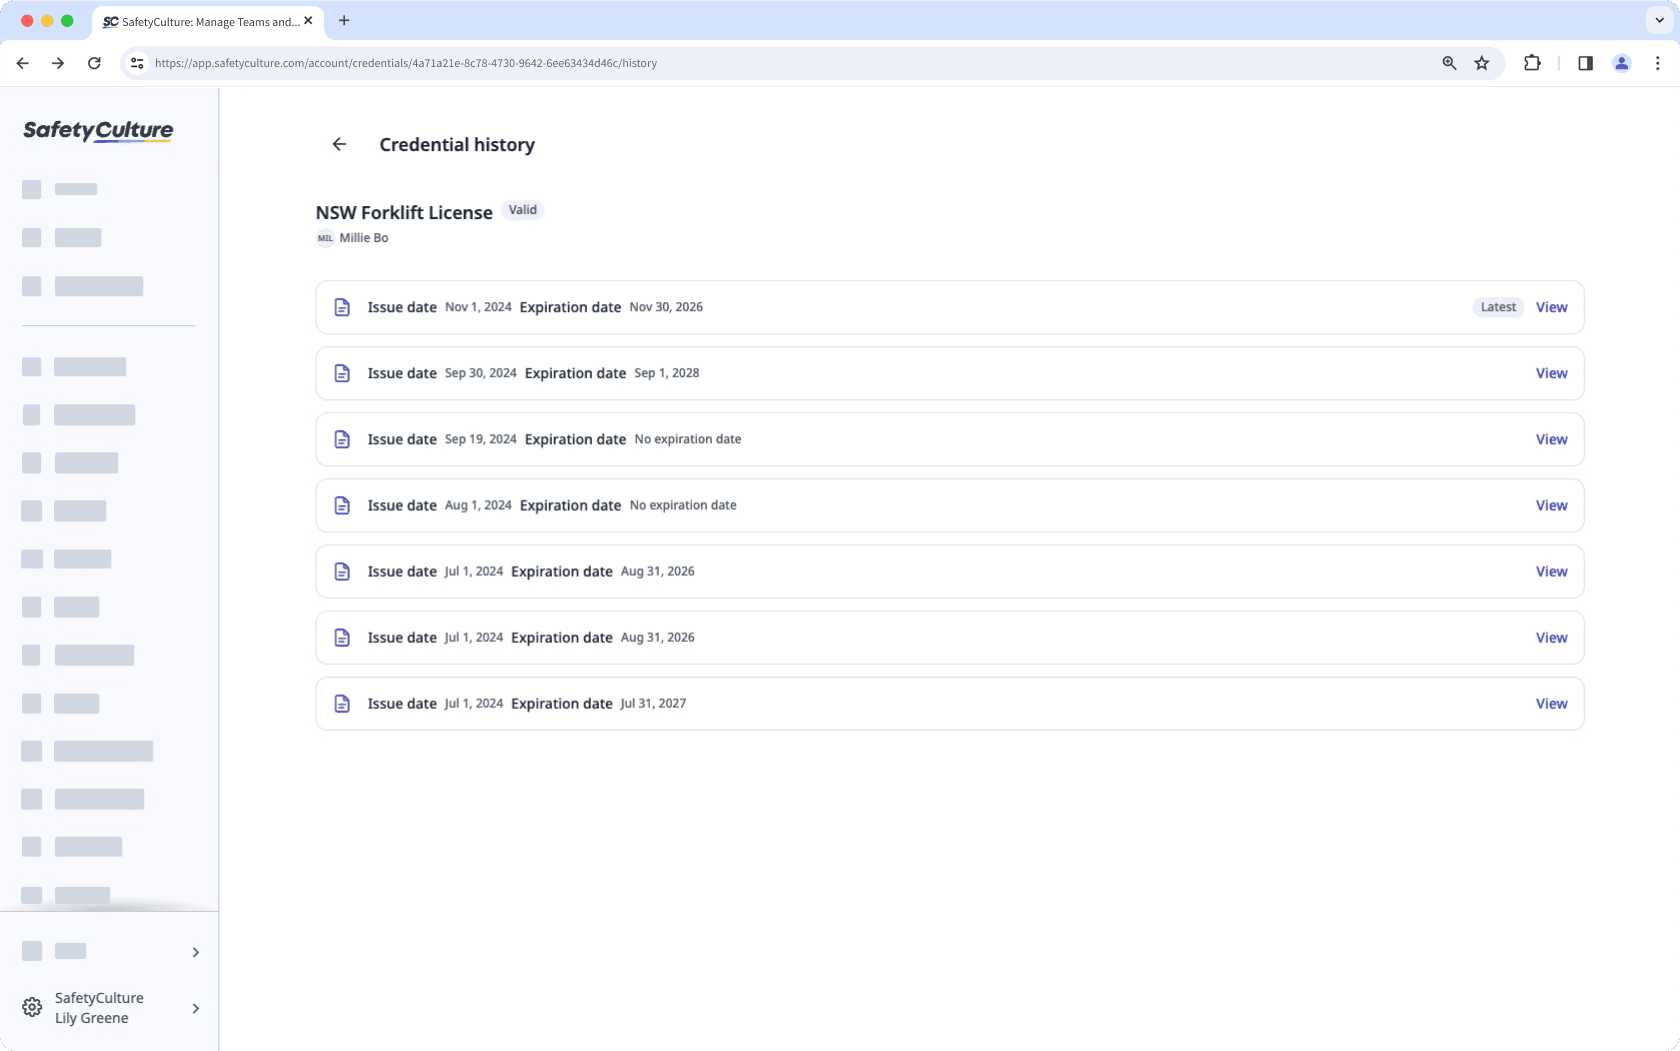
Ver la actividad de una versión de credenciales de un usuario
Click your organization name on the lower-left corner of the page and select Usuarios.
Select a user.
Select a credential.
Click Actividad from the tab on the left-hand side of the page.
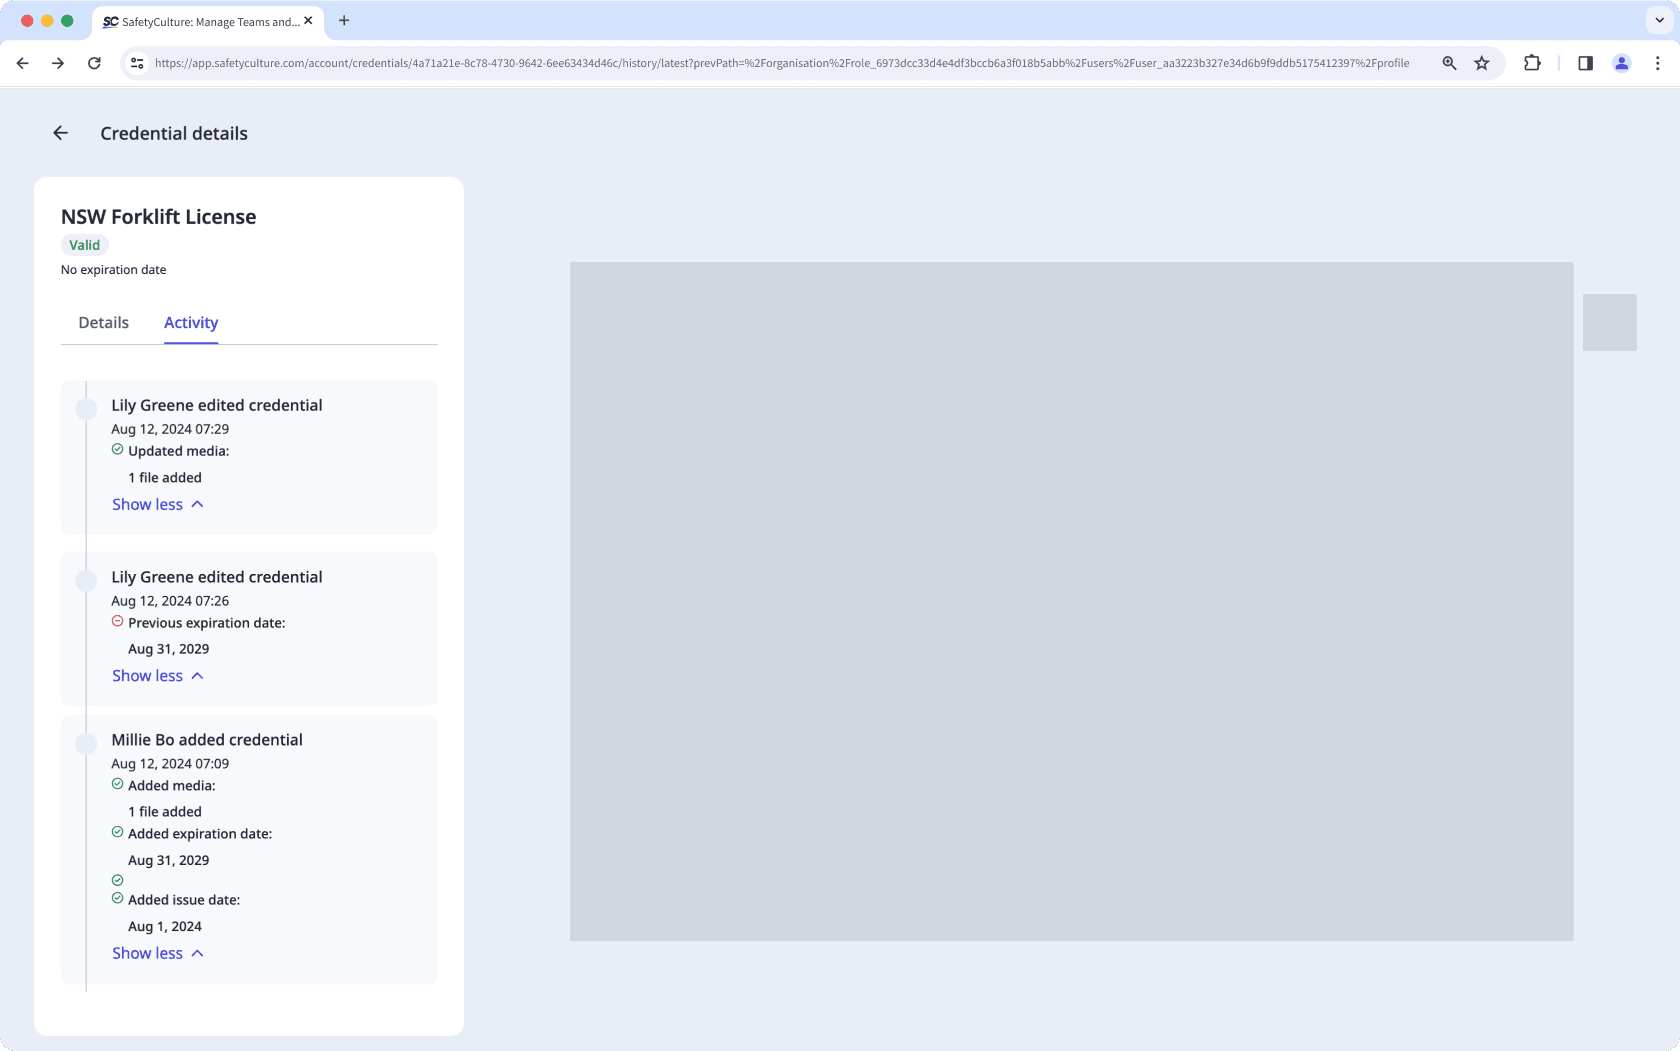
In this tab, you can view changes made to the following fields of the user's credential over time:
Issue date
Expiration date
Media files
Ver el estado de aprobación de las credenciales de un usuario
Click your organization name on the lower-left corner of the page and select Usuarios.
Select or search for the user to view their credentials.
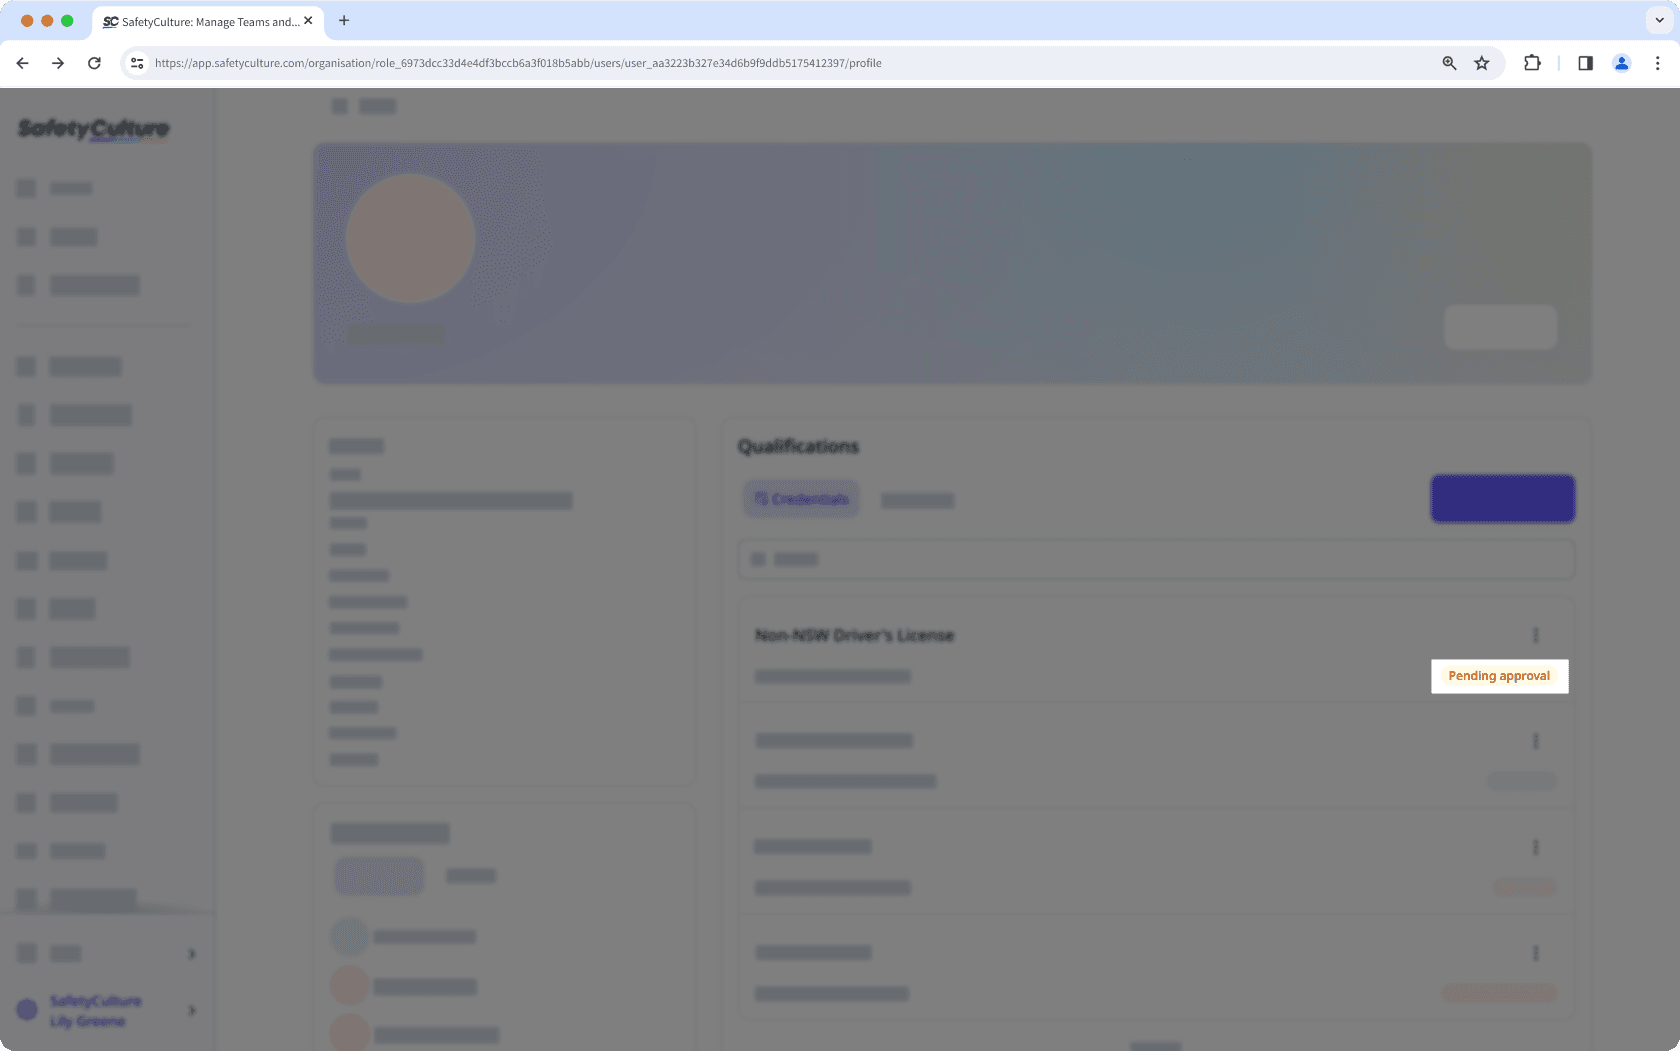
View the approval status on the lower-right of the credential.
La eliminación es irreversible y no podemos restaurar elementos eliminados permanentemente. Siempre se requiere confirmación antes de cualquier eliminación, así que asegúrese de no eliminar accidentalmente el elemento equivocado.
Eliminar una credencial de un usuario
Click your organization name on the lower-left corner of the page and select Usuarios.
Select a user.
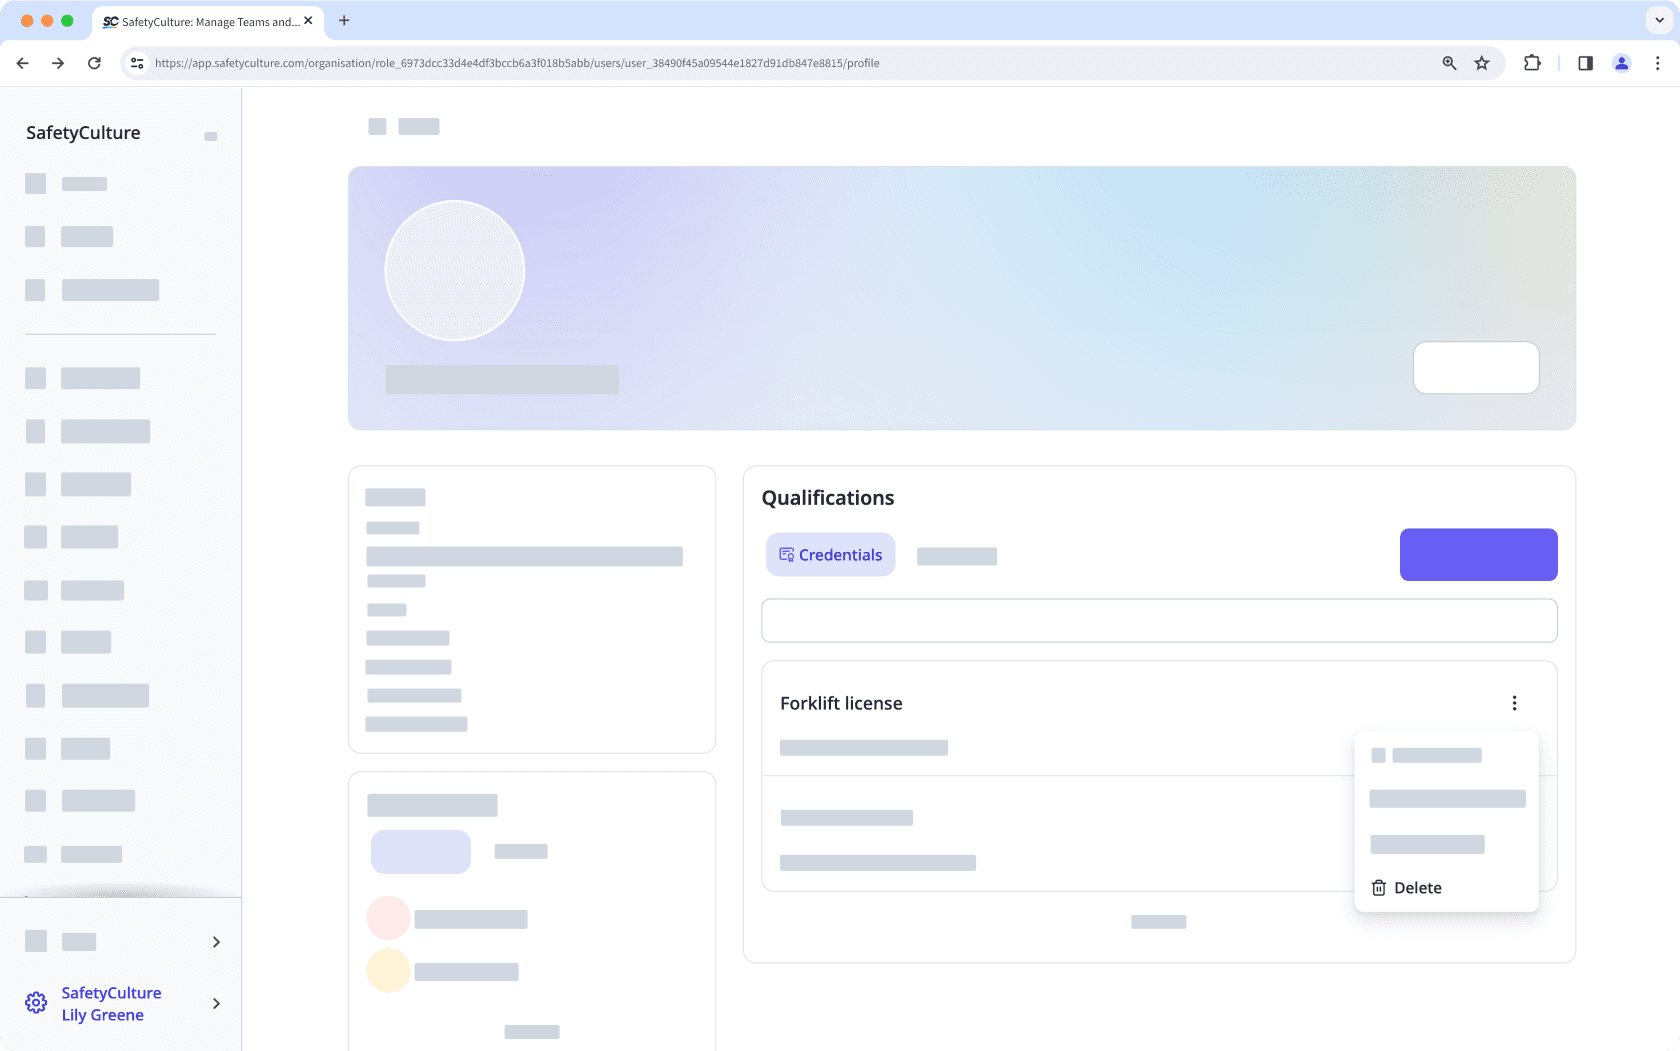
Click
on the credential's right-hand side, and select
Eliminar.
In the pop-up window, click Eliminar.
¿Esta página le fue de ayuda?
Gracias por hacérnoslo saber.