- Integrations
- Direct integrations
- Automatically export inspection reports to SharePoint
Automatically export inspection reports to SharePoint
Learn how to automatically export inspection reports to SharePoint.How does the export inspection report integration work?
Inspection reports that get exported are based on the inspections, which the account that sets up the integration has access to. If you're an administrator, you can give yourself inspection access or assign yourself the "Override permissions: View all data" permission to have visibility over all inspections in your organization.
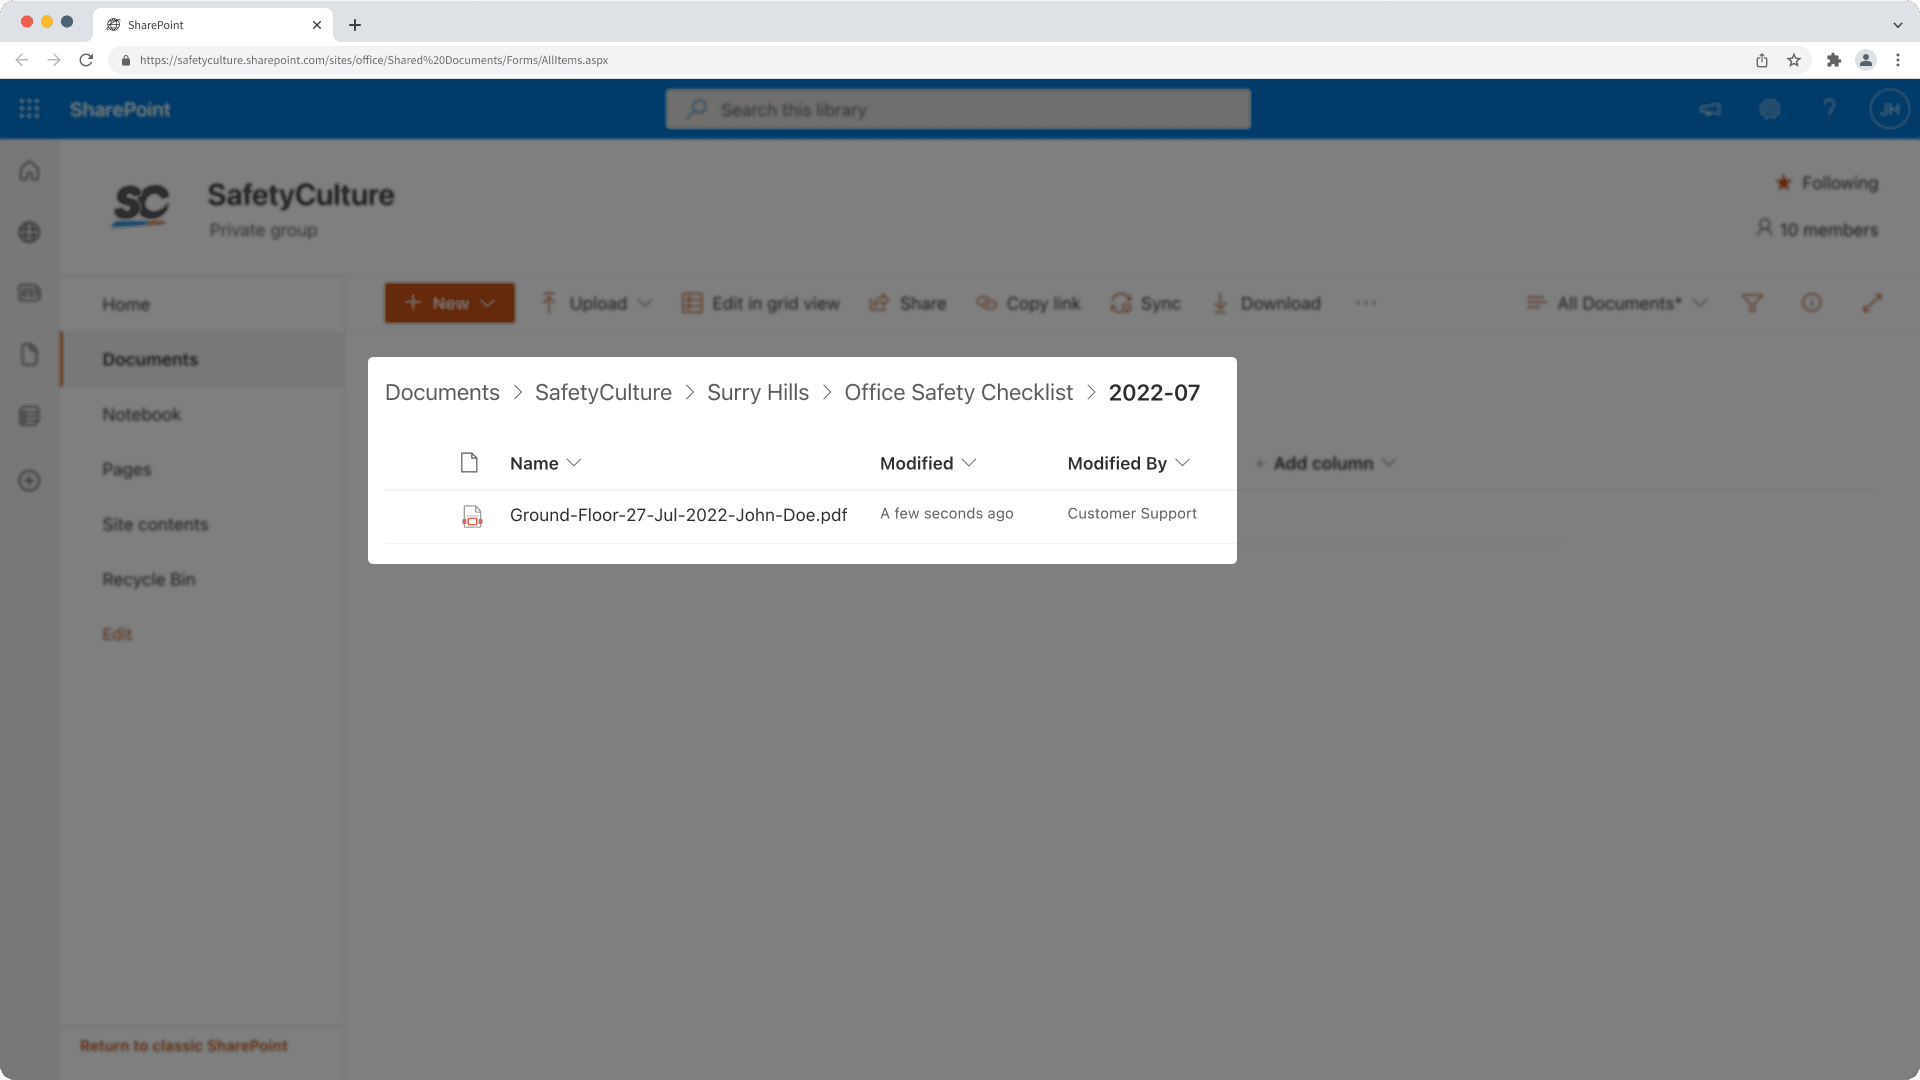
Inspection reports that are exported to the cloud storage, such as SharePoint, follow a folder structure of "SafetyCulture / [site name] / [template title] / [yyyy-mm]". The SafetyCulture folder name is static to help you identify where the data is coming from.
You may need to enable third-party cookies for your browser to support this integration.
SharePoint has a 255-character limit for file names and paths. If your inspection titles are too long, file exports may fail. To prevent this, keep titles short before exporting.
Automatically export inspection reports to SharePoint
Click your organization name on the lower-left corner of the page and select Integrations.
Click Set up for "SharePoint".
In the pop-up window, click Install.
Click
Edit, then click
Edit once more.
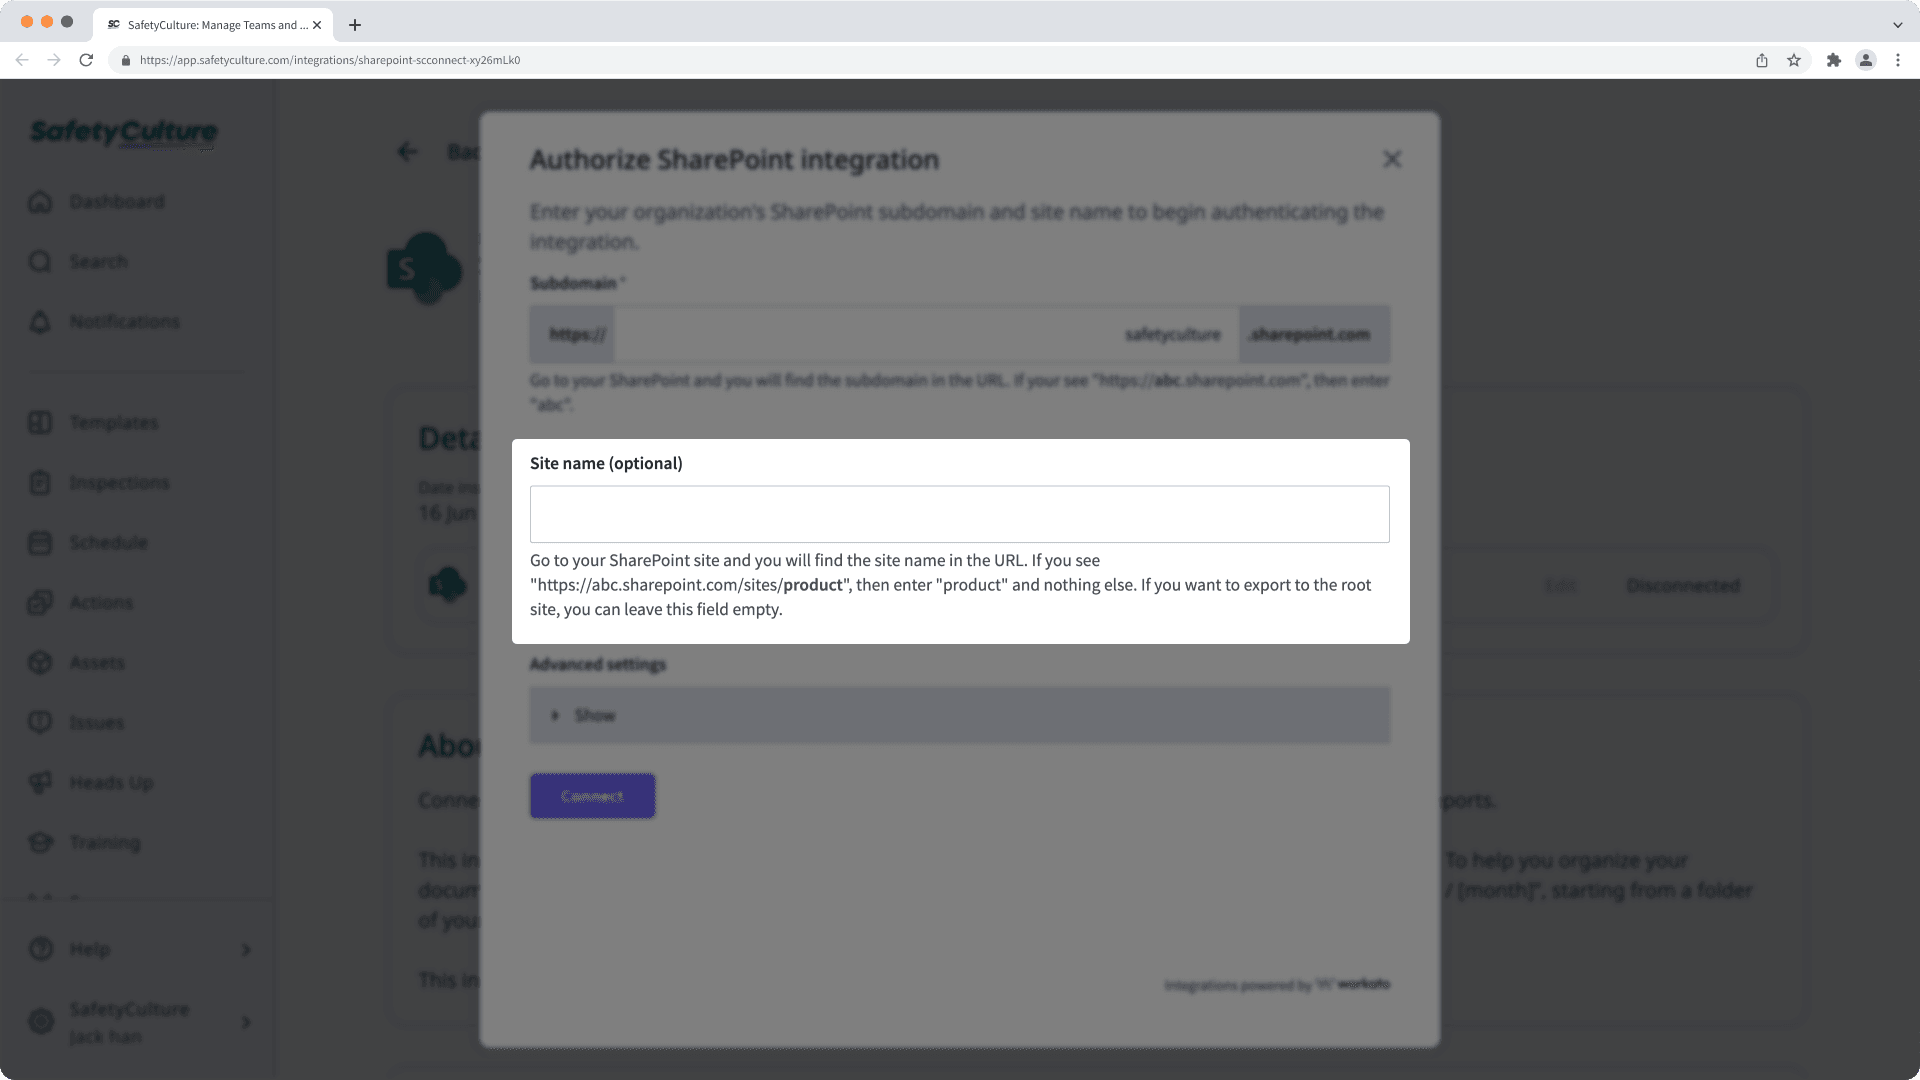
Enter your SharePoint's "Subdomain" and "Site name". If you want to export inspection reports to your subdomain's root folders, you can leave the "Site name" field empty.
Click Connect.
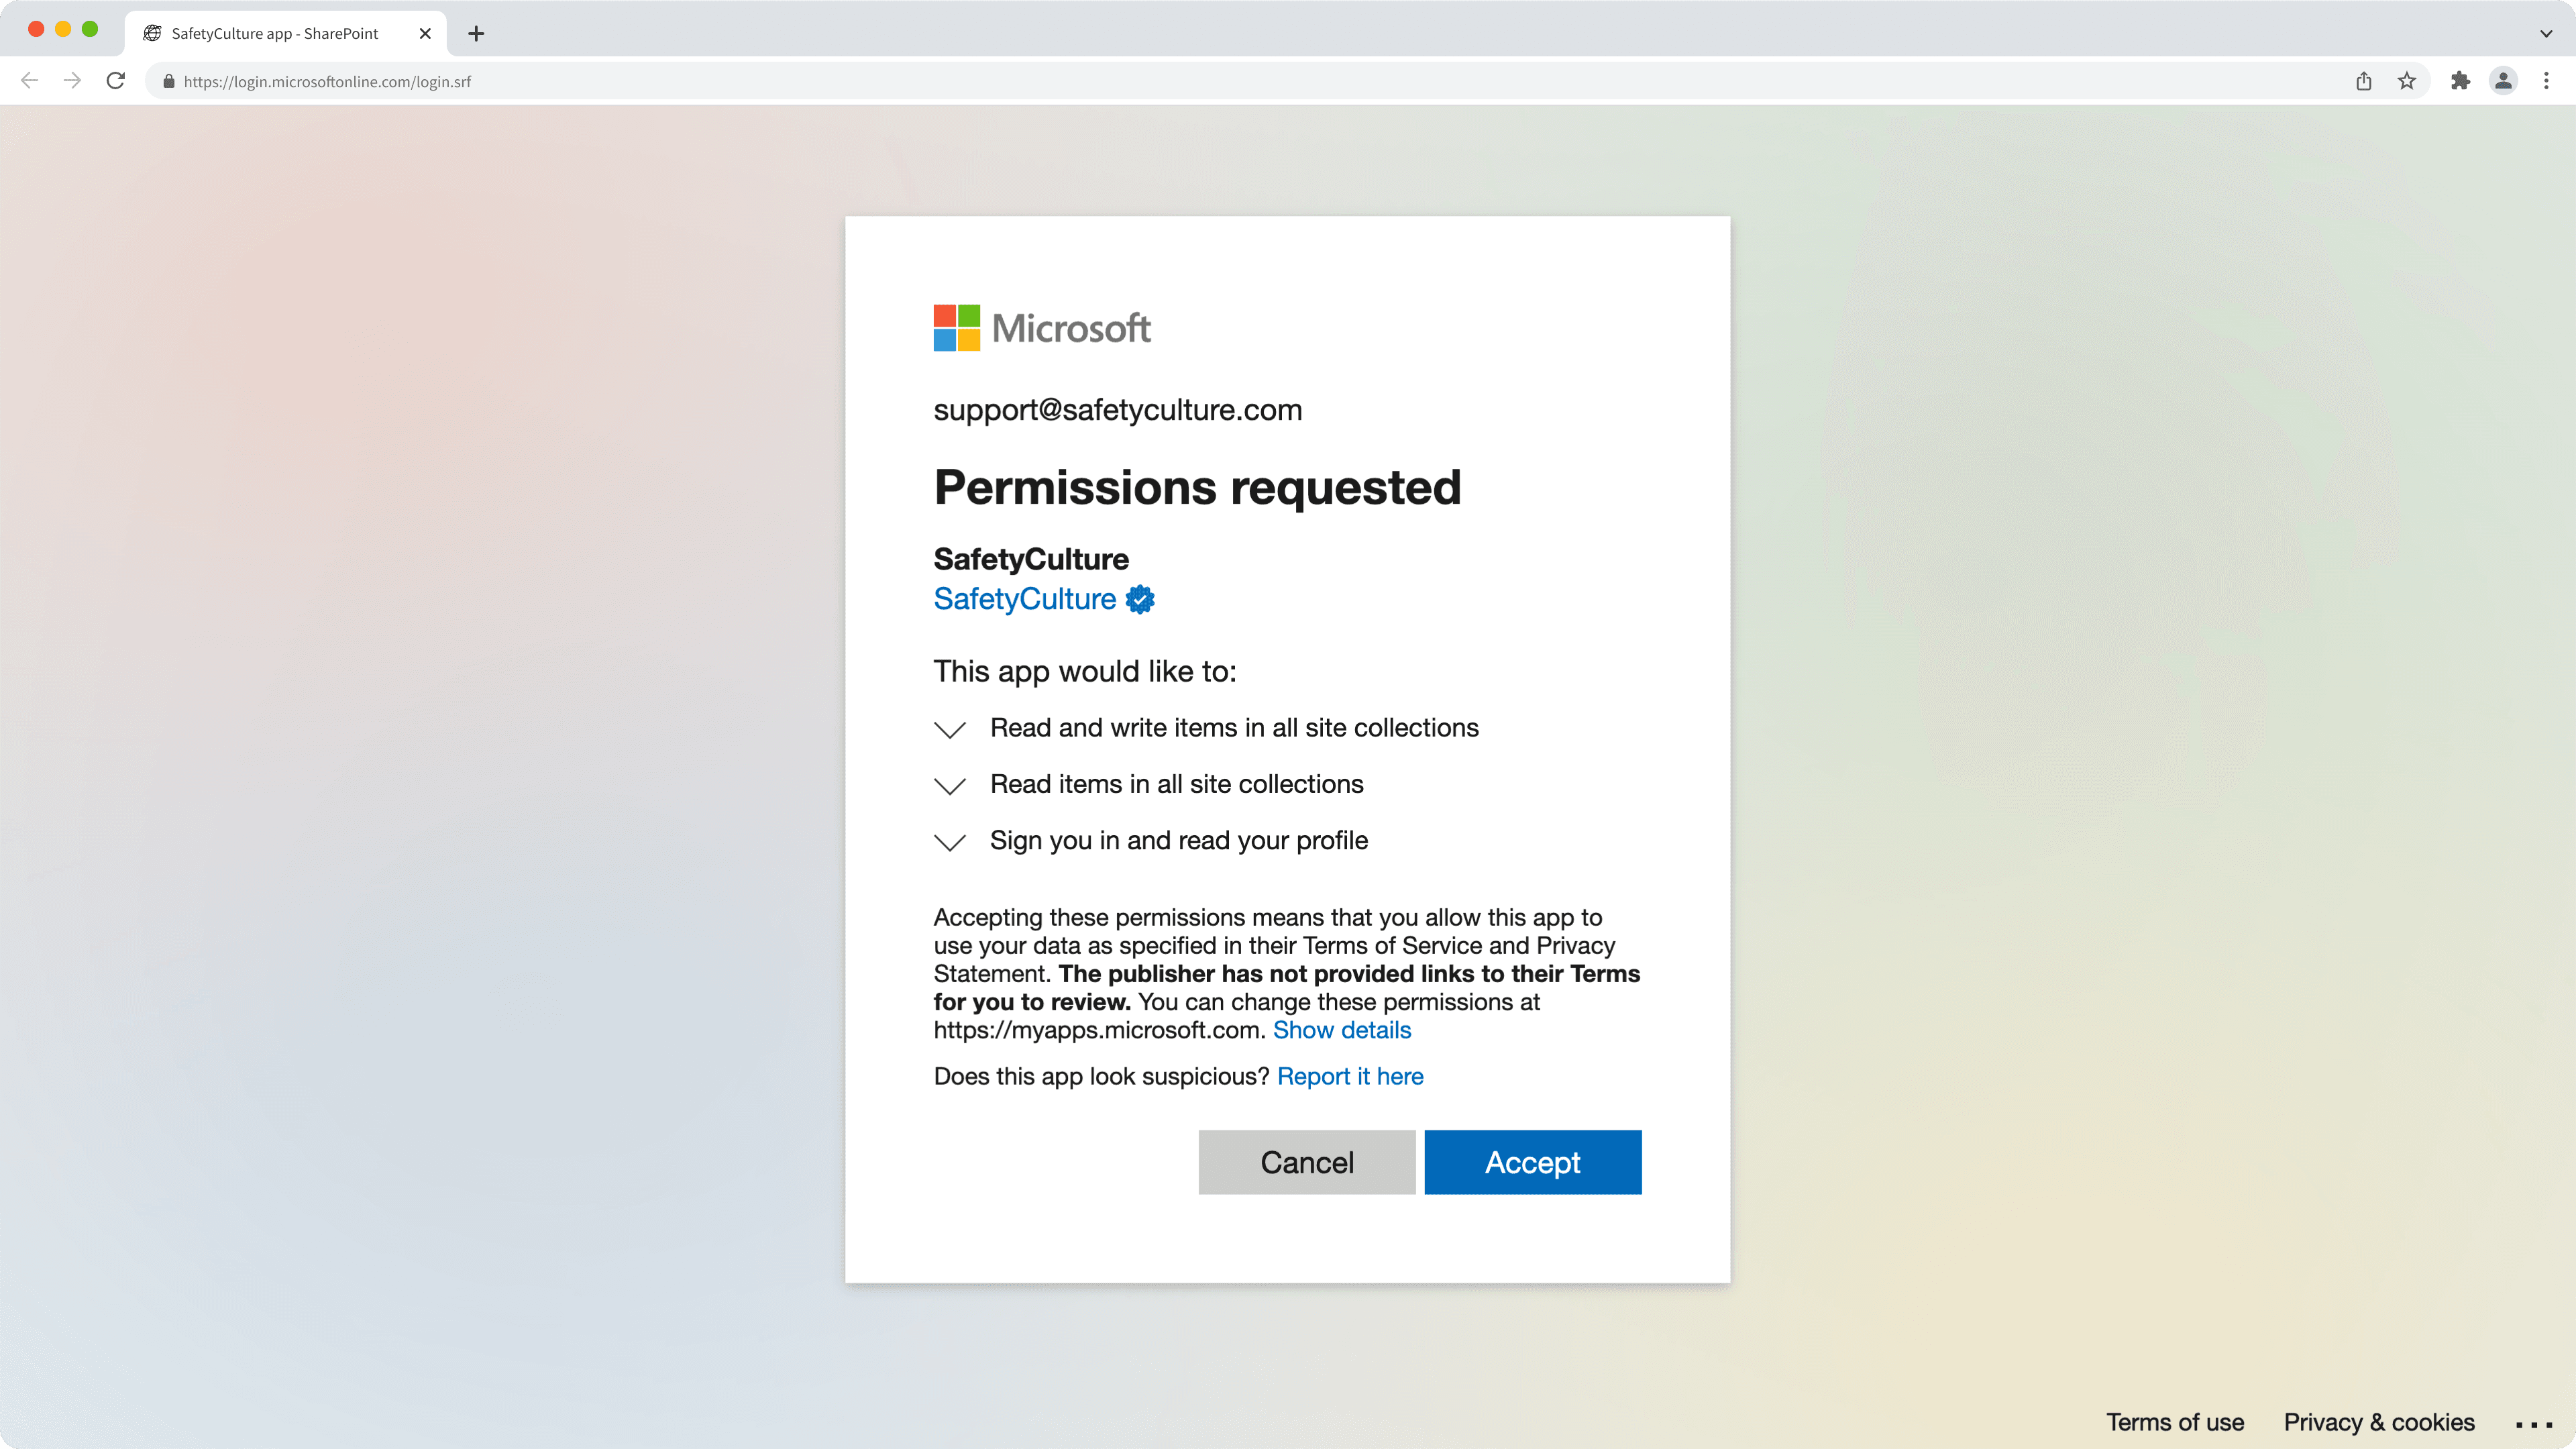
Follow the prompts in SharePoint to accept the permissions request or request approval from your SharePoint admins.
Click the dropdown menu under "Folder location". You may need to close the "SharePoint integration authorization" pop-up window first.
Select where in SharePoint you want to export your inspection reports and click Save and apply.
Click Done.
Now that the integration is installed and set up, completed inspections will be automatically exported to your selected folder location in SharePoint.
Depending on your organization's SharePoint settings, a SharePoint admin may need to approve the integration as an app request after step 6.
Frequently asked questions
Depending on your organization's SharePoint settings, you should be able to request approval during installation via a form. Your SharePoint admins should then receive an email of your request and approve the installation.
Once the installation is approved by your SharePoint admin, you'll need to return to the integration page in SafetyCulture and complete the setup.
If you don't see a form to request approval for the integration, you'll need to contact your IT team for assistance. They can then enable the consent workflow in Microsoft Azure for you to request approval during installation or install the integration for you in SafetyCulture.
No, it's not possible to change the folder structure using this direct integration. However, our SafetyCulture Integration Builder can give you the flexibility to customize integrations in whatever way that works for you.
Yes, you can. When you're installing the SharePoint integration, make sure to leave the "Site name" field empty to be able to select from your root folders.
If an inspection doesn't have a title, it'll be exported and named using its audit_id. We recommend that you set up an inspection title format for each template, so that inspections can be named following a convention.
If an inspection doesn't have a site selected, it'll be exported to a folder called "No Site".
You can change where to export your inspection reports anytime by editing your integration connection.
Go to the integration.
In the pop-up window, click Edit.
Click the dropdown menu under "Folder location".
Select the new location where you want to export your inspection reports and click Save and apply.
Click Done.
Now that you've updated the integration, newly completed inspections will be automatically exported to the new folder location.
Yes, you can. Follow the instructions in this article and when you reach the step to enter your SharePoint details, click Show under "Advanced settings" and enter your app's "Client ID" and "Client secret". Then, continue following the instructions to set up the integration with your Microsoft Azure Active Directory app.
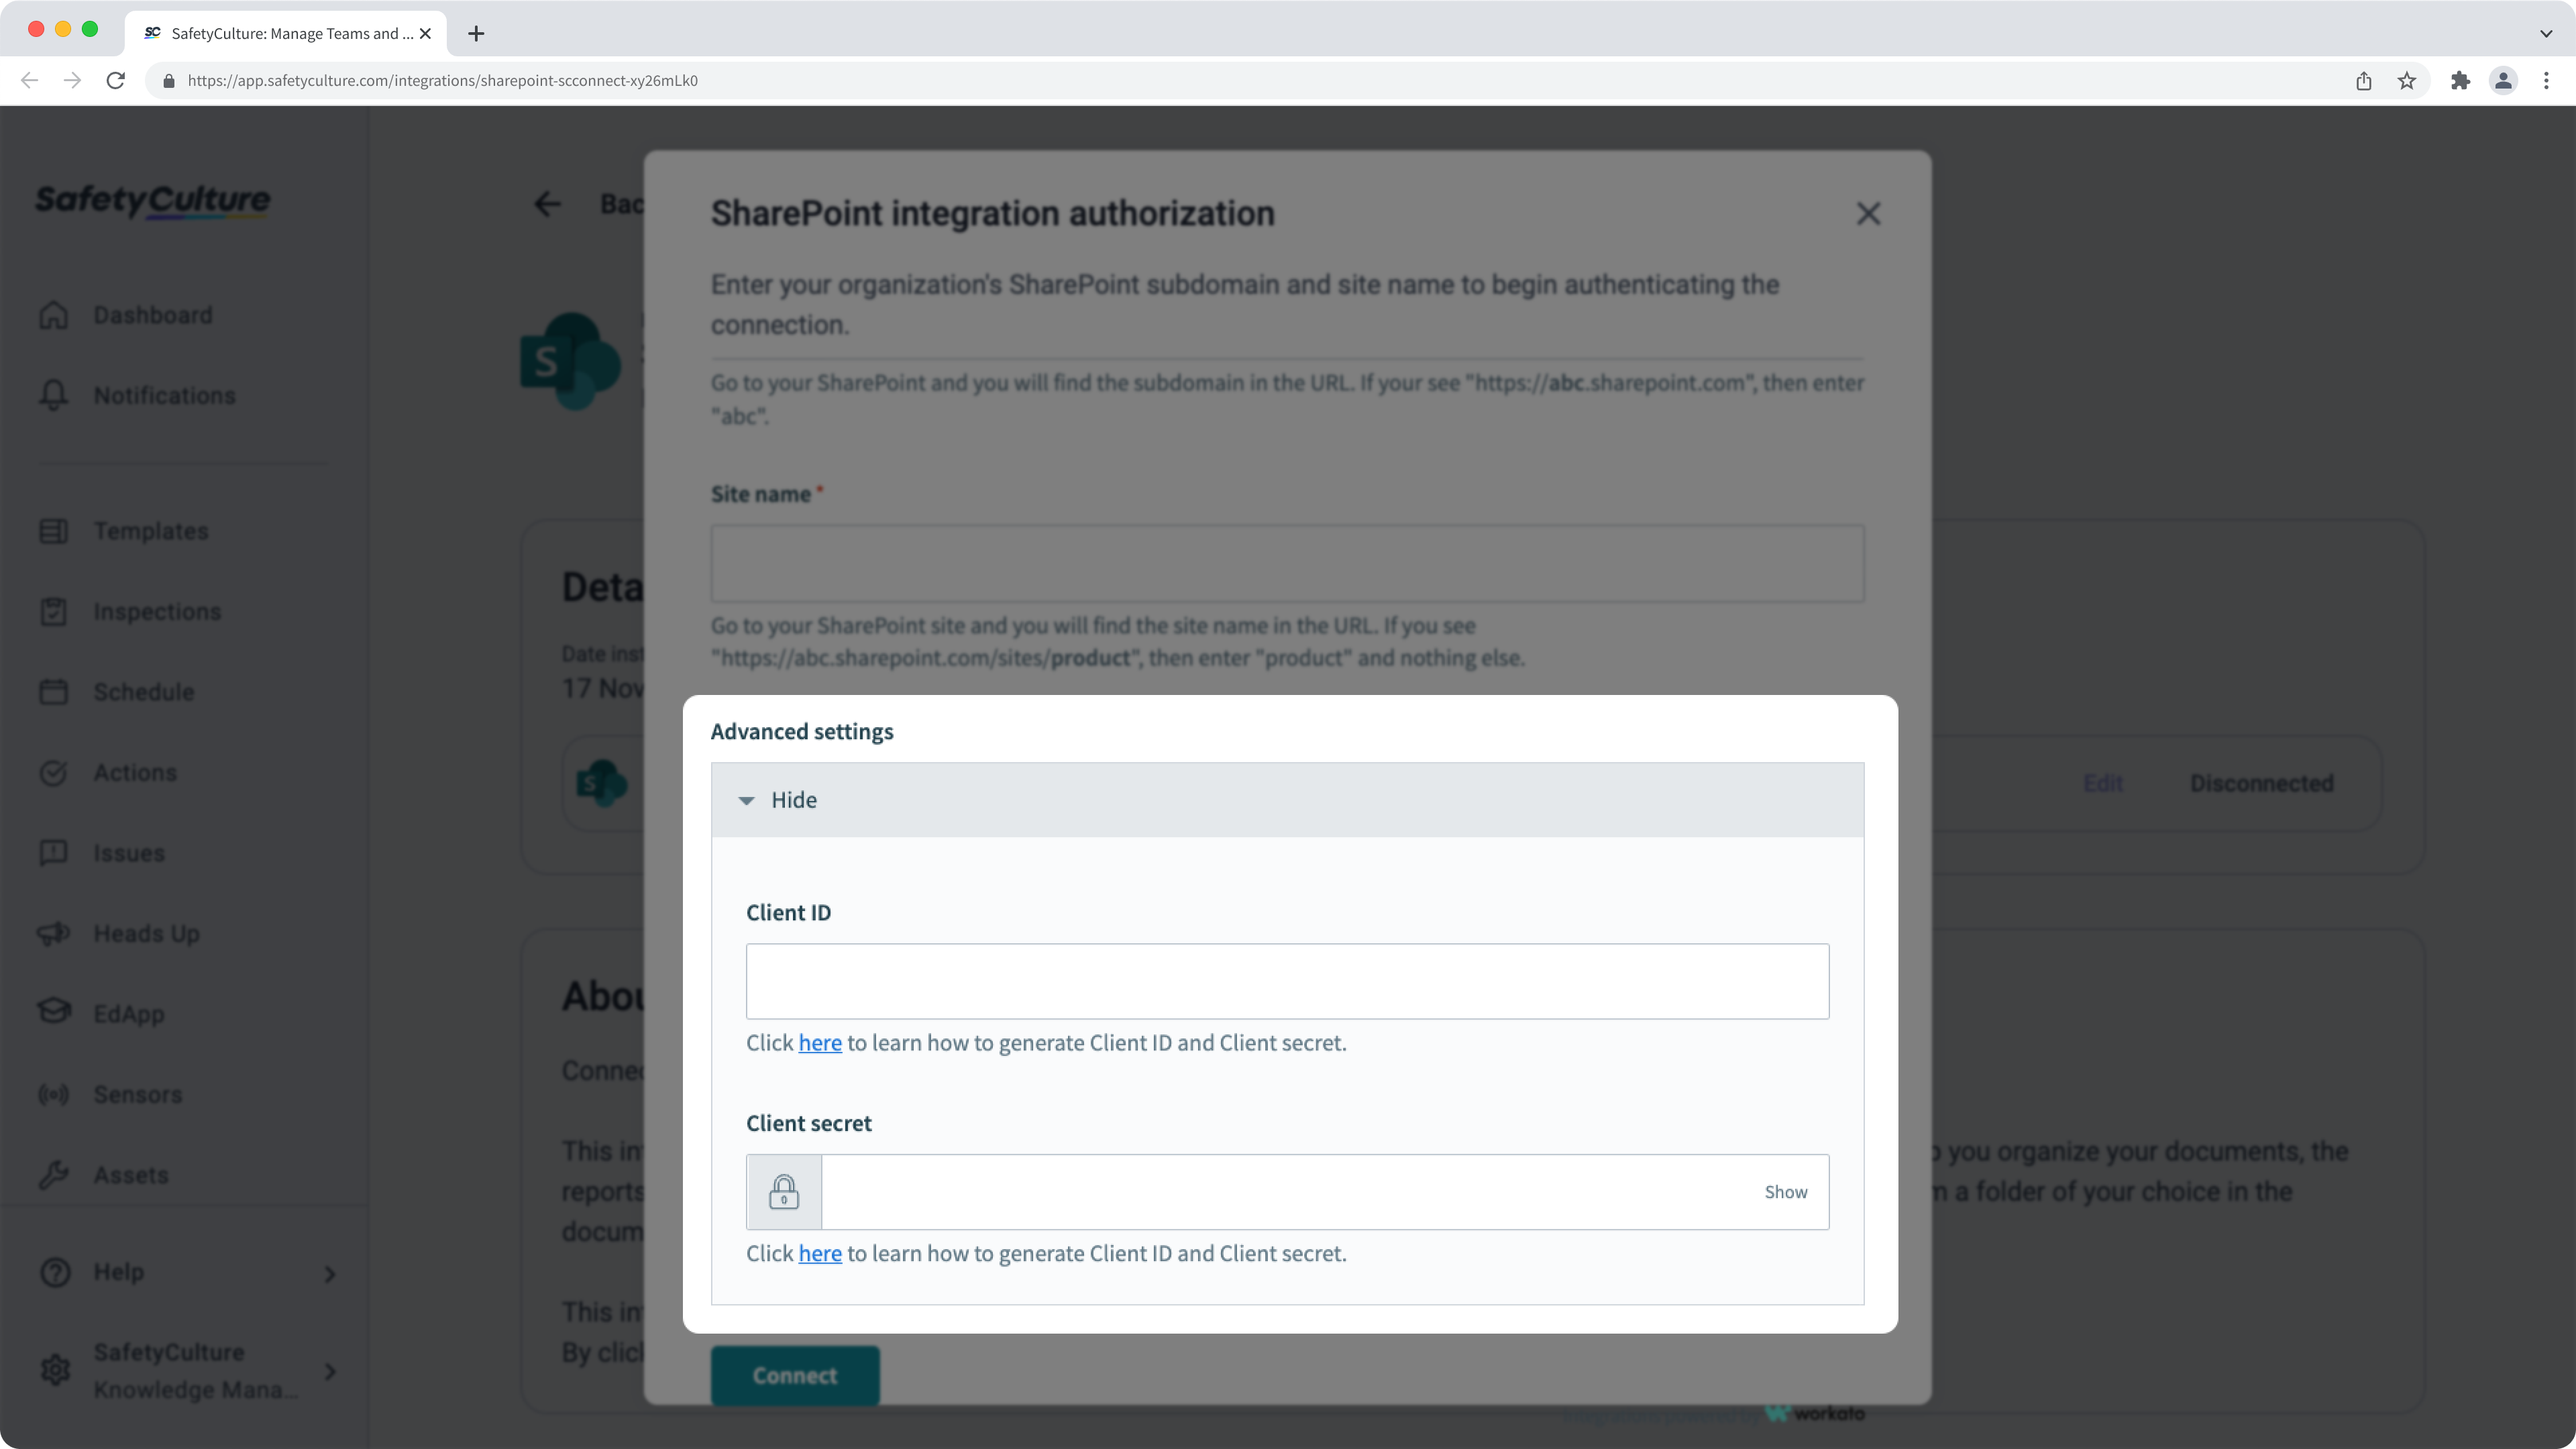
If you don't have your "Client ID" and "Client secret" yet, please follow the instructions to create the app in your Microsoft Azure for the details.
Yes. If an exported inspection report's file and folder path exceeds 400 characters, the inspection will not be automatically exported to SharePoint via the integration.
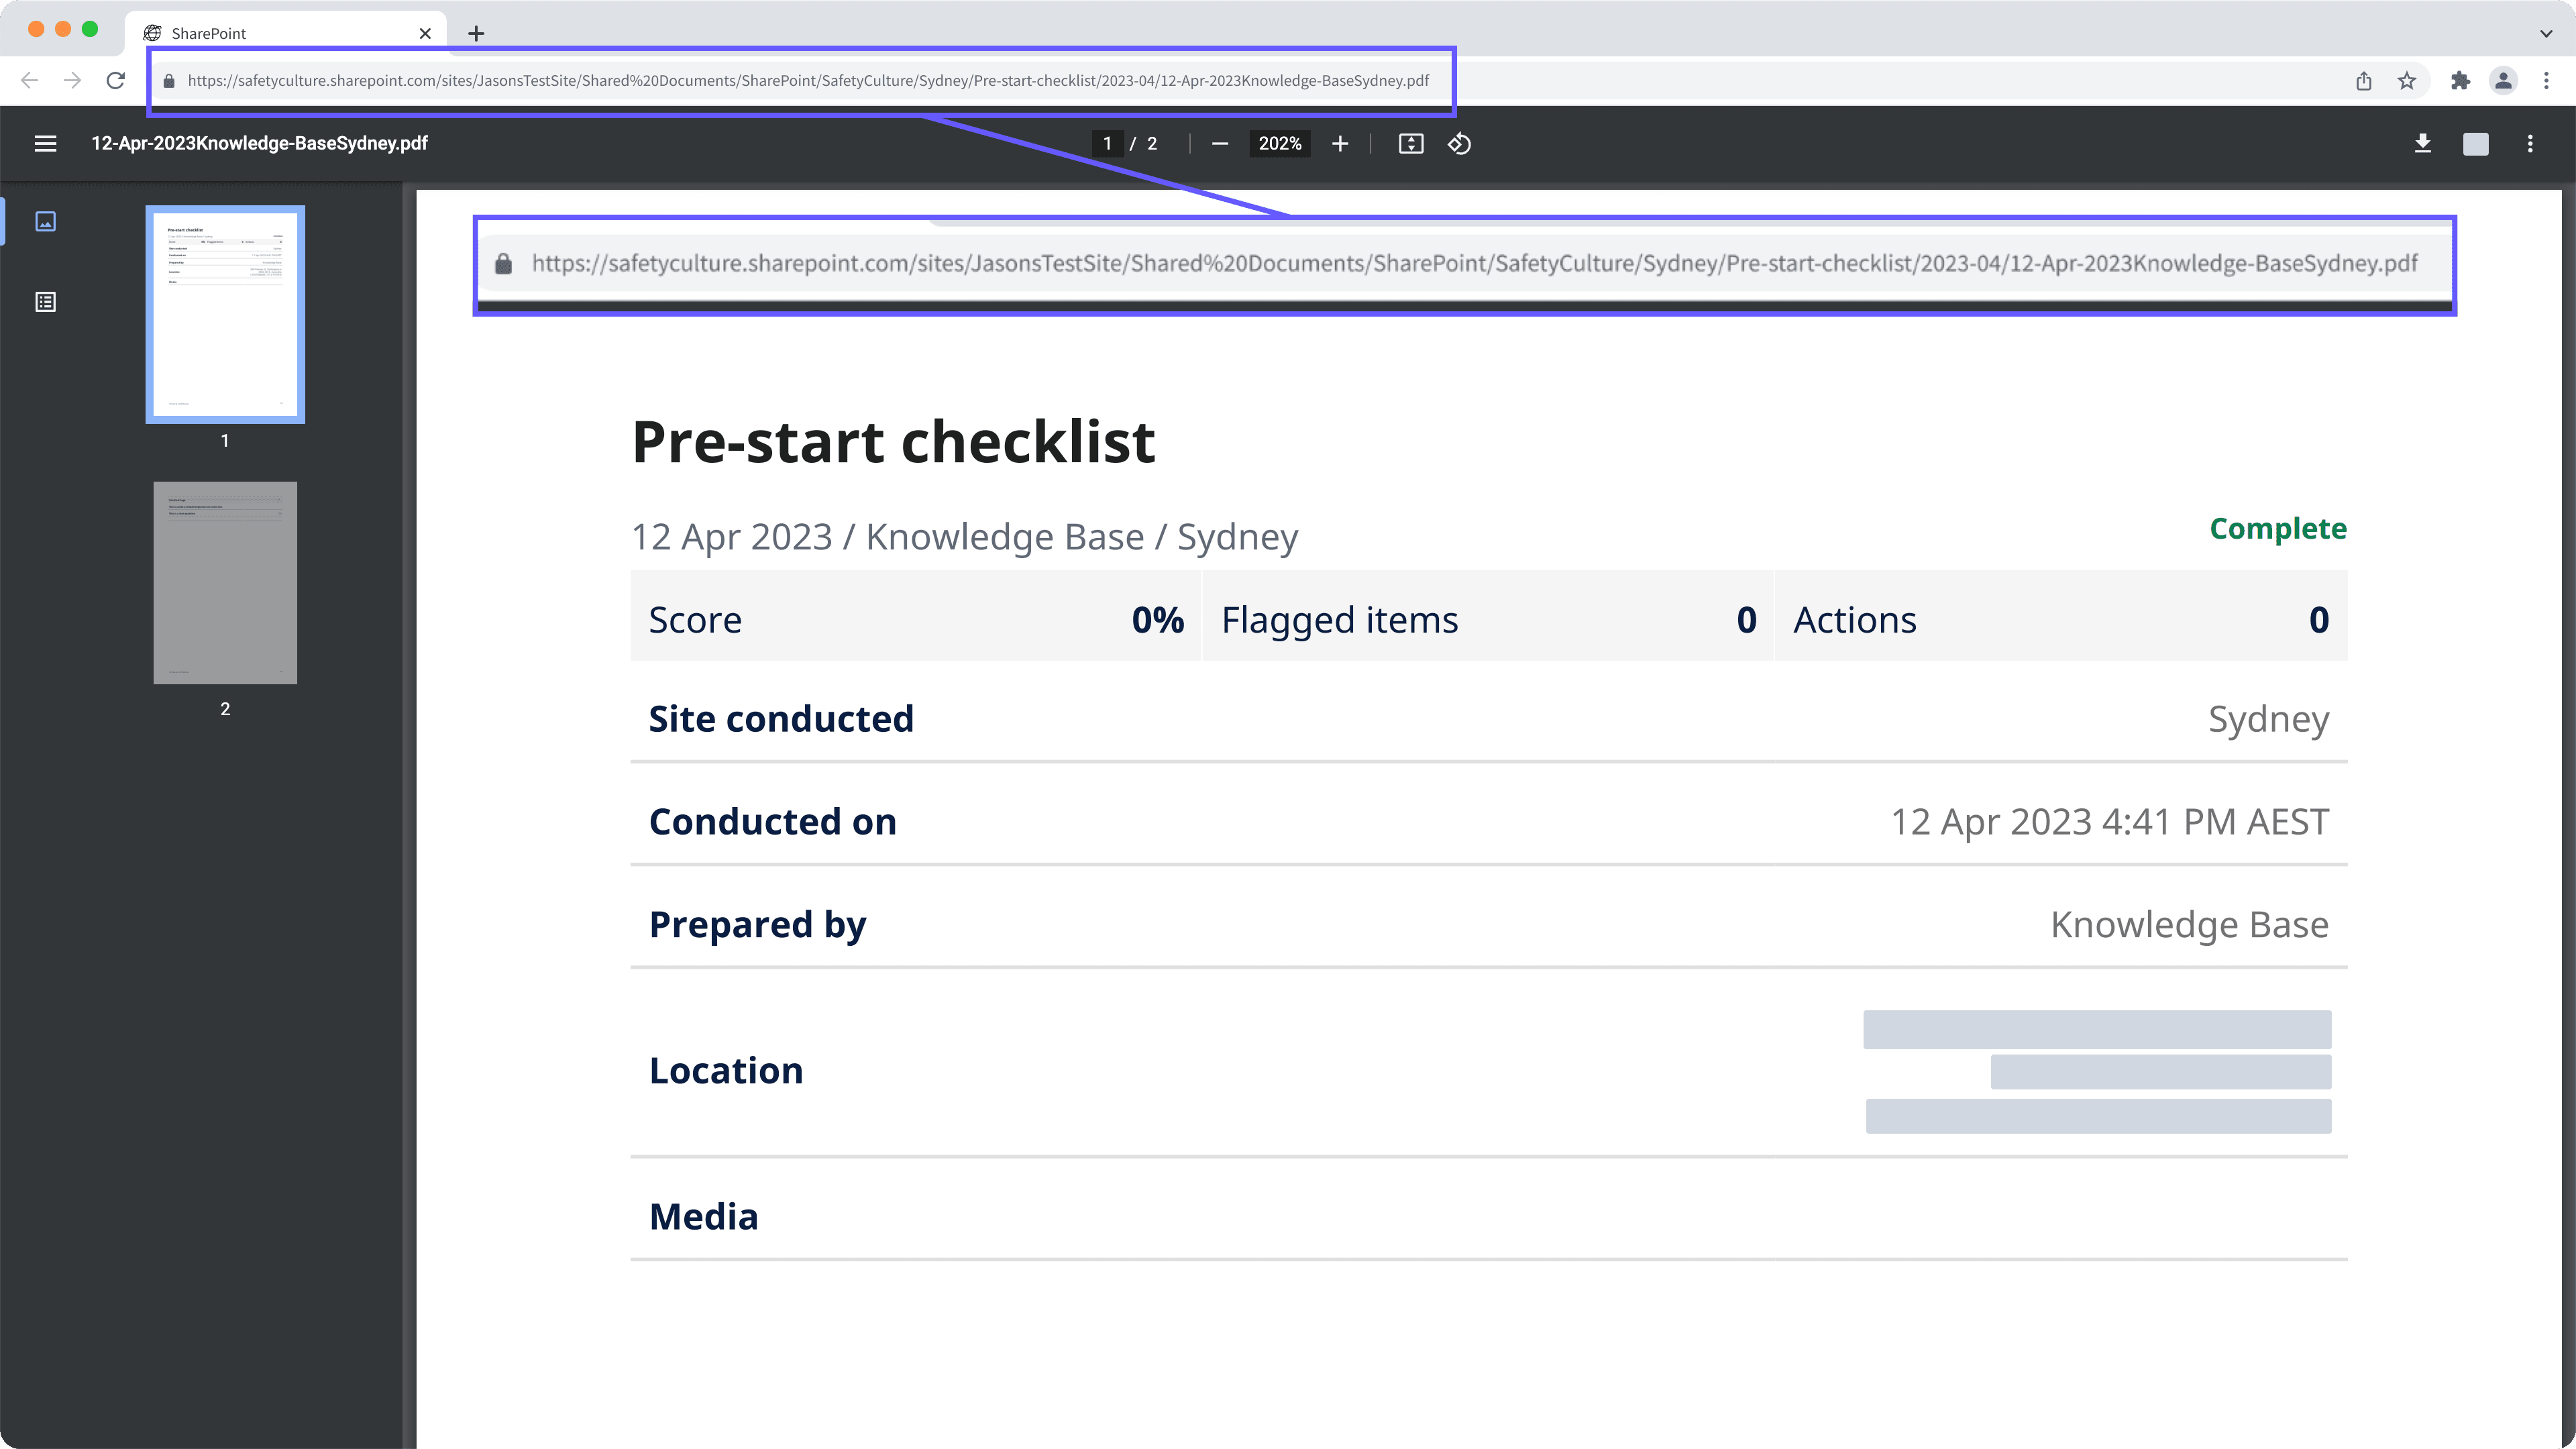
The integration may have been turned off due to an authentication error. Either because the external account used for the integration no longer has access to the system or its permissions to make changes have been removed.
When this happens, an email would be sent to users with the "Platform management: Organization" permission to inform them about the error. To fix the problem, we recommend that you uninstall the integration and follow the instructions to install it again.
If you get a connection error while installing the integration, it's likely because your browser is blocking third-party cookies on SafetyCulture websites. To fix this, we recommend that you enable third-party cookies in your browser settings and try installing the integration again.
Was this page helpful?
Thank you for letting us know.