- Verwaltung
- Referenzen
- Verwalten von Referenzen für Nutzer in Ihrer Organisation
Verwalten von Referenzen für Nutzer in Ihrer Organisation
In diesem Arikel erfahren Sie, wie Sie mithilfe der Web-App die Referenzen für Nutzer in Ihrer Organisation verwalten können.Was sind Referenzen?
Die Funktion „Referenzen“ in SafetyCulture vereinfacht und optimiert die Verwaltung der Qualifikationen Ihrer Belegschaft. Ob es sich um Zertifizierungen oder externe Qualifikationen wie Führerscheine und Erste-Hilfe-Kurse handelt, unsere Plattform bietet einen einzigen, organisierten Speicherort für sie alle.
Sie können Ihre eigenen Referenzen oder die Ihrer Mitarbeiter verwalten, indem Sie sie in verschiedene Referenztypen kategorisieren. Sie können auch neue Versionen von Referenzen hinzufügen, die bald ablaufen, ihren Genehmigungsstatus überprüfen und ihren Verlauf überprüfen. Sie können auch die Aktivitäten jeder Version nachverfolgen, wobei die vorgenommenen Änderungen am Ausstellungsdatum, am Ablaufdatum und an den Medienanhängen protokolliert werden.
In Verbindung mit Schulungen in SafetyCulture gewährleisten Qualifikationen die vollständige Compliance Ihrer Teams. Ein Gabelstaplerfahrer kann beispielsweise für einen reibungslosen Betrieb vor Ort einen Einführungskurs für seinen Standort absolvieren und einen Gabelstaplerschein als Qualifikation besitzen.
Benutzer können unter ihre Benachrichtigungseinstellungen anpassen , um benachrichtigt zu werden, wenn ihre Zugangsdaten bald ablaufen.
Bitte beachten Sie, dass Sie über Berechtigung "Plattformverwaltung: Nutzer"verfügen müssen, um die Anmeldedaten eines anderen Benutzers aus der Liste der Benutzer in Ihrer Organisation zu verwalten.
Referenz eines Nutzers hinzufügen
Klicken Sie unten links auf der Seite auf den Namen Ihrer Organisation und wählen Sie Nutzer aus.
Wählen Sie einen Nutzer aus.
Klicken Sie auf Speichern.
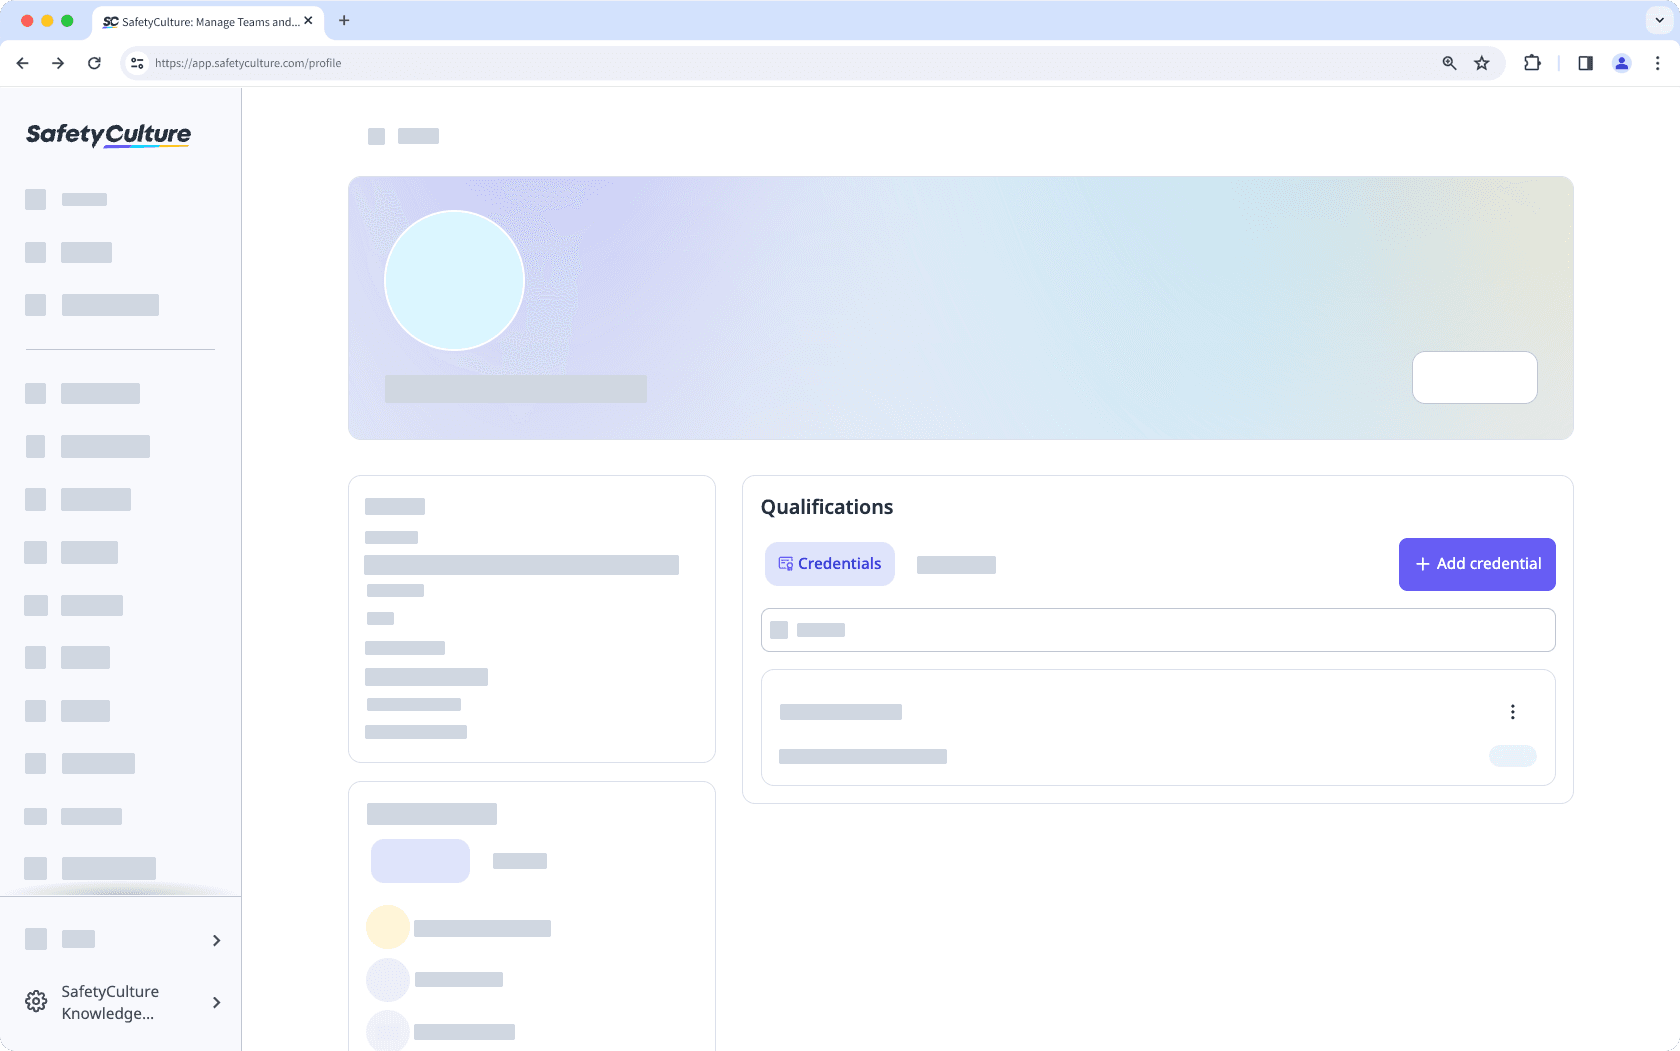
Laden Sie Fotos oder PDF-Dateien der Referenzen eines Nutzers hoch.
Bitte geben Sie die folgenden erforderlichen Referenzdaten ein:
Qualifikationstyp: Die Art der Qualifikation. Zum Beispiel: "Führerschein".
Nutzer: Der Nutzer, dem eine Qualifikation zugeordnet ist.
Ausstellungsdatum: Das Ausstellungsdatum einer Qualifikation.
Ablaufdatum: Das Ablaufdatum einer Qualifikation.
Klicken Sie auf Speichern.
You can upload credentials for users in your organization in one go using CSV.
Referenz eines Nutzers bearbeiten
Klicken Sie unten links auf der Seite auf den Namen Ihrer Organisation und wählen Sie Nutzer aus.
Wählen Sie einen Nutzer aus.
Klicken Sie rechts neben den Referenzen auf
.
Wählen Sie
Version hinzufügen oder
Neueste Version bearbeiten, um eine neue Referenz zu erstellen oder um eine Vorhandene zu aktualisieren.
Aktualisieren Sie die Berechtigung entsprechend.
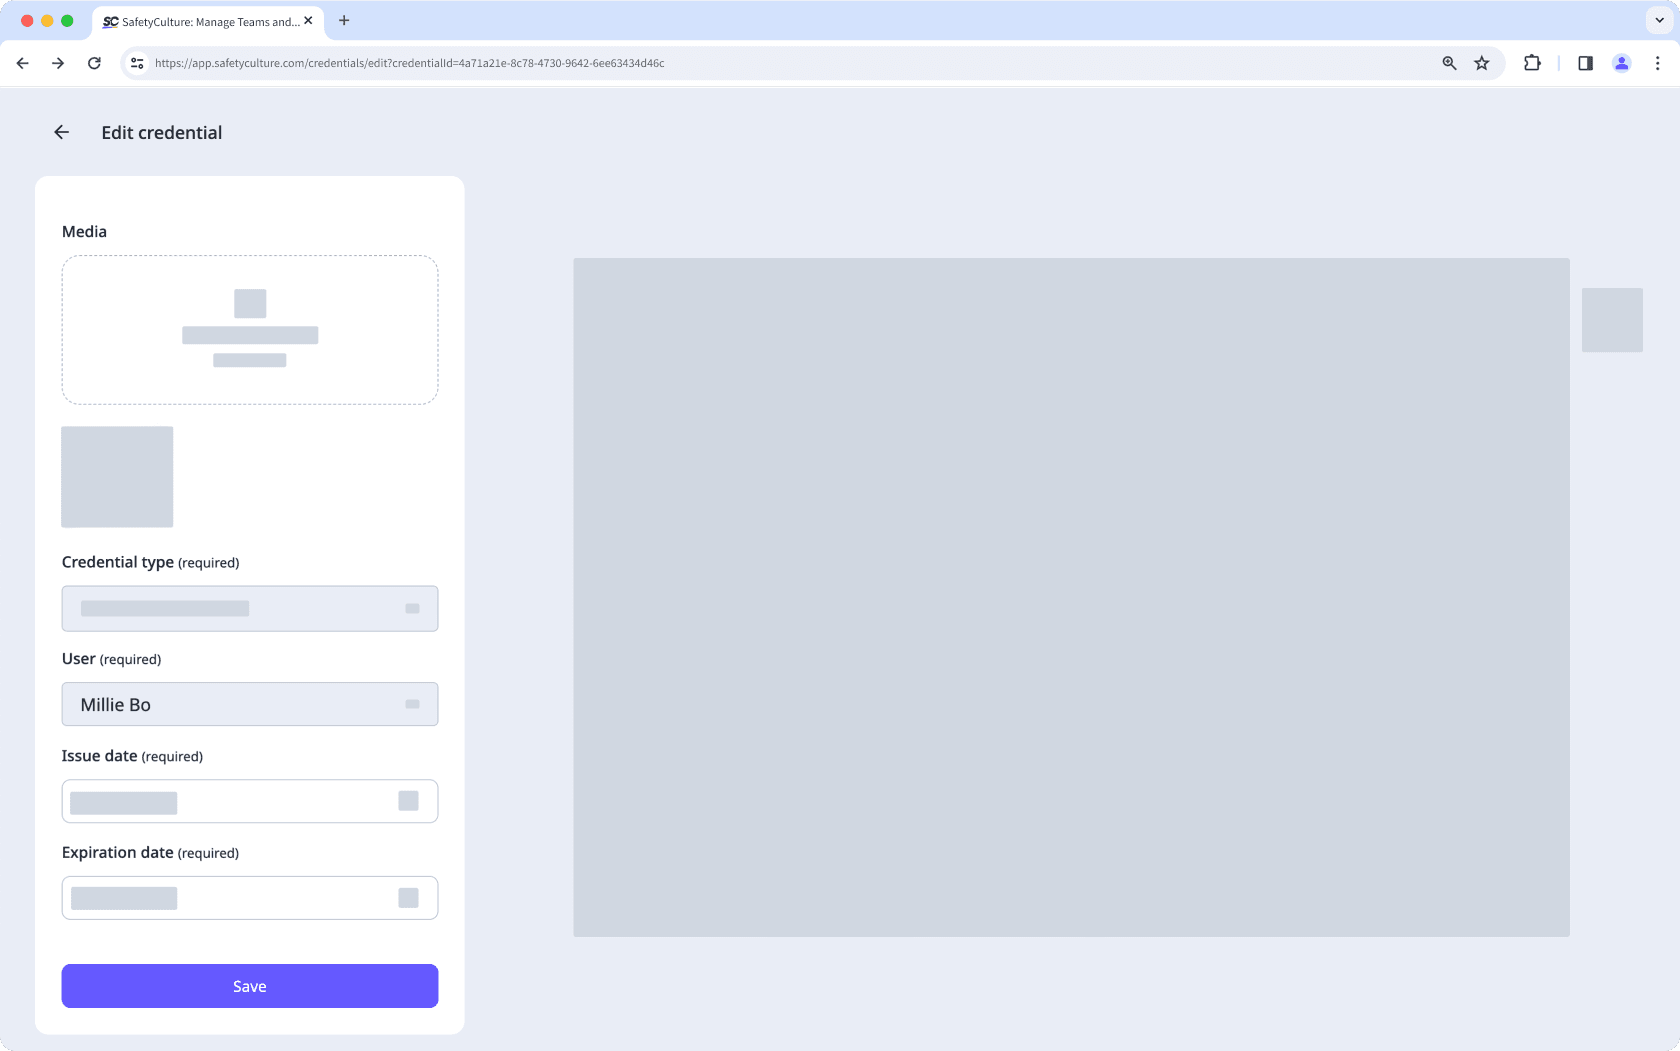
Klicken Sie auf Speichern.
Referenzverlauf eines Nutzers anzeigen
Klicken Sie unten links auf der Seite auf den Namen Ihrer Organisation und wählen Sie Nutzer aus.
Wählen Sie einen Nutzer aus.
Klicken Sie auf der rechten Seite der Qualifikation auf
und wählen Sie
Verlauf anzeigen aus.
Auf dieser Seite können Sie alle Versionen des Berechtigungsnachweises anzeigen und eine der Versionen auswählen, um weitere Details anzuzeigen.
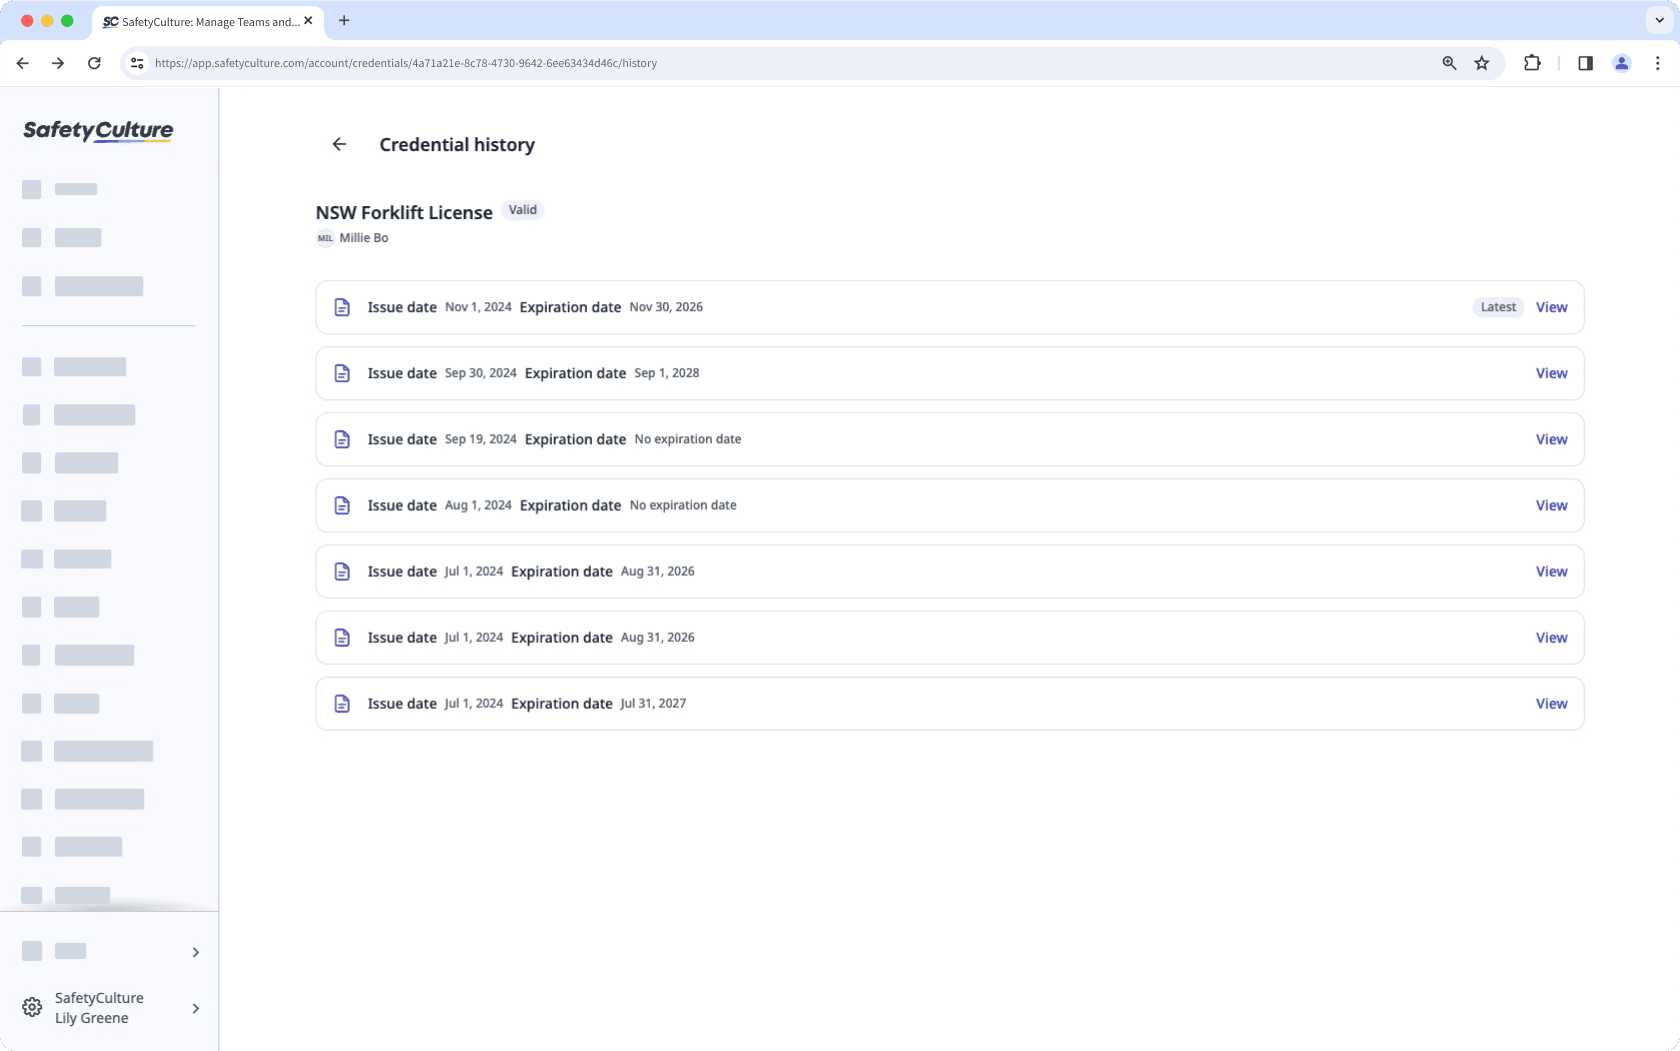
Aktivitäten für die Referenzversion eines Nutzers anzeigen
Click your organization name on the lower-left corner of the page and select Nutzer.
Select a user.
Select a credential.
Click Aktivität from the tab on the left-hand side of the page.
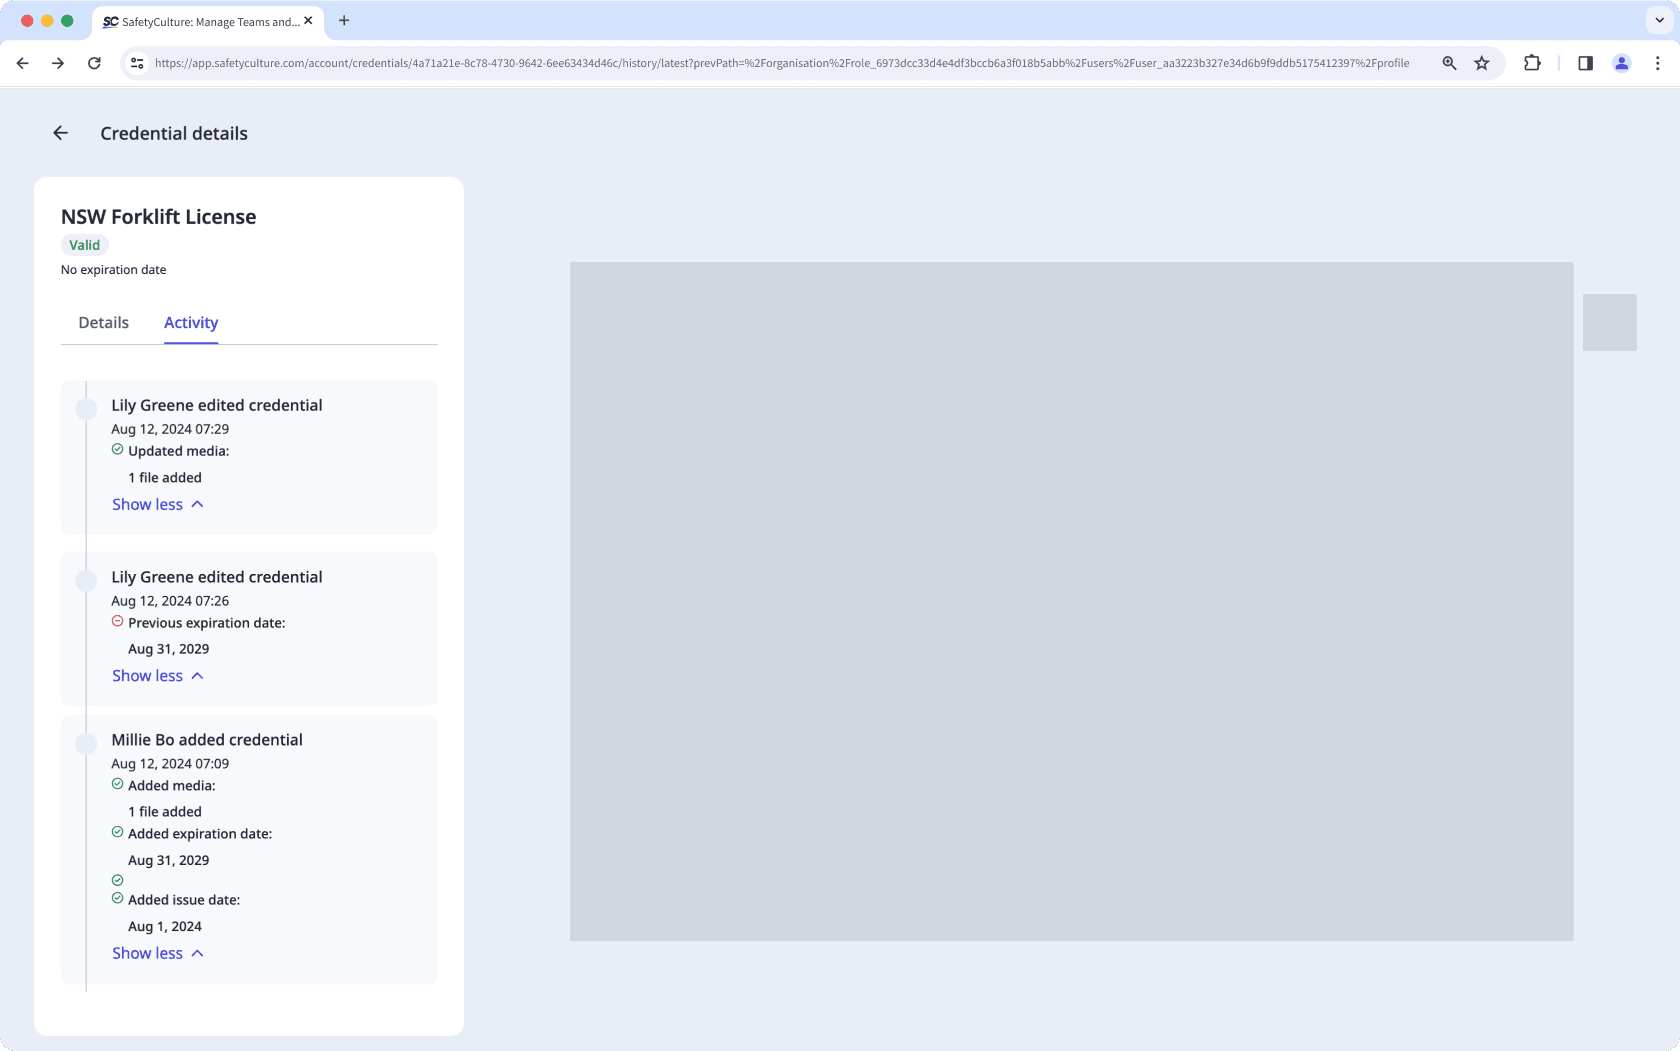
In this tab, you can view changes made to the following fields of the user's credential over time:
Issue date
Expiration date
Media files
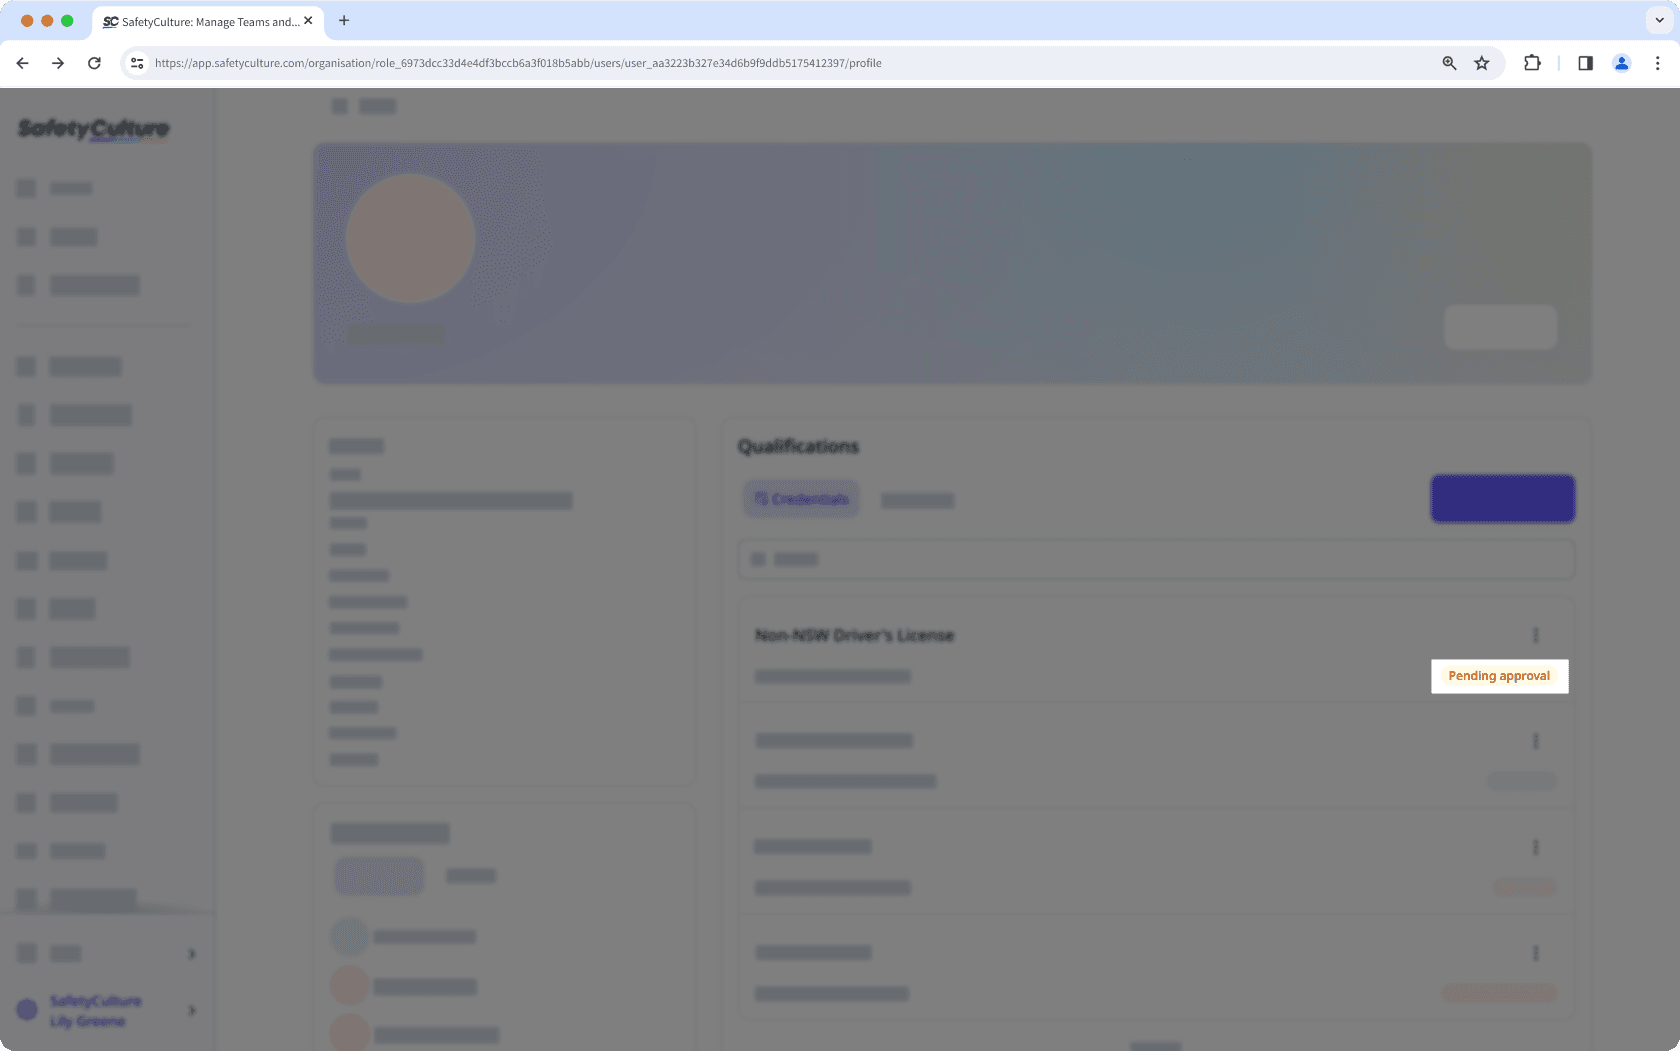
Den Genehmigungsstatus der Referenzen eines Nutzers anzeigen
Click your organization name on the lower-left corner of the page and select Nutzer.
Select or search for the user to view their credentials.
View the approval status on the lower-right of the credential.
Das Löschen ist nicht rückgängig zu machen, und wir können dauerhaft gelöschte Objekte nicht wiederherstellen. Vor dem Löschen ist immer eine Bestätigung erforderlich, um sicherzustellen, dass Sie nicht versehentlich das falsche Objekt löschen.
Referenz eines Nutzers löschen
Click your organization name on the lower-left corner of the page and select Nutzer.
Select a user.
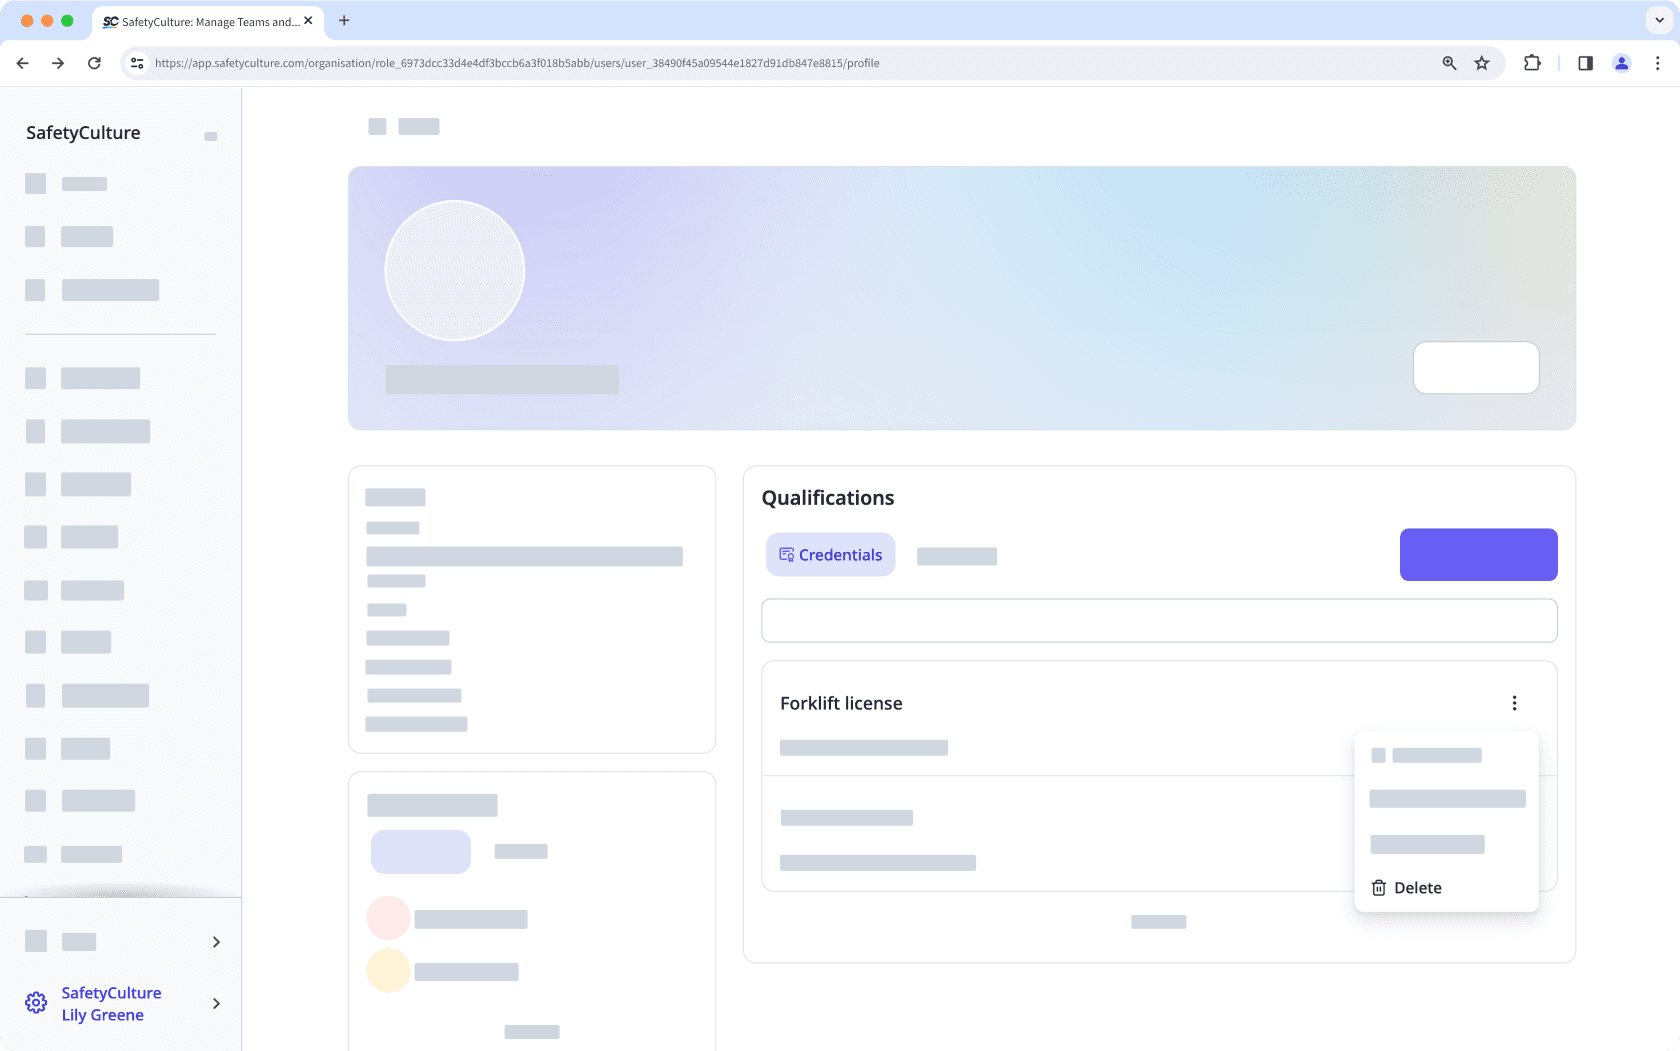
Click
on the credential's right-hand side, and select
Löschen.
In the pop-up window, click Löschen.
War diese Seite hilfreich?
Vielen Dank für Ihre Anmerkungen.