What’s the difference between adding and linking documents or images?
Whether you add or link documents or images to assets, you give teams additional context that text fields alone cannot capture. Manuals, certificates, service records, and the like help build a complete view of an asset’s lifecycle, and support decisions on utilization, refurbishment, and replacement.
You can either add documents or images directly to the asset, where they stay independent, or link existing files from the Documents feature, where updates carry through everywhere the file is linked.
Ways to add or link documents and images
The following table shows where each method is available, which file types are supported, and where files are stored.
Where | What you can do | File types | Storage location |
|---|---|---|---|
Documents tab in the asset profile | Upload files from your device or link files already stored in Documents. | • Uploads: JPEG, PNG, and PDF • Links: JPEG, PNG, PDF, DOC, DOCX, XLS, XLSX, and WEBP | • Uploaded files stay in Assets. • Linked files stay in Documents and update everywhere they're linked. |
Images tab in the asset profile | Upload images from your device. Linking is not supported. | JPEG and PNG | Uploaded images stay in Assets. |
Asset list | Link one file from Documents to multiple assets. | JPEG, PNG, PDF, DOC, DOCX, XLS, XLSX, and WEBP | Linked files stay in Documents and update everywhere they're linked. |
If you have asset QR codes, upload them to the asset profiles so they’re easy to find later.You can print them for use on-site, where scanning the code takes you straight to the asset profile and auto-fills asset and site details for inspections or actions.
Add documents or images to an asset
You can only link files from the Documents feature to your assets via the web app.
Link files to an asset
Select Assets in the sidebar or select it in More.
You can choose how you want to view your assets by selecting Table, Gallery, or Map on the upper-right of the page. You can also filter by type or site.
Search and select the asset.
In Overview, go to the "Documents" section and then click .
In the pop-up window, select the files you want to link.
Alternatively, click Documents at the center of the page.
Click Add on the right-hand side of the page.
In the pop-up window, select the files you want to link.
Link a file to multiple assets
Select Assets in the sidebar or select it in More.
Select the assets you want to link files to.
To select multiple assets in the asset list, click on the left-hand side of the assets.
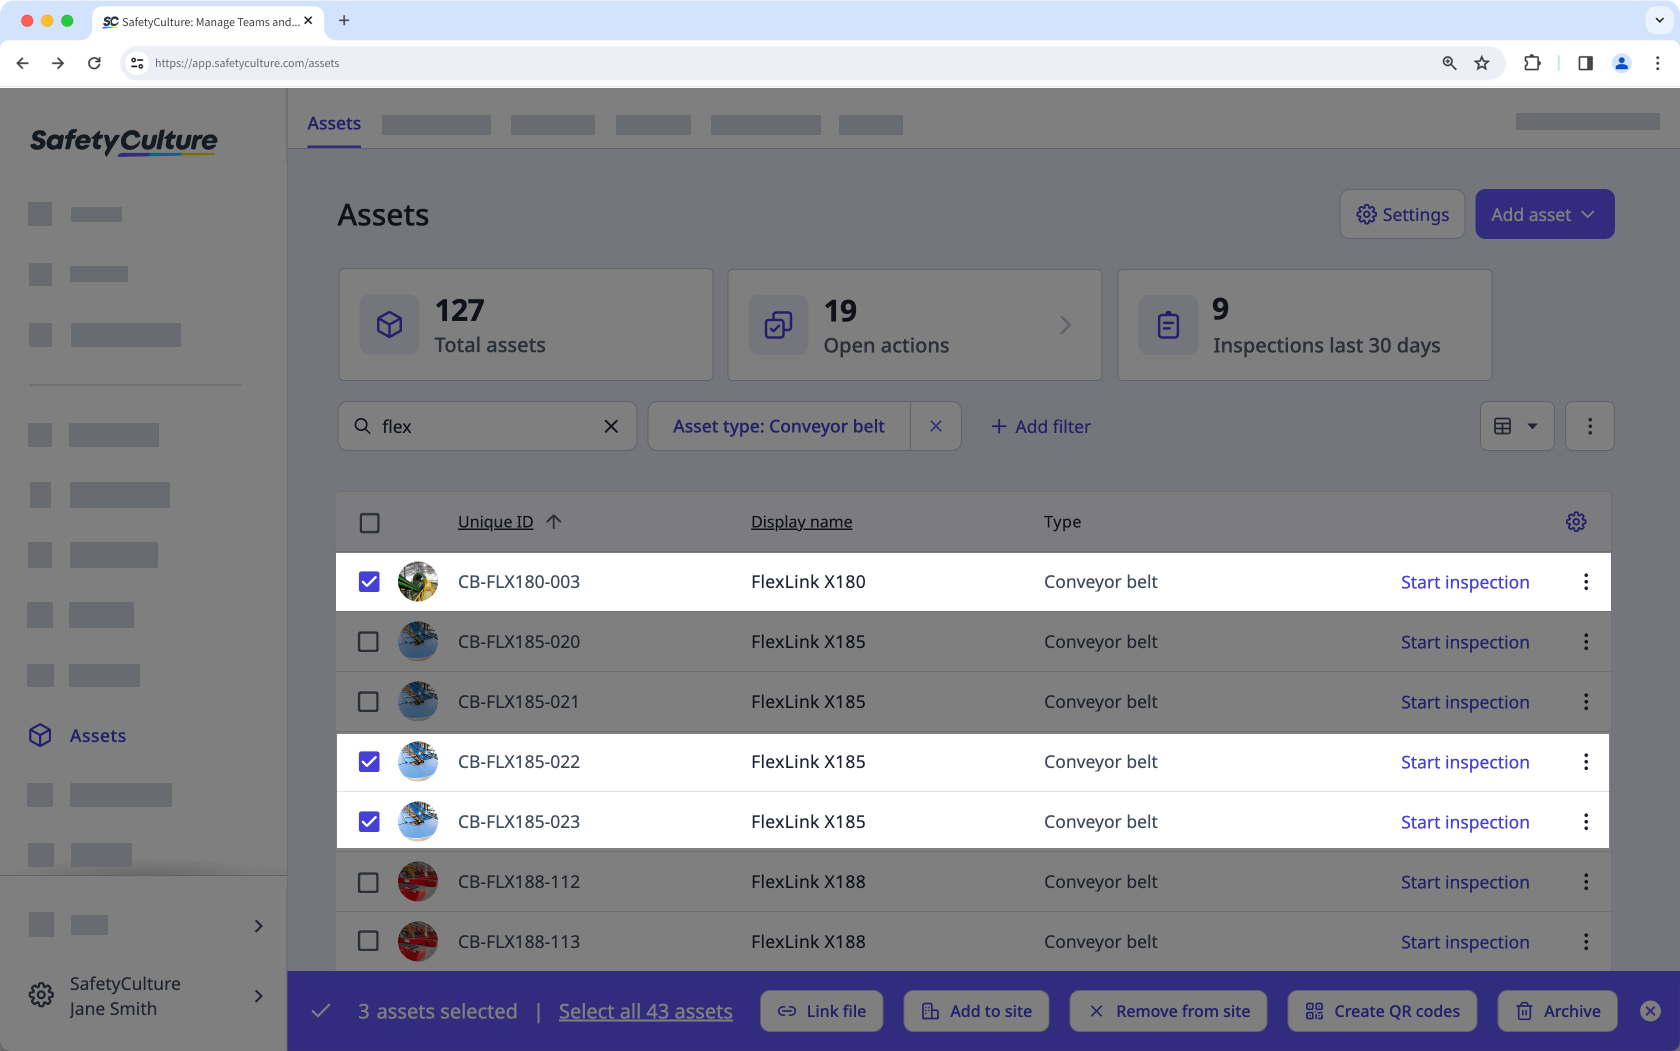
To select all assets visible in the asset list, click the in the table header.
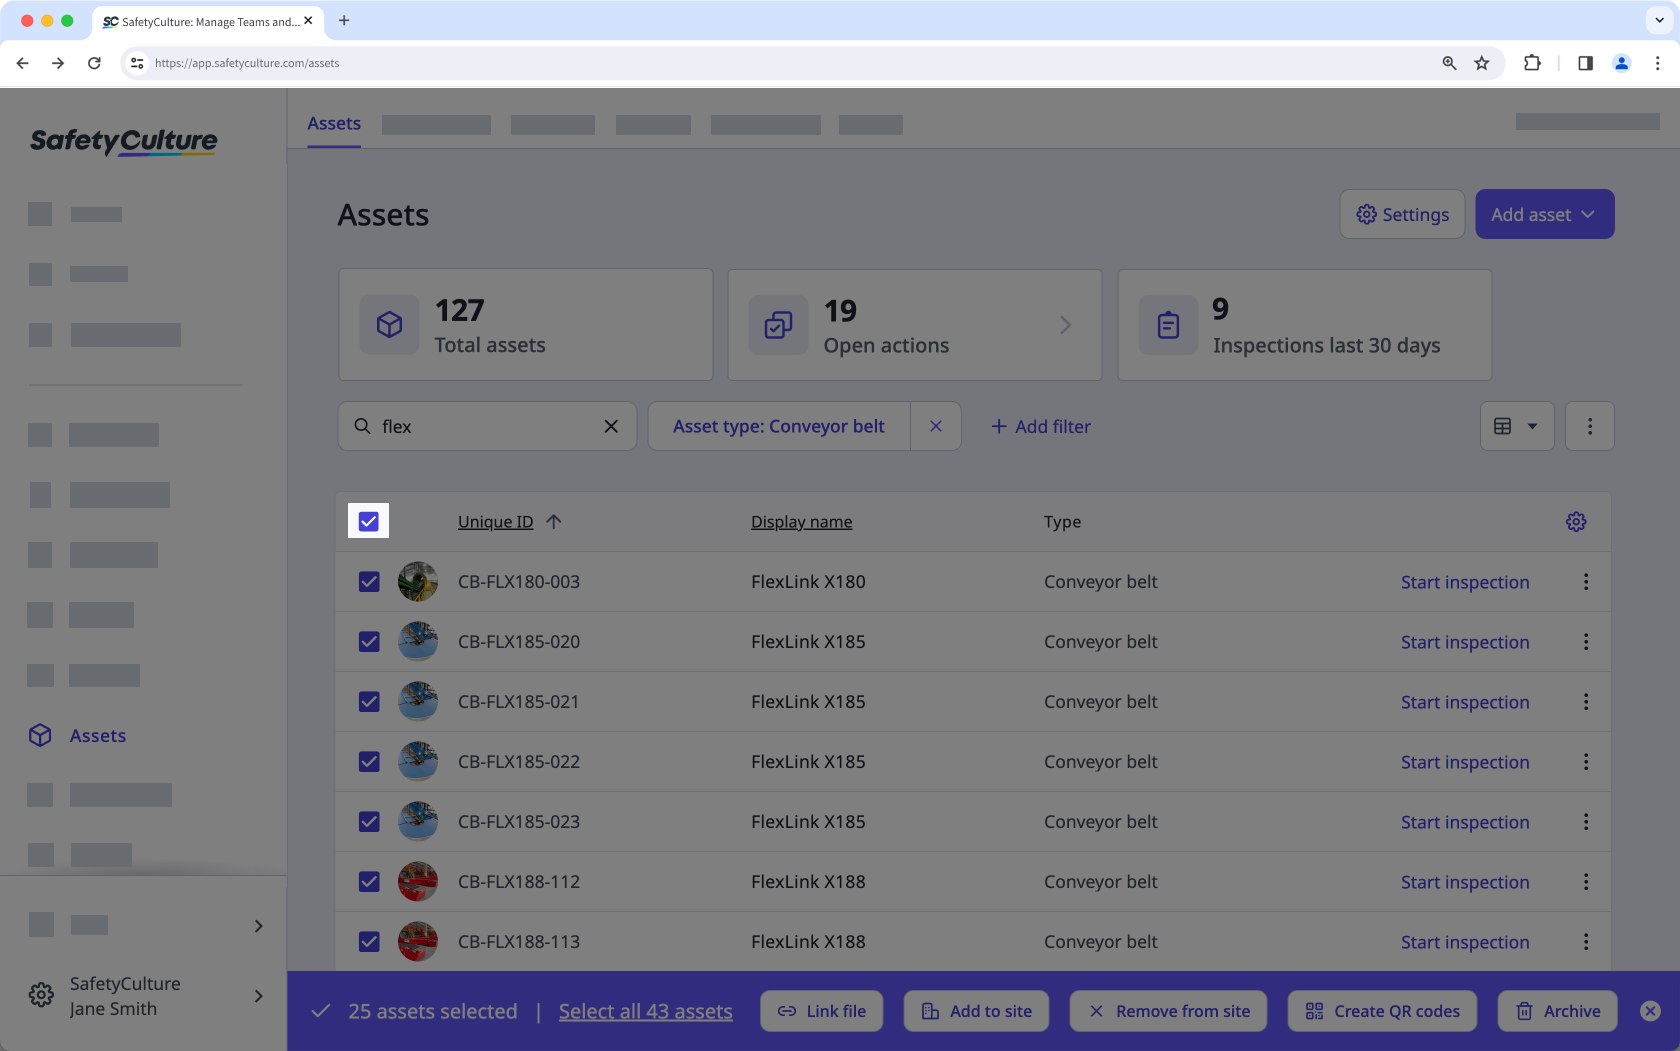
If you want to include all assets in the list, click Select all assets at the bottom of the page.
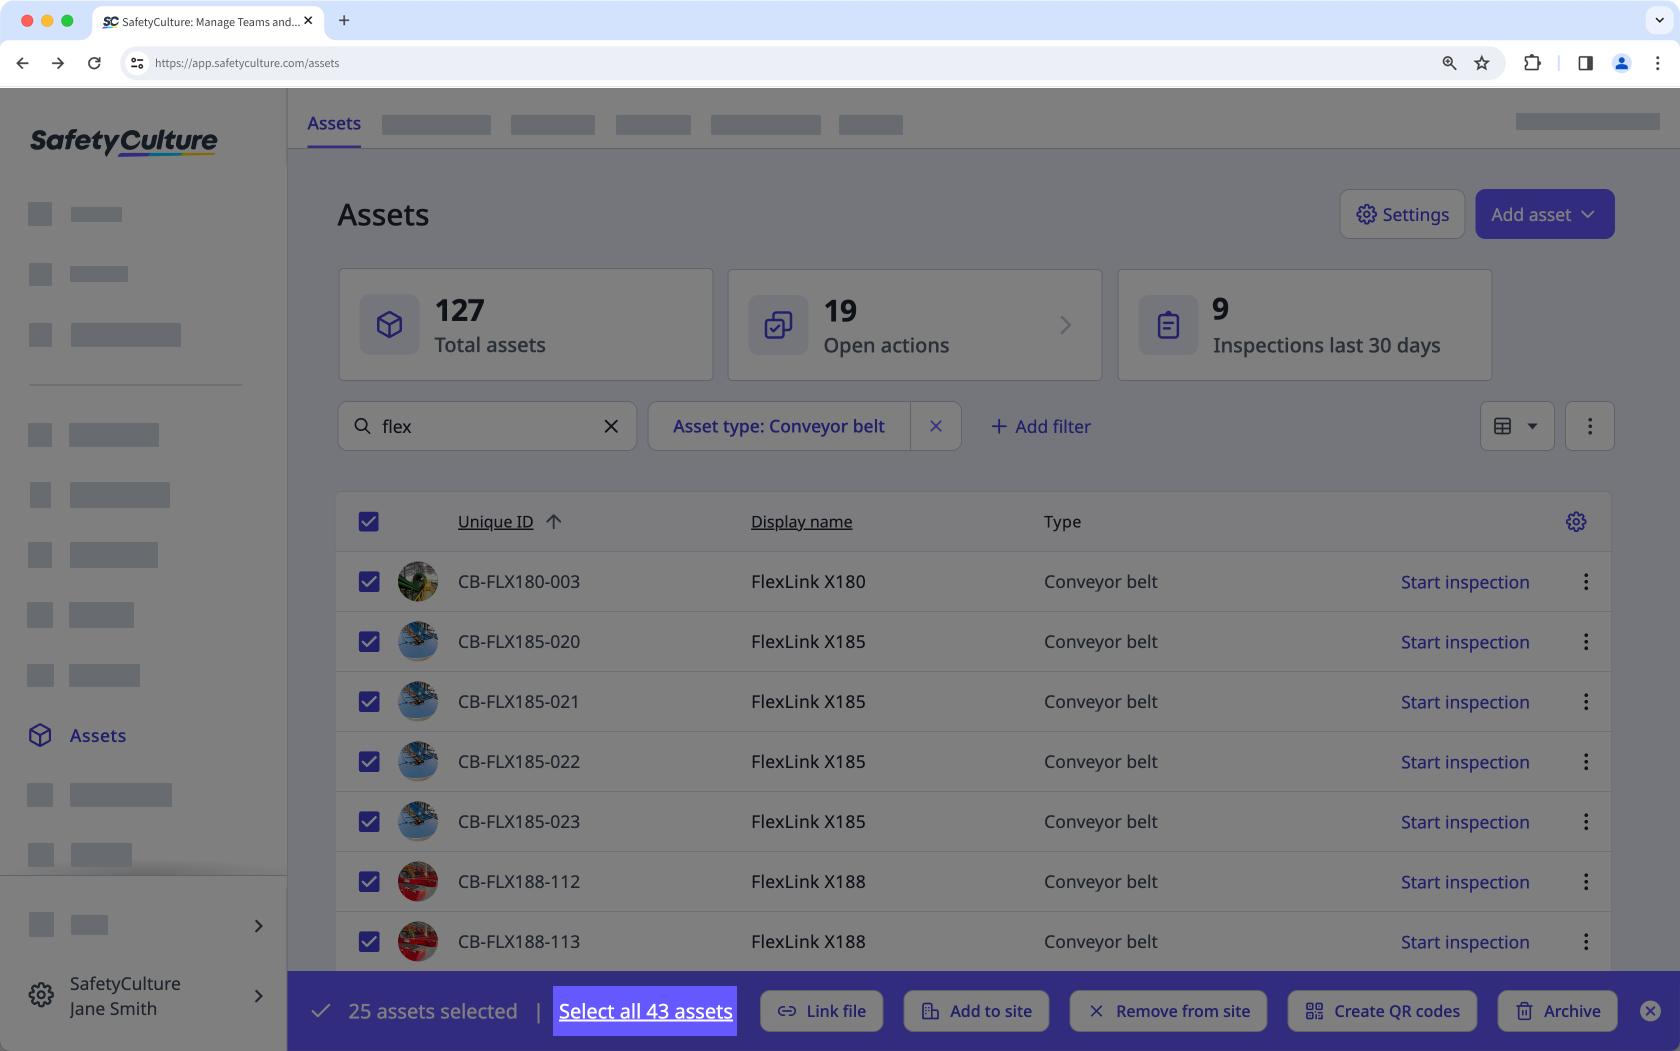
Click Link file at the bottom of the page.
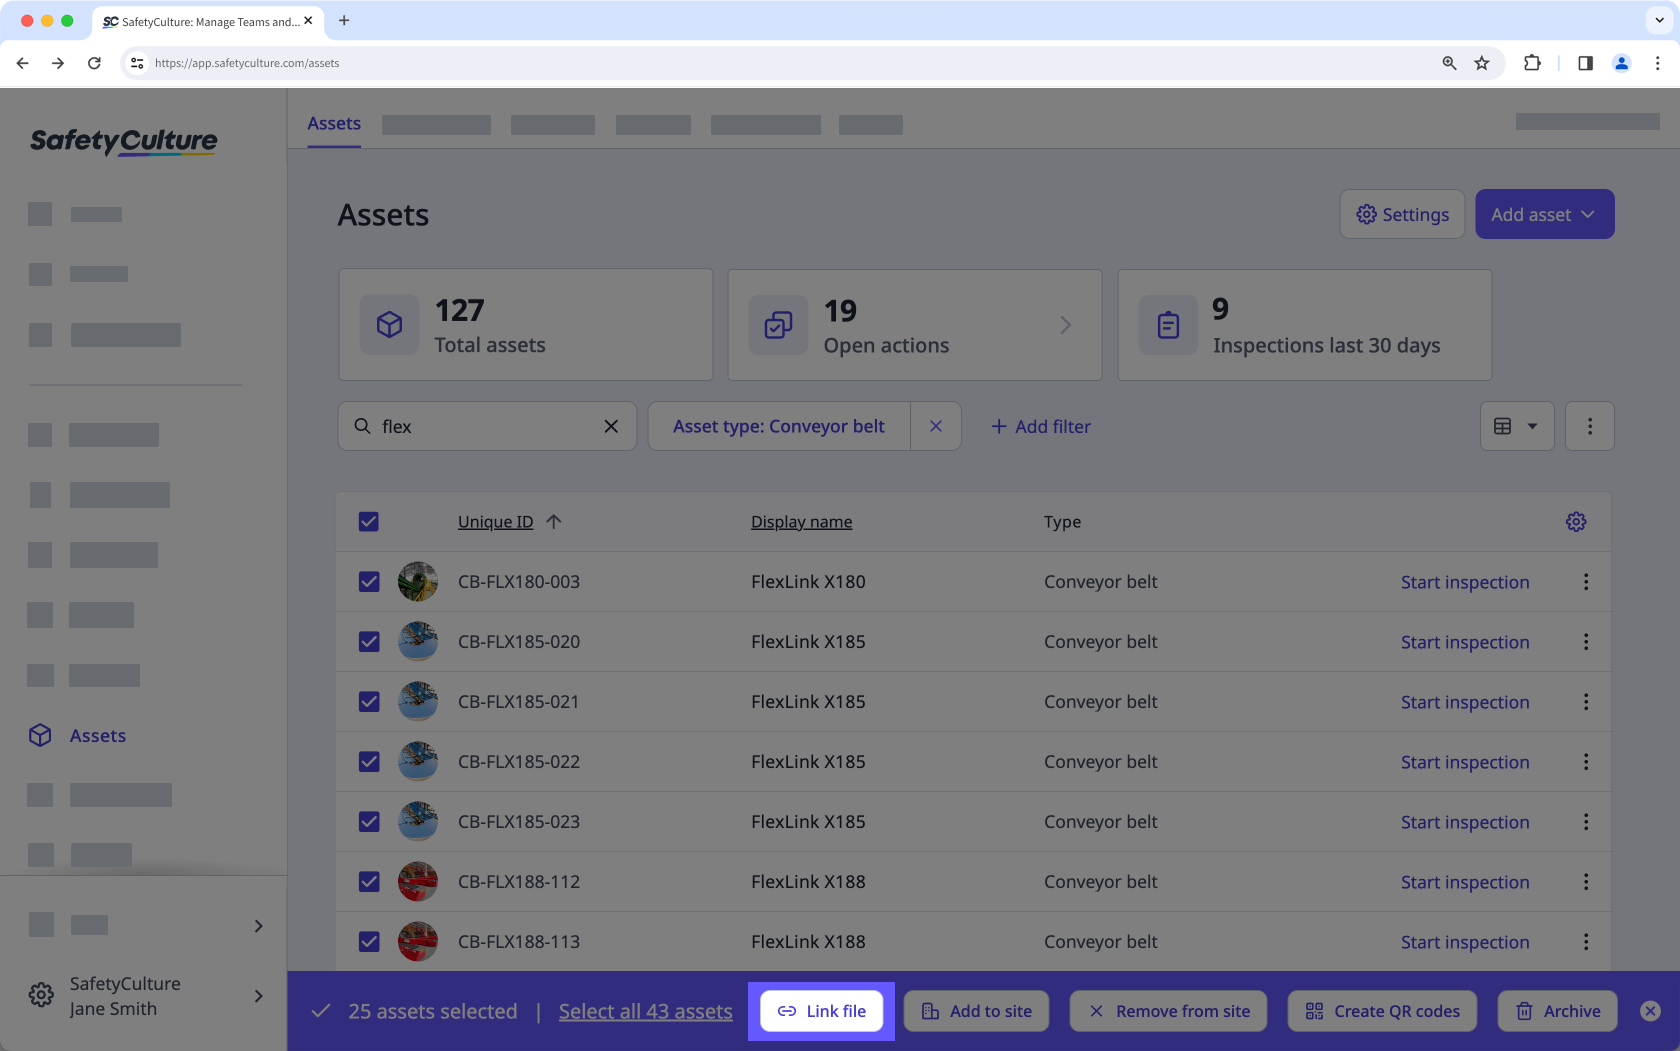
In the pop-up window, select a file and then click Add.