Why create Heads Ups?
For many organizations, the lines of communication to frontline workers tend to be fragmented, confusing, and sometimes non-existent. This can create problems such as workers not being aware of regulation changes or managers not knowing who hasn't seen updated training materials. With Heads Up, we've created a one-to-many communication solution that guarantees simple knowledge sharing and acknowledgments.
You can only create Heads Ups drafts and schedule them for publishing later on via the web app. A title, description, and at least one user assigned is required before publishing.
If you've created a Heads Up, but need to add more details or update the assignees, you can edit it via the web app.
If you have "Heads Up: Manage" permission, you can manage, view acknowledgments, send reminders, and download all Heads Ups as CSV.
Create a Heads Up
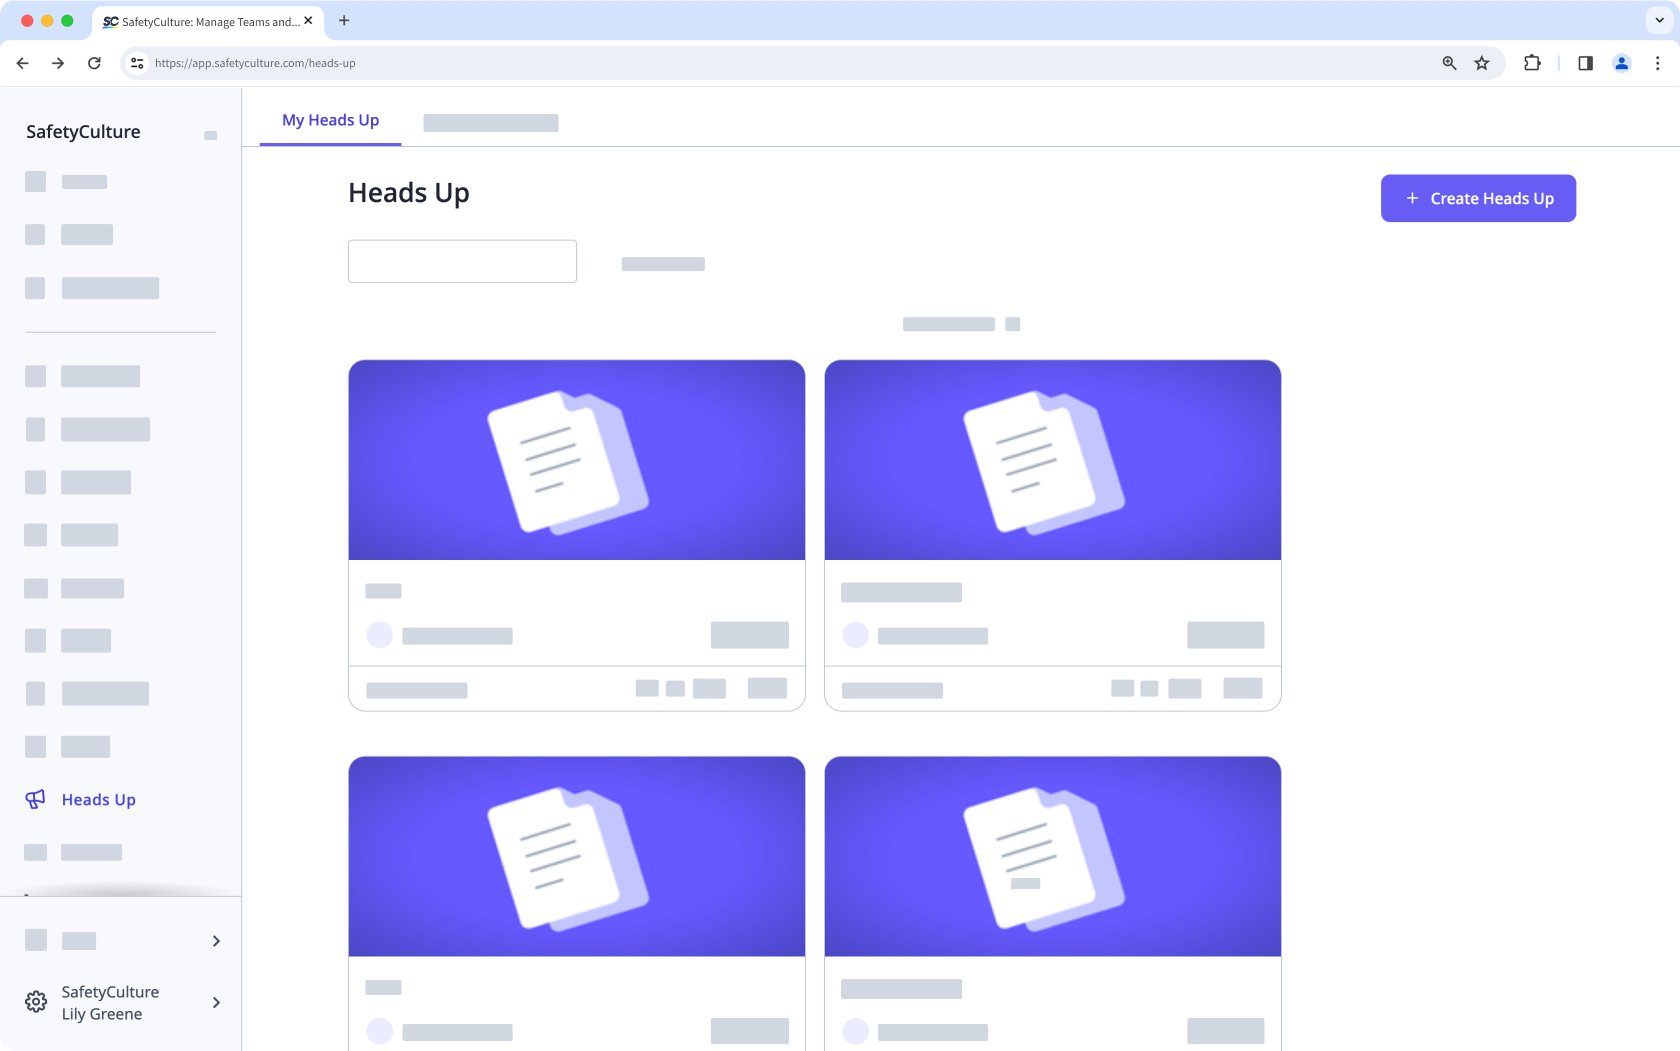
Select Heads Up in the sidebar or select it in More.
Click Create Heads Up on the upper-right of the page.
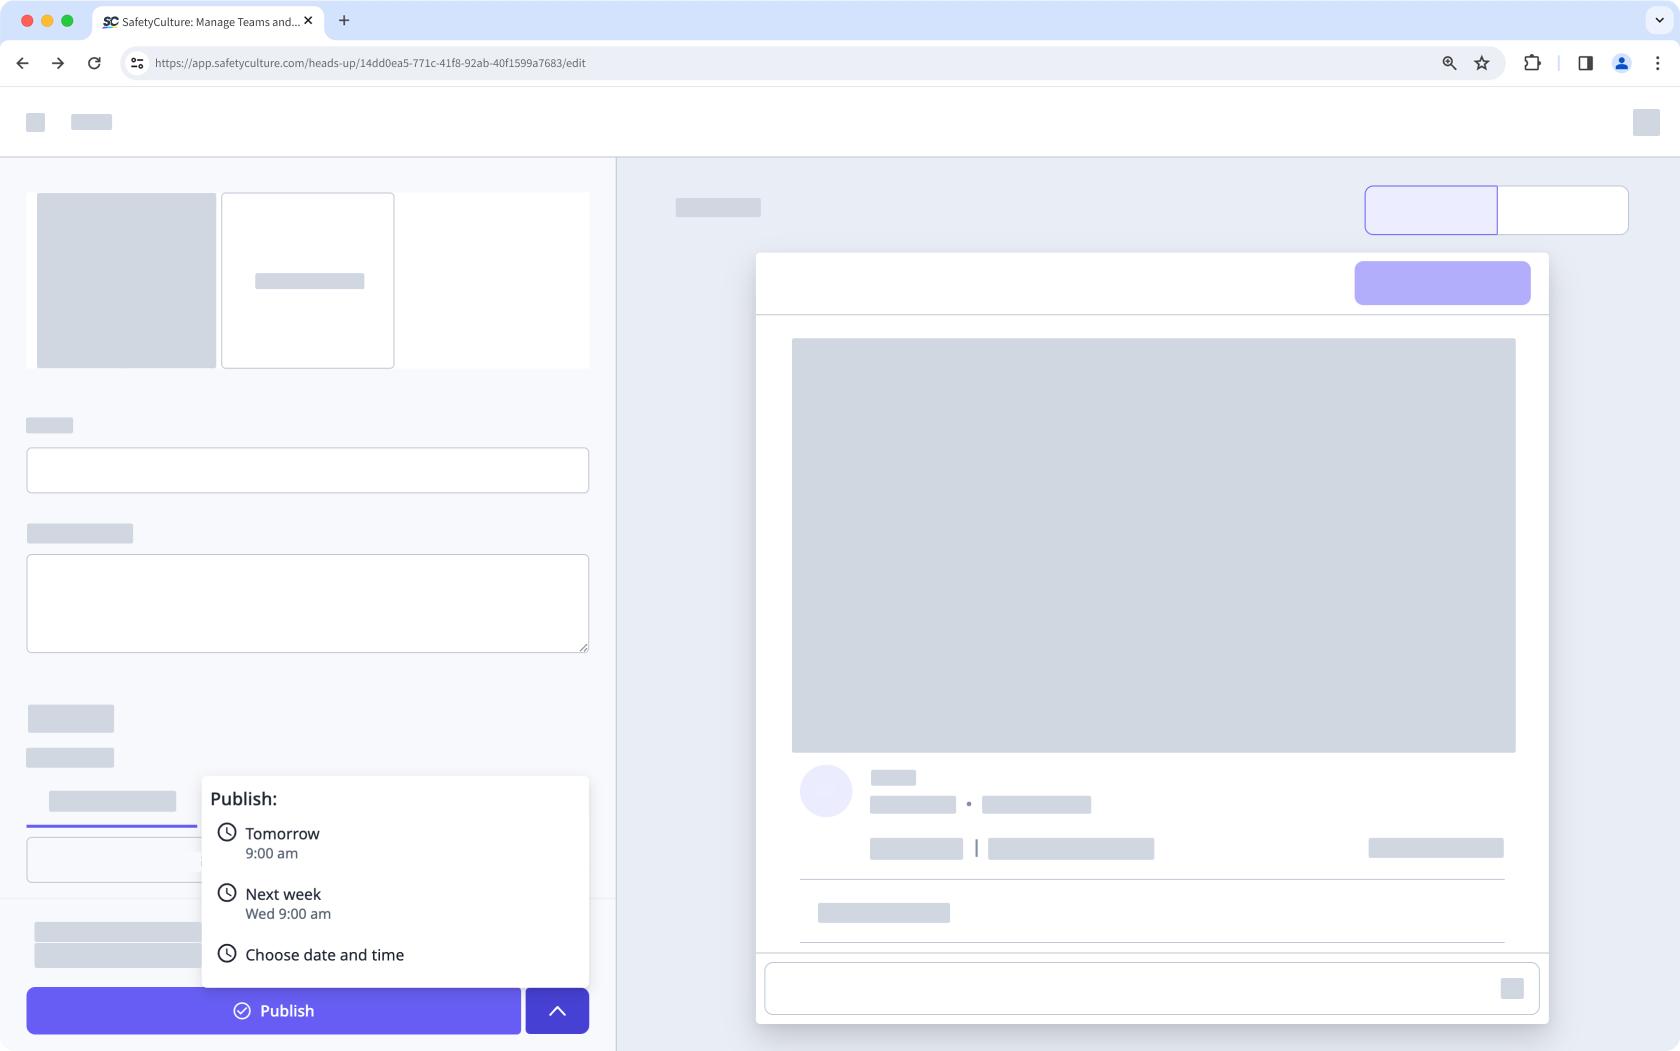
Configure the Heads Up accordingly. As you add details to your Heads Up, the preview shown on the right-hand side of the page will automatically update.
Click Publish on the lower-left of the page.
In the pop-up window, click Publish. If you want to save your Heads Up as a draft and come back to it later, click Back on the upper-left of the page and select Save Draft. You can also schedule your Heads Up to be published later by clicking on the right-hand side of the Publish button and selecting a date and time.

Create Heads Up from a file
Select
 Documents in the sidebar or select it in More.
Click on the file's right-hand side and select
 Manage linked items.
Click
Manage linked items and select the Heads Up tab at the top of the page.Click Create Heads Up to create a Heads Up.
Configure the Heads Up accordingly. As you add details to your Heads Up, the preview shown on the right-hand side of the page will automatically update.
Click Publish on the lower-left of the page.
In the pop-up window, click Publish. If you want to save your Heads Up as a draft and come back to it later, click Back on the upper-left of the page and select Save Draft. You can also schedule your Heads Up to be published later by clicking on the right-hand side of the Publish button and selecting a date and time.
Users who currently have access to the file will be automatically added as assignees.
Heads Up fields
You can upload and configure the following fields for each Heads Up:
Field | Description |
|---|---|
Media | The media attachments for a Heads Up. You can add or link up to 6 files, including videos (up to three minutes or 1.5GB), images (up to 50MB in total), PDF files (up to 50MB). For video files, MP4, MOV, AVI, WMV, and WEBM formats are supported. |
Title | The title of a Heads Up. Allows up to 70 characters. |
Description | The description of a Heads Up. Allows up to 5,000 characters. |
The shareable link and QR code of a Heads Up. | |
Assigned to | The assignees of a Heads Up. You can assign Heads Ups to users, groups, and site members. |
Request Acknowledgment | The toggle to select whether acknowledgments are required for a Heads Up. |
Comments enabled | The toggle to allow commenting for a Heads Up. |
Reactions enabled | The toggle to allow adding emoji reactions for a Heads Up. |