- Administration
- Habilitations
- Découvrez comment gérer les habilitations des utilisateurs de votre organisation à partir de l'application Web.
Découvrez comment gérer les habilitations des utilisateurs de votre organisation à partir de l'application Web.
Découvrez comment gérer les habilitations des utilisateurs de votre organisation à partir de l'application Web.Que sont les Habilitations ?
La fonctionnalité Habilitations de SafetyCulture simplifie et rationalise la gestion des qualifications de votre personnel. Qu'il s'agisse de certifications ou de qualifications externes, comme les permis de conduire et les cours de premiers secours, notre plateforme offre un référentiel unique et organisé pour toutes ces qualifications.
Vous pouvez gérer vos propres habilitations ou celles de votre personnel en les classant dans différents types d'habilitations. Vous pouvez ajouter de nouvelles versions d'habilitations sur le point d'expirer, afficher leur statut d'approbation et consulter leur historique. Vous pouvez également suivre l'activité de chaque version, qui consigne les modifications apportées à la date d'observation, à la date d'expiration et aux pièces jointes de fichiers multimédia.
Associées à la Formation dans SafetyCulture, les certifications garantissent la conformité totale de vos équipes. Par exemple, un opérateur de chariot élévateur peut suivre un cours d'initiation au site et disposer d'un permis de chariot élévateur en tant que certification pour des opérations sur site en toute transparence.
Les utilisateurs peuvent personnaliser leurs paramètres de notification pour être informés lorsque leur habilitation est sur le point d'expirer.
Veuillez noter que vous devez avoir Autorisation « Gestion de la plateforme : utilisateurs »pour gérer les habilitations d'un autre utilisateur à partir de la liste des utilisateurs de votre organisation.
Ajouter les habilitations d'un utilisateur
Cliquez sur le nom de votre organisation en bas à gauche de la page et sélectionnez Utilisateurs.
Sélectionnez un utilisateur.
Cliquez sur Enregistrer.
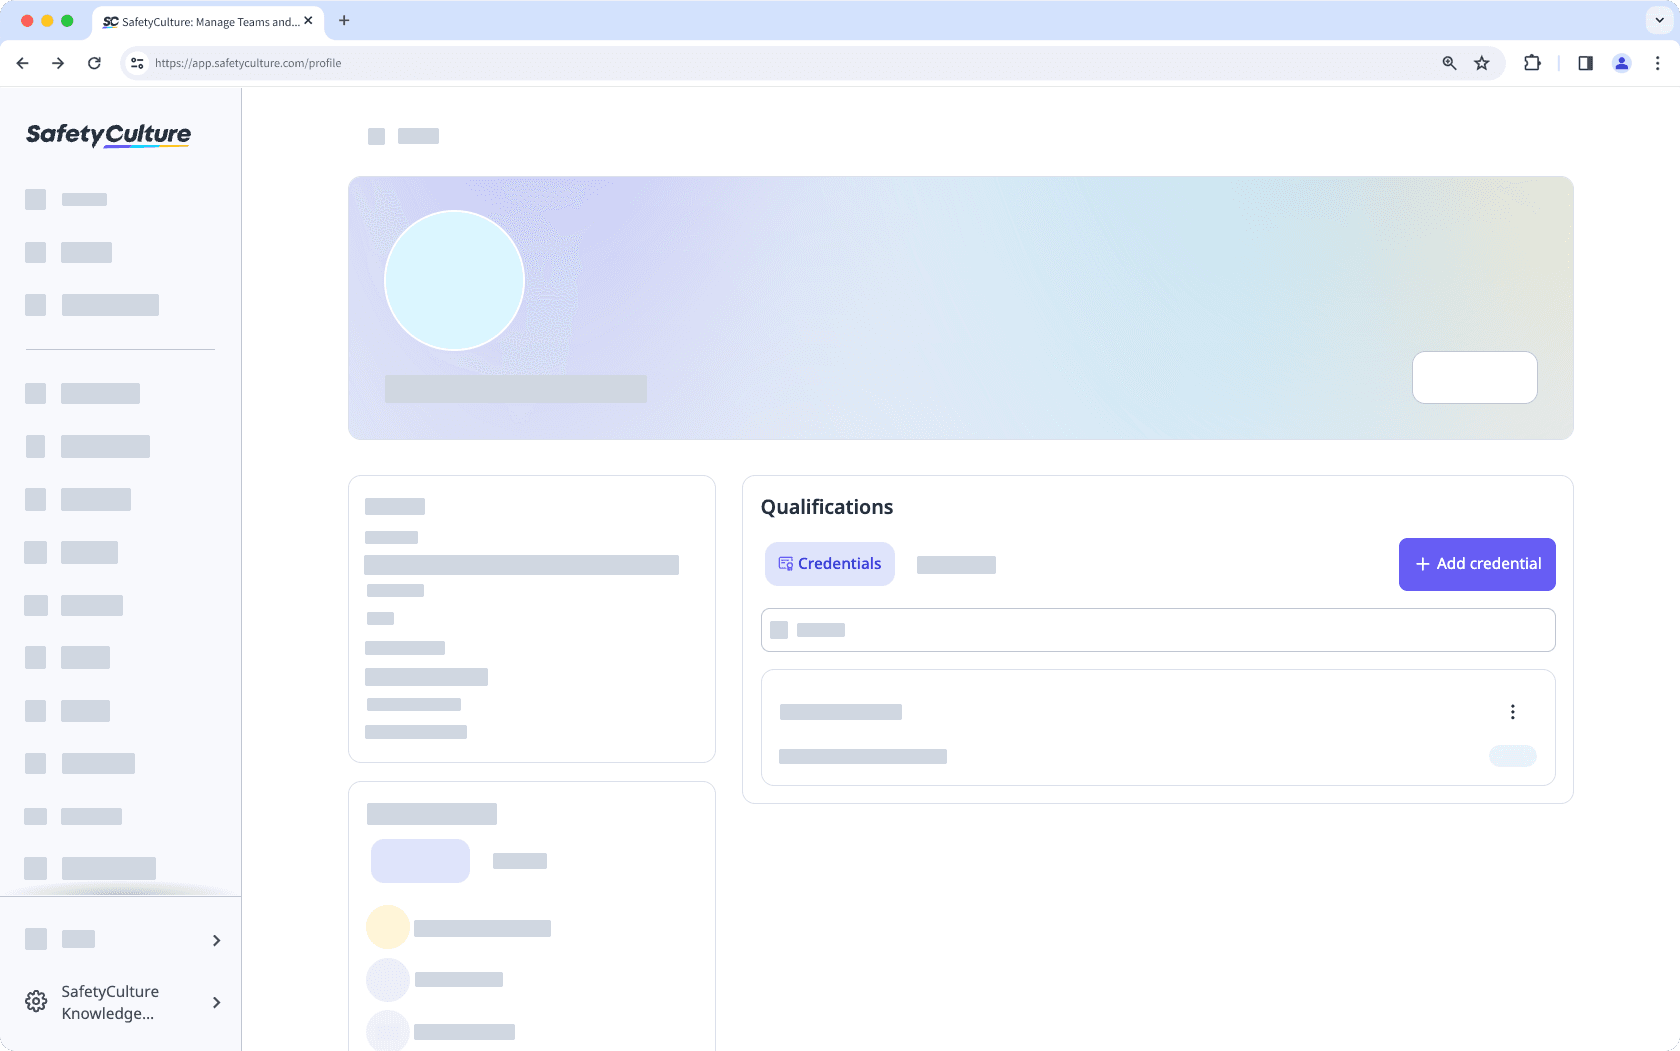
Téléchargez des photos ou des fichiers PDF des habilitations de l'utilisateur.
Saisissez les informations d'habilitation obligatoires suivantes :
Type de certification : le type d'habilitation. Par exemple, « Permis de conduire ».
Utilisateur : l'utilisateur auquel une habilitation est associée.
Date d'observation : la date d'observation d'une certification.
Date d'expiration : la date d'expiration d'une certification.
Cliquez sur Enregistrer.
You can upload credentials for users in your organization in one go using CSV.
Modifier les habilitations d'un utilisateur
Cliquez sur le nom de votre organisation en bas à gauche de la page et sélectionnez Utilisateurs.
Sélectionnez un utilisateur.
Cliquez sur
dans la partie droite de l'habilitation.
Sélectionnez
Ajouter une version ou
Modifier la dernière version pour créer une nouvelle habilitation ou mettre à jour une habilitation existante.
Update the credential accordingly.
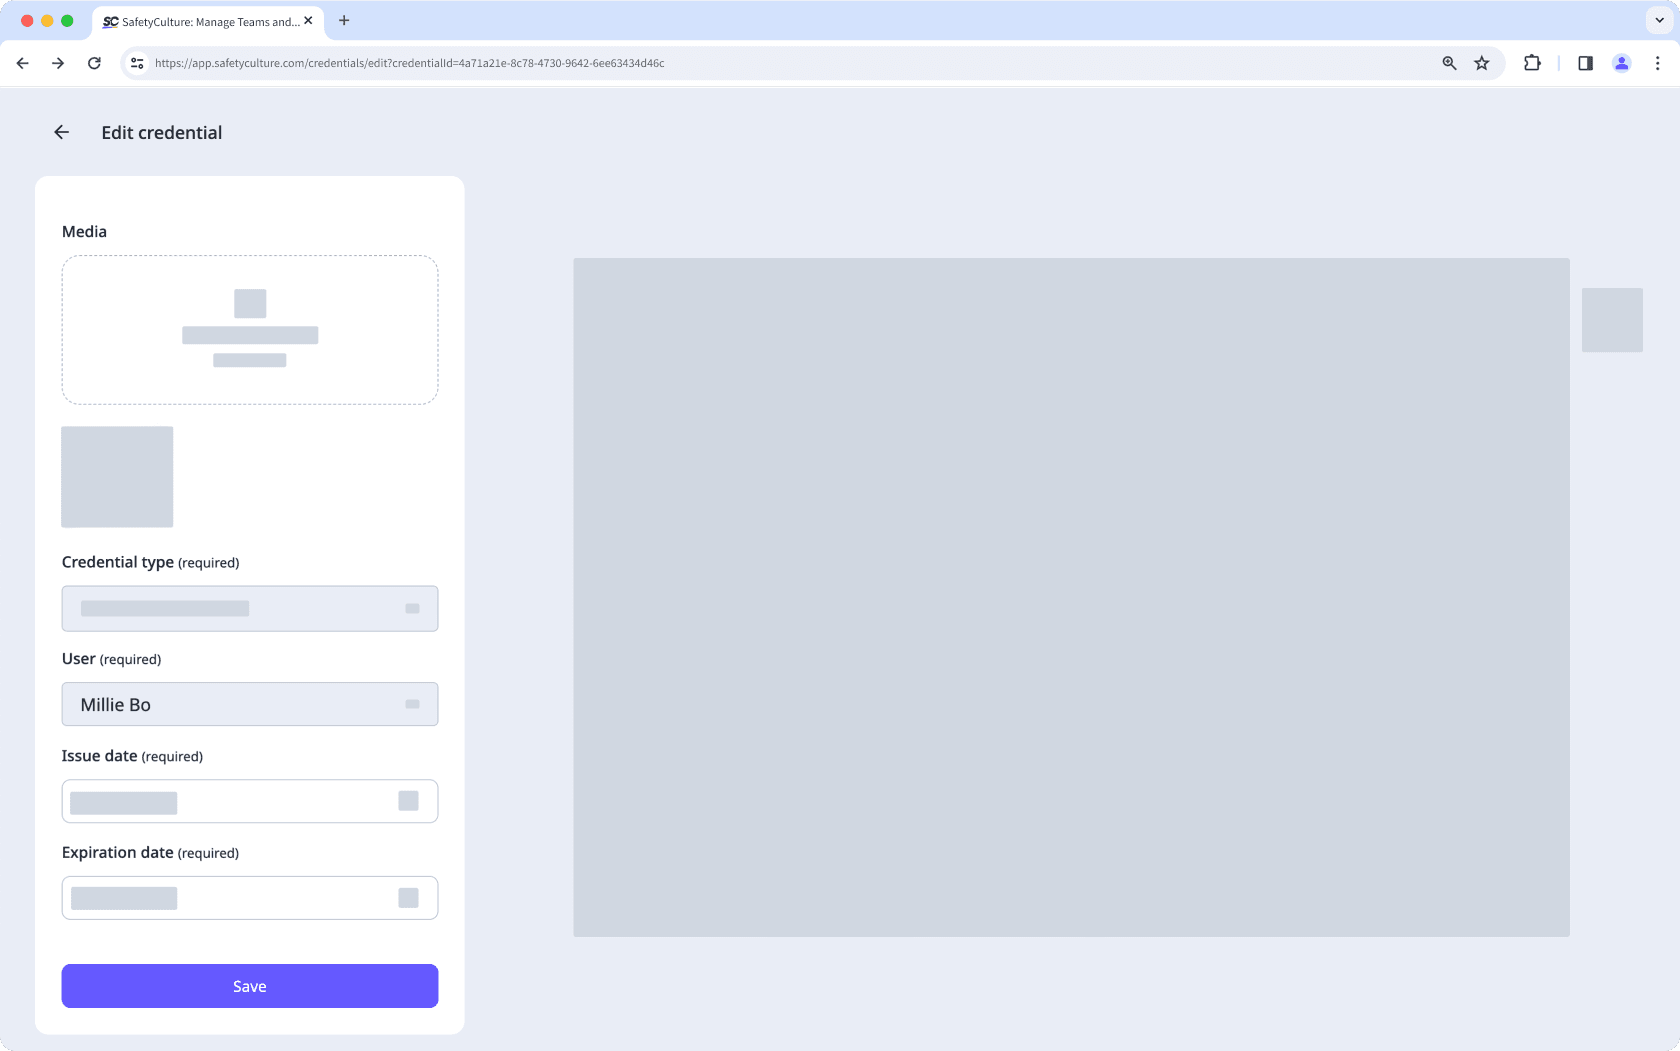
Cliquez sur Enregistrer.
Afficher l'historique des habilitations d'un utilisateur
Cliquez sur le nom de votre organisation en bas à gauche de la page et sélectionnez Utilisateurs.
Sélectionnez un utilisateur.
Cliquez sur
sur le côté droit de l'habilitation, puis sélectionnez
Afficher l'historique.
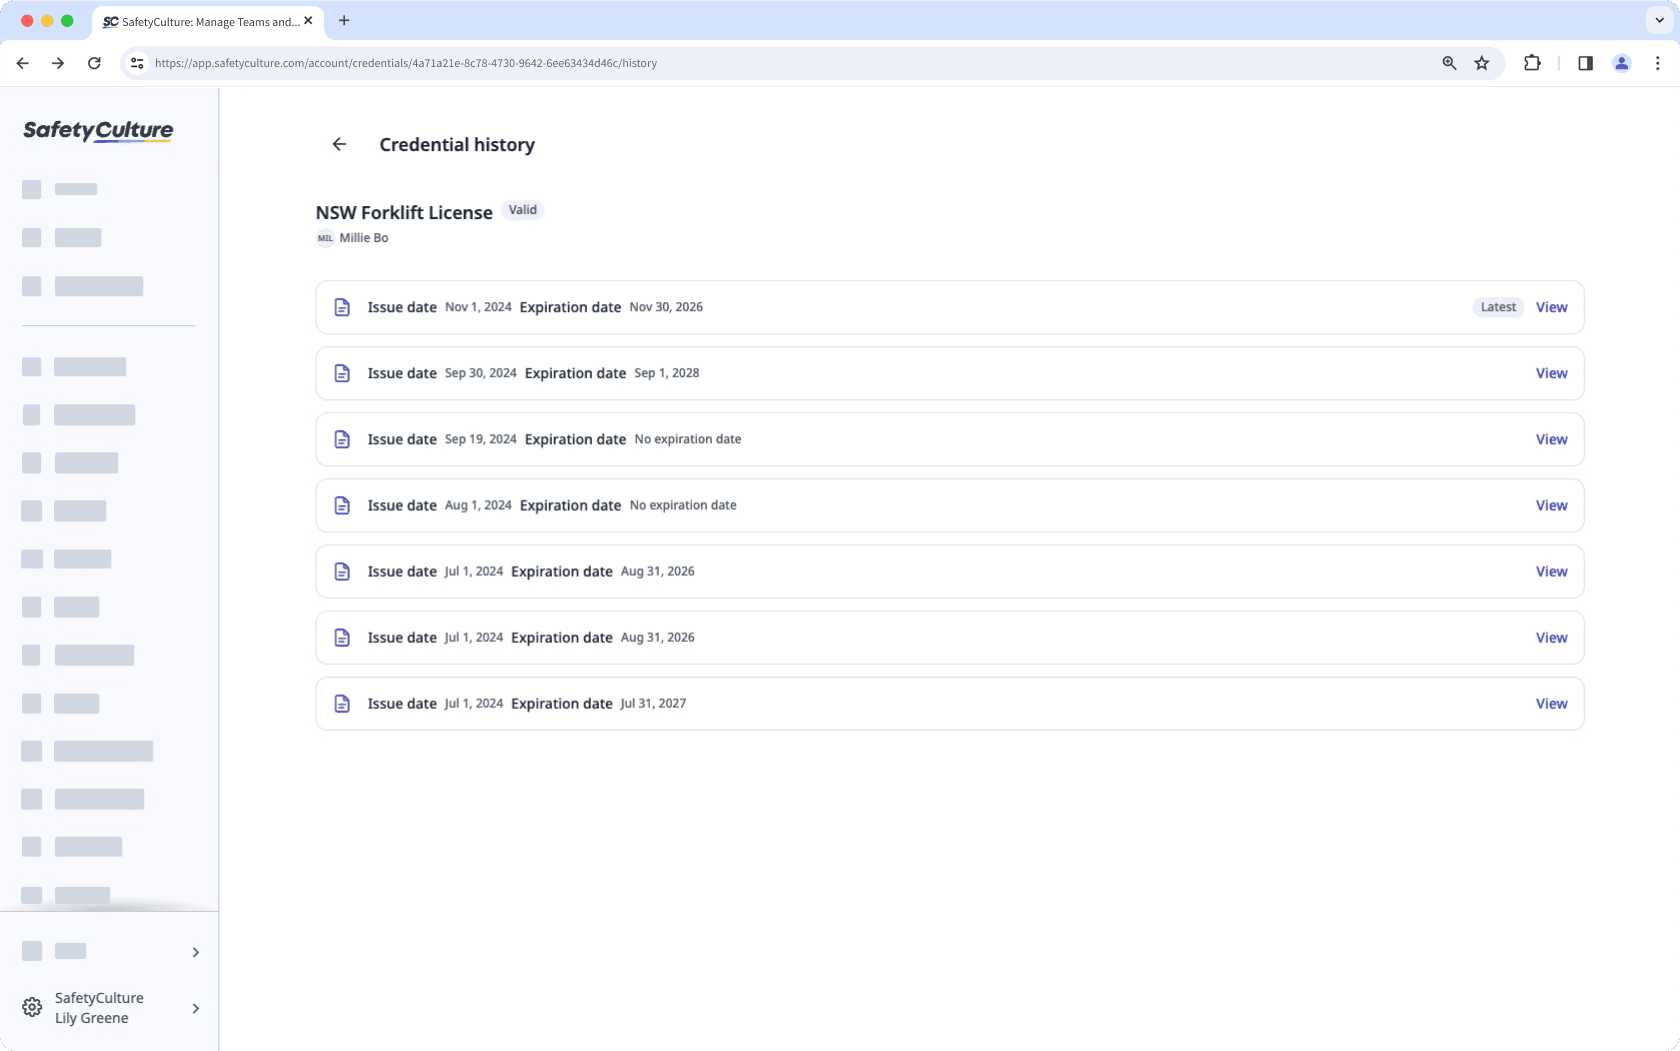
Sur cette page, vous pouvez afficher toutes les versions de l'habilitation et sélectionner l'une d'entre elles pour obtenir plus de détails.
Afficher l'activité de la version des habilitations d'un utilisateur
Click your organization name on the lower-left corner of the page and select Utilisateurs.
Select a user.
Select a credential.
Click Activité from the tab on the left-hand side of the page.
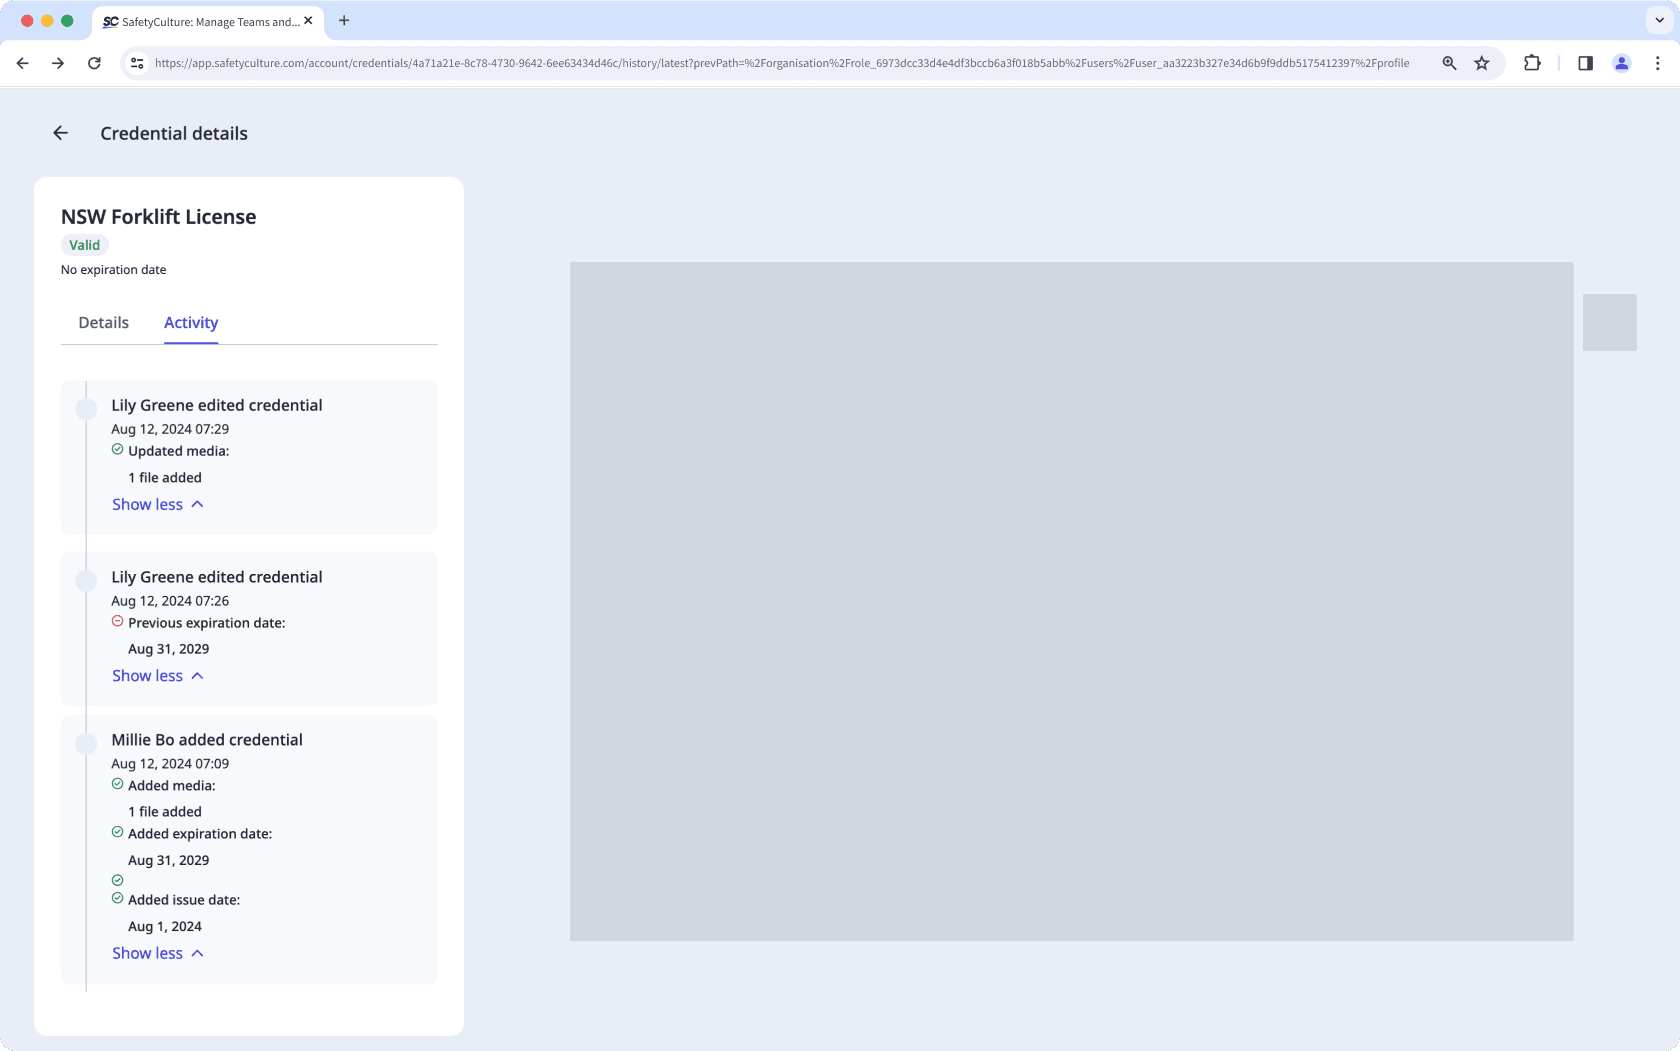
In this tab, you can view changes made to the following fields of the user's credential over time:
Issue date
Expiration date
Media files
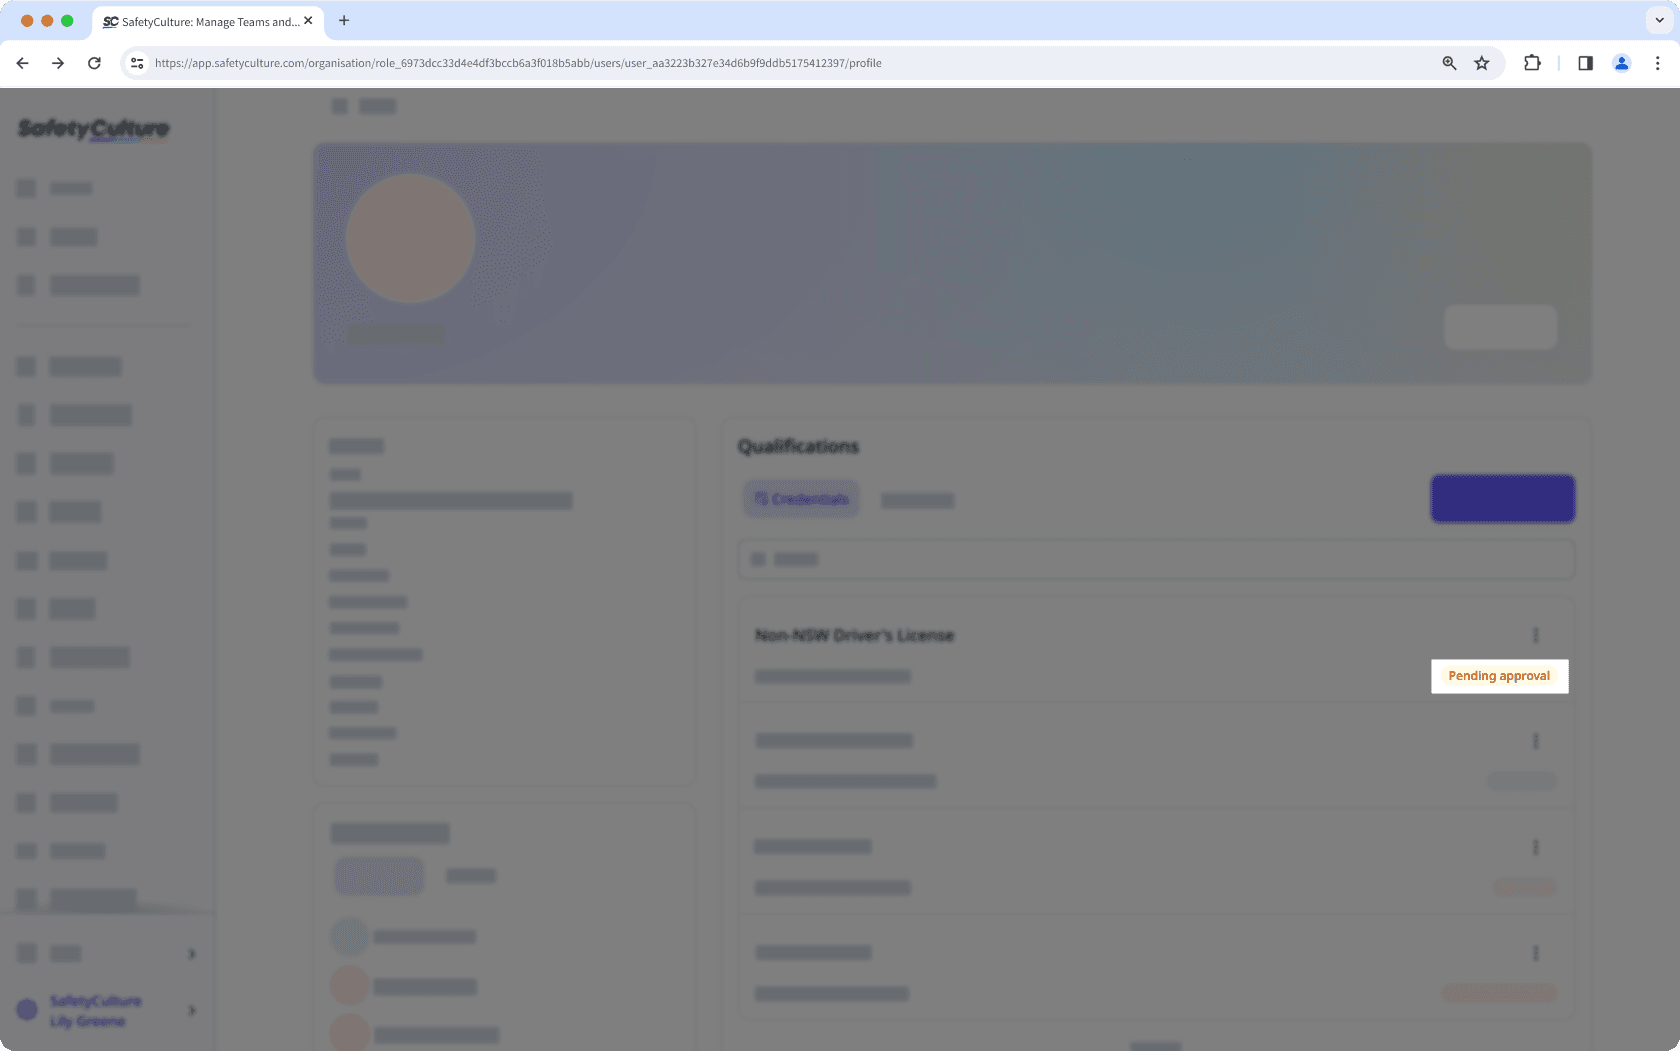
Afficher le statut d'approbation de l'habilitation d'un utilisateur
Click your organization name on the lower-left corner of the page and select Utilisateurs.
Select or search for the user to view their credentials.
View the approval status on the lower-right of the credential.
La suppression est irréversible et nous ne pouvons pas restaurer les éléments définitivement supprimés. Une confirmation est toujours nécessaire avant toute suppression, afin de s'assurer que vous ne supprimez pas accidentellement le mauvais élément.
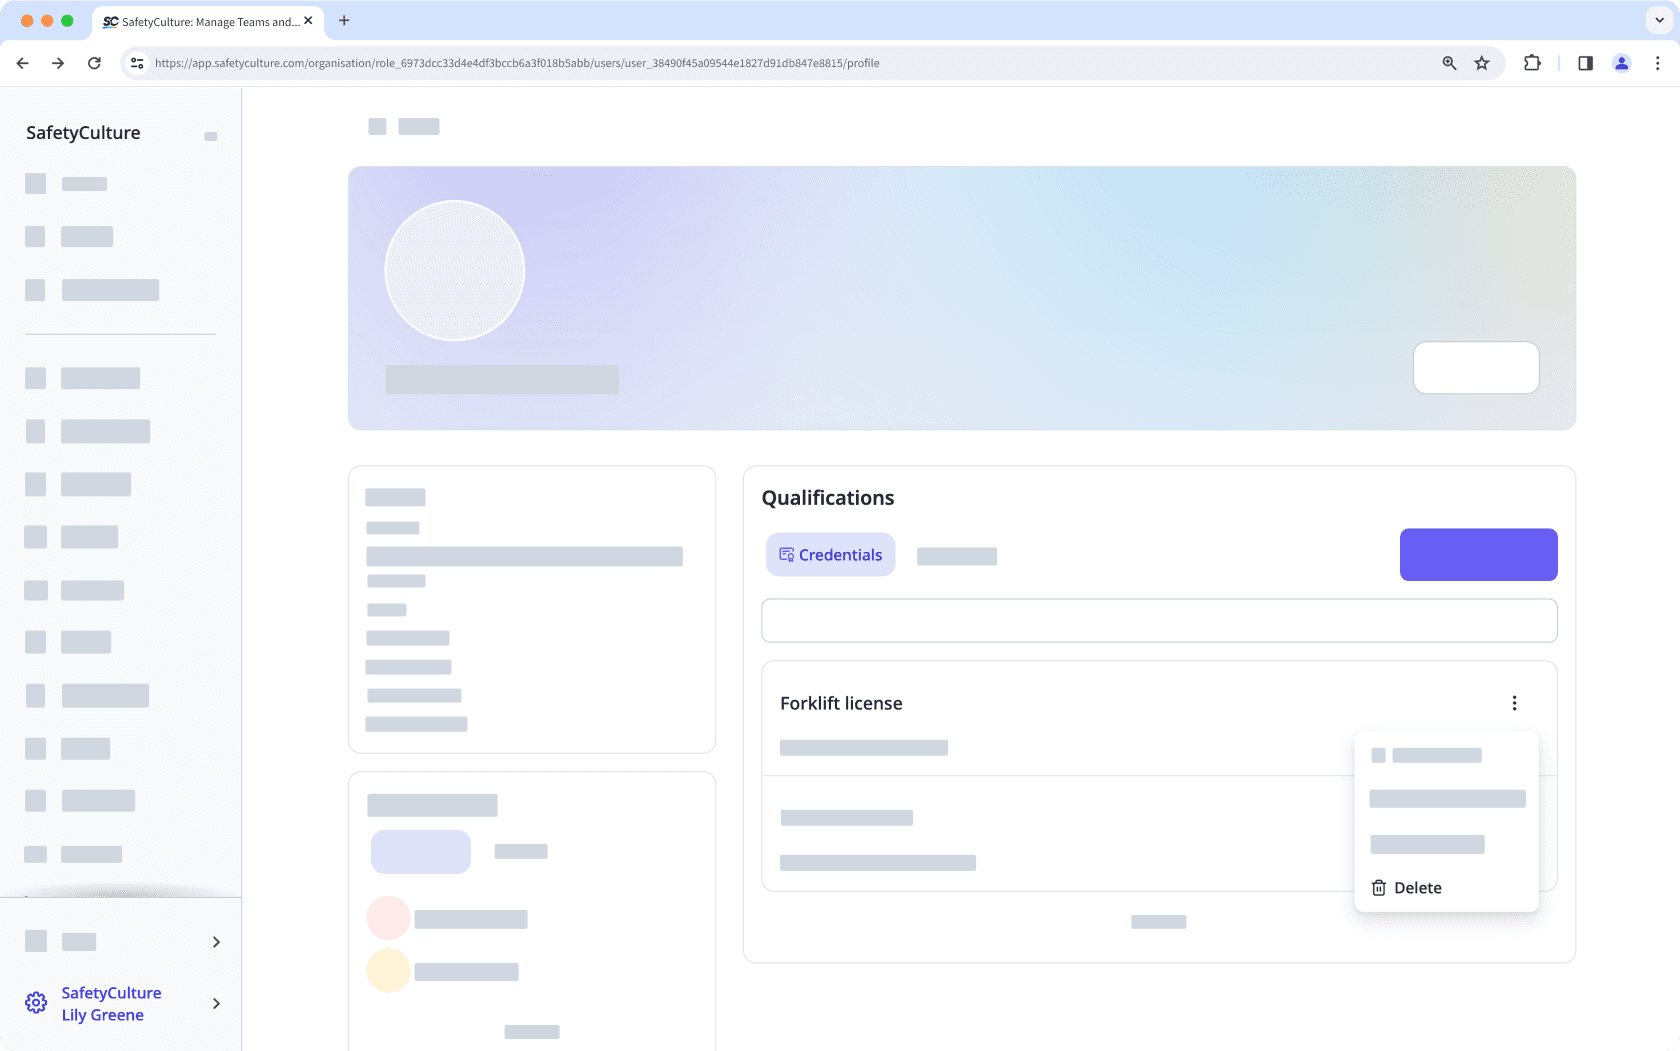
Supprimer les habilitations d'un utilisateur
Click your organization name on the lower-left corner of the page and select Utilisateurs.
Select a user.
Click
on the credential's right-hand side, and select
Supprimer.
In the pop-up window, click Supprimer.
Cette page vous a-t-elle été utile?
Merci pour votre commentaire.