What you'll need
You can upload MP4 and MOV files up to 150MB.
Add a video to a lesson
Select Training in the sidebar or select it in More.
If you're on the "Learn" page, click Content at the top of the page and select Courses.
Create a new course or click View or Edit on an existing one.
If you're editing an existing course and it's published, click Edit on the upper-right of the page.
Create a new lesson or click an existing one. If you need some help to get started, you can create a lesson or lesson slide using AI.
Click
 New slide on the lower part of your selected lesson.
In the pop-up window, select Video.
Select from the following video slide templates to add videos to your lesson:
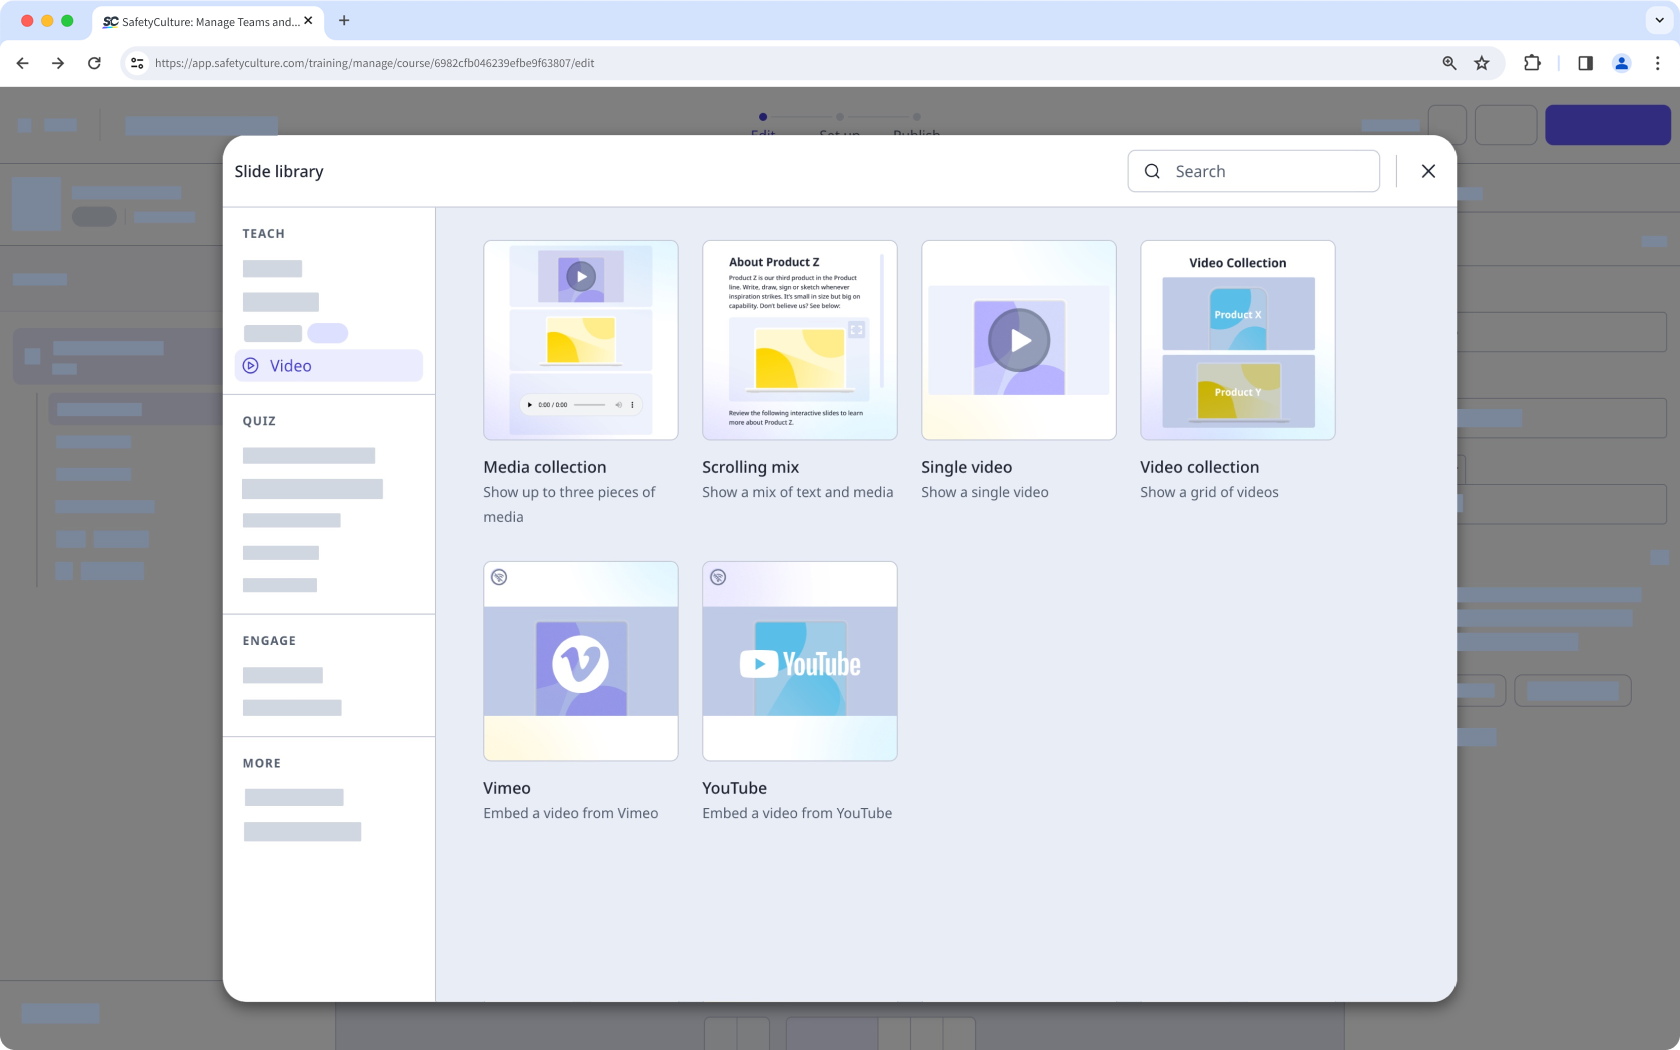
Media collection: Add up to three different media types to one slide.
Scrolling mix: Add a mix of text and images.
Single video: Add a single video. You can also configure the following options to this slide:
Auto play: The video automatically begins as the user reaches the slide.
Auto progress: The user automatically moves on to the next slide once the video is complete.
Display skip button: Allow users to progress without watching the entire video.
Video collection: Add multiple videos to one slide.
Vimeo: Add a Vimeo video using its video ID, which should resemble the following example: https://vimeo.com/ 87701971. The videos need to be publicly accessible to be viewed through the Training feature.
YouTube: Add a YouTube video using its video ID, which should resemble the following example: https://www.youtube.com/watch?v= ZczmRIzr8r4 or https://www.youtube.com/shorts/ wiYENPlLEm8. The videos need to be public to be viewed through the Training feature.
Follow the prompts accordingly.
Changes are saved automatically.
Edit a video
Select Training in the sidebar or select it in More.
If you're on the "Learn" page, click Content at the top of the page and select Courses.
Create a new course or click View or Edit on an existing one.
If you're editing an existing course and it's published, click Edit on the upper-right of the page.
Create a new lesson or click an existing one. If you need some help to get started, you can create a lesson or lesson slide using AI.
Navigate to the lesson slide with a video.
Hover your cursor above the uploaded video and click in the upper right corner to access the following editing options:
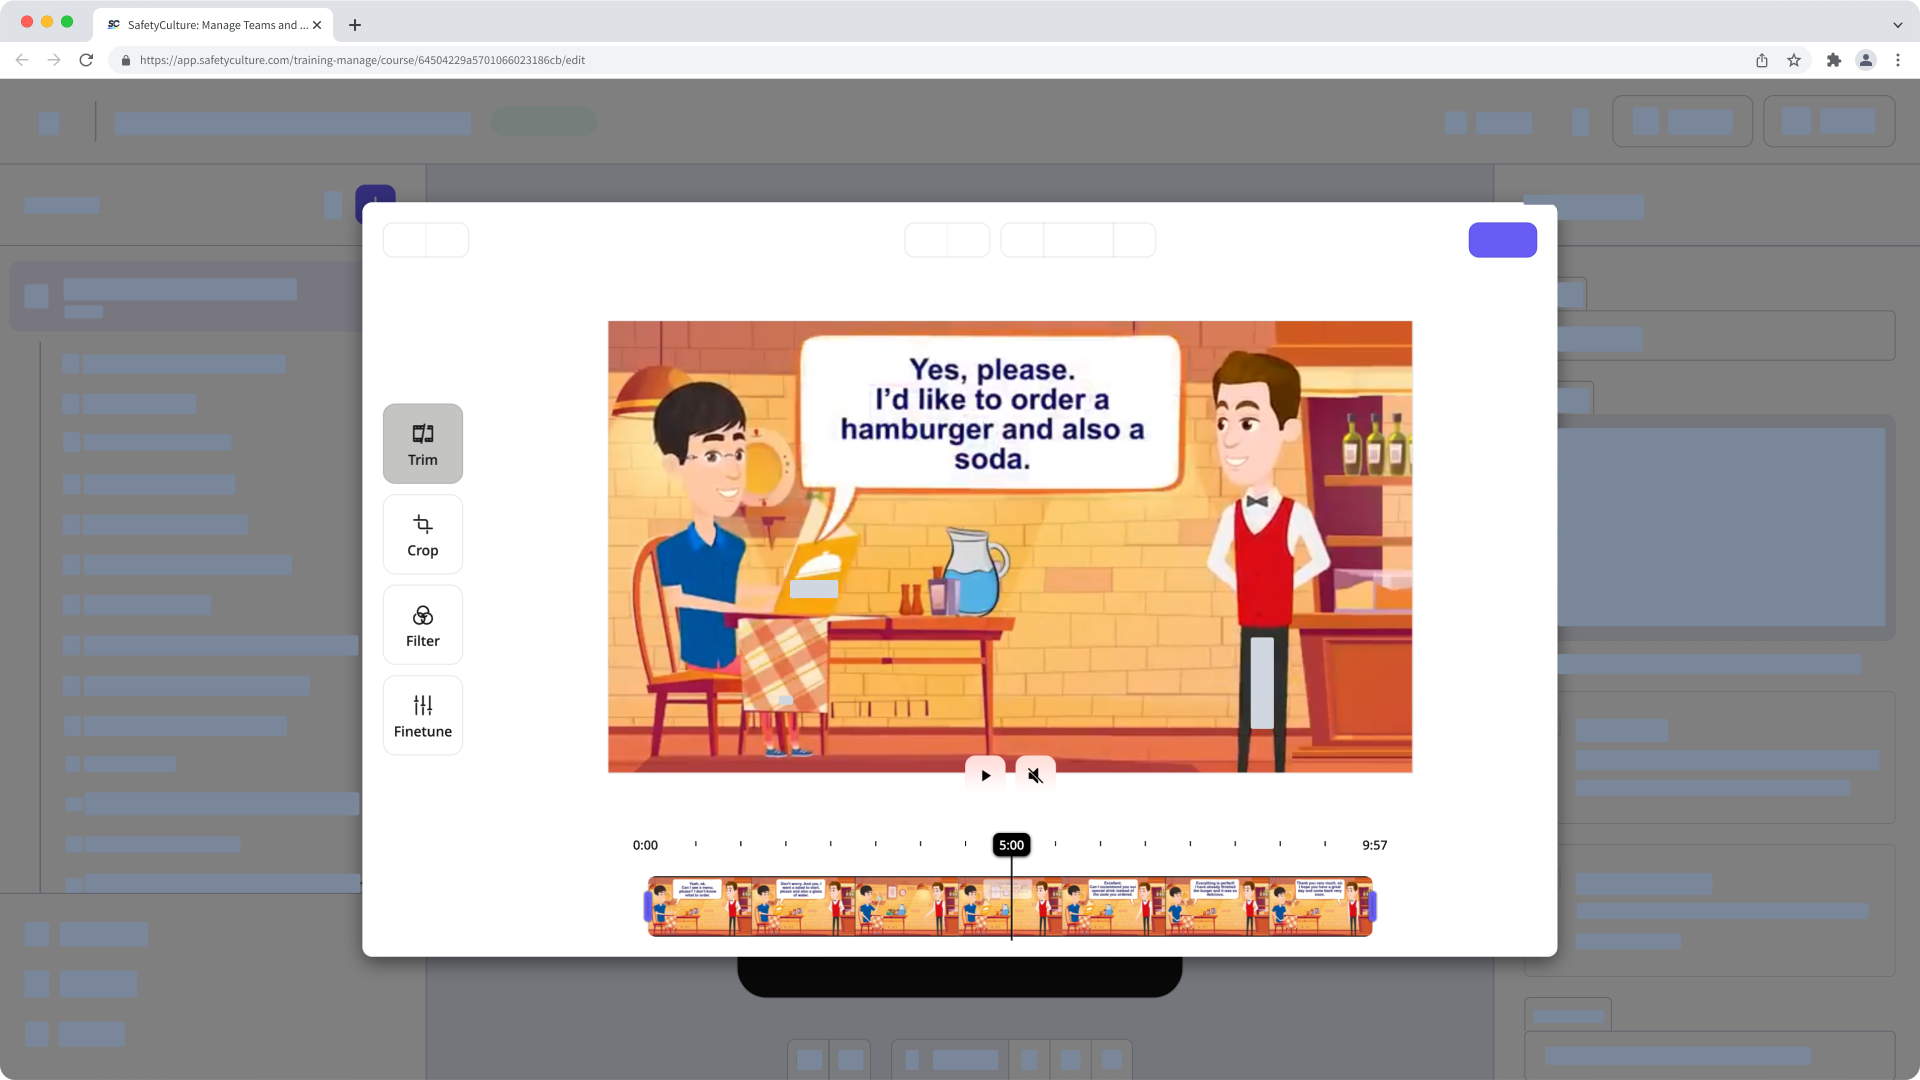
Trim: Trim the video to align with your needs.
Crop, rotate, and scale: Crop, rotate, and scale the video to align with your needs.
Preset filters: Apply a preset filter to the video.
Finetune: Use finetune to create your own filter.
Changes are saved automatically.
If your course is currently a draft, remember to publish it to make your changes available to your team.