- Using SafetyCulture
- Training
- Manage training banners
Manage training banners
Learn how to manage training banners via the web app.What are training banners?
Banners in the Training feature are a great way to engage with your teams. Depending on the content you want to deliver in your training, you can use banners to increase brand awareness or communicate an overview of what your teams can expect from certain courses.

Need some help to get started? Try our training banner templates in Canva and brand them as your own.
Please note that each organization can only have up to 20 banners.
Create a banner
Select
 Training from the menu on the left-hand side.
Click Engage at the top of the page and select Banners.
Click
 Create a banner on the upper-right of the page.
On this page, configure the following settings for the achievement:
Title: Enter a title for the banner.
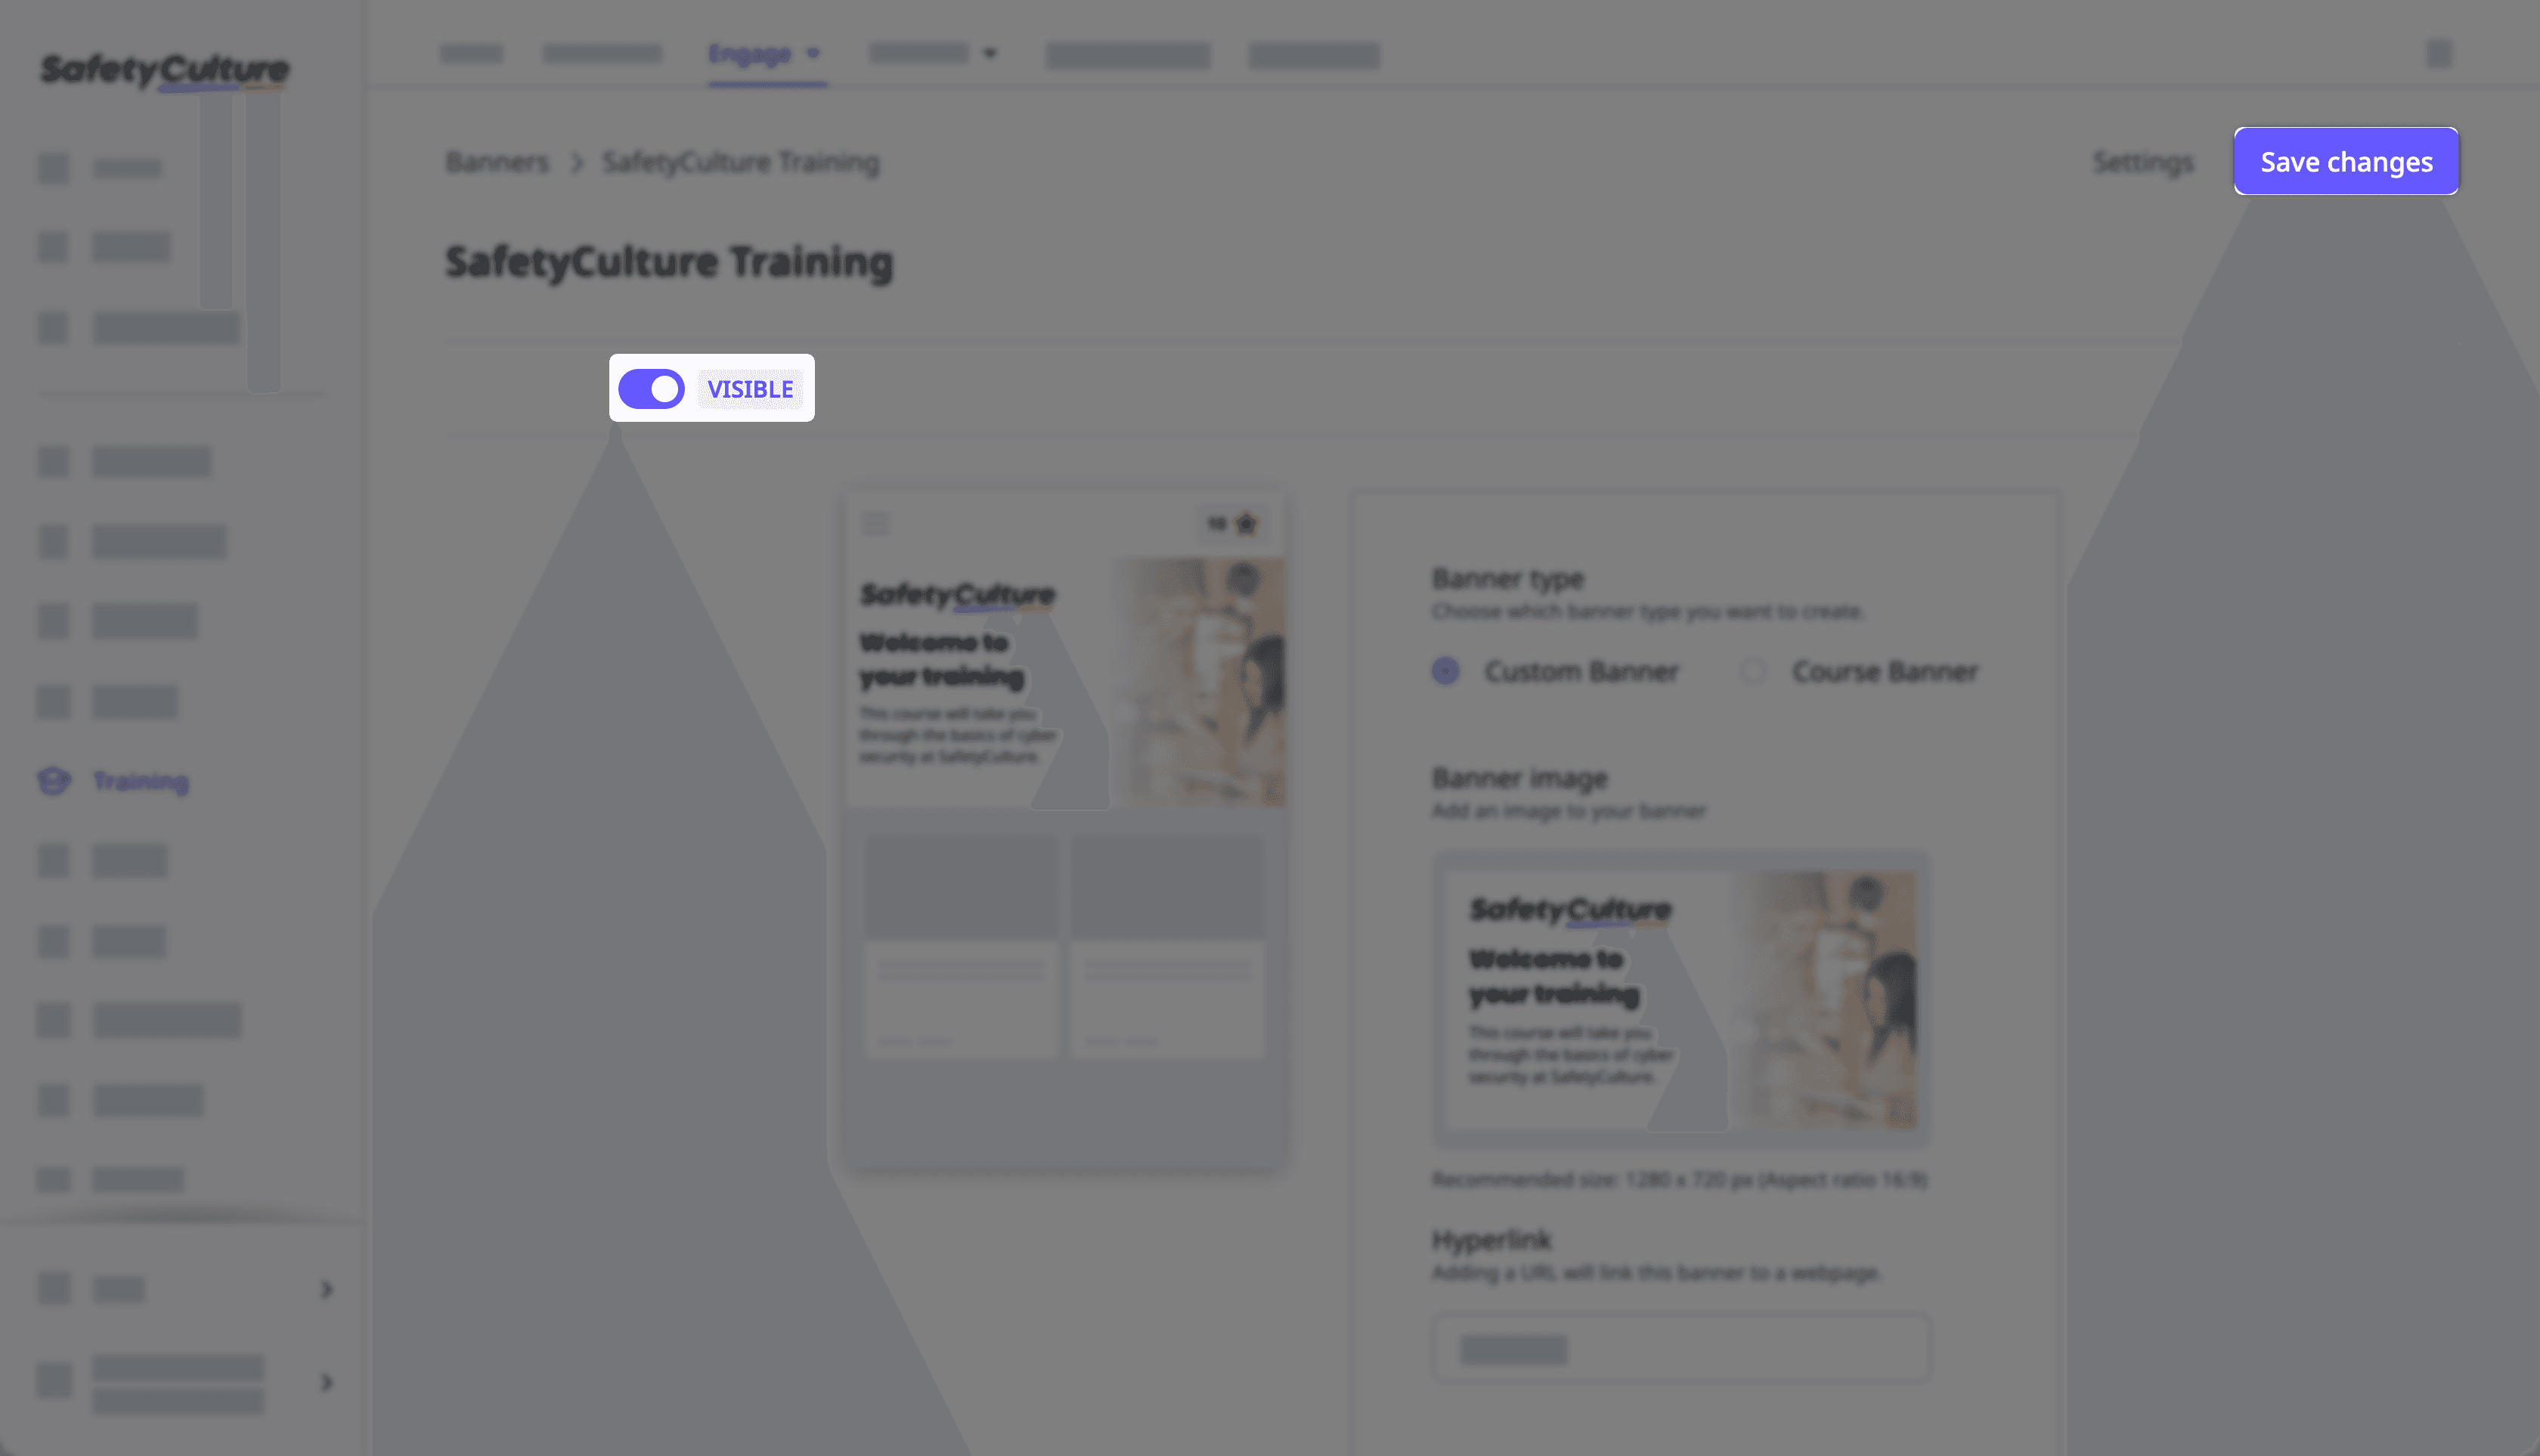
Banner options: Select the type of banner you want to create. Either across the Training feature or for a specific course.
Course: If you're creating a course banner, select the course and check the "Customize" box.
Banner image: Upload an image for the banner. We recommend using an image that's 1280 x 720 in pixels or 16:9 in aspect ratio.
Hyperlink: If you're creating a custom banner, you can add a hyperlink that leads to your website.
To manage who can see the banner, click Settings on the upper right of the page. You can deselect "Universal Access" to make sure that the banner is only visible to selected groups.
Once you're ready, click the toggle below the title field to set it to "VISIBLE", and click Save changes on the upper-right of the page.
Configuring access rules for training banners is only available to organizations on the Premium Plan or Enterprise Plan.
Was this page helpful?
Thank you for letting us know.