- Using SafetyCulture
- Assets
- Add or remove assets from a site
Add or remove assets from a site
Learn how to add or remove assets from a site via the web app and the mobile app.Why add assets to sites?
Adding assets to sites helps organize your list by grouping them under specific locations or projects. This makes it easier to manage assets at scale and quickly identify which ones belong to each site. It also improves your inspection process. When a site is selected in an inspection, your asset question will show relevant assets from that site first. You can add or remove assets from sites using the asset list or via CSV.
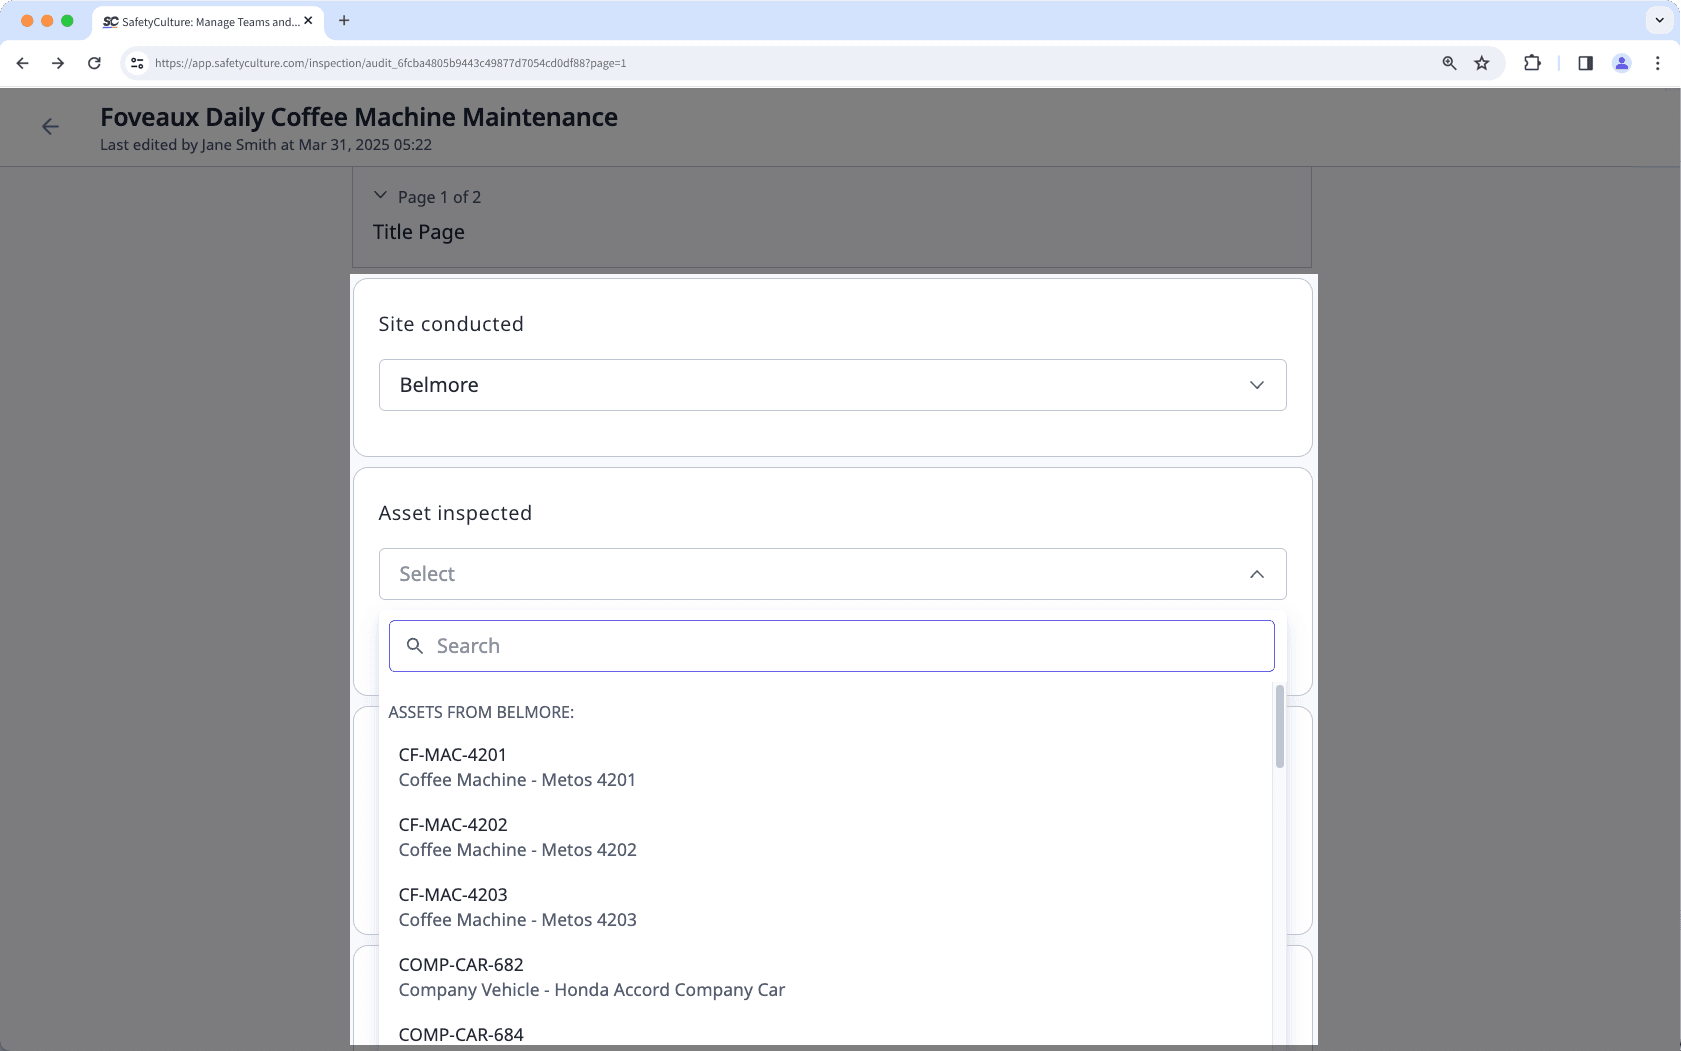
Each asset can only be added to one site. If you're on the web app, you can add assets to sites using the "List" view.
When managing several assets, you can also add to or remove them from sites via CSV.
Add assets to a site
Select
 Assets in the sidebar or select it in
  More.
More.Select the assets you want to add to a site.
To select a single asset, click
 on the left-hand side of the asset.

To select multiple assets, click
in the table header to select all assets currently visible.
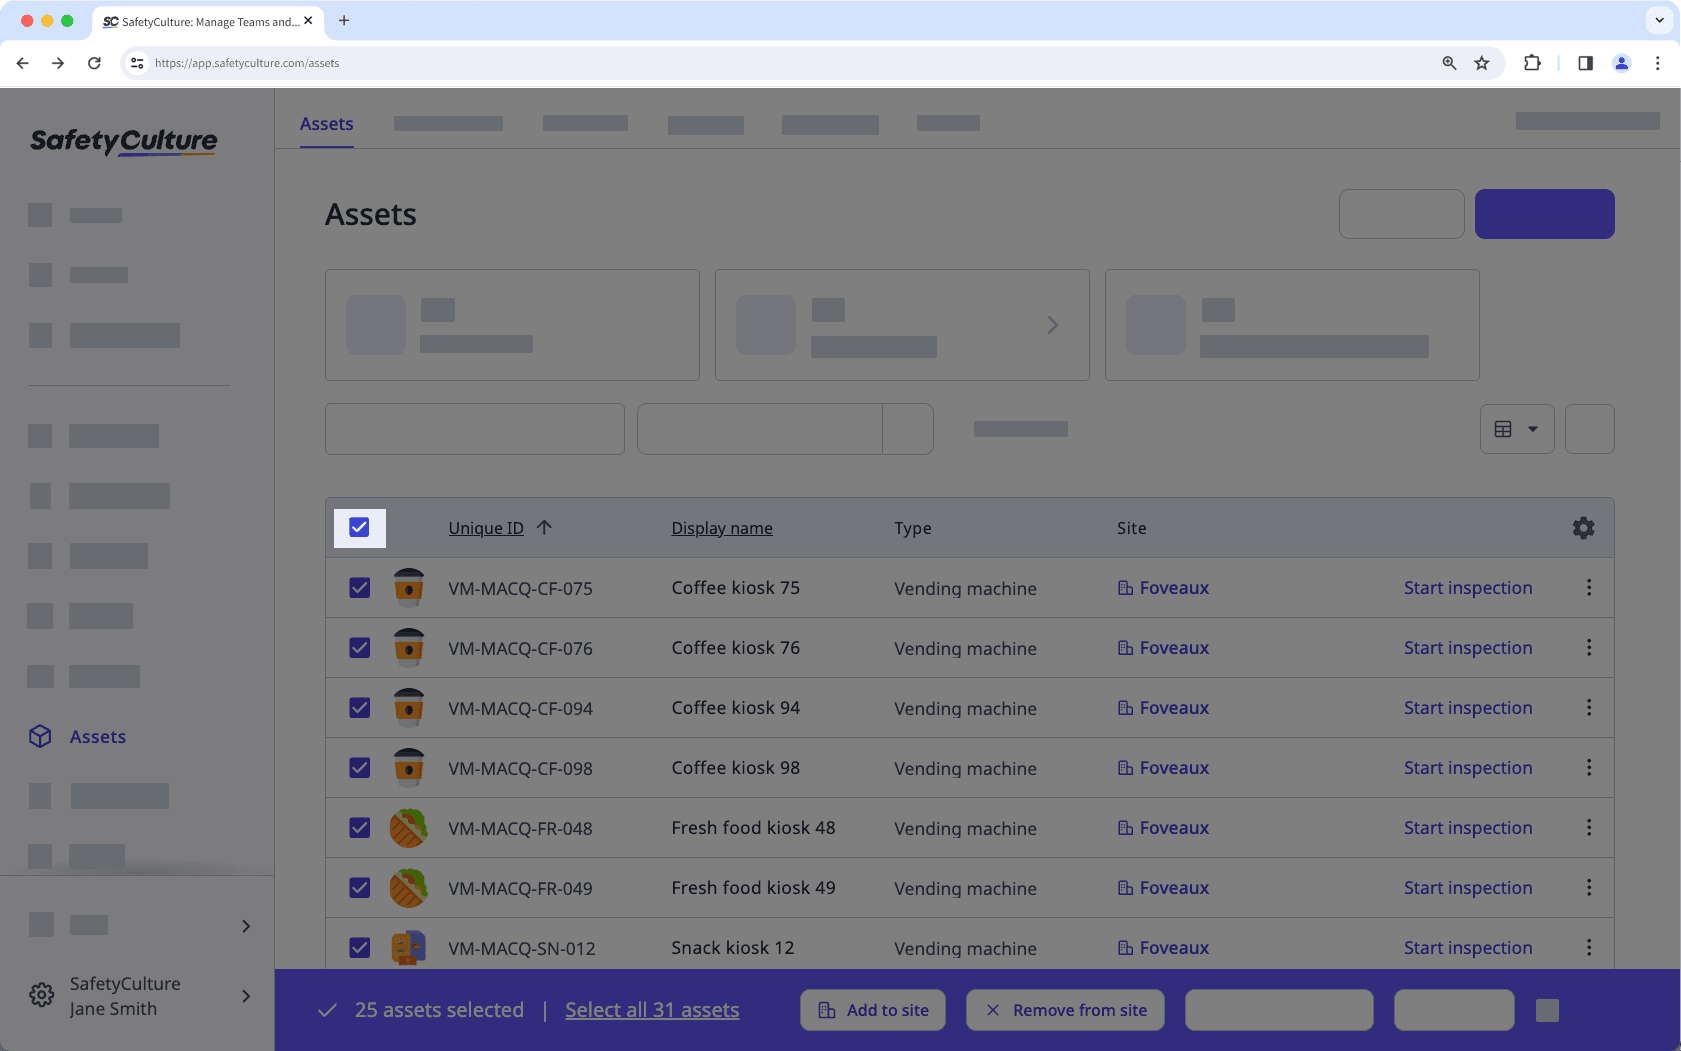
If you want to include all assets in the list, click Select all assets at the bottom of the page.
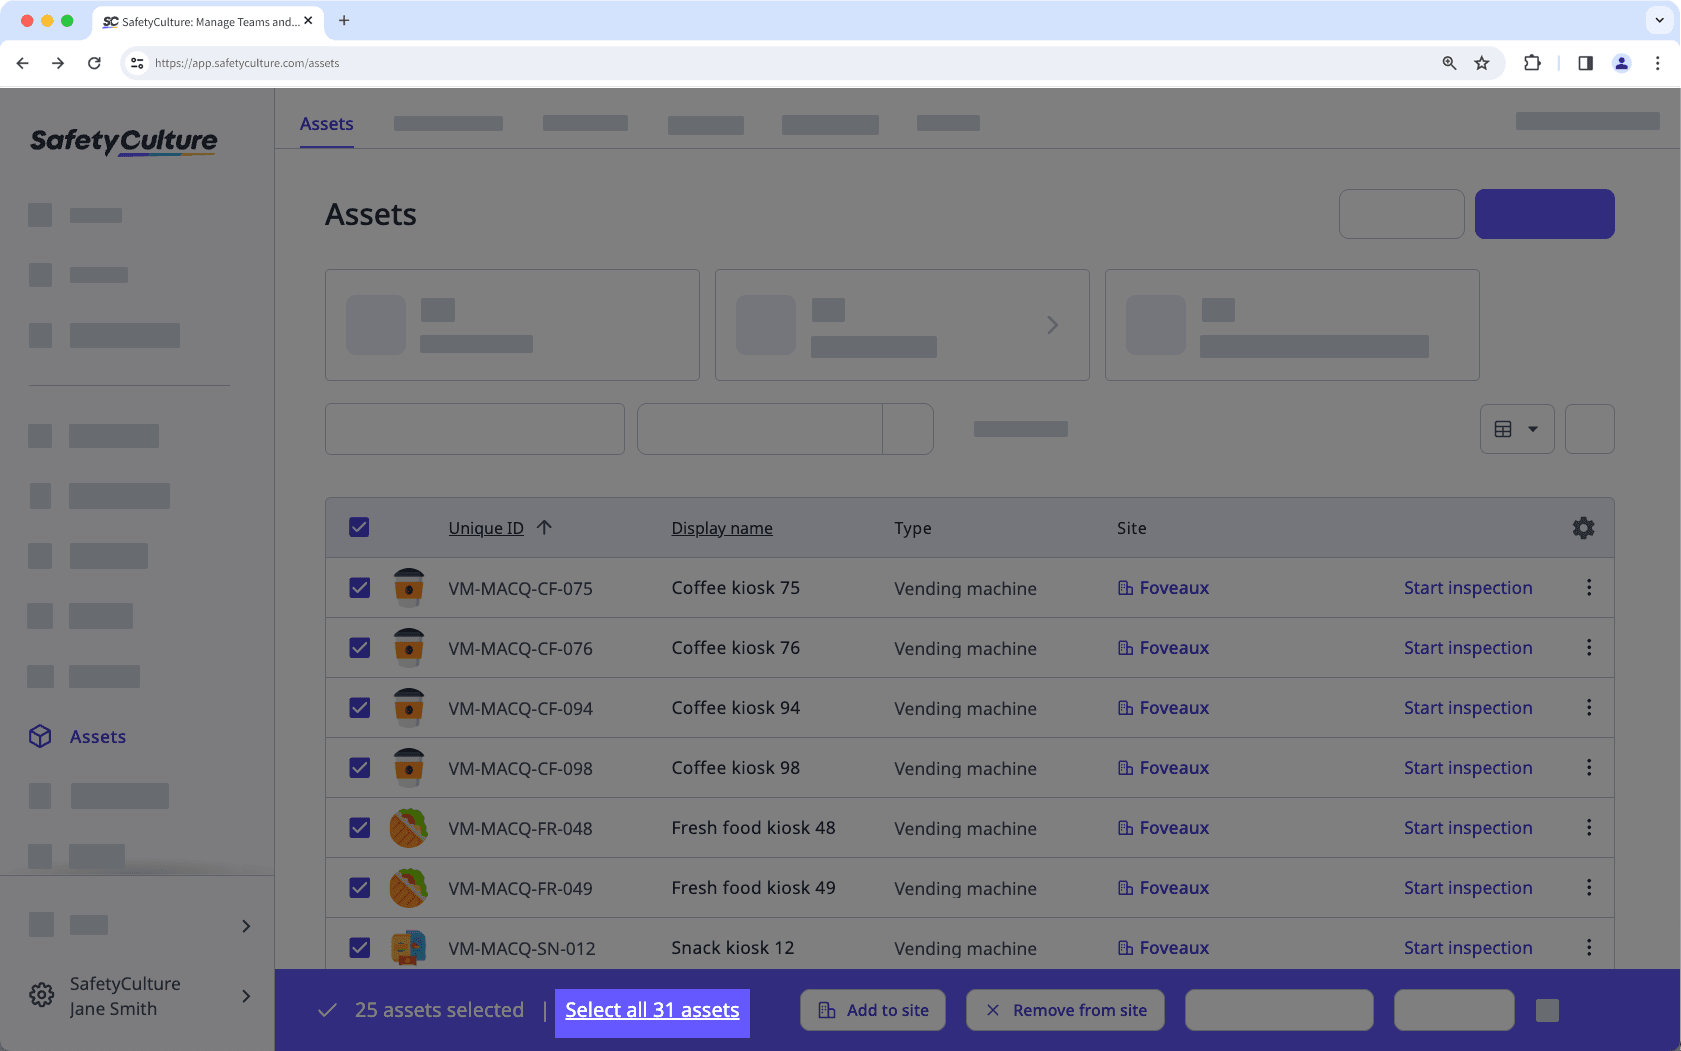
Click
 Add to site at the bottom of the page.
In the side panel, select a site.
Click Save and apply.
Open the mobile app.
Tap
More at the lower-right corner of your screen.Select
Assets from the list of options.Select the asset you want to add to a site.
Tap
 at the upper-right of your screen and select Edit asset.
Select a site.
Tap Save at the upper-right of your screen.
You can only remove one asset at a time from a site via the mobile app.
Remove assets from a site
Select
Assets in the sidebar or select it in More.Select the assets you want to remove from a site.
To select a single asset, click
on the left-hand side of the asset.
To select multiple assets, click
in the table header to select all assets currently visible.
If you want to include all assets in the list, click Select all assets at the bottom of the page.
Click
 Remove from site at the bottom of the page.
In the pop-up window, click Remove.
Open the mobile app.
Tap
More at the lower-right corner of your screen.Select
Assets from the list of options.Select the asset you want to remove from a site.
Tap
at the upper-right of your screen and select Edit asset.Tap the site and then tap Clear on the upper-left of your screen.
Tap Save at the upper-right of your screen.
Was this page helpful?
Thank you for letting us know.