- Administration
- Site management
- Configure site selection settings
Configure site selection settings
Learn about site selection settings and how you can configure them via the web app to control which sites your users can access across your organization.What are site selection settings?
The site selection settings control which sites are available to users when selecting or filtering across SafetyCulture features. This helps ensure users only see the sites that are relevant to their role. Depending on the setting, users will either see all sites in your organization or only the sites they’re a member of when selecting and filtering across features such as Inspections, Actions, Issues, Schedules, Assets, Analytics, and more. This supports better access control by limiting unnecessary access to sites and helps manage site visibility effectively.
Anyone with "Platform management: Sites" permission will be able to select from all sites regardless of the site selection settings.
Configure site selection settings
Click your organization name on the lower-left corner of the page and select Sites.
Click
 on the upper-right of the page and select
  Sites settings.
In the "Configure site selection settings" section, select one of the following options:
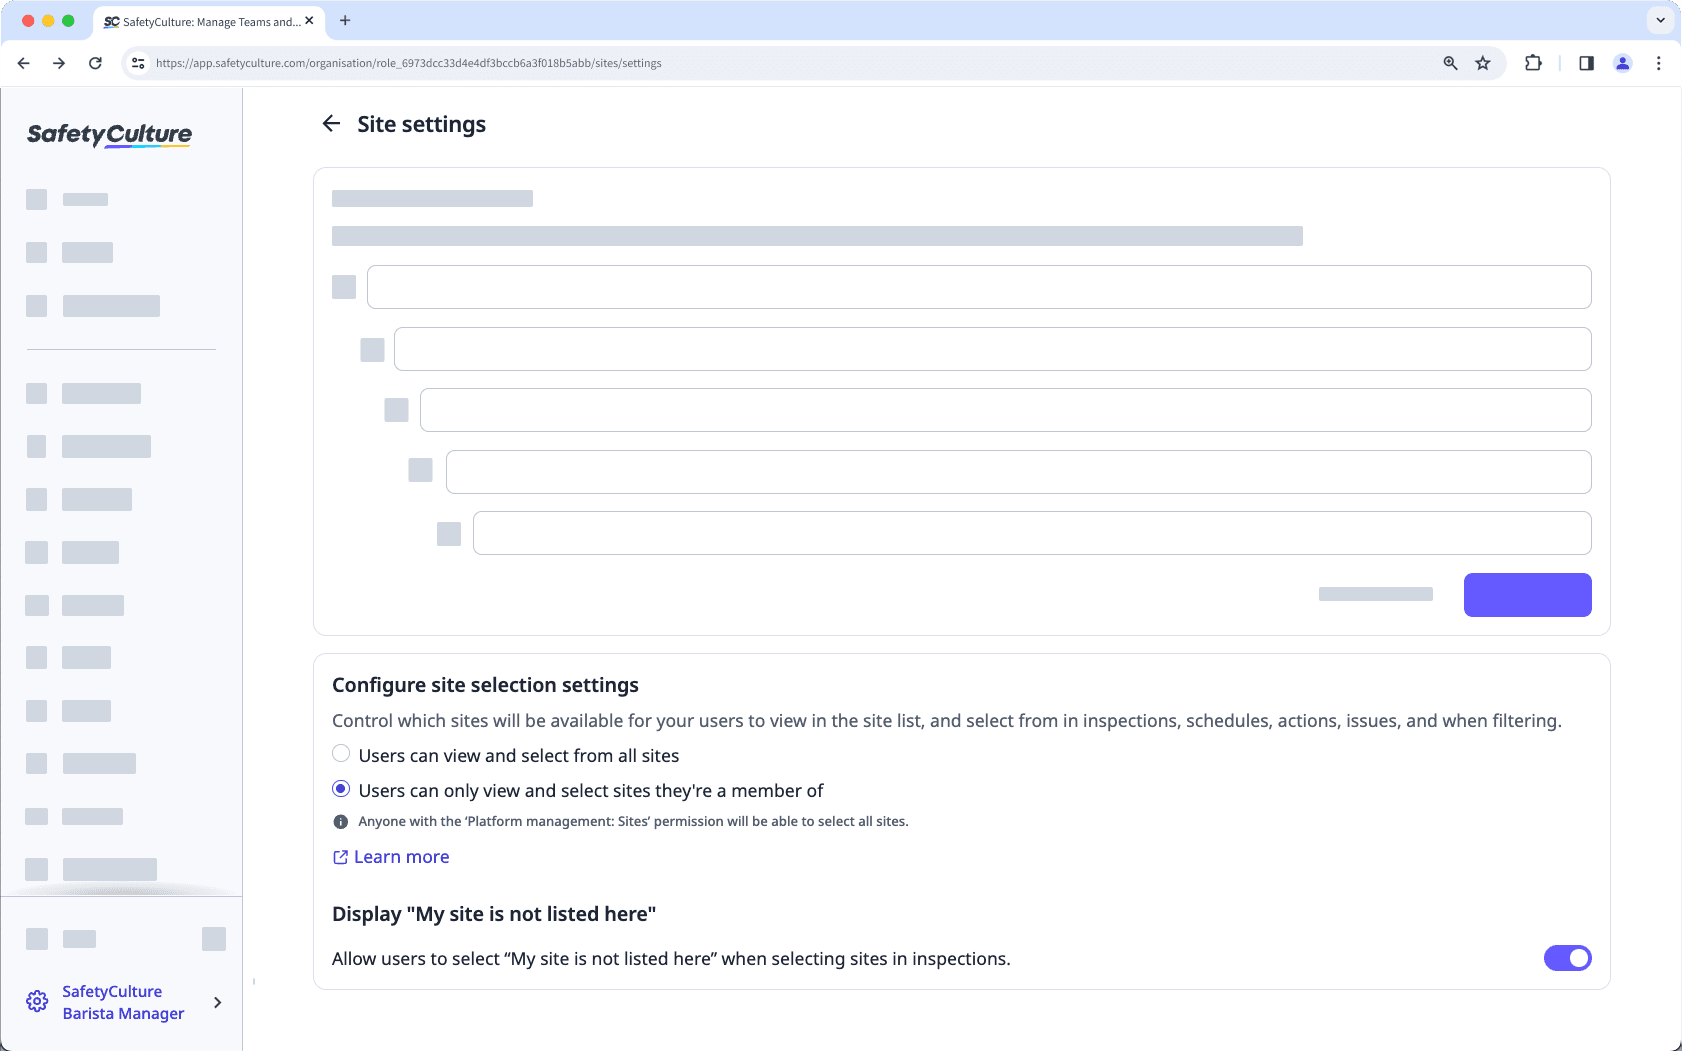
Users can select from all sites: Allow users to see and select from all sites.
Users can only select sites they're a member of: Limit users to only see and select from sites they've been added to. Please note that users who are not members of any sites will only be able to select "My site is not listed here" if you opt to display this.
To allow users to select "My site is not listed here" when selecting sites in inspections, turn Display "My site is not listed here" on.
Frequently asked questions
When "Users can select from all sites" is selected, the data available to users in Analytics will still depend on their access level within the organization.
When the "My site is not listed here" option is hidden, users can't select any site in inspections for templates with the "Site" question. We recommend adding users as site members to ensure they can select the appropriate site for their inspections.
Turn "My site is not listed here" on if your team needs flexibility when submitting inspections. For example, if sites change often, temporary sites are common, or users may not always know the correct site at the time of submission, this allows inspections to be reviewed and assigned to a site later on.
Turn the option off if you want to enforce stricter site selection and ensure all inspections are assigned to a site upfront. This can help maintain consistent site data and reduce the need for follow-up administration.
Was this page helpful?
Thank you for letting us know.