- Integrations
- Zapier
- Zapier: Start inspections from Google Calendar events
Zapier: Start inspections from Google Calendar events
Learn how to create a Zap to automatically start inspections from Google Calendar events.Third-party products can change over time, so some labels or screen layouts in this article may look different in your environment. If you notice anything out of date, use the feedback form at the bottom of this page to let us know.
We understand that managing schedules effectively can be a critical part of success, especially when you have multiple tasks to delegate across different users and groups. Using integration tools such as Zapier, you can create tasks as events on Google Calendar and set each event to automatically start SafetyCulture inspections. This can be a great way to automate your inspections based on your organization's schedules.
Take note
This Zap utilizes Google Calendar as the online calendar to trigger new inspections, this can be interchanged with other connectors such as Calendly.
Templates that are available for new inspections are based on the inspections your account has access to. Learn how to give yourself template access by assigning the "Override permissions: View all data" permission.
New inspections started from the Zap inherit the template's inspection access rules. Learn how to set up inspection access rules for your templates.
If you're a part of multiple organizations, please contact our customer support team for assistance in connecting Zapier to the correct SafetyCulture organization.
If you're on Enterprise Plan, contact your customer success manager for help with SSO, user provisioning, or third-party integrations (Power Automate, Power BI, Zapier). Our customer support team can only provide limited assistance in these areas.
1. Event Start in Google Calendar
Click
 Create on the upper-left of the page.
Search and select Google Calendar under "1. Trigger".
Click the "Trigger Event" dropdown menu and select Event Start.
Click Continue.
Select your Google Calendar account from the dropdown menu. If this is your first Zap with Google Calendar, click Sign in to Google Calendar, then sign in to Google and add it to Zapier.
Click Continue.
Click the "Calendar" dropdown menu and select the calendar you want to use and trigger new inspections.
Click Continue.
Click Test trigger and click Continue once an event has been found.
2. Start Inspection in SafetyCulture
In "2. Action", search and select SafetyCulture.
Click the "Action Event" dropdown menu and select Start Inspection.
Click Continue.
Select your SafetyCulture account from the dropdown menu. If this is your first Zap with SafetyCulture, click Sign in to SafetyCulture and then add your SafetyCulture account to Zapier by logging in.
Click Continue.
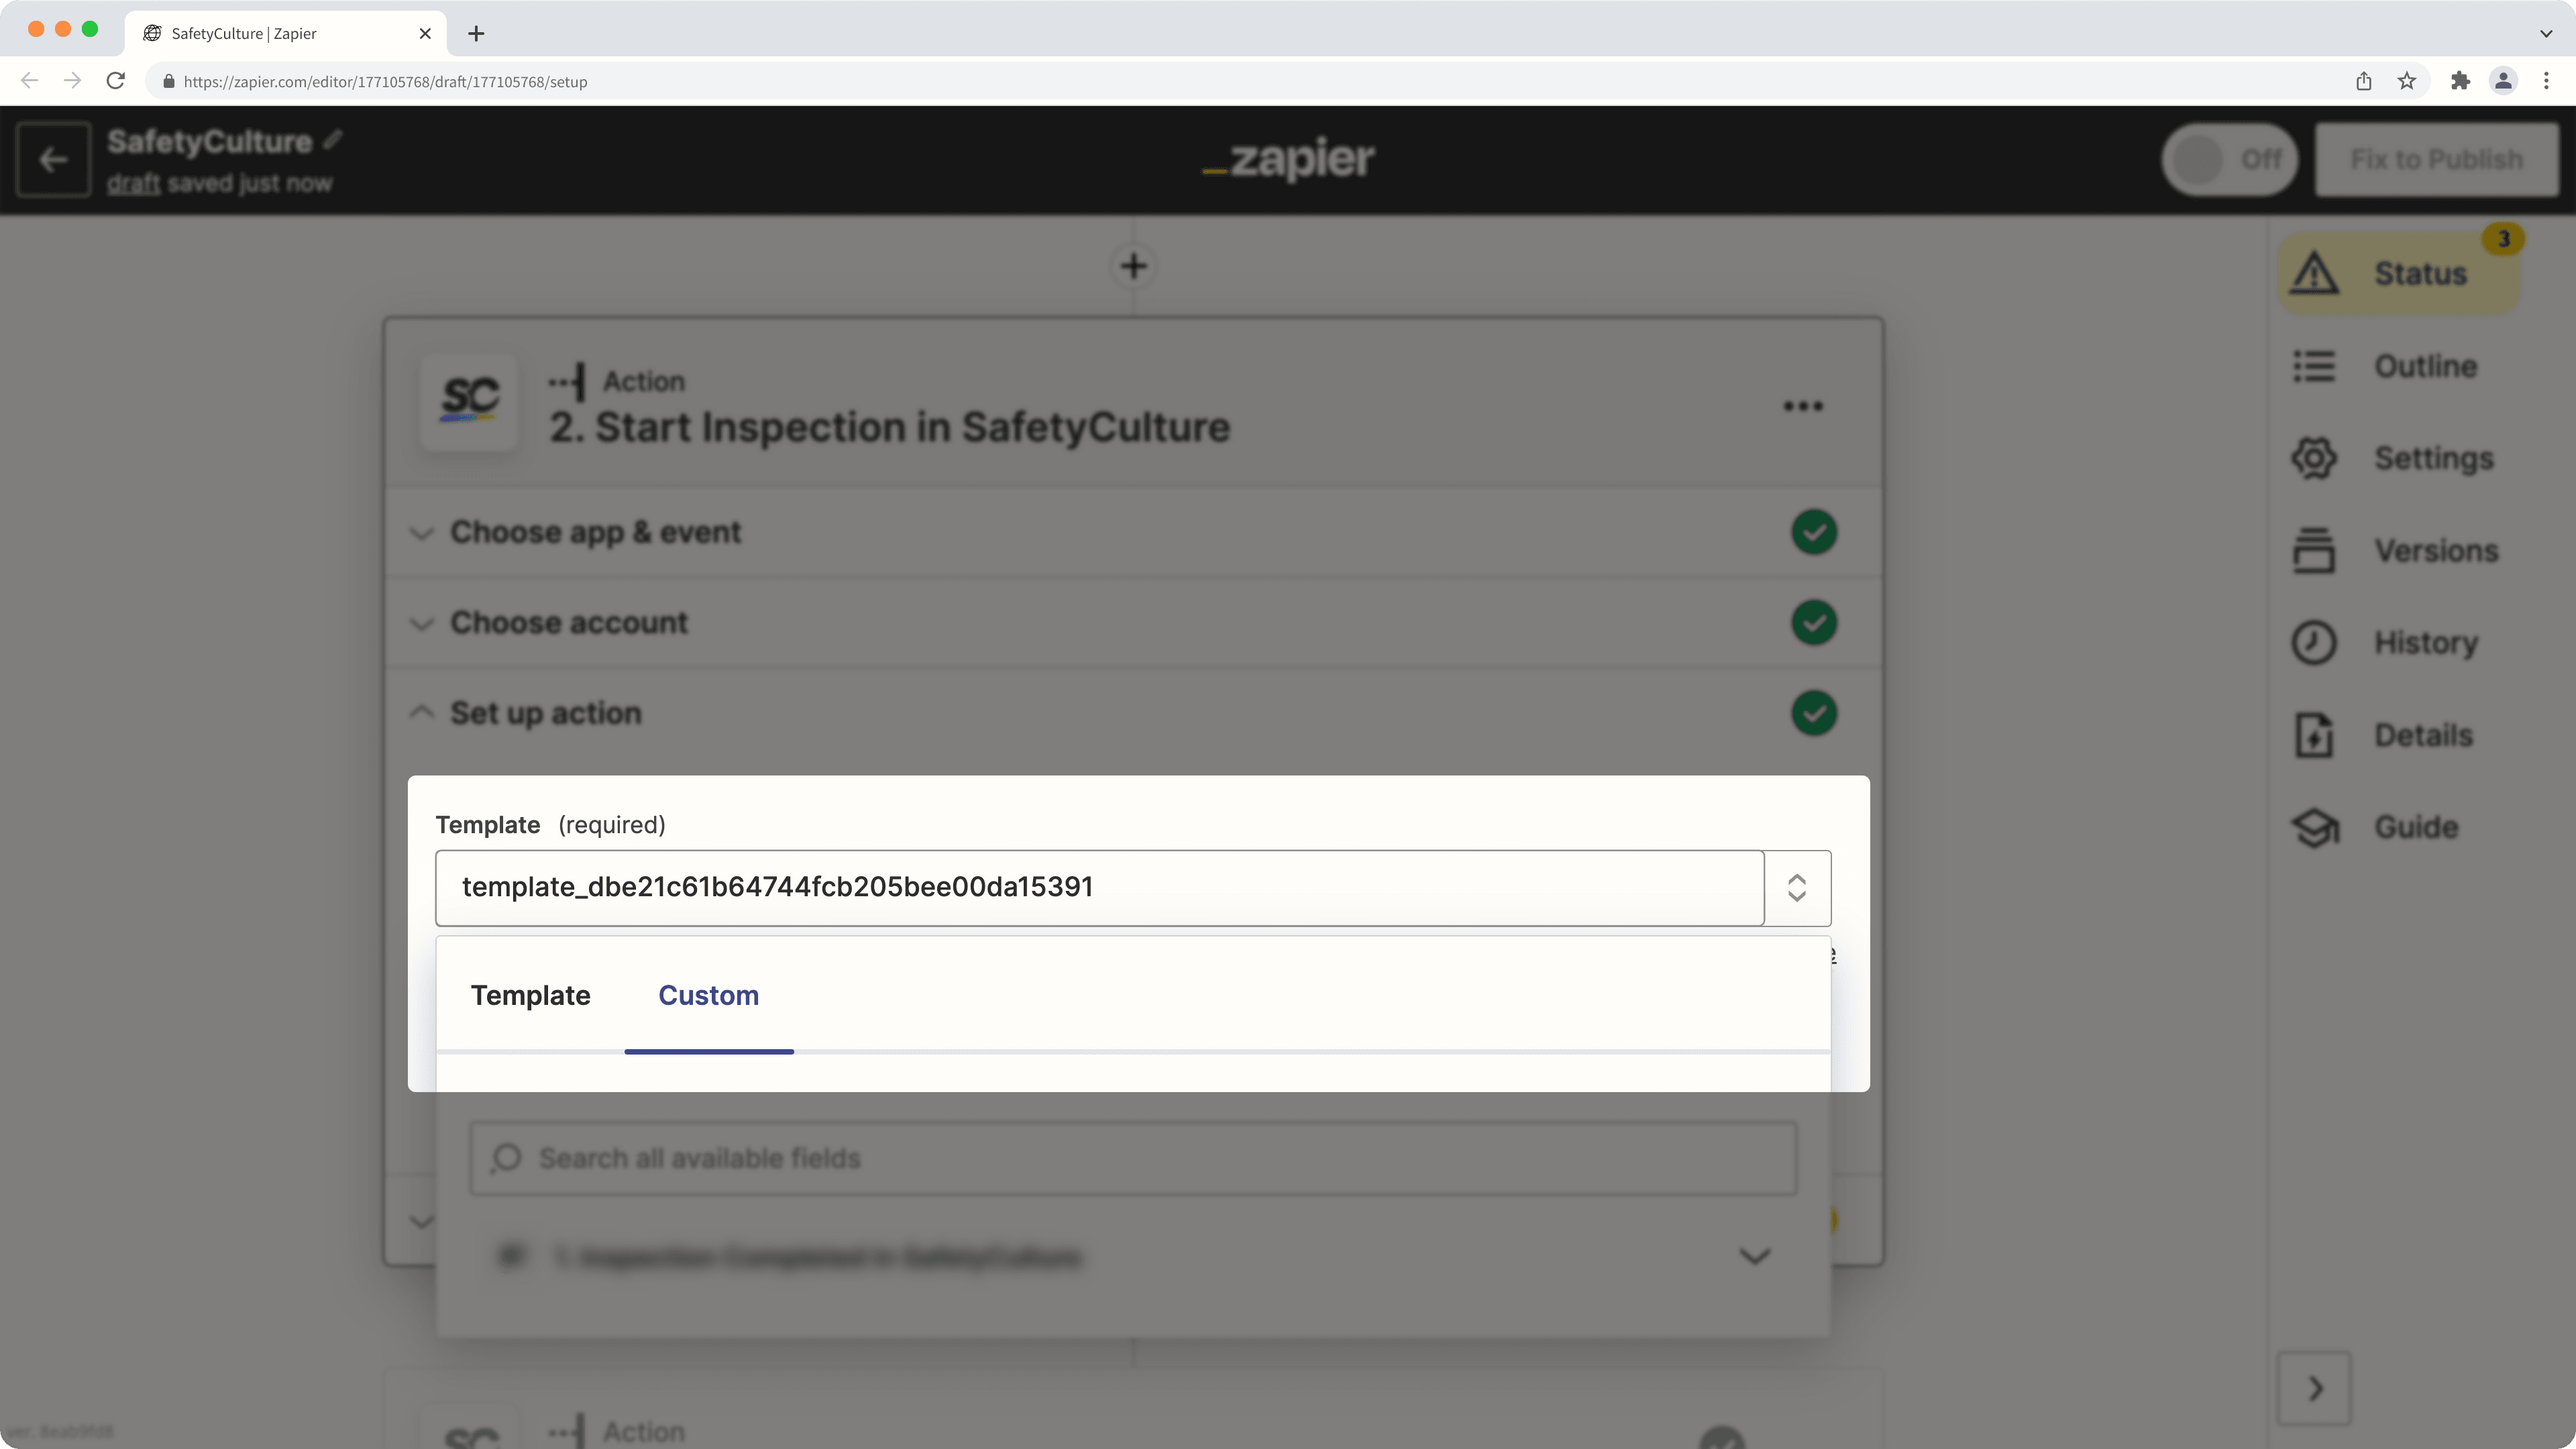
Click the "Template Name" dropdown menu to select the template you want to use for new inspections. Please note that only the 20 most recently modified templates are shown. If the template you want to use is not on the list, select the Custom tab from the dropdown menu and enter the template's unique identifier in the text field.
Click Test & continue. This starts a new inspection using the specified template.
Publish your Zap to start creating a new inspection for each event on your Google Calendar. We also recommend that you name your Zap on the upper-left corner of the page.
(Optional) 3. Send Email in Gmail
You can add an additional action to notify team members of the new inspection and even create a deep link in the email body to take recipients straight to the inspection on the web app or the mobile app.
Click
 at the bottom of the Zap.
Search and select Gmail.
Click the "Action Event" dropdown menu and select Send Email.
Click Continue.
Select your Gmail account from the dropdown menu. If this is your first Zap with Gmail, click Sign in to Gmail, then sign in to Google and add it to Zapier.
Click Continue.
Configure the following fields:
To: Click the field and specify the email recipients you want to notify of a new inspection.
Subject: Click the field and specify the email subject. You can use details from the calendar event and the new inspection in the dropdown menu to create a naming convention. For example, "[1. Summary]: [2. Template Data Metadata Name]".
Body: Click the field and specify the email body. Similar to the subject field, you can use details from the calendar event and the new inspection to construct the email body. You can also use the "Audit ID" as part of the new inspection details to create a deep link that can take recipients straight to the inspection on the web app or mobile app. Check out the following example as a reference:

Click Continue.
Click Test & continue. This should send an email to the recipients you specified.
Turn on your Zap to start creating a new inspection and email notify the specified recipients for each event on your Google Calendar. We recommend that you also name your Zap on the upper-left corner of the page.
Was this page helpful?
Thank you for letting us know.