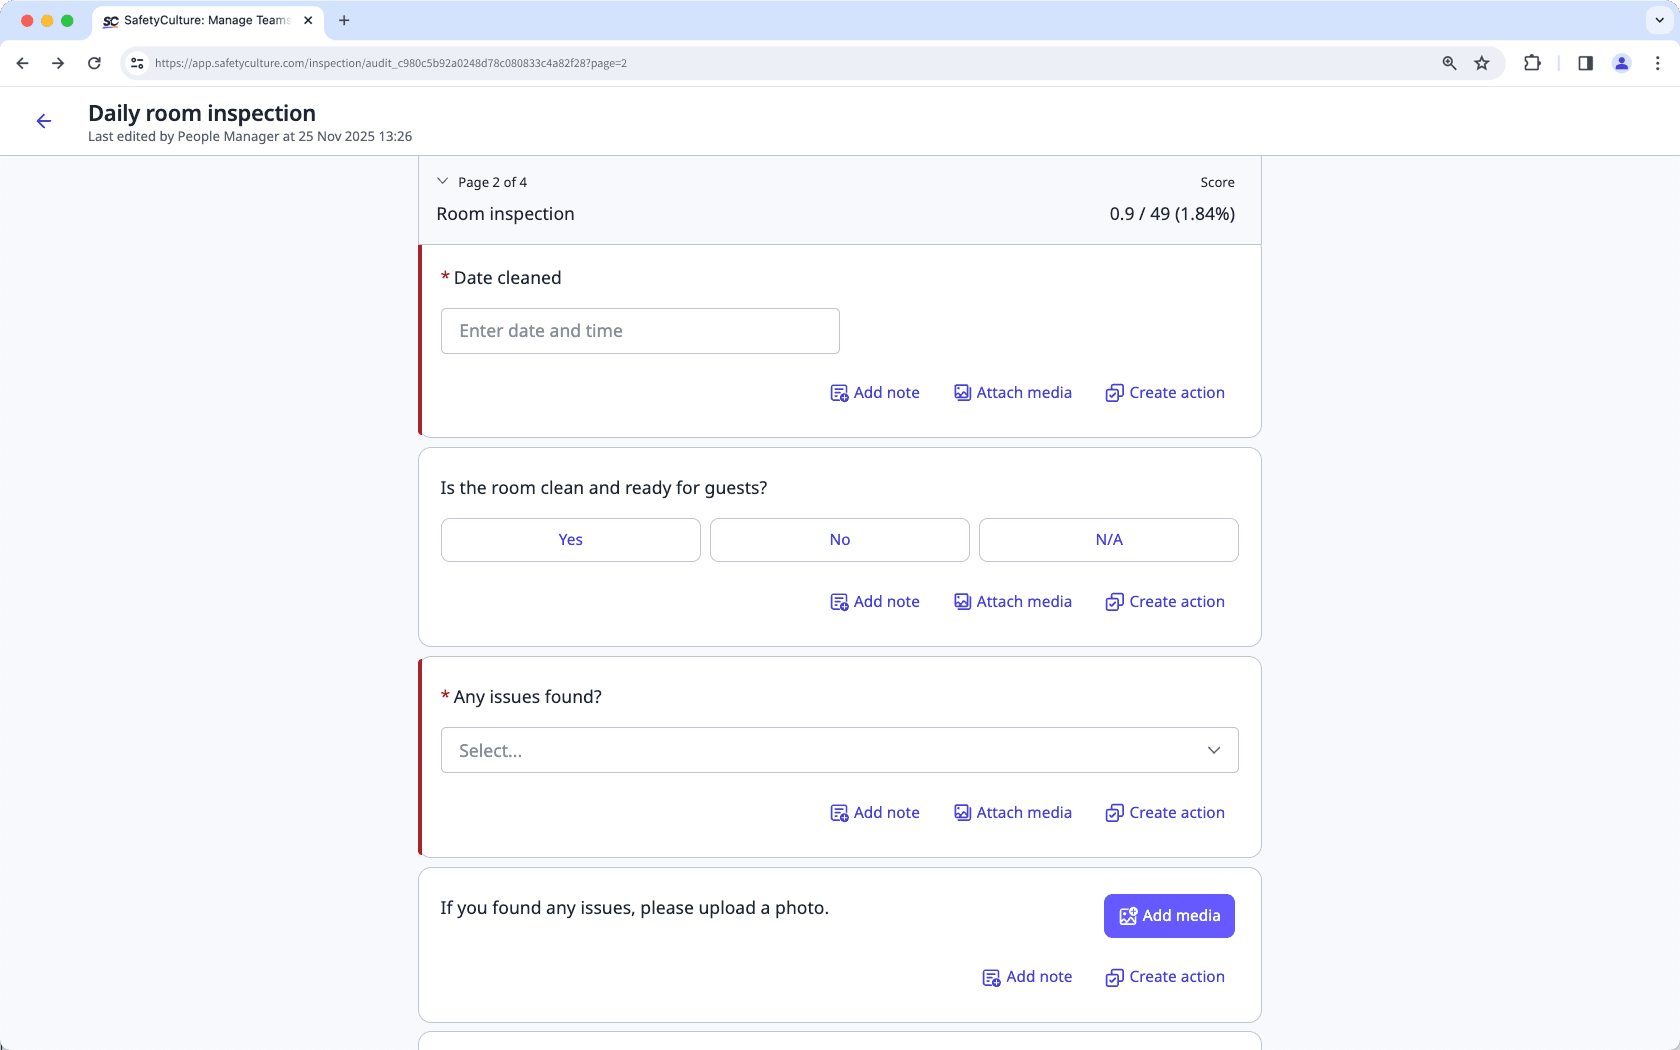
Mark questions as required or optional
Learn how to mark your questions as required to capture critical information, and set them as optional when the information is helpful but not essential, via the web app and the mobile app.Why mark questions as required or optional?
Marking questions as required or optional helps control the quality and completeness of your inspections. You can mark individual questions, groups of questions, or all questions in a template as required, while leaving non-critical questions optional. This ensures that critical information is always captured, and allows teams to skip information that is helpful but not essential.
For example, in a room inspection, you can mark a question that asks to attach proof that the room is clean and ready to be occupied as required. This ensures that every inspection includes verified evidence before the room is approved, helping maintain consistency, accuracy, and accountability across your reports.

Document number, calculation, and target questions in a linked response can't be marked as required because they're auto-populated and rely on a referenced question. Instruction response type also can't be marked as required since they don't need a response.
What you'll need
Published changes made to templates only apply to new inspections moving forward.
Mark a question as required or optional
Select
 Templates in the sidebar or select it in
 More.
Click the template and select Edit template in the side panel.
Add a new question or select an existing one.
Check Required below the question to mark it as required or uncheck to mark as optional.
Click Publish on the upper-right of the page to publish the template. If you're not ready to publish the template, you can go back to the templates list and come back when you're ready.
Open the mobile app.
Tap
Inspections in the navigation bar or select it from
More.
Select the Templates tab at the top of your screen.
Tap the template and select
Edit template from the pop-up options.
Add a new question or select an existing one.
Tap
at the lower-right of the question and check Required to mark it as required or uncheck to mark as optional.
Tap Publish on the upper-right of your screen to publish the template. If you're not ready to publish the template, you can go back to the templates list and come back when you're ready.
Mark multiple questions as required or optional
Select
 Templates in the sidebar or select it in
 More.
Click the template and select Edit template in the side panel.
Mark selected questions or sections as required or optional.
Click a question or section, then click and drag your cursor on any other questions or sections you want to update.
Click
at the bottom of the page.
Select Mark as required if the questions or sections are currently optional, or Mark as optional if they’re currently required.
Alternatively, mark all questions in the template as required or optional.
Click
on the upper-right of the page.
In the side panel, select "Required" or "Optional".
Click Apply to all questions.
In the pop-up window, click Apply.
Click Publish on the upper-right of the page to publish the template. If you're not ready to publish the template, you can go back to the templates list and come back when you're ready.
Open the mobile app.
Tap
Inspections in the navigation bar or select it from
More.
Select the Templates tab at the top of your screen.
Tap the template and select
Edit template from the pop-up options.
Mark selected questions or sections as required or optional.
Tap a question or section, then tap and drag your cursor on any other questions or sections you want to update.
Tap
at the bottom of the page.
Select Mark as required if the questions or sections are currently optional, or Mark as optional if they're currently required.
Alternatively, mark all questions in the template as required or optional.
Tap
on the upper-right of the page and select
Settings.
In the settings page, select "Required" or "Optional".
Tap Apply to all questions.
In the pop-up window, tap Apply.
Tap Publish on the upper-right of your screen to publish the template. If you're not ready to publish the template, you can go back to the templates list and come back when you're ready.
Was this page helpful?
Thank you for letting us know.