- Administration
- Group management
- Create and edit groups
Create and edit groups
Learn why it's useful to create groups and how to create and manage them in your organization via the web app to easily manage access and assign tasks to your teams.Why create groups?
As your business grows, managing your employees can become time-consuming, which oftentimes results in inefficiency. However, this can be resolved by creating groups in SafetyCulture. Creating groups not only helps you to easily set up access to templates and inspections, but it also becomes hassle-free to assign courses and quizzes, and to set up lone-work alert escalations.
Create a group
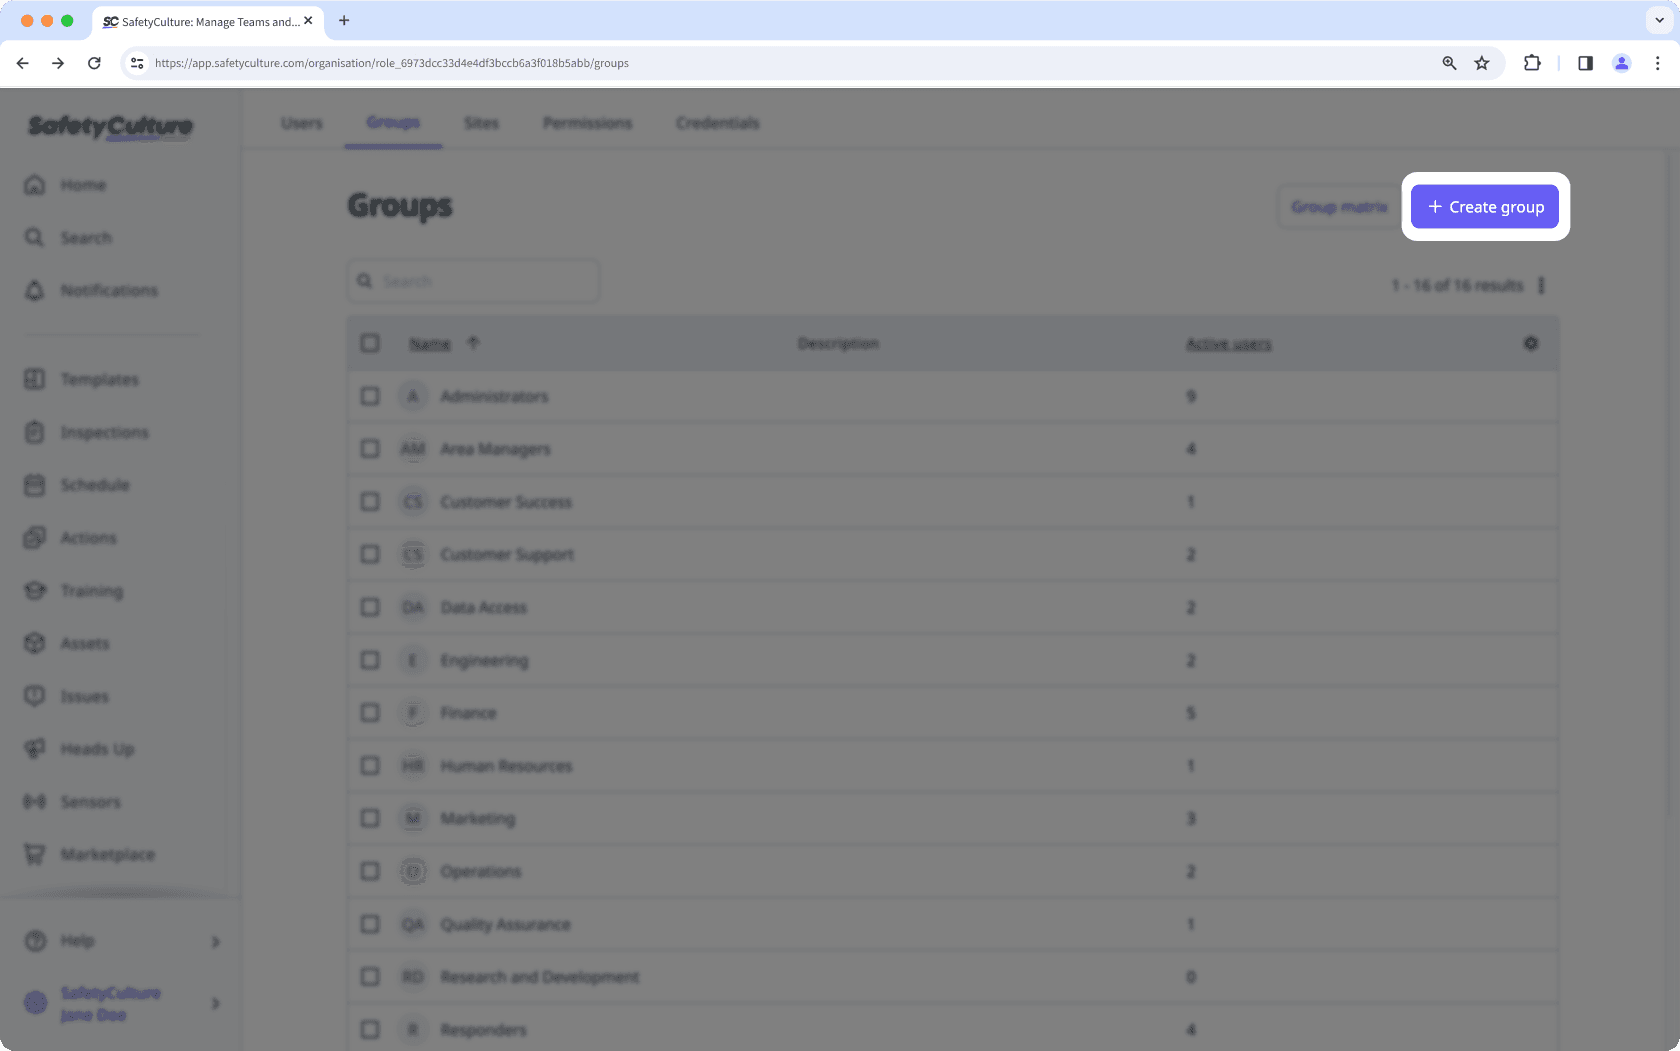
Click your organization name on the lower-left corner of the page and select Groups.
Click
 Create group on the upper-right corner of the page.
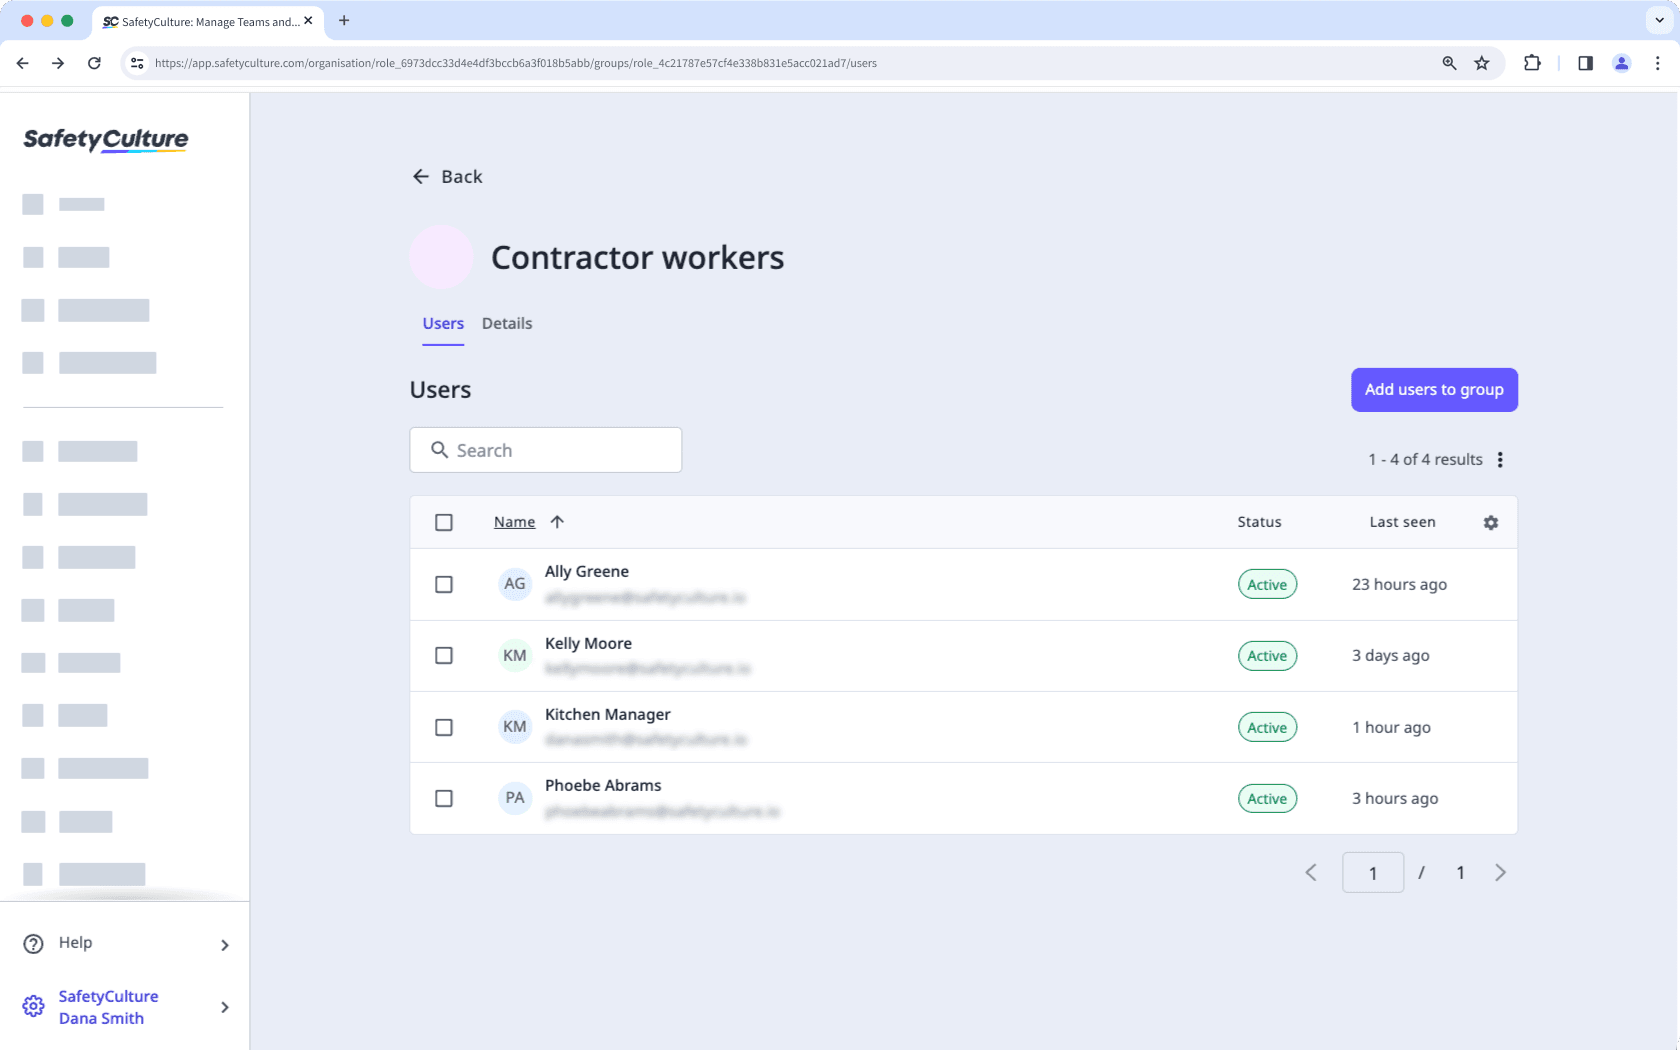
In the pop-up window, enter the group name and select the users you want to add. You can always come back later to add users to the group.
Click Create group.
Depending on the people you want to organize into groups, you can create membership rules to automatically add or remove users based on user field values.
Edit a group
Click your organization name on the lower-left corner of the page and select Groups.
Click the group.
If the group has membership rules set up, click
 to edit the rules.
Select Details on the upper-left of the page.
Edit the following details:
Group name: Click
Edit in the "Name" section, enter the group name, and click Save and apply.Group description: Click
Edit in the "Description" section, enter the group description, and click Save and apply.
Buying groups in the SafetyCulture Marketplace are managed separately from groups you can create and select in the rest of the platform.
Was this page helpful?
Thank you for letting us know.