What are asset status groups?
Asset status groups in SafetyCulture are default or configurable sets of status options that admins can create and assign to asset types. Asset status groups help organizations track the operational state of each asset, supporting day-to-day decisions about which equipment to use and what needs attention. Asset status is visible and editable across the asset list and asset profile on the web app and mobile app. Each status group contains color-coded statuses.
For example, a group for equipment availability might include options like In Use, Under Repair, and Out of Service. Status groups give organizations a consistent way to track and communicate asset state, so teams can quickly see which assets are available, in use, or in need of attention.
If you're on Free Plan, your organization has these default statuses: Active, Pending, and Inactive.
Create a status group
Select Assets in the sidebar or select it in More.
Click Settings on the upper-right of the page.
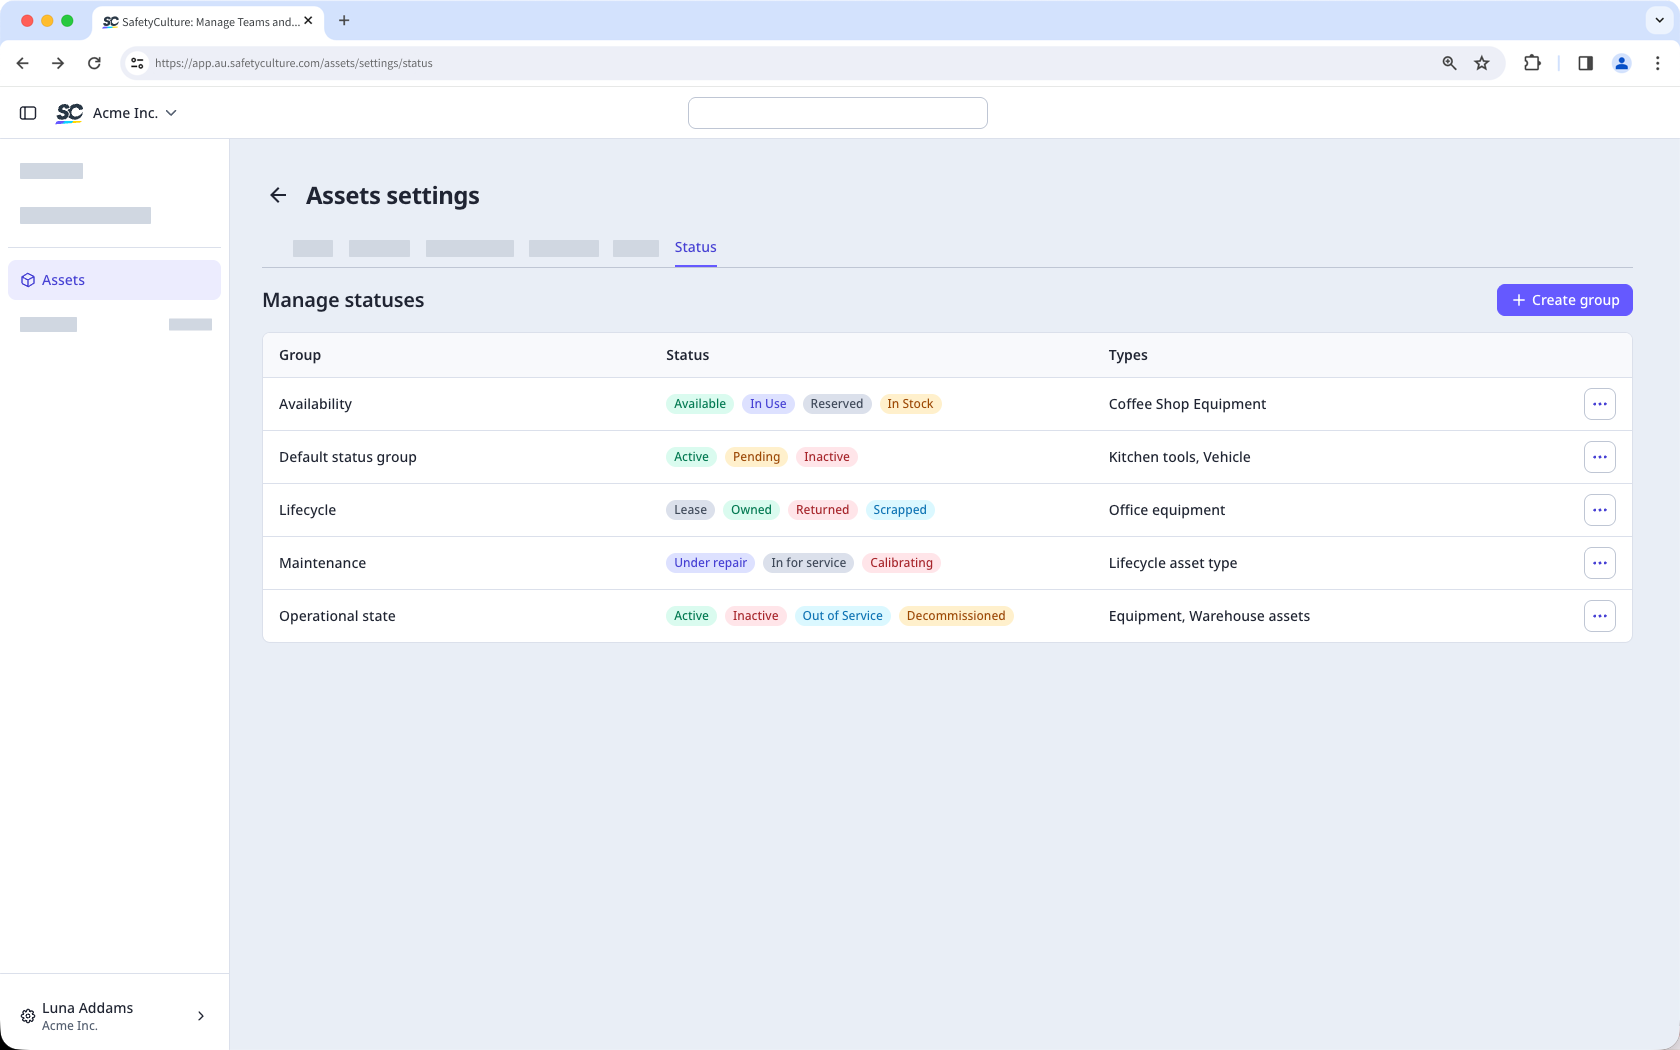
Click Status at the top of the page.
C lick Create group on the upper-right of the page.
In the pop-up window, enter the group name and description. Then, click Create.
In the "Statuses" section, click Add status on the right-hand side of the page.
In the new status field, enter the status name and select a color.
Under "Asset types," click the dropdown menu and select the asset type you want to assign the asset status group to.
Click Save on the upper-right of the page.
You can create a maximum of 10 status groups per organization, with up to 10 statuses per group.
Edit a status group
Select Assets in the sidebar or select it in More.
Click Settings on the upper-right of the page.
Click Status at the top of the page.
Click on the right-hand side of the status and select Edit.
Update the name or description as needed.
In the "Statuses" section, you can manage the statuses.
To create a status, click Add status, enter a name and select a color.
To edit a status, click the status name or color and make your changes.
To sort statuses, click and drag the to your preferred position.
To delete a status, click on the status and select Delete.
Under "Asset types," click the dropdown menu and select or change the asset type you want to assign the asset status group to.
Click Save on the upper-right of the page.
Deleting is irreversible, and we cannot restore permanently deleted items. Confirmation is always required before any deletion, so be sure you're not accidentally deleting the wrong item.
Deleting a group will also remove template and inspection access provided to it.
Delete a status group
Select Assets in the sidebar or select it in More.
Click Settings on the upper-right of the page.
Click Status at the top of the page.
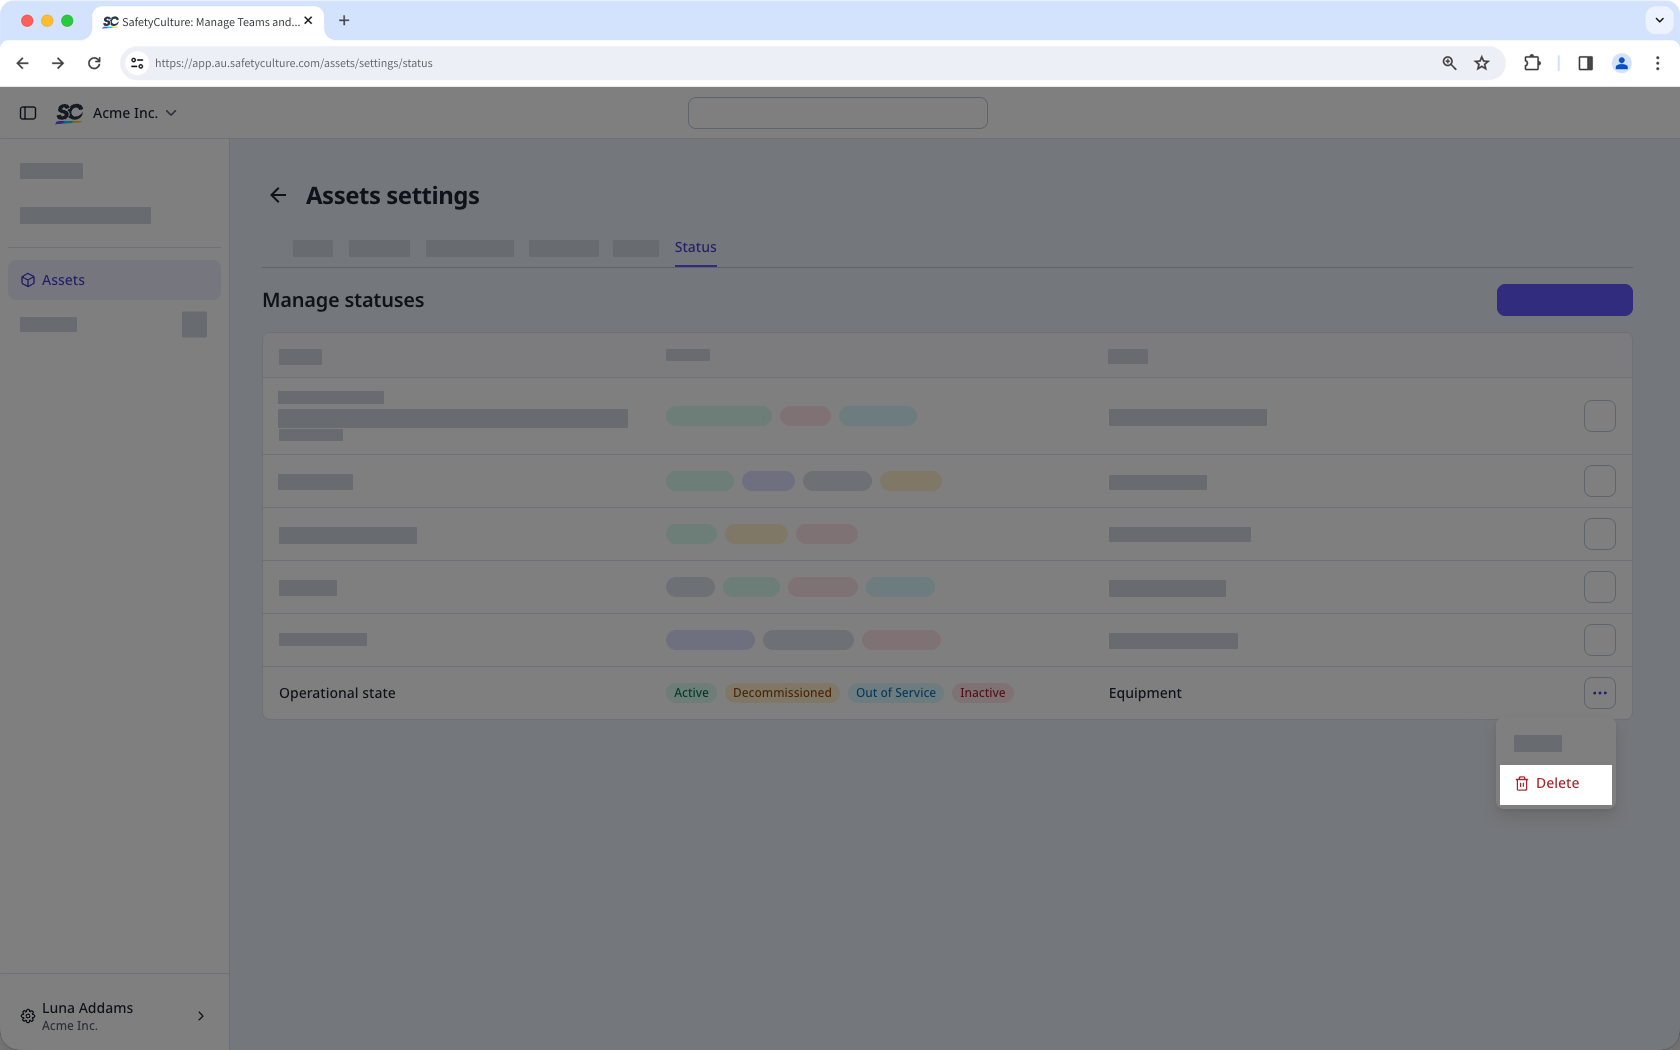
Click on the right-hand side of the status and select Delete.
In the pop-up window, enter "delete".
Click Delete.
When you delete a status group, the asset type assigned to it will no longer have a status group assigned.