How do invite links work in SafetyCulture?
Invite links let multiple members join your organization through a single shared link. When someone uses an invite link, they're automatically assigned to the groups, sites, and permission sets configured for that link. Admins can also set expiration dates and usage limits to maintain security and control.
Here's how this compares to EdApp:
Capability | EdApp | SafetyCulture |
|---|---|---|
Primary purpose | Share access to the program via invite links, either for the whole account or a specific user group. | Onboard multiple users and automatically assign them to groups, sites, and permission sets. |
Where admins manage it | Admins manage it by going to Users and selecting Invite Users for account-wide links, or within User Groups for group-specific links. | Admins manage it in the web app by going to Users and selecting Manage invites. |
Scope or assignment model | Invite links are configured at account level or user-group level; user-group links auto-assign users to that group. | Invite links are configured with seat type, permission set, groups, and sites at creation. |
Access controls | Invite links support optional verification before users can access the link. | Invite links support password protection, expiration, and invite limit. |
QR code support | Admins can download a QR code for both account-wide and user-group invite links. | Invite links can be shared as a QR code. If an invite link has a set password, share the password separately. |
Branding on signup page | EdApp supports custom branding on signup. Admins can upload a logo and background for invite link or invite code entry at either the account or user-group level. | SafetyCulture does not offer a branded login or signup page. Customers who need a custom registration experience can contact the Partner Referral Program for a custom page option. |
Registration fields during signup | EdApp invite links can collect extra registration information. The branding page gives examples like first name and last name. | SafetyCulture does not collect registration fields during signup. |
Admin lifecycle actions | Admins can create and bulk edit invite links. | Admins can create, edit, deactivate, delete, and bulk edit invite links and view who joined through a specific link. |
Existing EdApp invite links will no longer work after migration. Admins must create and share new SafetyCulture invite links.
Create an invite link
Click your organization name on the lower-left corner of the page and select Users.
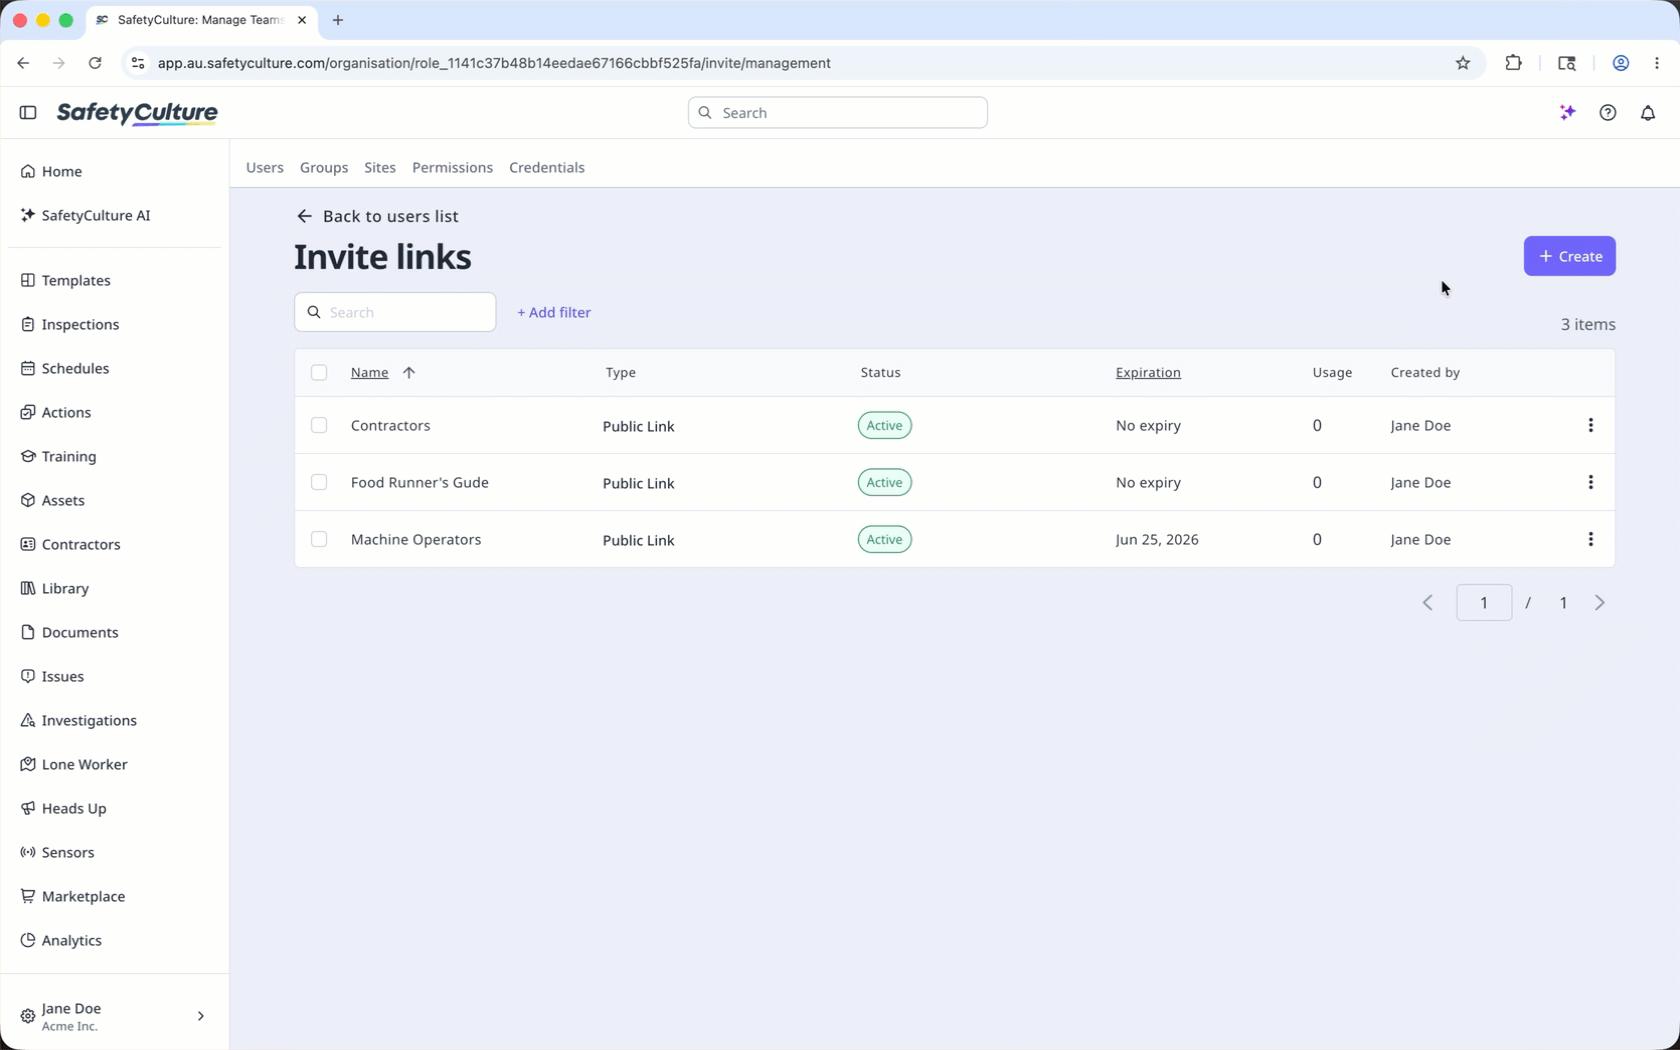
Click
 Manage invites on the upper-right corner of the page, then click Create.
Enter the invite name and choose a seat type.
Configure the invite link accordingly.
Link password: Turn the setting on to set a password users must enter before they can access the link. If you share the link's QR code, also share the password with your team members separately.
Expiration: Turn the setting on to set a date when the invite link will expire. If you set an expiration date, remember to renew the link before it expires.
Invite limit: Turn the setting on to set the number of users that can access the invite link to join the organization.
Permission set: The permission set you want to assign a user.
Groups: The groups you want to add a user to.
Sites: The sites or levels you want to add a user to.
Click Create.
Edit an invite link
Click your organization name on the lower-left corner of the page and select Users.
Click
Manage invites on the upper-right corner of the page.Click the invite link.
Click Settings on the upper-right of the side panel.
Click Edit in the "Details" section.
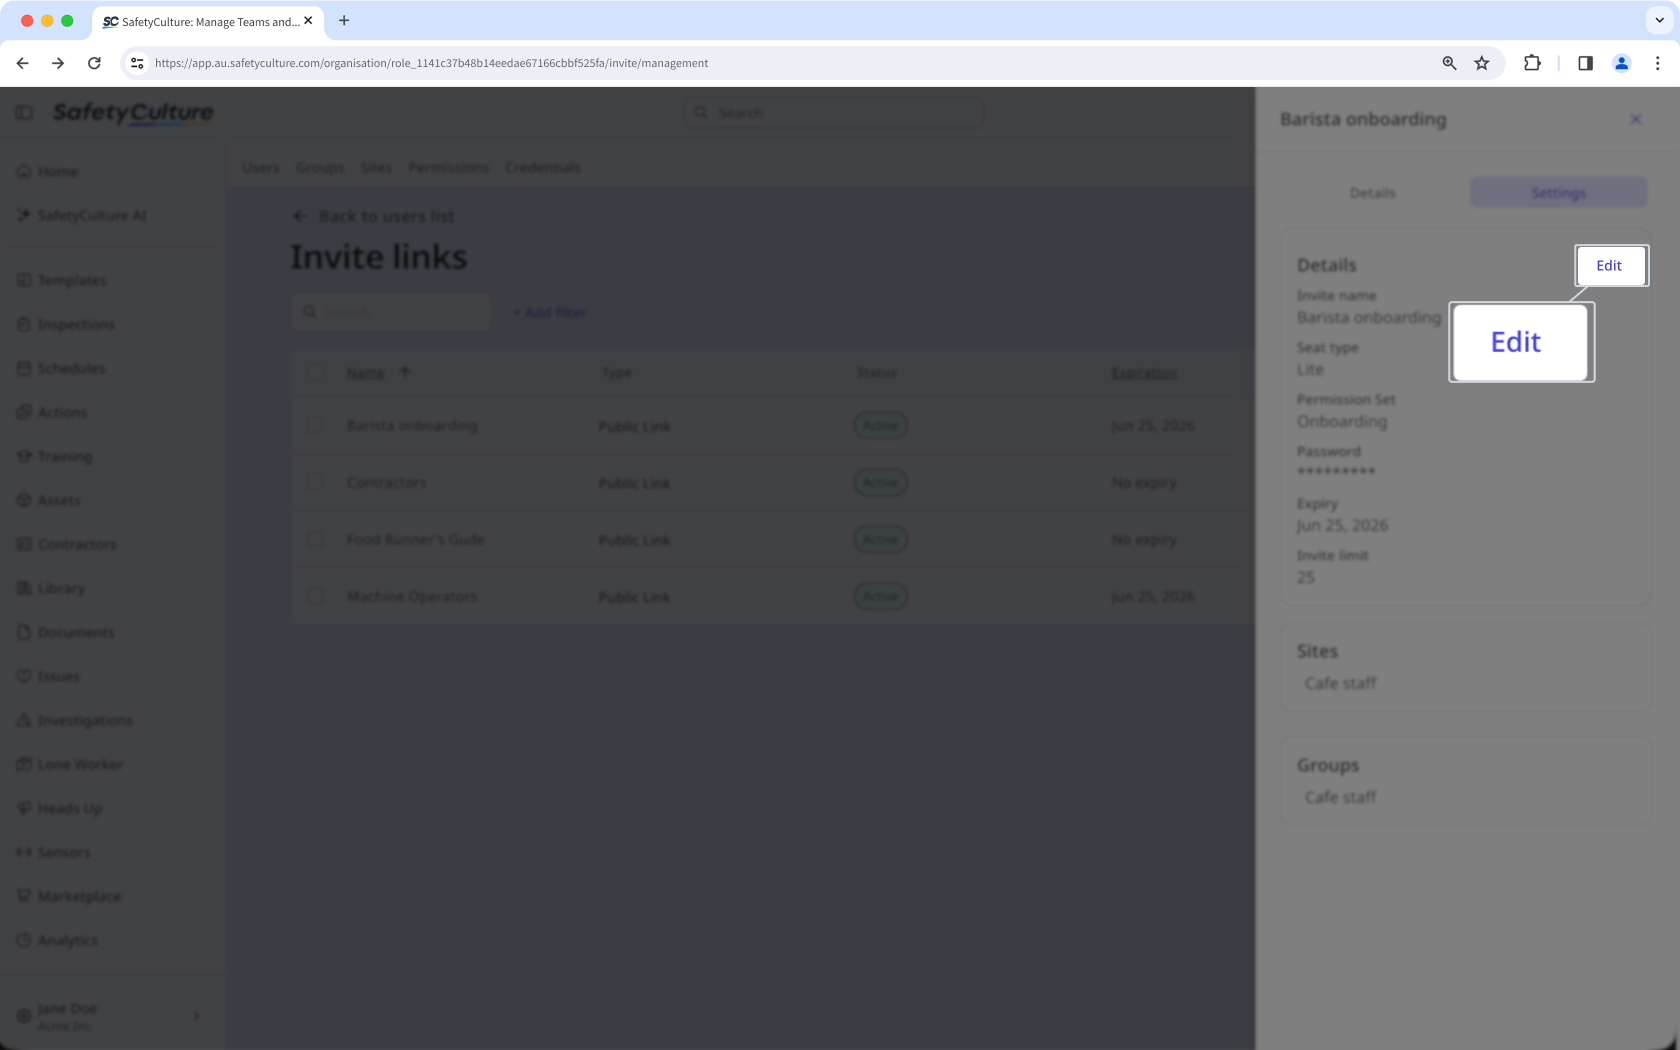
Edit the fields accordingly.
Click Save.
Deactivate an invite link
Click your organization name on the lower-left corner of the page and select Users.
Click
Manage invites on the upper-right corner of the page.Click on the invite link’s right-hand side and select Deactivate.
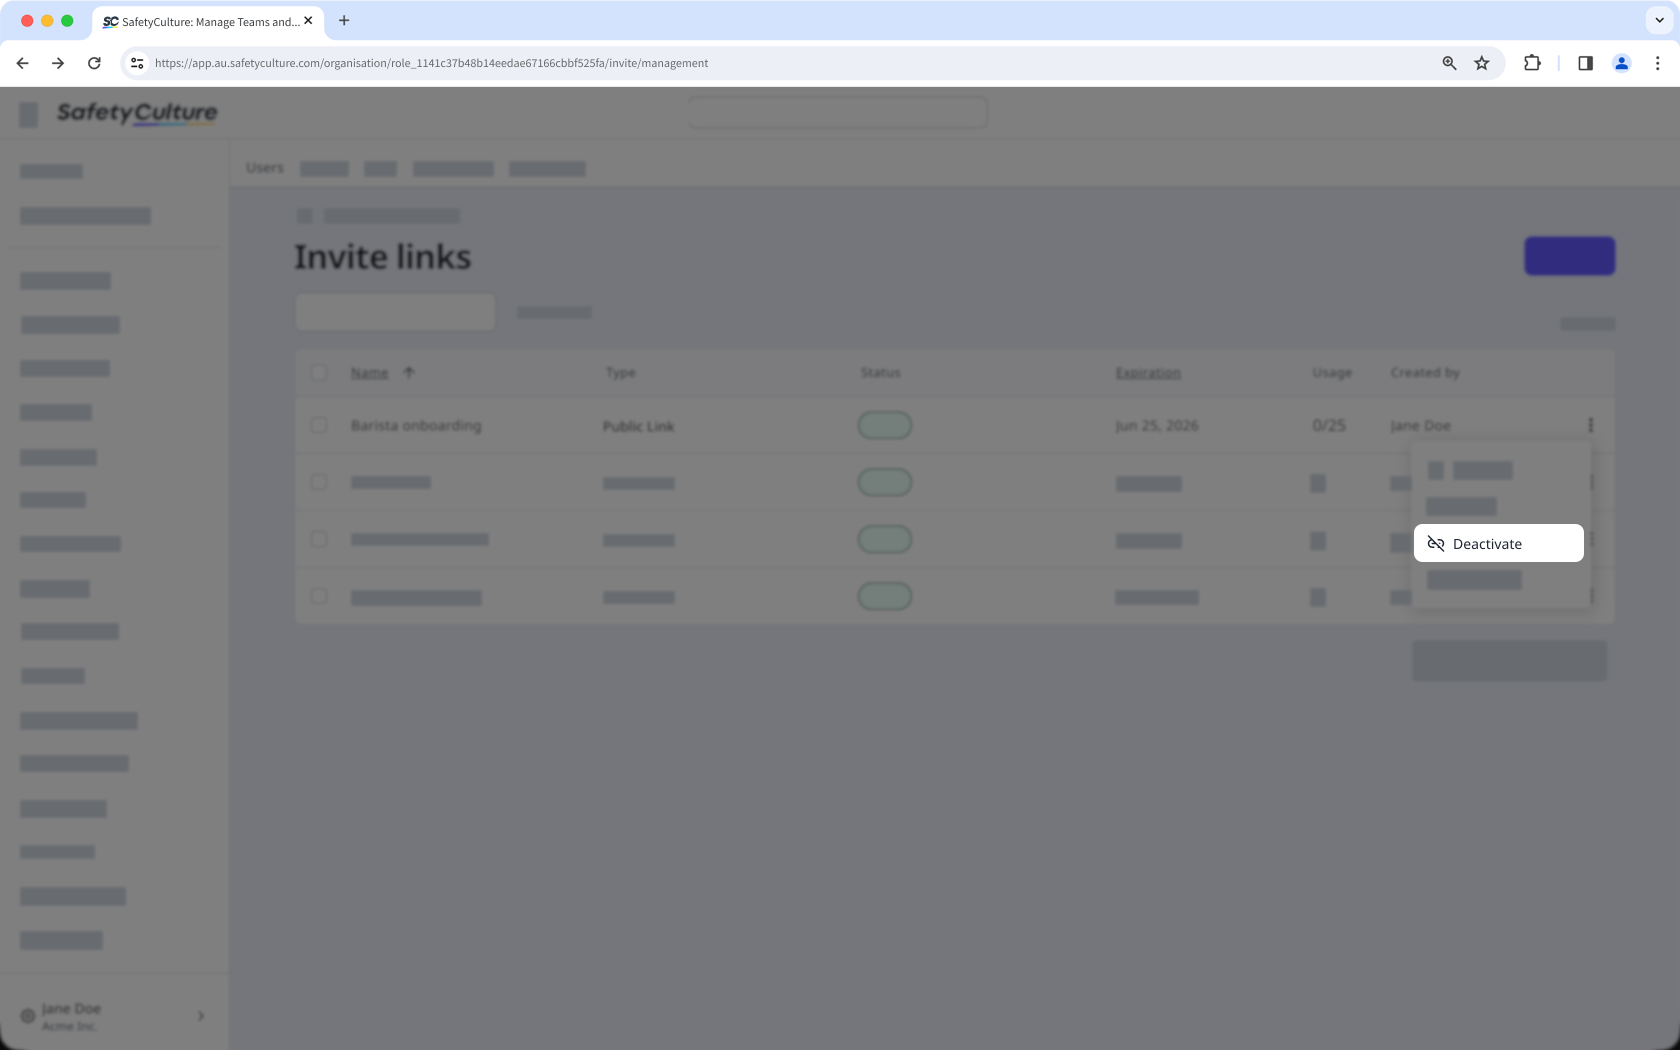
In the pop-up window, click on Deactivate.
Delete an invite link
Click your organization name on the lower-left corner of the page and select Users.
Click
Manage invites on the upper-right corner of the page.Click on the invite link’s right-hand side and select Delete.
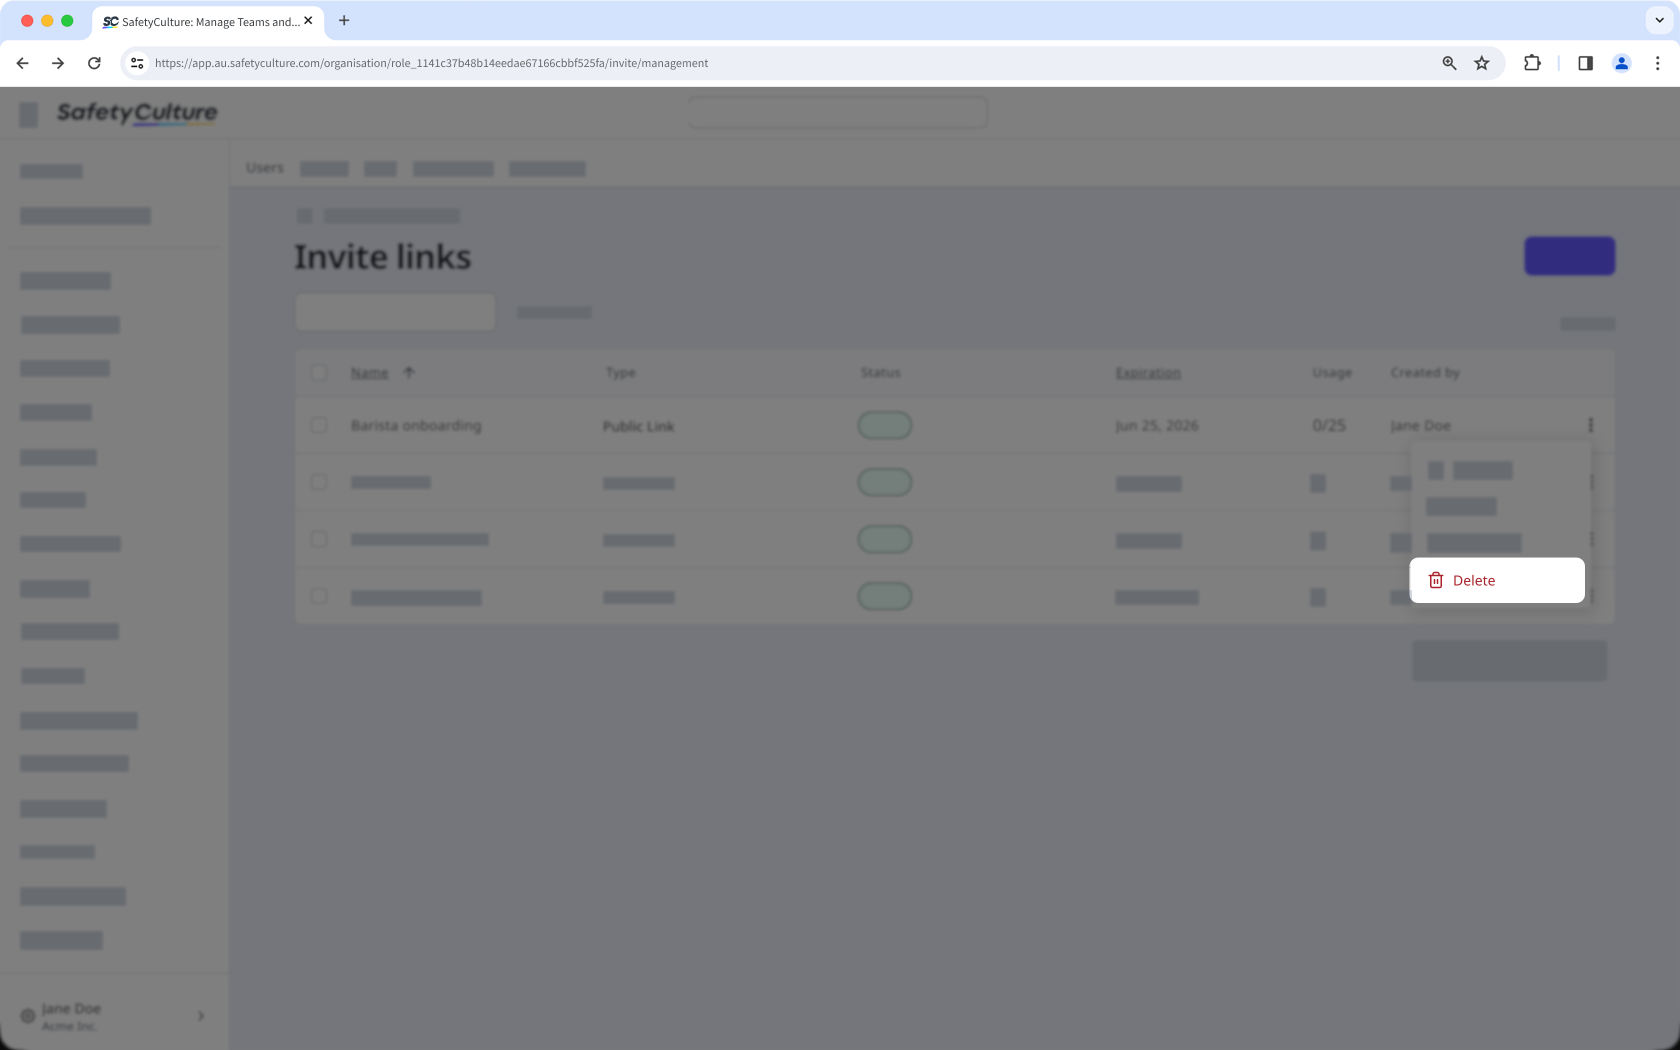
In the pop-up window, click on Delete.
Bulk edit invite links
Click your organization name on the lower-left corner of the page and select Users.
Click
Manage invites on the upper-right corner of the page.Check the boxes on the left-hand side of the invite links you want to edit.
At the bottom of the page, click Edit and update one of the following options for the users:

Renew: Select a new expiration date for the invite links and click Renew.
Deactivate: Click Deactivate to deactivate the links.
Reactivate: Click Reactivate to reactivate the links.
 Update invite limit: Enter the number of users that can access the invite link to join the organization and click Update.
Delete: Click Delete to delete the links.
To set up a custom registration experience, contact the Partner Referral Program.