- Administration
- Gestion des utilisateurs
- Gérer les détails de l'utilisateur
Gérer les détails de l'utilisateur
Apprenez à gérer les détails de l'utilisateur avec les champs d'utilisateur via l'application Web.Que signifie gérer les détails des utilisateurs ?
Avec les champs utilisateurs, vous pouvez enregistrer des informations supplémentaires sur vos utilisateurs. Cela inclut l'ajout et la modification de données selon vos besoins, afin de garantir que les informations de vos utilisateurs sont toujours à jour. Qu'il s'agisse de données de base ou de champs personnalisés comme leur poste ou leur département, les champs utilisateurs facilitent la gestion des utilisateurs et vous assurent de toujours disposer des bonnes informations.

Vous ne pouvez mettre à jour les détails avec des champs d'utilisateur que de façon groupée. Toutefois, les mises à jour groupées pour des champs tels que le nom et l'e-mail ne sont actuellement pas prises en charge.
Gérer les détails d'un utilisateur
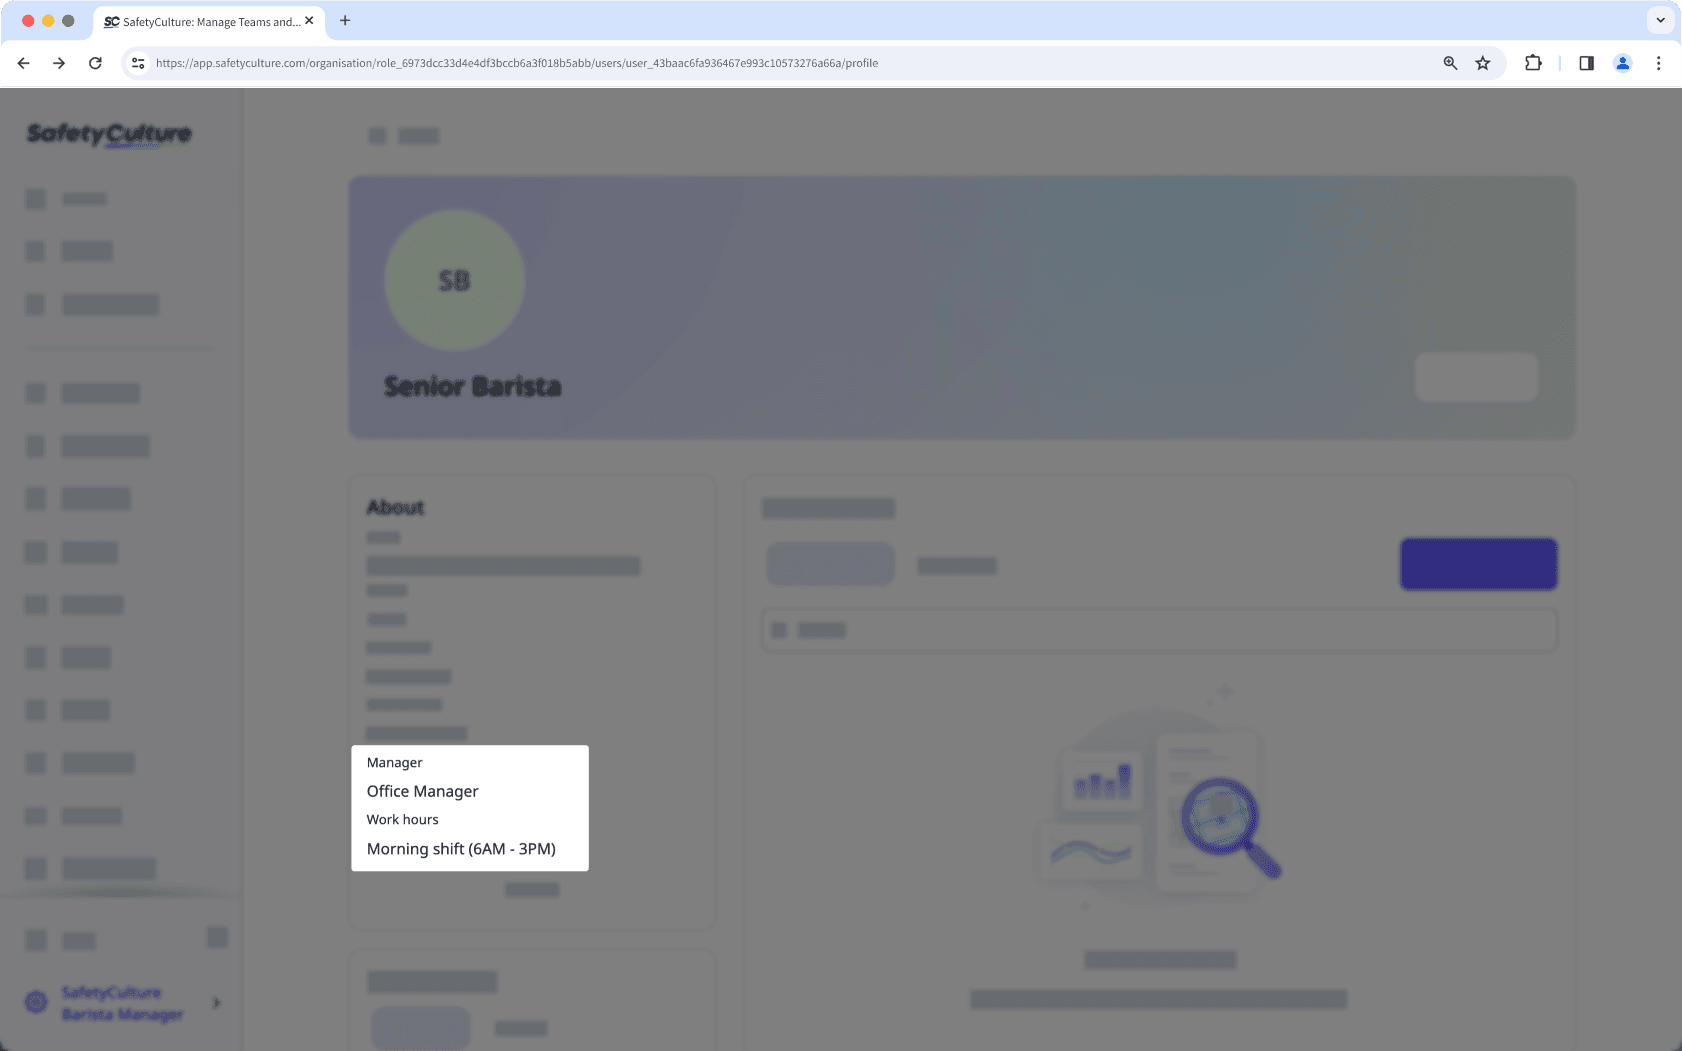
Click your organization name on the lower-left corner of the page and select Utilisateurs.
Click the user's name.
Click
Paramètres on the upper-right of the page.
Click
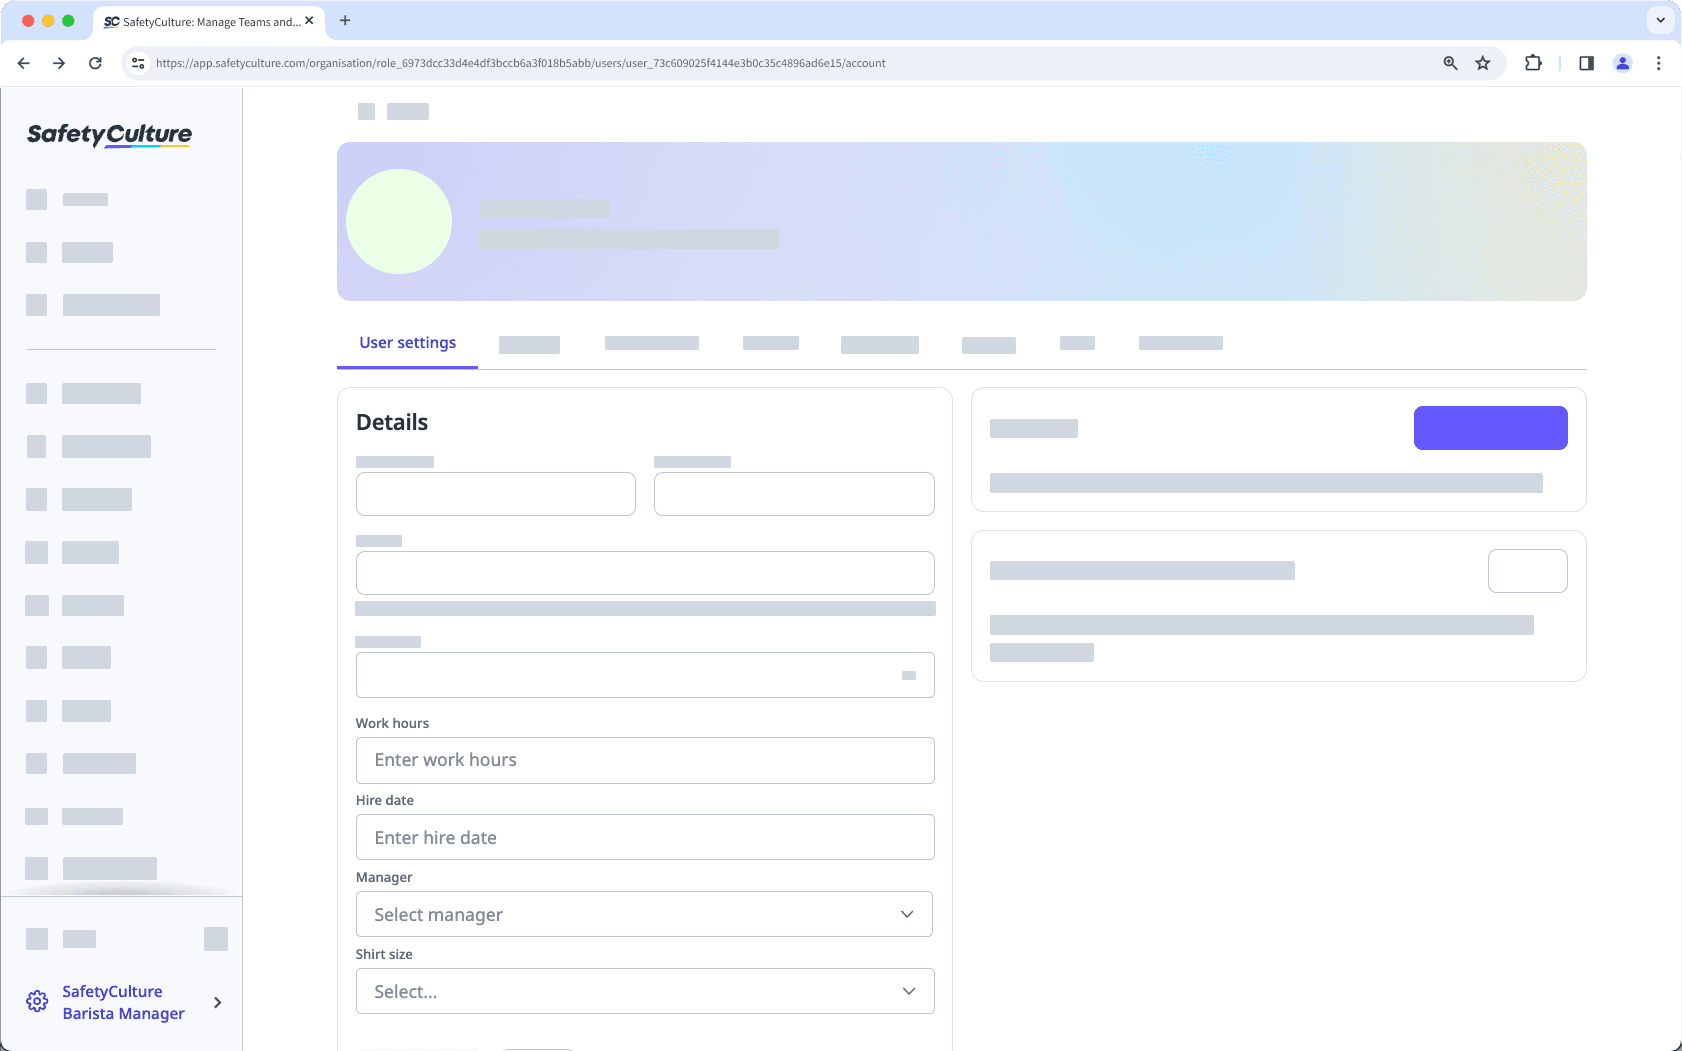
Modifier in the "Details" section.
Update the details in the user fields accordingly.

Click Enregistrer les modifications.
Gestion groupée des paramètres utilisateurs
Cliquez sur le nom de votre organisation en bas à gauche de la page et sélectionnez Utilisateurs.
Cochez les cases situées à gauche des noms des utilisateurs.
En bas de la page, cliquez surModifier les champset sélectionnez le champ utilisateur.
Dans la fenêtre contextuelle, mettez à jour les détails de l'utilisateur en conséquence.
Cliquez sur Mettre à jour.
L'ajout de nouvelles réponses pour les champs utilisateur avec le type de données « Choix multiple » n'est pas pris en charge. Vous pouvez seulement ajouter des réponses existantes au fichier CSV.
Gérer les détails de l'utilisateur de manière groupée via l'importation CSV
Cliquez sur le nom de votre organisation en bas à gauche de la page et sélectionnez Utilisateurs.
Cliquez sur
en haut à droite de la page et sélectionnez
Mise à jour des données de l'utilisateur (CSV).
Cliquez sur Télécharger les utilisateurs actuels pour télécharger votre liste d'utilisateurs au format CSV.
Dans votre CSV, ajoutez ou modifiez les détails des utilisateurs dans les colonnes des champs d'utilisateurs pertinents en fonction de leur type de données et enregistrez vos modifications.
Texte: Entrer des données alphanumériques. Veuillez noter que les réponses pour le type de données « Texte » sont sensibles à la casse.
Date: Entrez une date au même format configuré pour votre organisation.
Utilisateur: Entrez l'ID utilisateur de l'utilisateur dans votre organisation.
Choix multiple: Entrez toute réponse existante créée pour le champ utilisateur.
Glissez-déposez votre fichier CSV dans le champ « Faites glisser votre fichier CSV ici » ou cliquez sur parcourir pour sélectionner le fichier dans le répertoire de votre ordinateur.
Assurez-vous que vos données CSV ont été correctement importées, puis cliquez sur Enregistrer et importer.
FAQ
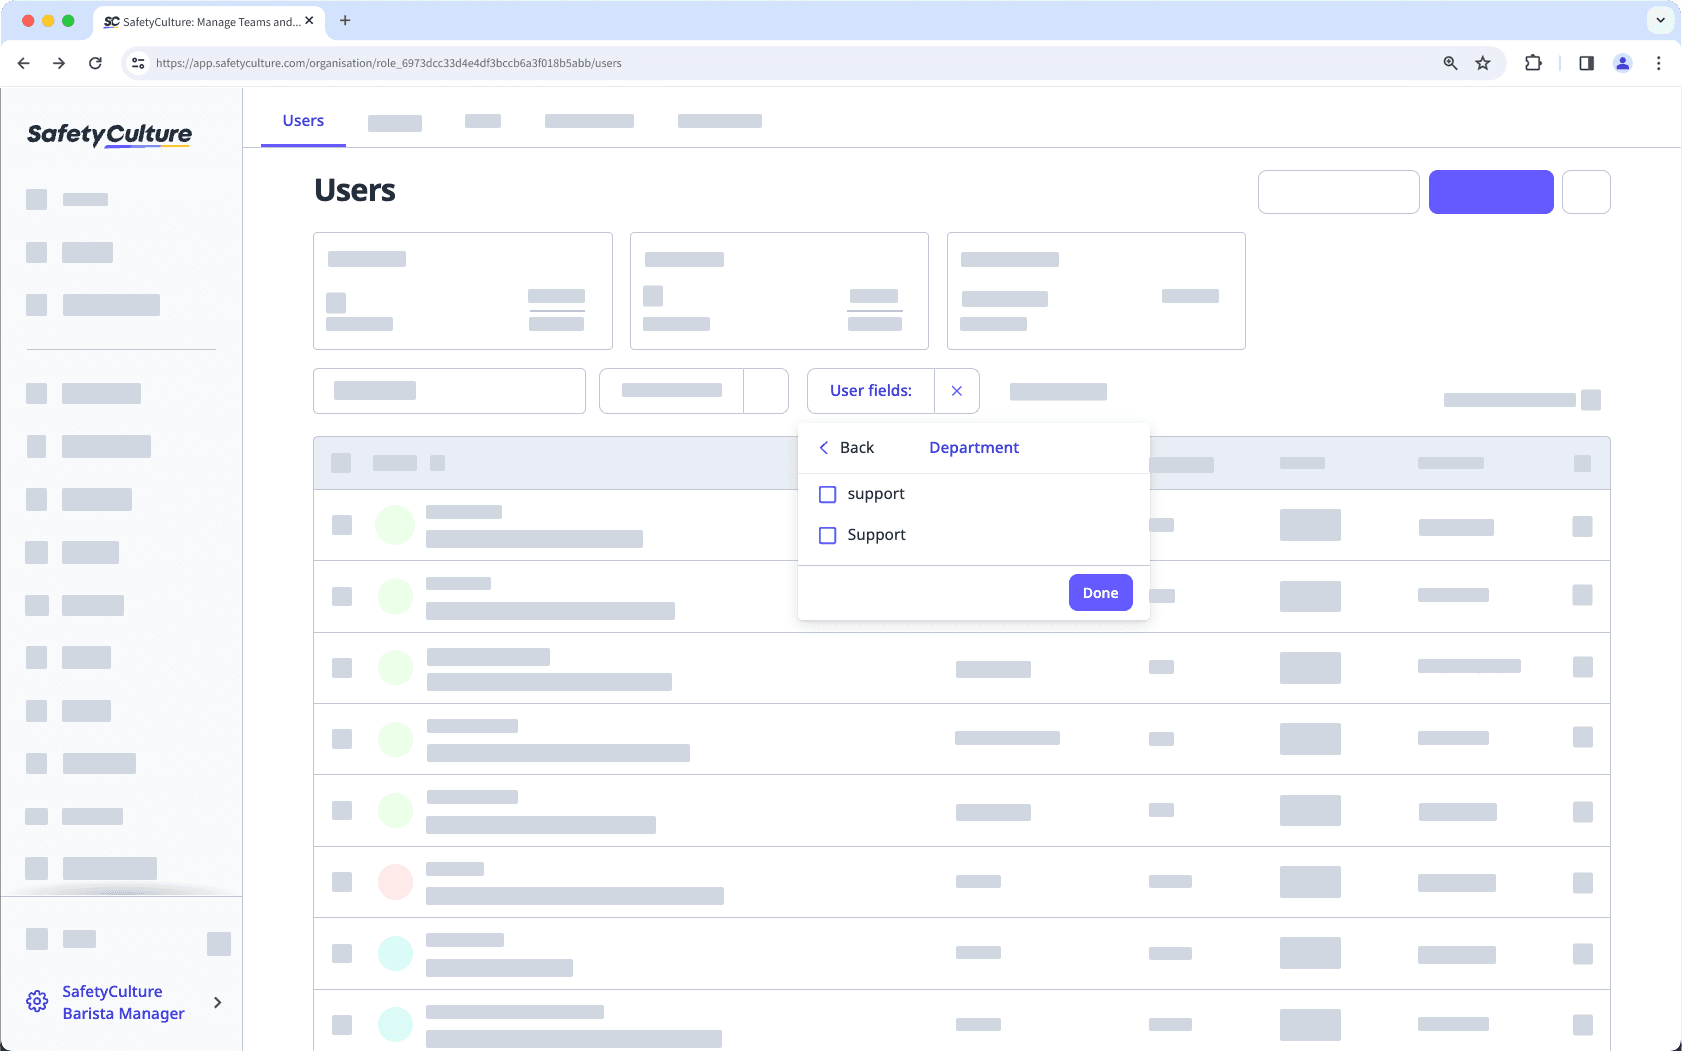
Oui, les détails ajoutés pour les champs d'utilisateur avec le type de données « Texte » sont sensibles à la casse afin de garantir que les utilisateurs ayant les mêmes détails soient rassemblés sous le même détail, notamment lors du filtrage de votre liste d'utilisateurs.
Par exemple, si vous saisissez « Support technique » pour un utilisateur et « support technique » pour un autre, le filtrage de votre liste d'utilisateurs affichera deux détails différents à sélectionner :

Cette page vous a-t-elle été utile?
Merci pour votre commentaire.