- Integraciones
- Zapier
- Zapier: iniciar inspecciones desde eventos en Google Calendar
Zapier: iniciar inspecciones desde eventos en Google Calendar
Aprenda a crear un Zap para iniciar automáticamente las inspecciones de los eventos de Google Calendar.Los productos de terceros pueden cambiar con el tiempo, por lo que algunas etiquetas o diseños de pantalla de este artículo podrían tener un aspecto diferente en su entorno. Si observa algo desactualizado, utilice el formulario de comentarios al final de esta página para notificarnos.
Sabemos que la gestión eficaz de los programas puede ser una parte fundamental del éxito, especialmente cuando tiene múltiples tareas que delegar entre diferentes usuarios y grupos. Con herramientas de integración como Zapier, puede crear tareas como eventos en Google Calendar y configurar cada evento para que inicie automáticamente las inspecciones de SafetyCulture. Esta puede ser una excelente manera de automatizar sus inspecciones en función de los programas de su organización.
Tomar nota
Este Zap utiliza Google Calendar como calendario en línea para activar nuevas inspecciones; se puede intercambiar por otros conectores como Calendly.
Las plantillas que están disponibles para nuevas inspecciones se basan en las inspecciones a las que tiene acceso su cuenta. Aprenda a otorgarse acceso a las plantillas asignándose el permiso para "Permisos de anulación: Ver todos los datos".
Las nuevas inspecciones iniciadas desde Zap heredan las reglas de acceso a la inspección de la plantilla. Aprenda a configurar reglas de acceso de inspección para sus plantillas.
Si forma parte de varias organizaciones, contacte con nuestro equipo de atención al cliente para obtener ayuda y conectar Zapier con la organización de SafetyCulture correcta.
Si está en Plan Enterprise, póngase en contacto con su gerente de éxito del cliente para obtener ayuda con el SSO, el aprovisionamiento de usuarios o las integraciones de terceros (Power Automate, Power BI, Zapier). Nuestro equipo de soporte técnico al cliente solo puede proporcionar asistencia limitada en estas áreas.
1. Inicio del evento en Google Calendar
Haga clic en
 Crear en la parte superior izquierda de la página.
Busque y seleccione Google Calendar en "1. Activar".
Haga clic en el menú desplegable de "Activar evento" y seleccione Inicio del evento.
Haga clic en Continuar.
Seleccione su cuenta de Google Calendar en el menú desplegable. Si este es su primer Zap con Google Calendar, haga clic en Iniciar sesión en Google Calendar, después inicie sesión en Google y agréguelo a Zapier.
Haga clic en Continuar.
Haga clic en el menú desplegable "Calendario" y seleccione el calendario que desea utilizar y active nuevas inspecciones.
Haga clic en Continuar.
Haga clic en Activadores de alertas y haga clic en Continuar una vez que haya encontrado un evento.
2. Iniciar inspección en SafetyCulture
En "2. Acción", busque y seleccione SafetyCulture.
Haga clic en el menú desplegable "Evento de acción" y seleccione Iniciar la inspección.
Haga clic en Continuar.
Seleccione su cuenta de SafetyCulture en el menú desplegable. Si este es su primer Zap con SafetyCulture, haga clic en Iniciar sesión en SafetyCulture y después añada su cuenta de SafetyCulture a Zapier iniciando sesión.
Haga clic en Continuar.
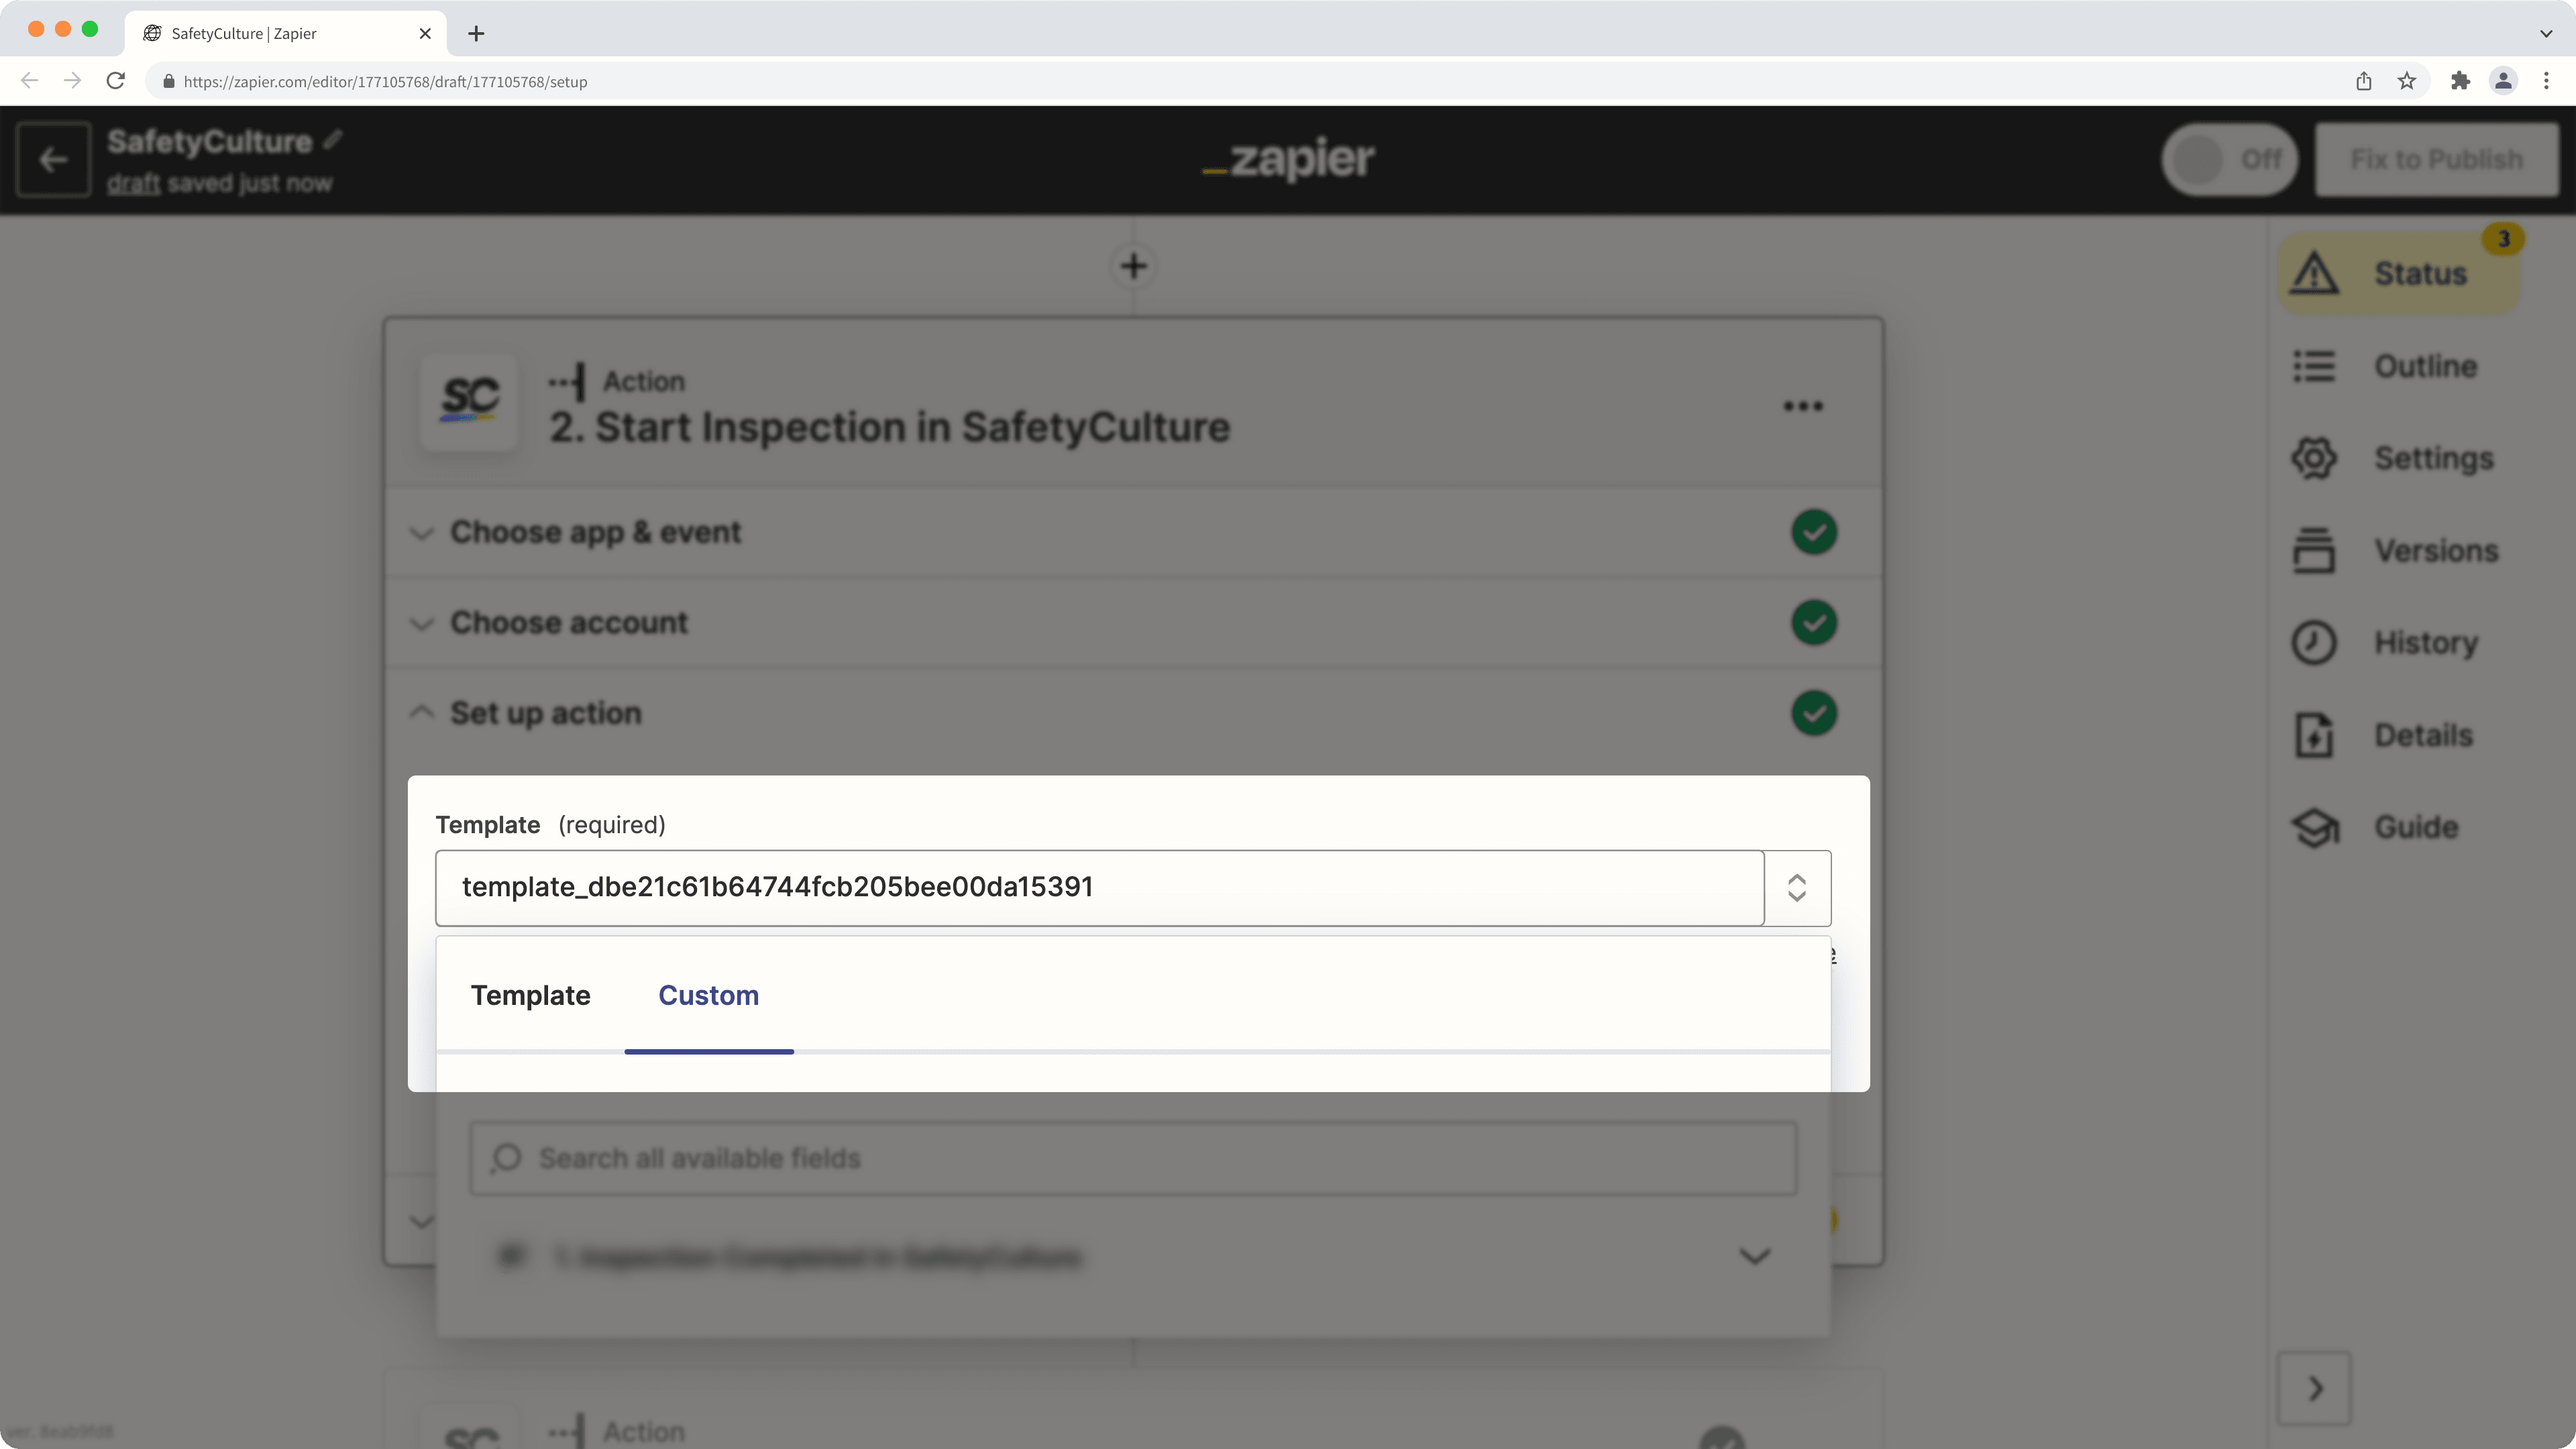
Haga clic en el menú desplegable "Nombre de la plantilla" para seleccionar la plantilla que desee utilizar para las nuevas inspecciones. Tenga en cuenta que solo se muestran las 20 plantillas que se hayan modificado más recientemente. Si la plantilla que desea utilizar no se encuentra en la lista, seleccione la pestaña Personalizada del menú desplegable e introduzca el identificador único de la plantilla en el campo de texto.
Haga clic en Probar y continuar para iniciar una nueva inspección con la plantilla que haya especificado.
Publique su Zap para comenzar a crear una nueva inspección para cada evento en su Google Calendar. También le recomendamos que asigne un nombre a su Zap en la esquina superior izquierda de la página.
(Opcional) 3. Enviar correo electrónico en Gmail
Puede añadir una acción adicional para notificar a los miembros del equipo sobre la nueva inspección e incluso crear un enlace profundo en el cuerpo del correo electrónico para dirigir a los destinatarios directamente a la inspección en la aplicación web o la aplicación móvil.
Haga clic en
 en la parte inferior del Zap.
Busque y seleccione Gmail.
Haga clic en el menú desplegable de "Evento de la acción" y seleccione Enviar correo electrónico.
Haga clic en Continuar.
Seleccione su cuenta de Gmail en el menú desplegable. Si es su primer Zap con Gmail, haga clic en Iniciar sesión en Gmail, después inicie sesión en Google y añádalo a Zapier.
Haga clic en Continuar.
Configure los siguientes campos:
Para: haga clic en el campo y especifique los destinatarios del correo electrónico a los que desea notificar sobre una nueva inspección.
Asunto: haga clic en el campo y especifique el asunto del correo electrónico. Puede usar los datos del evento del calendario y la nueva inspección en el menú desplegable para crear una convención de nomenclatura. Por ejemplo, "[1. Resumen]: [2. Nombre de los metadatos de los datos de la plantilla]".
Cuerpo: haga clic en el campo y especifique el cuerpo del correo electrónico. De manera similar al campo del asunto, puede usar los detalles del evento del calendario y la nueva inspección para crear el cuerpo del correo electrónico. También puede usar la "identificación de la auditoría" como parte de los nuevos datos de la inspección para crear un enlace profundo que pueda dirigir a los destinatarios directamente a la inspección en la aplicación web o la aplicación móvil. Mire el siguiente ejemplo como referencia:

Haga clic en Continuar.
Haga clic en Probar y continuar. Esto debería enviar un correo electrónico a los destinatarios que ha indicado.
Active su Zap para comenzar a crear una nueva inspección y enviar una notificación por correo electrónico a los destinatarios especificados para cada evento en su calendario de Google. Le recomendamos que también le dé nombre a su Zap en la esquina superior izquierda de la página.
¿Esta página le fue de ayuda?
Gracias por hacérnoslo saber.