You can only bulk upload up to 20,000 credentials at a time.
Bulk upload credentials
Click your organization name on the lower-left corner of the page and select Credentials.
Click on the upper-right of the page and select Bulk upload (CSV).
Click Download CSV template on the left-hand side of the page.
Open the CSV template and follow the instructions to add your credentials.
Once you're ready, your CSV should look something like the following example:

In the "Upload CSV" page, click or drag and drop your files.
In the "Review data" page, review any errors and resolve them.
Once you're ready, click Re-upload and upload your new CSV.
Click Next at the upper-right of the page.
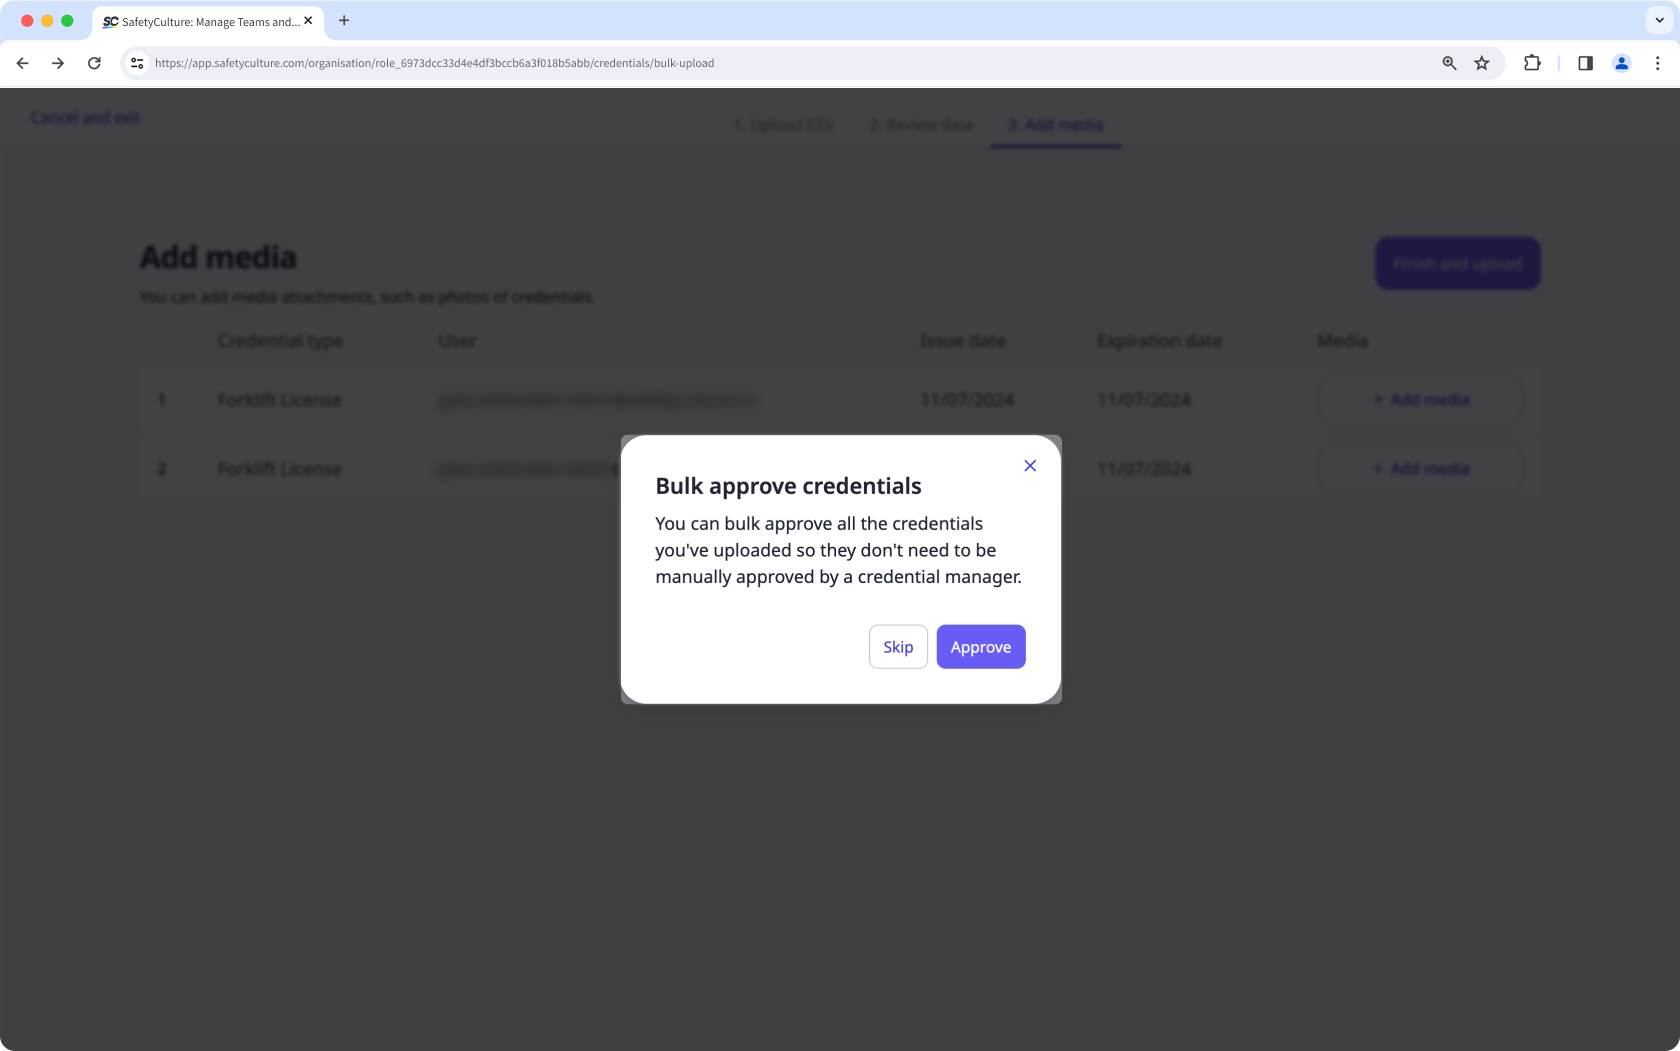
In the "Add media" page, upload media files for each credential, or click Make media optional at the upper-right of the page to add media later.
Once you're ready, click Finish and upload.
If approval is required, click Approve in the pop-up window to approve credentials in bulk. Otherwise, you can approve them manually later.
CSV troubleshooting guide
If there's an error in the CSV of credentials you've uploaded, we'll highlight it when you're reviewing the data. You can refer to the following potential errors for resolutions.
Error | Resolution |
|---|---|
Credential type doesn't exist | Each credential must use an existing credential type in your organization. Make sure the credential type is created before uploading your CSV. |
User doesn't exist | Each credential must be assigned to an active user in your organization. Make sure the email address is correct and the user is not deactivated. |
Invalid date format | Make sure each date matches your profile's date and time format. |
Expiration date is earlier than issue date | Make sure the expiration date you enter is after the issue date. |