What you'll need
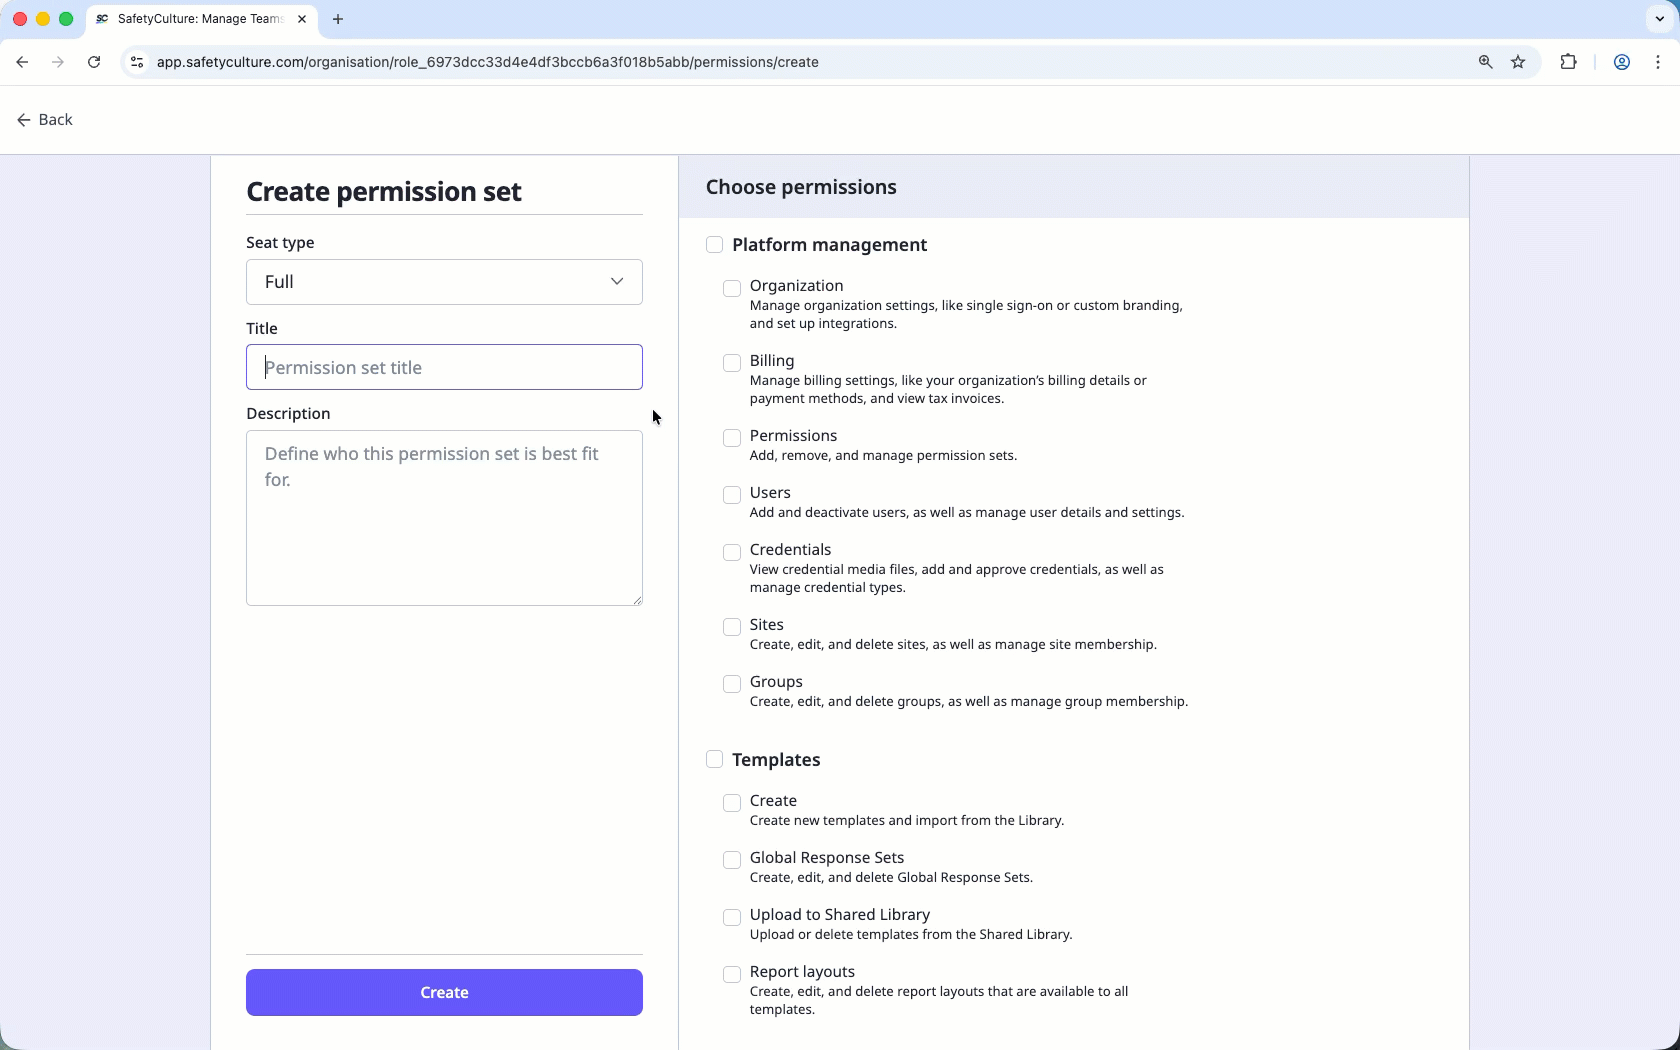
Create a permission set
Click your organization name on the lower-left corner of the page and select Permissions.
Click Create and select Start from scratch.
On this page, select the seat type, and enter a title and description. Then, select the permissions you want to assign to this permission set.
Click Create.
Edit a permission set
Click your organization name on the lower-left corner of the page and select Permissions.
Click the permission set.
On this page, you can edit the following settings for the permission set:
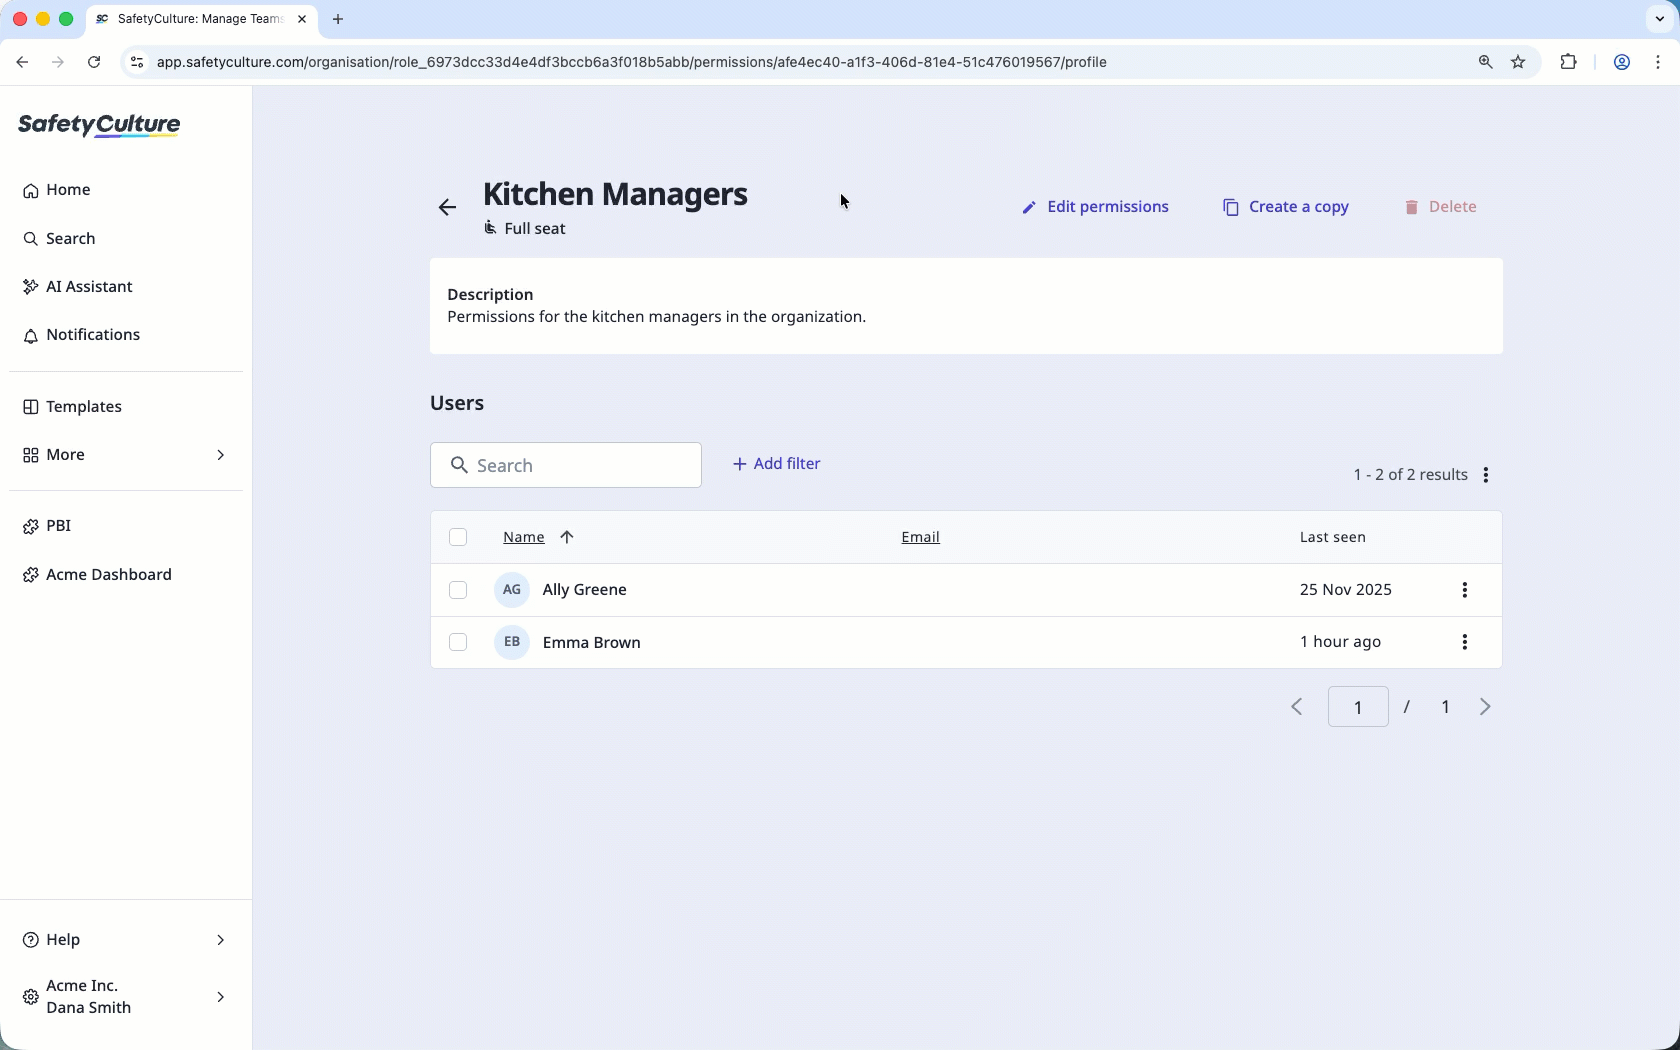
Title: Hover your cursor over the title and click to edit accordingly.
Description: Hover your cursor over the description and click on the right-hand side to edit accordingly.
Permissions: Click Edit permissions at the top of the page and check or uncheck the permissions that form part of the permission set. Then, click Save changes.
Set default permission sets
Click your organization name in the lower-left corner of the page and select Permissions.
Click on the upper-right of the page and select Set default permission sets.
In the pop-up window, select the default permission set for each seat type.

Click Confirm.
At any point, you can change your users' permission set and even do so in bulk. You can also assign "Override permissions" to permission sets for full seats to give full access to your organization's templates, inspections, actions, and more.
← Previous article: Manage your users (Part 1) | Next article: Manage your users (Part 3) →