- Administration
- Organization settings and permissions
- Automate user management with user provisioning
Automate user management with user provisioning
Learn how to set up user provisioning to manage users in your SafetyCulture organization.
If your organization uses Azure Active Directory for single sign-on, and you want to set up SCIM user provisioning, we recommend that you don't use the Microsoft Gallery app, as it currently doesn't support SCIM. Instead, set up a non-Gallery app for Active Directory to support your SCIM user provisioning.
Why set up user provisioning?
Managing employee accounts on different platforms and software can be taxing, and the job gets more challenging as your organization grows. With user provisioning software, you can automate user management in SafetyCulture with your single sign-on identity provider (IdP). This means that each new employee you add to your IdP will automatically have an SafetyCulture account created for them, saving you time and effort from adding them manually in SafetyCulture.
We support user provisioning via System for Cross-domain Identity Management (SCIM) and Just-in-Time (JIT). SCIM user provisioning syncs your data to SafetyCulture continuously, whereas JIT syncs user data upon each successful login attempt.
Please note that our customer support team can only provide limited help for single sign-on and user provisioning. If your organization is on the Enterprise Plan, please contact your customer success manager for assistance.
Set up automatic (SCIM) user provisioning
Although we support all identity providers, your user provisioning setup will vary depending on your chosen solution. Here are some of the common ones that we support, along with their setup guides:
During setup, your identity provider will ask for an API token to connect your IDP to SafetyCulture. You'll also be prompted to enter the following information:
Connector URL:
https://api.safetyculture.com/accounts/scim/v2Unique Identifier: Each user's email address
Authorization: HTTP Header (Bearer token)
Set up Just-in-Time (JIT) user provisioning
Click your organization name on the lower-left corner of the page and select Organization settings.
Select Security on the top of the page.
Click Edit in the "Single sign-on (SSO)" box.
Turn "Just-in-Time provisioning (JIT)" on.
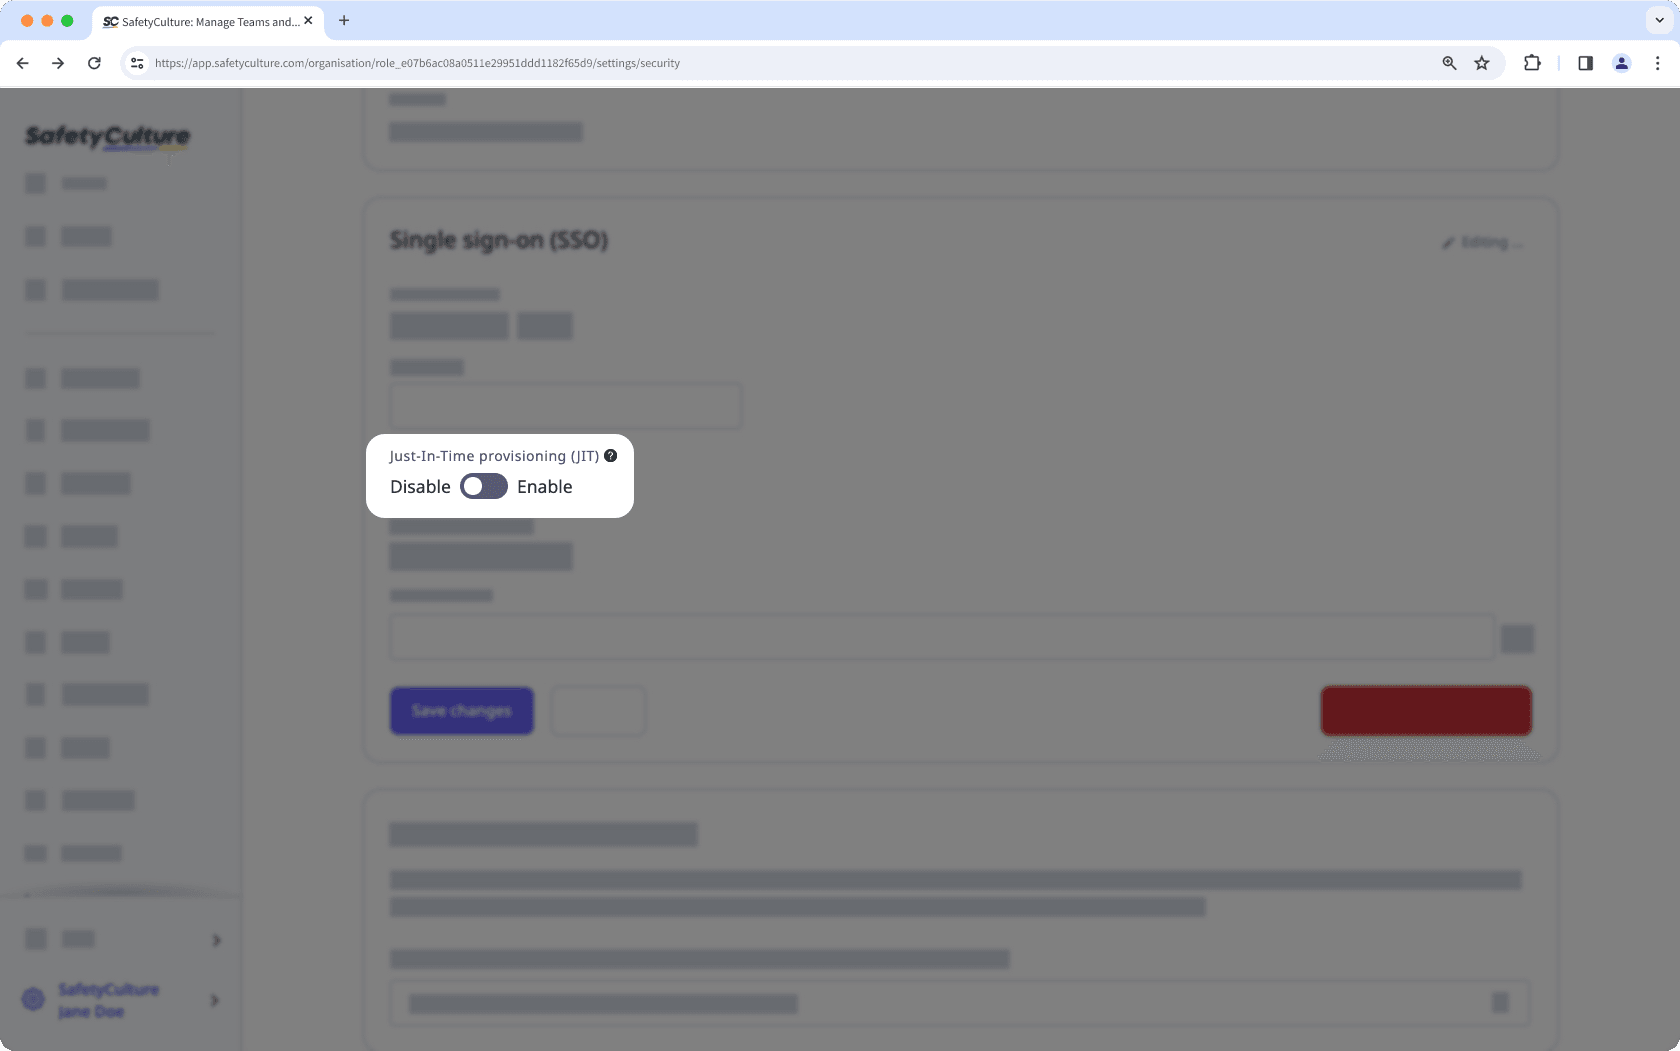
Click Save changes.
For each email domain, click Verify and follow the instructions in the pop-up window to update your DNS records. Then, click Verify.
If your organization uses Azure Active Directory for single sign-on, and you want to set up JIT user provisioning, you can also refer to Microsoft's support article for instructions.
Please note that the Microsoft Gallery app currently doesn't support SCIM user provisioning.
Frequently asked questions
The default seat type for all new users is full seats. However, you can change a user's seat type by setting the value to "full", "lite", or "free" (guest seat) in your mapping.
Depending on your organization's identity provider, please use the following notation for the seat type mapping:
Azure:
urn:ietf:params:scim:schemas:extension:safetyculture:2.0:seat_typeOkta:
External name:
seat_typeExternal namespace:
urn:ietf:params:scim:schemas:extension:safetyculture:2.0
If your organization is provisioning via JIT, you'll only be able to provision users in full seats.
The following data is synced with your identity provider for each user:
Name
Email address
Group names
Group members (for each group)
In addition, user provisioning via SCIM supports deactivating and removing users or groups, while JIT only supports additive events.
They'll be added to your organization like any other user. Being a part of multiple organizations just means that they can switch between your organization and others.
Users added through user provisioning will not have a password set by default. However, they can still log in via single sign-on, a one-time email code received via email, or by creating a password using a 'password reset' email, if passwords are enabled for your organization.
Was this page helpful?
Thank you for letting us know.