Why add or link files as inspection instructions?
When you design a template, the instruction response type helps you share critical how-to steps, diagrams, and safety notes right where your team needs them. You can attach images or PDF guides so teams see the exact reference without leaving the inspection, which reduces errors and follow-up questions. For example, you can add a photo showing the correct way to secure a harness or a PDF with equipment setup diagrams. Visual instructions also help new team members learn the process faster, keep different sites aligned on the same procedure, and ensure everyone works from the most up-to-date version of your guidance.
What’s the difference between adding and linking files as instructions?
Whether you add or link files as instructions, you give teams the guidance they need to complete inspections correctly, directly within the template itself. Checklists, procedures, safety guidelines, and reference images help ensure inspections are completed consistently and correctly.
You can either add a file to upload it directly to the template, where it stays independent, or link an existing file from Documents, where any updates to the original are automatically reflected everywhere the file is linked.
What you'll need
Add a file as an inspection instruction
Select Templates in the sidebar or select it in More.
Click the template and select Edit template in the side panel.
Add a new question or select an existing one.
Click on the right-hand side, under "Type of response".
Select Instruction.
Click
 Add file below the question.
In the pop-up window, click Upload.
Drag your files or click browse to select files.
Click Publish on the upper-right of the page to publish the template. If you're not ready to publish the template, you can go back to the templates list and come back when you're ready.

Link a file as an inspection instruction
Select Templates in the sidebar or select it in More.
Click the template and select Edit template in the side panel.
Add a new question or select an existing one.
Click on the right-hand side, under "Type of response".
Select Instruction.
Click
Add file below the question.In the pop-up window, click Link.
Select the file you want to link, then click Add file.
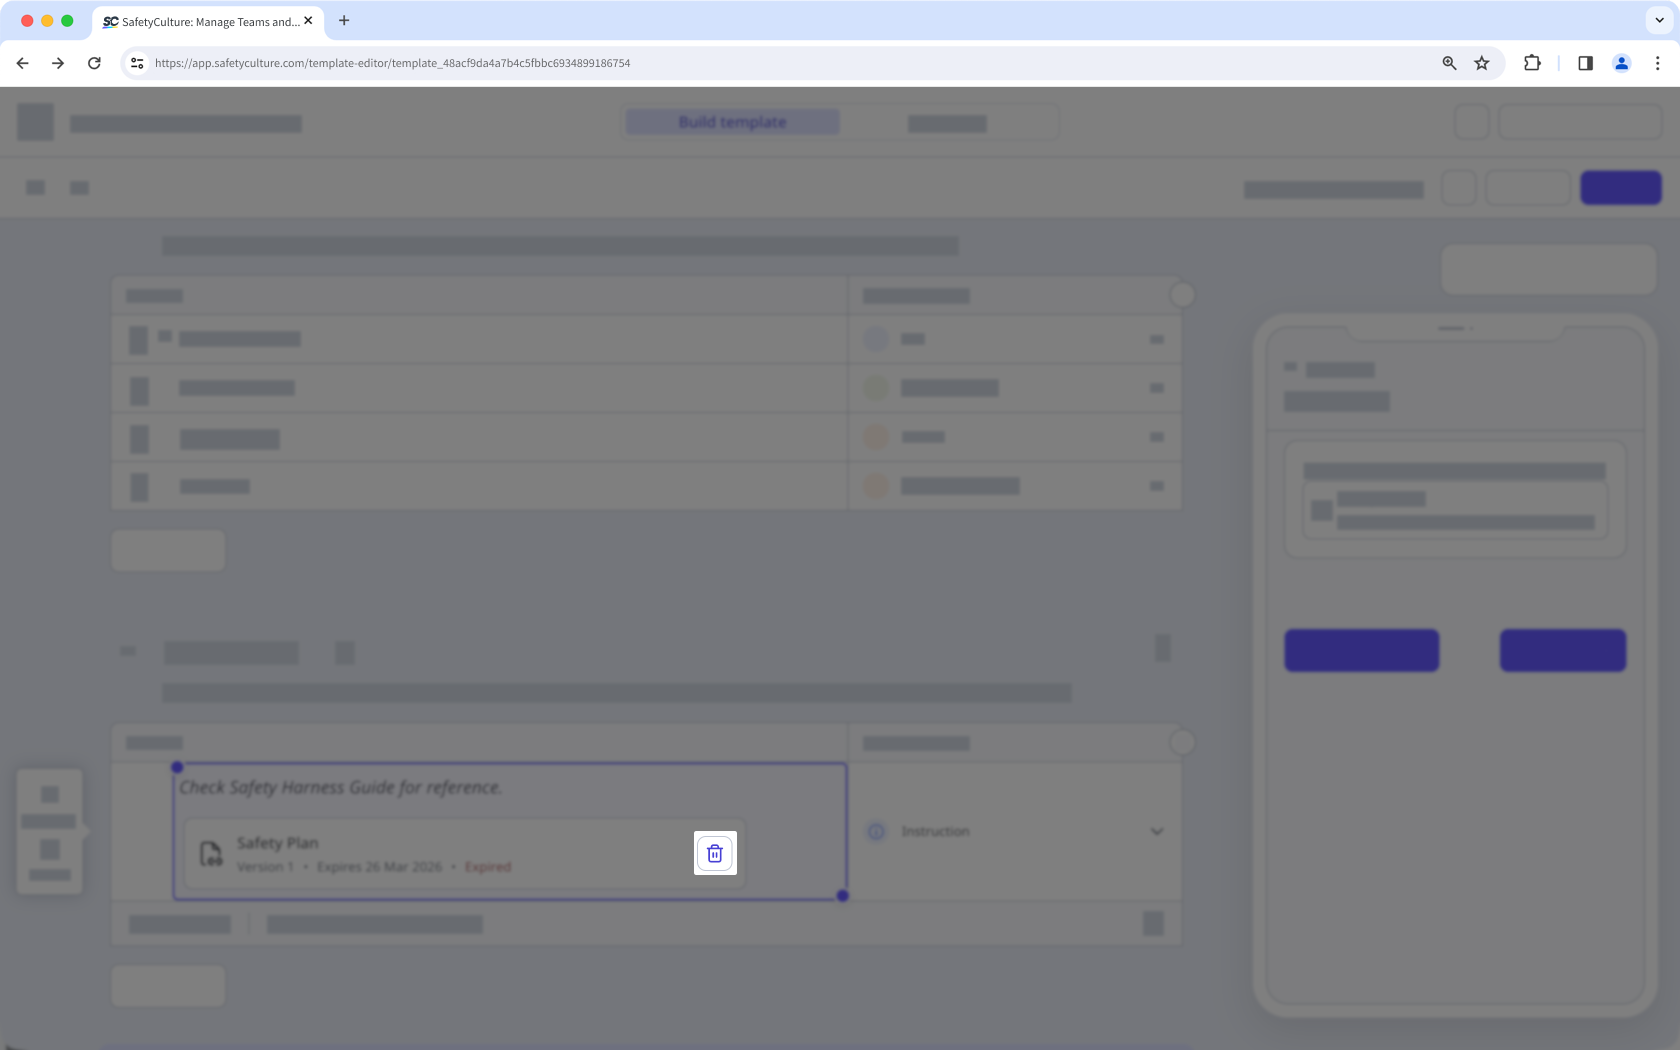
Unlink a file from an inspection instruction
Select Templates in the sidebar or select it in More.
Click the template and select Edit template in the side panel.
In your Instruction question, click on the right-hand side of the linked file.
Click Publish on the upper-right of the page to publish the template. If you're not ready to publish the template, you can go back to the templates list and come back when you're ready.
Published changes made to templates only apply to new inspections moving forward.
Limitations
Linking files as an inspection instruction is only supported in the web app.
You can add a JPEG, PNG, or a PDF file of up to 20MB.
You can only link 1 image or PDF file at a time.
Linked files aren't visible and only text instructions appear when editing the template on the mobile app.