Third-party products can change over time, so some labels or screen layouts in this article may look different in your environment. If you notice anything out of date, use the feedback form at the bottom of this page to let us know.
Why set up SSO?
Single sign-on (SSO) is a great way to reduce site access risks and reduce password fatigue from using different usernames and password combinations. With SafetyCulture, you can set up SSO with any authentication solution that utilizes the Security Assertion Markup Language (SAML) 2.0 standard. This includes some of the most common solutions, such as Active Directory (ADFS, Azure).
If you're on Enterprise Plan, contact your customer success manager for help with SSO, user provisioning, or third-party integrations (Power Automate, Power BI, Zapier). Our customer support team can only provide limited assistance in these areas.
What you'll need
SSO connections are organization-specific. If you’re a part of multiple organizations and want to set up one SSO connection for all your organizations, please contact your Customer Success Manager for assistance.
SSO options
You can set up either SAML or ADFS SSO with one of the following options:
Service Provider (SP)-initiated SSO (recommended): A user who tries to log in via SafetyCulture will be automatically redirected to your company's SSO portal for authentication. A successful authentication will automatically redirect the user back to SafetyCulture.
Identity Provider (IdP)-initiated SSO: A user who tries to log in via SafetyCulture must start from your company's SSO portal for authentication. A successful authentication will take the user to SafetyCulture.
Set up SSO
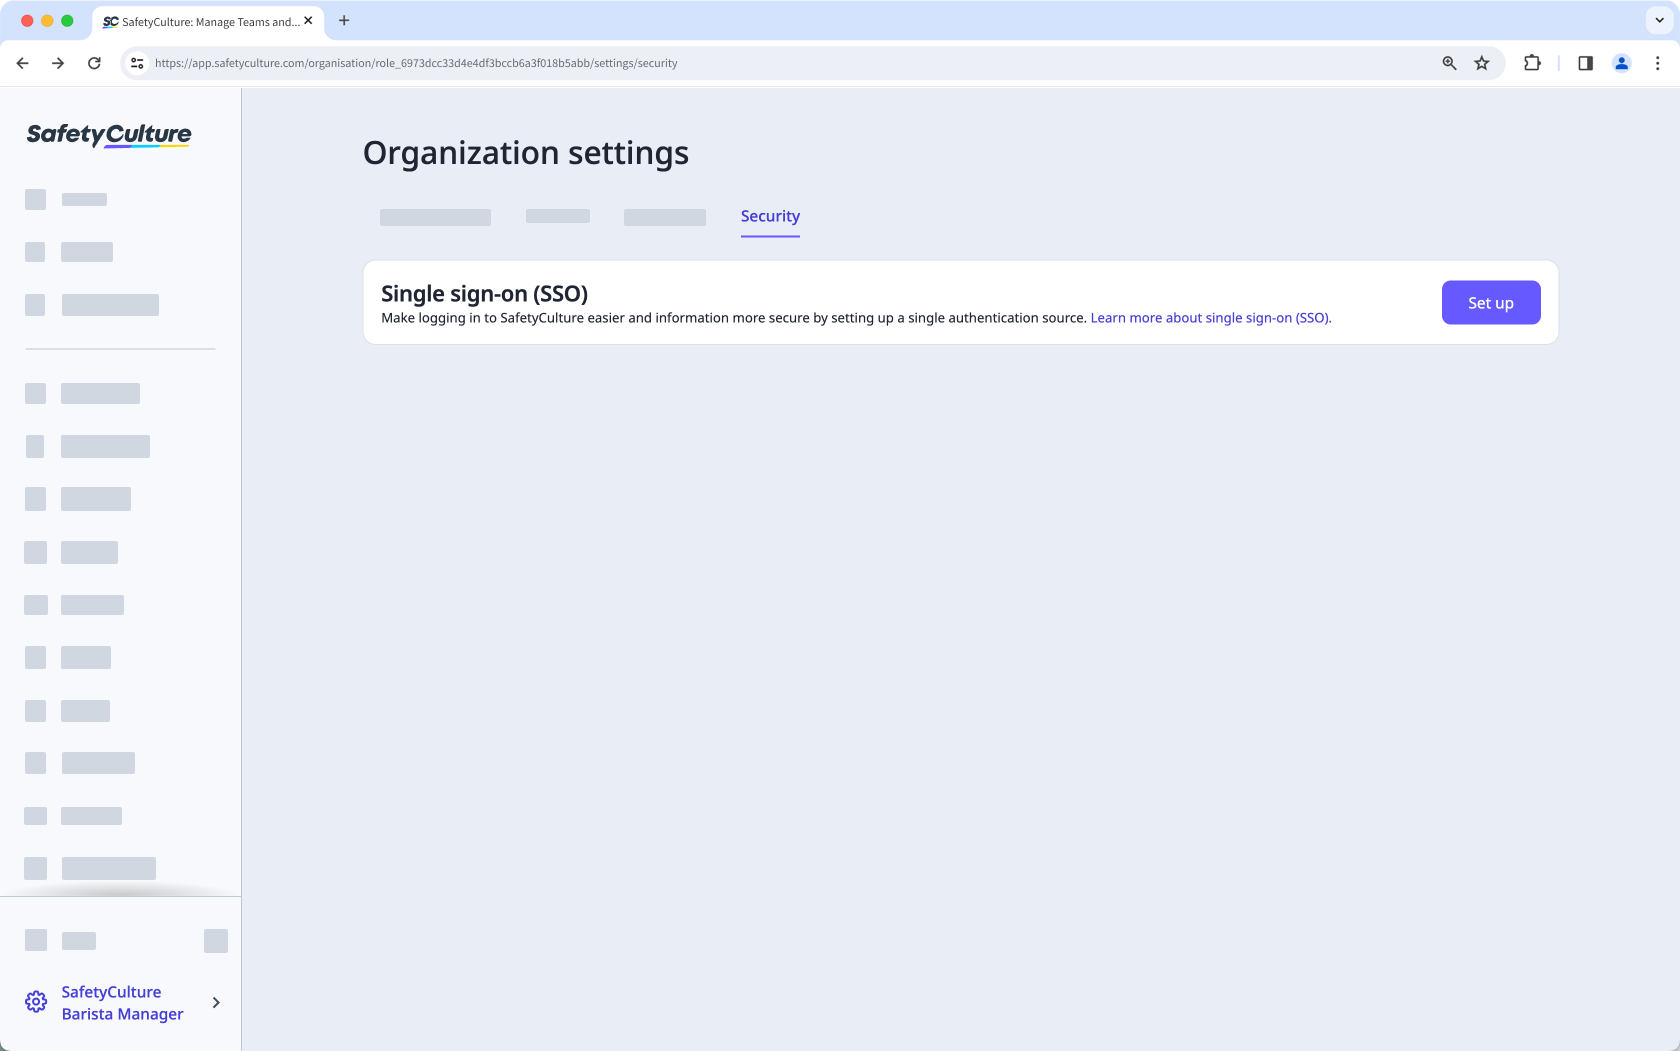
Click your organization name on the lower-left corner of the page and select Organization settings.
Select Security on the top of the page.
Click Set up in the "Single sign-on (SSO)" section.
In the pop-up window, enter the email domains that your team uses. Then click Next.
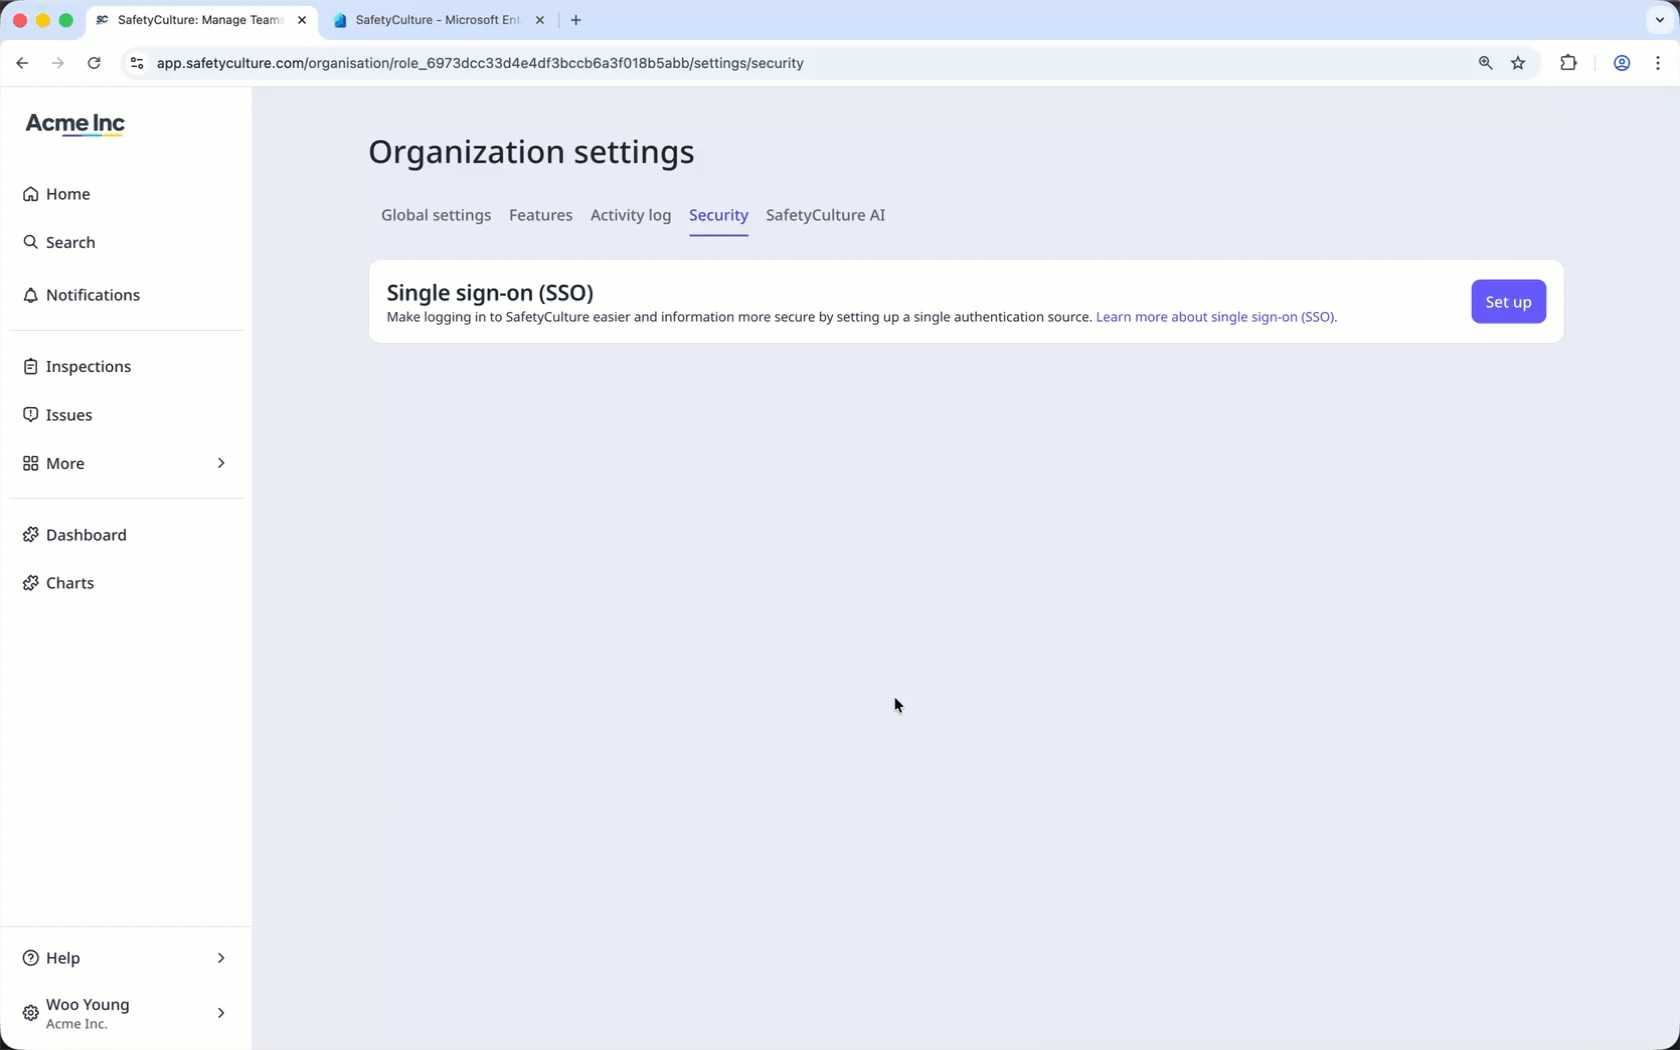
Click Set up. You'll be redirected to the identity provider's setup page to finish setting up your connection.
Click Get Started on the lower-right of the screen.
Select which SSO connection you want to use and click Next on the lower-right of the screen.
Configure your connection accordingly.
After setting up your connection, click Create Connection, then click Proceed.
Click Next. If you want to test the connection, click Test Connection to make sure your SSO connection is set up correctly.
Click Enable Connection on the lower-right of the screen.
Return to SafetyCulture and click Okay in the pop-up window.
In the "Single sign-on (SSO)" section, turn "SSO connection" on.
Click Save changes.
After setting up your connection in the service provider’s page, make sure to turn “SSO connection” on in SafetyCulture to allow users to log in using SSO.
Manage SSO
Click your organization name on the lower-left corner of the page and select Organization settings.
Select Security on the top of the page.
In the "Single sign-on (SSO)" section, click Edit.
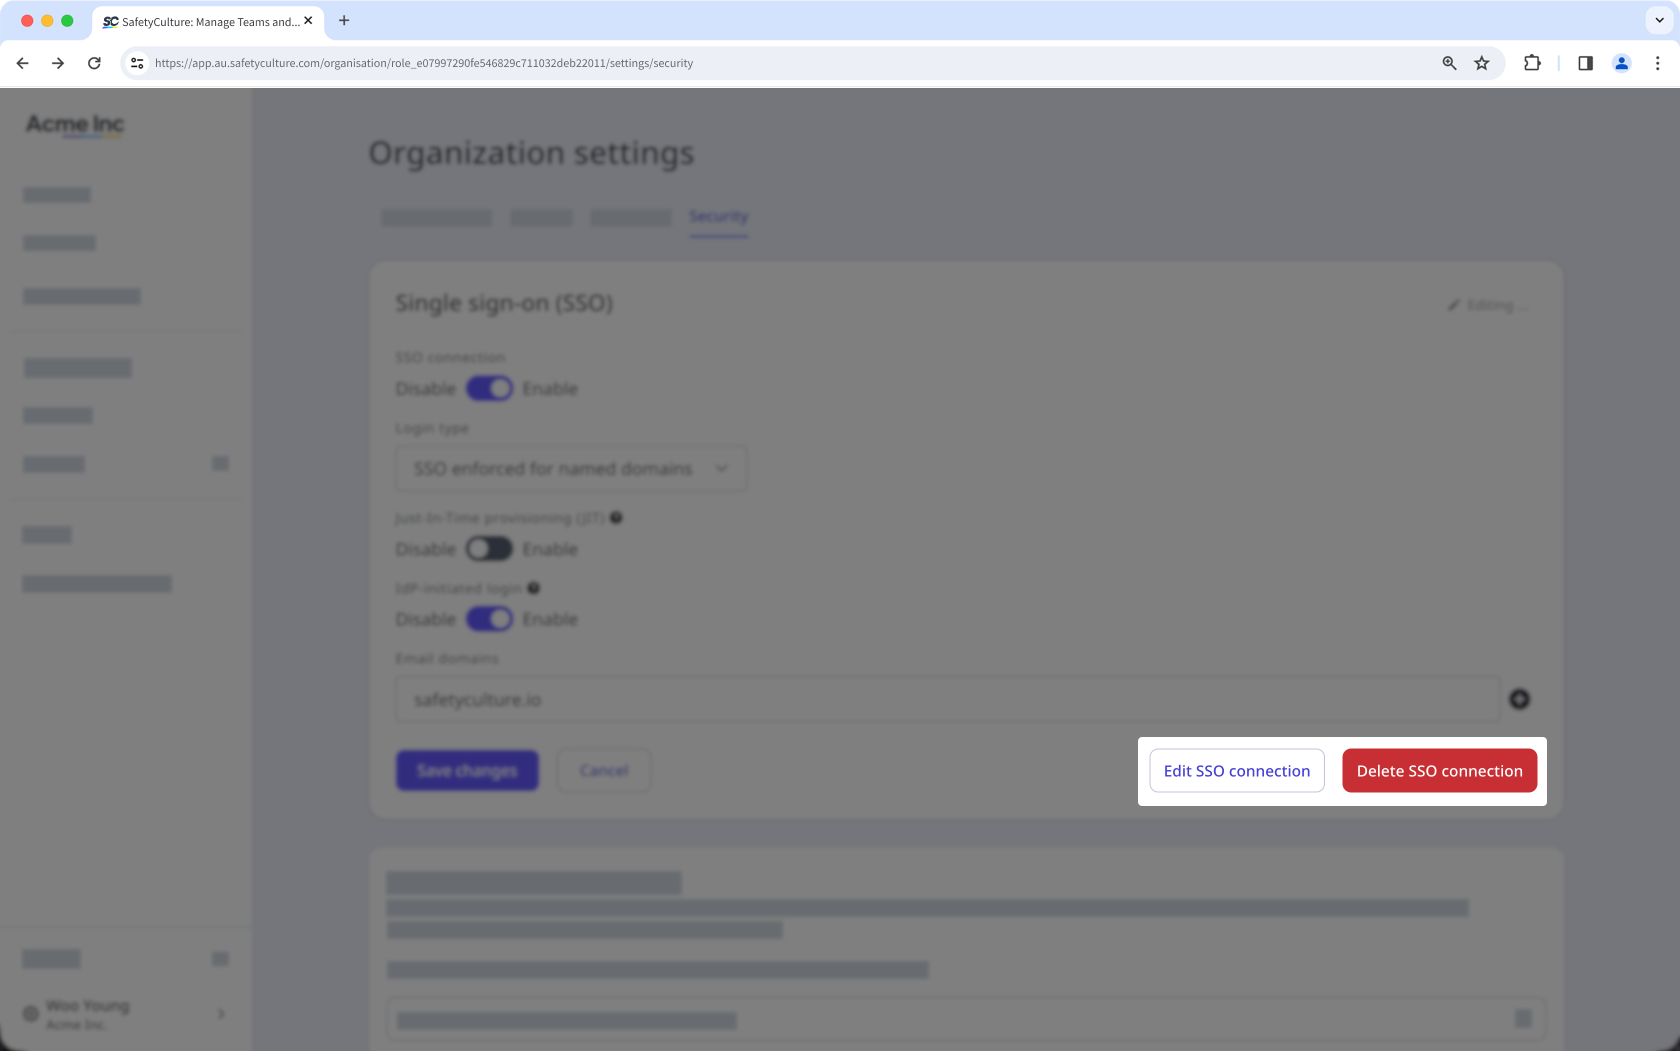
To edit your connection, click Edit SSO connection. You'll be redirected to the identity provider's page to edit the connection.
To delete your connection, click Delete SSO connection. In the pop-up window, click Delete.
Click Save changes.
You can only edit and test your connection after migrating to the new SSO domains.