Wenn Sie die Berechtigung "Aktionen: Einstellungen" haben, können Sie die Statusübergänge von Aktionen verwalten und Statusnamen an die Bedürfnisse Ihrer Organisation anpassen.
Eine Aktion in einen Status verschieben
Select Aktionen in the sidebar or select it in Mehr.
You can choose how you want to view your actions by selecting between Liste, Kalender, and Board on the upper-right of the page.
Depending on the selected view, update the status accordingly:
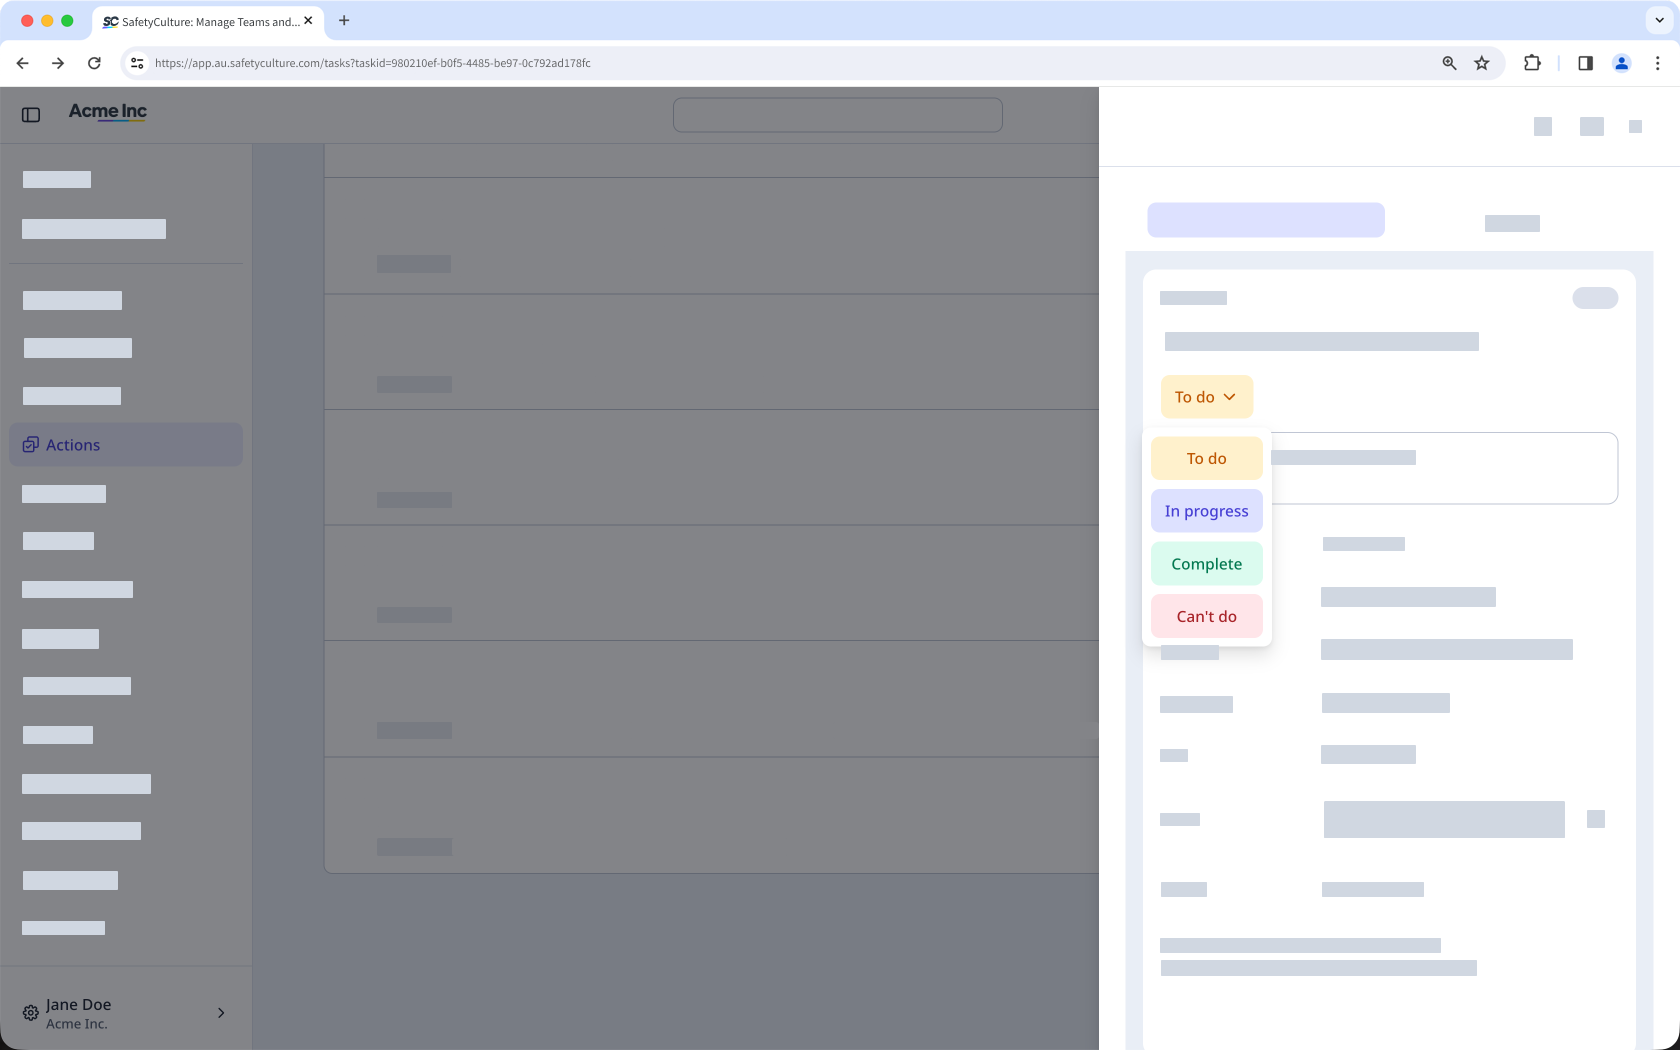
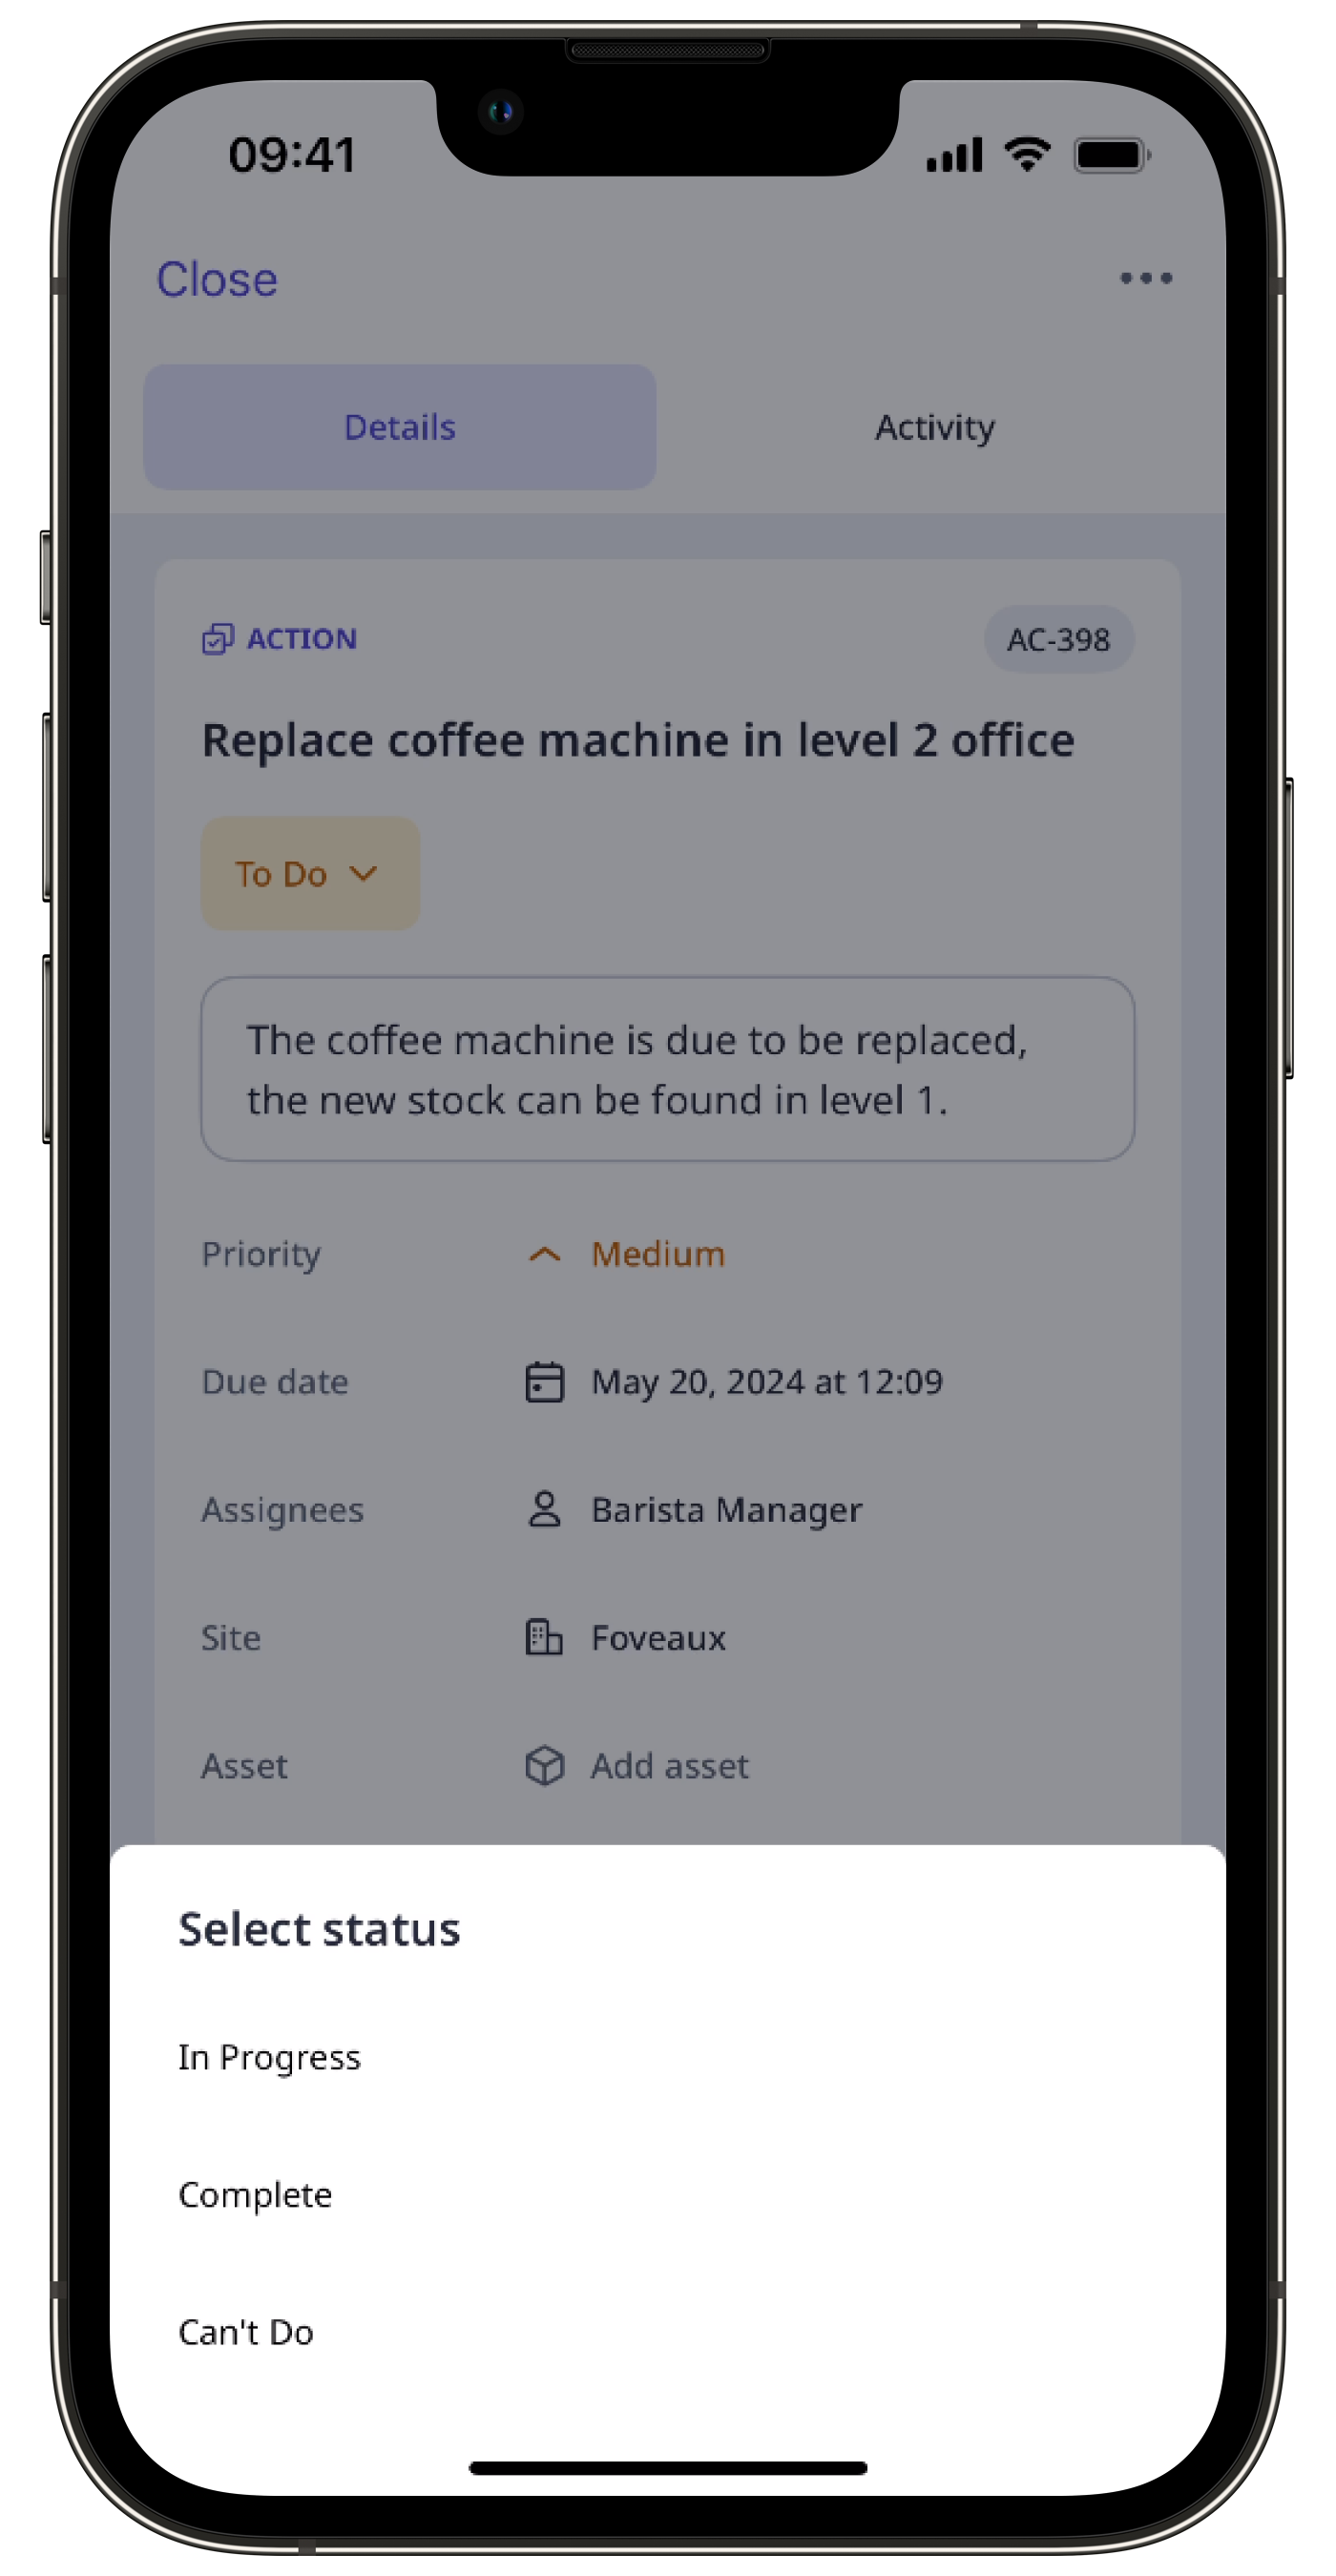
List and Calendar: Click the action. Then, in the side panel, choose between Zu erledigen, Nicht abgeschlossen, Abgeschlossen, or Nicht möglich depending on the action's status.
Board: Drag the action to the relevant status column.
Changes are saved automatically.
Das Zuweisen und Aufheben der Zuweisung von Aktionen in großen Mengen ist nur in der Ansicht Liste verfügbar. Wenn Sie sich in der Ansicht Kalender befinden, wechseln Sie Liste oben rechts auf der Seite.
Bitte beachten Sie auch, dass Sie jeweils nur bis zu 100 Aktionen gleichzeitig verwalten können.
Aktionen massenhaft in einen Status verschieben
Wählen Sie Aktionen in der Seitenleiste oder in Mehr aus.
Aktivieren Sie die Kontrollkästchen der Aktionen, für die Sie den Status in großen Mengen aktualisieren möchten.
Klicken Sie in der unteren rechten Ecke der Seite auf Status aktualisieren.
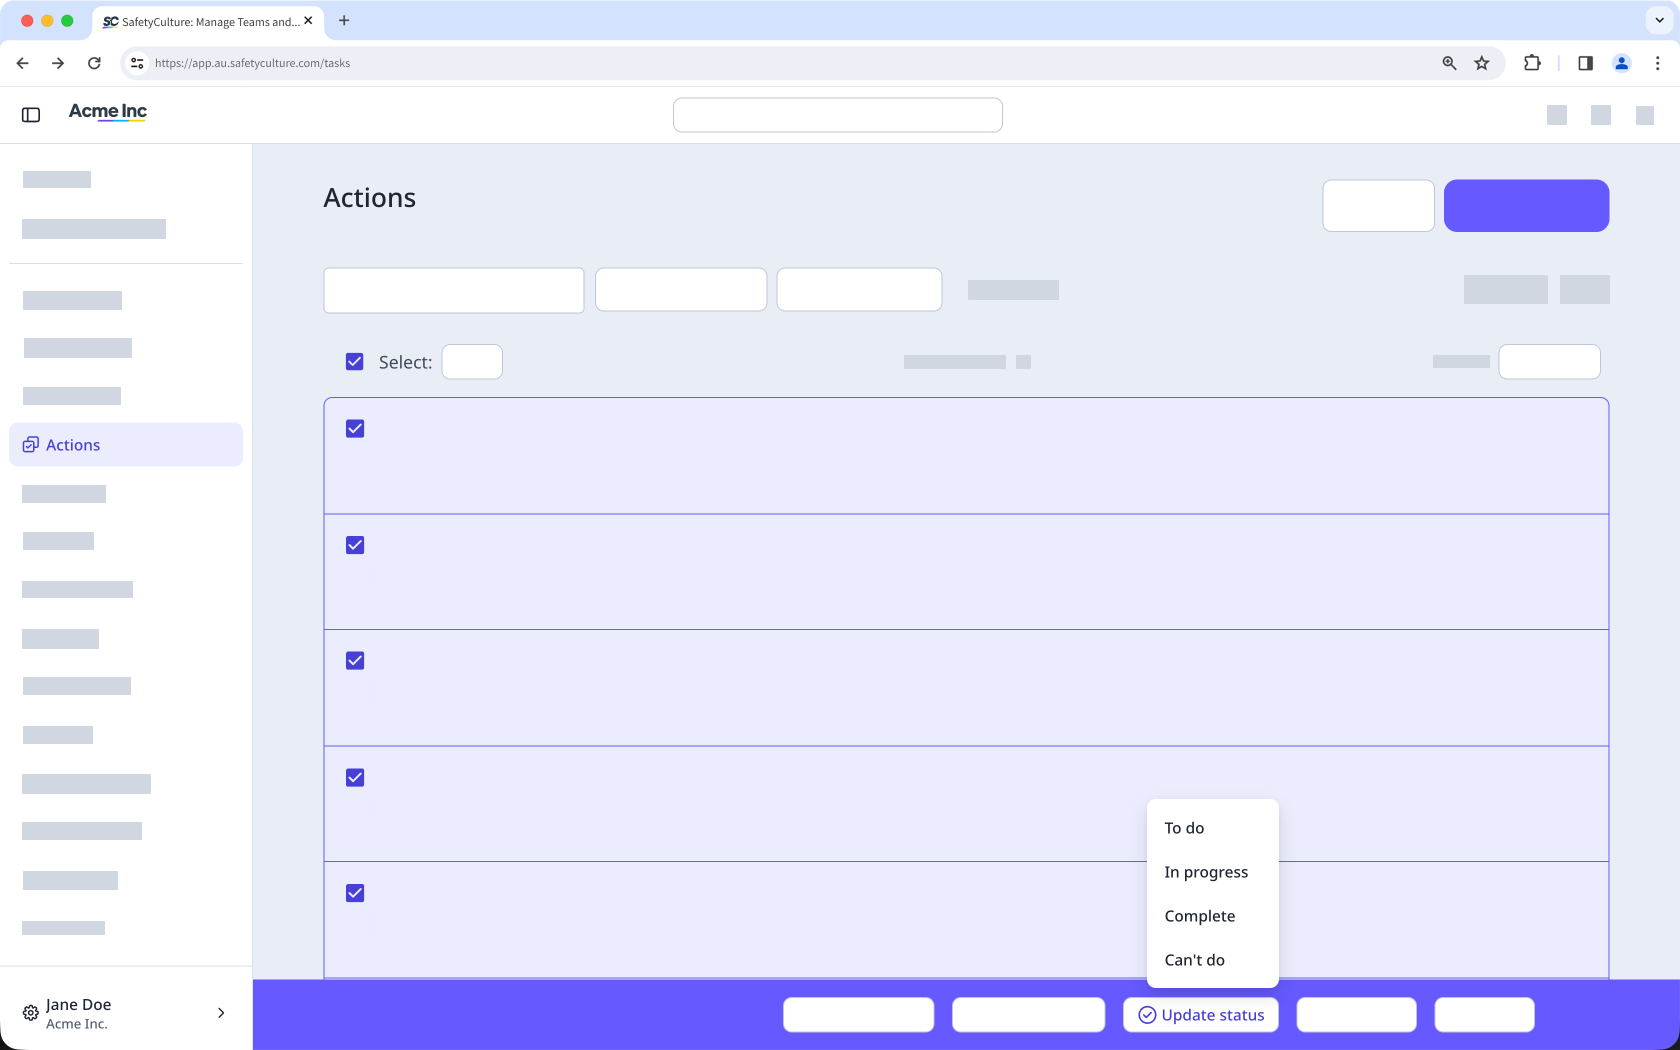
Status auswählen.
Klicken Sie im Pop-Up-Fenster auf Status aktualisieren.