- Verwaltung
- Referenzen
- Ihre Referenzen verwalten
Ihre Referenzen verwalten
Erfahren Sie, wie Sie Ihre Referenzen über die Web-App und die Mobile-App verwalten können.Was sind Referenzen?
Mit Berechtigungsnachweisen können Sie die Qualifikationen Ihrer Mitarbeiter an einem Ort speichern und verwalten, darunter Zertifizierungen und externe Lizenzen wie Führerscheine, Erste-Hilfe-Zertifikate und Lizenzen für risikoreiche Arbeiten. Auf diese Weise können Teams gültige, genehmigte und ablaufende Qualifikationen nachverfolgen, um die Einhaltung von Vorschriften zu unterstützen.
Als Administrator können Sie Berechtigungsnachweise in Berechtigungsnachweis-Typen und organisieren und sie für Ihre Mitarbeiter verwalten. Jeder Berechtigungsnachweis enthält ein Ausstellungsdatum, ein Ablaufdatum, einen Genehmigungsstatusund einen Versionsverlauf, was die Überwachung von Aktualisierungen und Verlängerungen im Laufe der Zeit erleichtert.
Zeugnisse helfen auch bei der Einhaltung von Vorschriften durch Onboarding-Workflows , indem sie Schulungsunterlagen und Qualifikationen an einem Ort aufbewahren. Dadurch werden die Onboarding-Prozesse gestrafft und die Teams können sich vergewissern, dass die Mitarbeiter die Rollenanforderungen erfüllen, bevor sie ihre Arbeit aufnehmen.
Was Sie brauchen
Wenn Sie Berechtigung "Platform-Verwaltung: Referenzen"haben, können Sie auch Nutzerdaten in Ihrer Organisation verwalten.
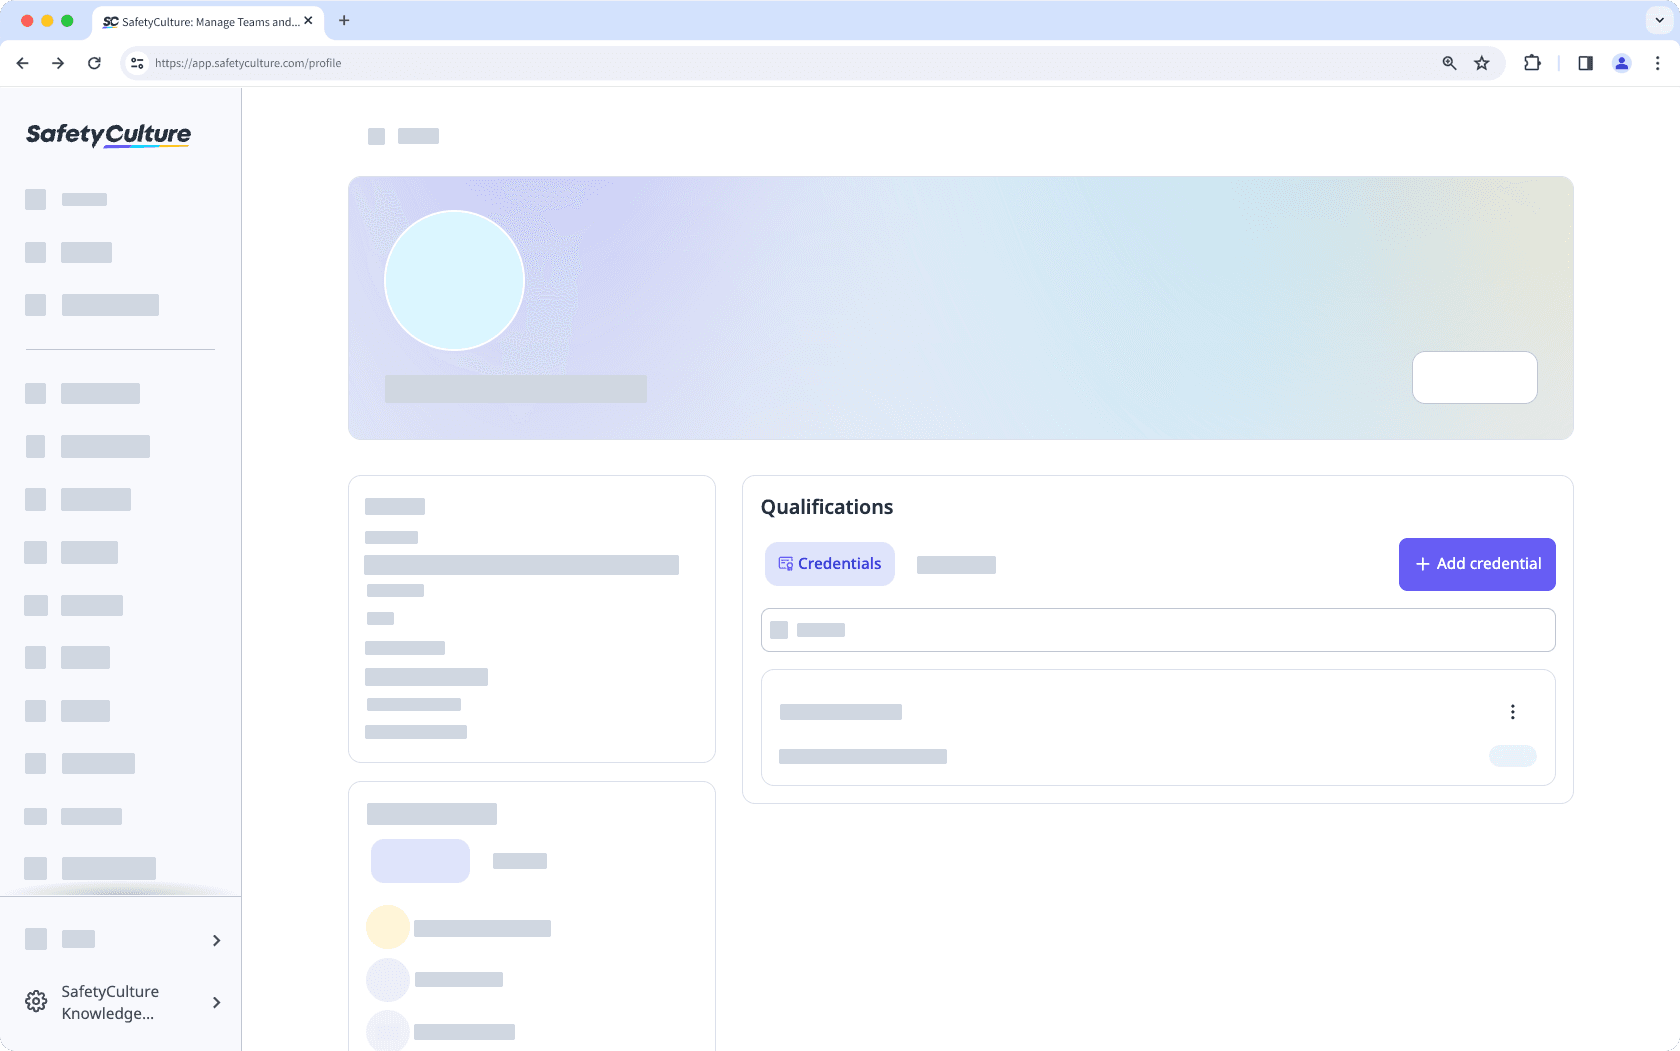
Eine Referenz hinzufügen
Klicken Sie unten links auf der Seite auf Ihren Nutzernamen und wählen Sie Mein Profil aus.
Klicken Sie auf Speichern.
Laden Sie Fotos oder PDF-Dateien Ihrer Referenzezn hoch.
Bitte geben Sie die folgenden erforderlichen Referenzdaten ein:
Qualifikationstyp: Die Art der Qualifikation. Zum Beispiel: "Führerschein".
Ausstellungsdatum: Das Ausstellungsdatum einer Qualifikation.
Ablaufdatum: Das Ablaufdatum einer Qualifikation.
Klicken Sie auf Speichern.
Öffnen Sie die Mobile-App.
Tippen Sie am unteren Rand Ihres Bildschirms auf
 Start.
Tippen Sie auf das Symbol Ihres Nutzerprofils in der oberen rechten Ecke Ihres Bildschirms.
Tippen Sie im Pop-up-Menü auf Ihr Nutzerprofil und wählen Sie
 Referenzen.
Tap
 at the upper-right of your screen.
Upload photos or PDF files of your credential.
Enter the details accordingly.
Klicken Sie auf Speichern.
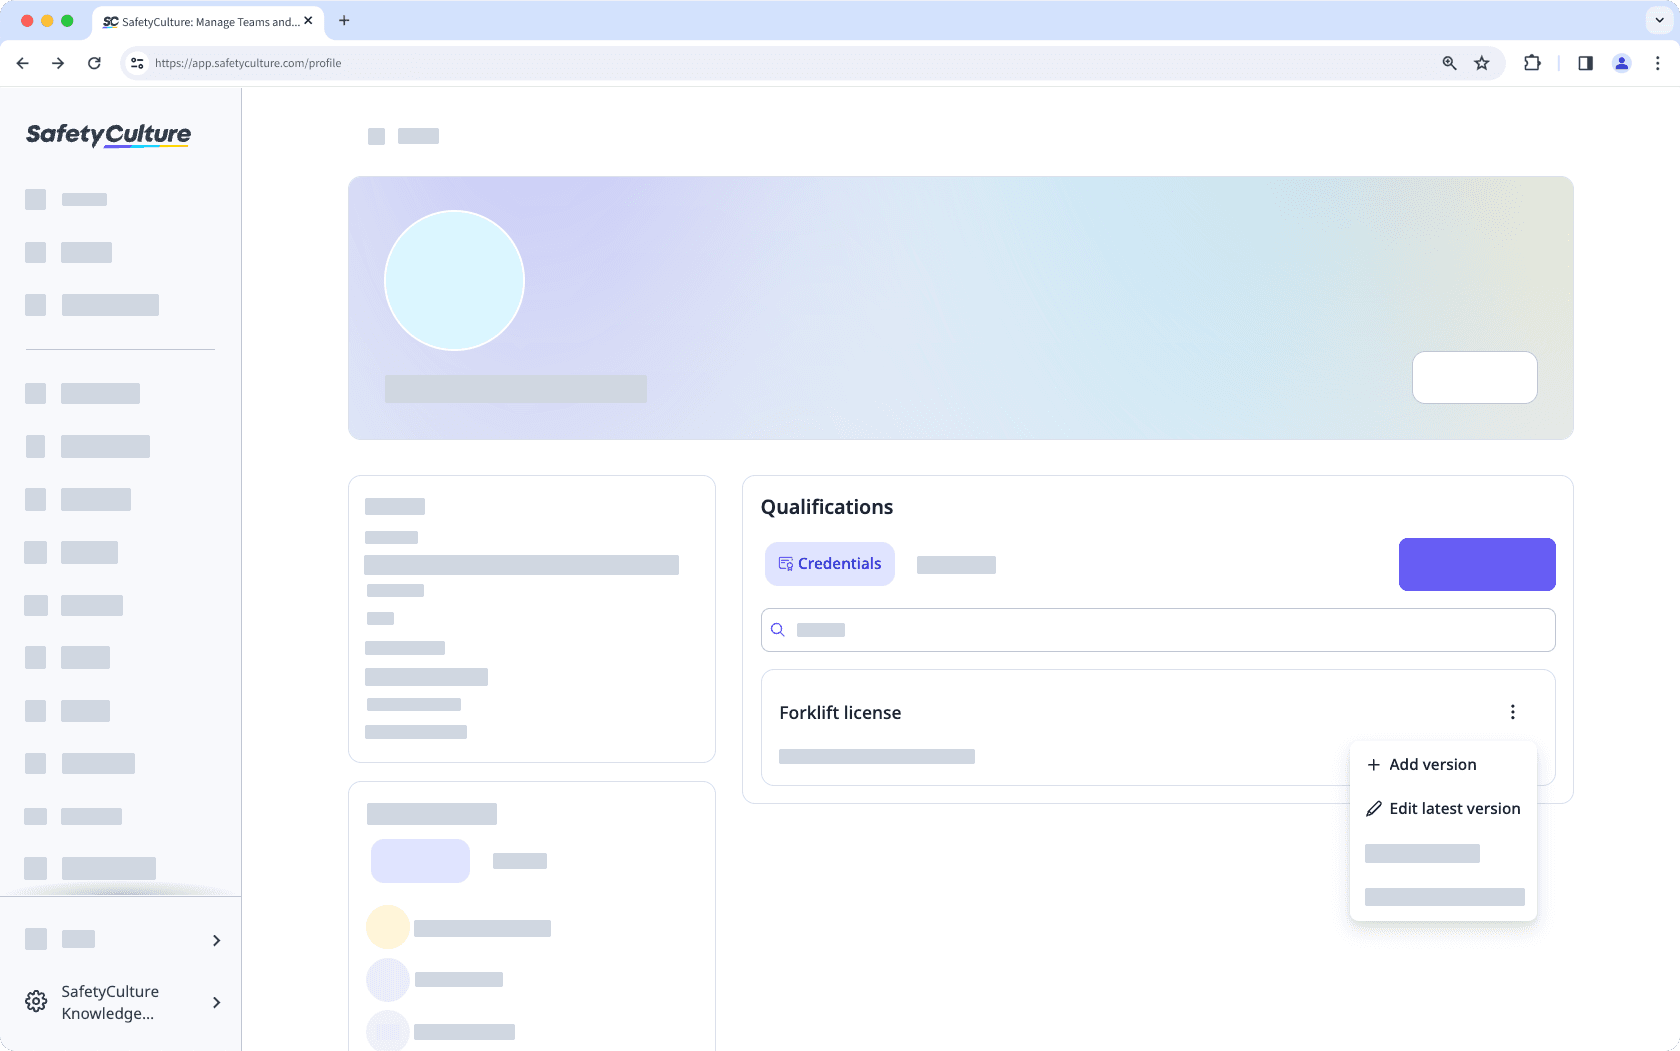
Eine Referenz bearbeiten
Klicken Sie unten links auf der Seite auf Ihren Nutzernamen und wählen Sie Mein Profil aus.
Klicken Sie rechts neben den Referenzen auf
 .
.Wählen Sie
Version hinzufügen oder Version hinzufügen, um eine neue Version der Referenzen zu erstellen oder um eine Vorhandene zu aktualisieren.
Aktualisieren Sie die Berechtigung entsprechend.
Klicken Sie auf Speichern.
Open the mobile app.
Tap
Start at the bottom of your screen.Tap your user profile icon at the upper-right corner of your screen.
In the bottom pop-up, tap
 Mein Profil and selectReferenzen.
Select a credential.
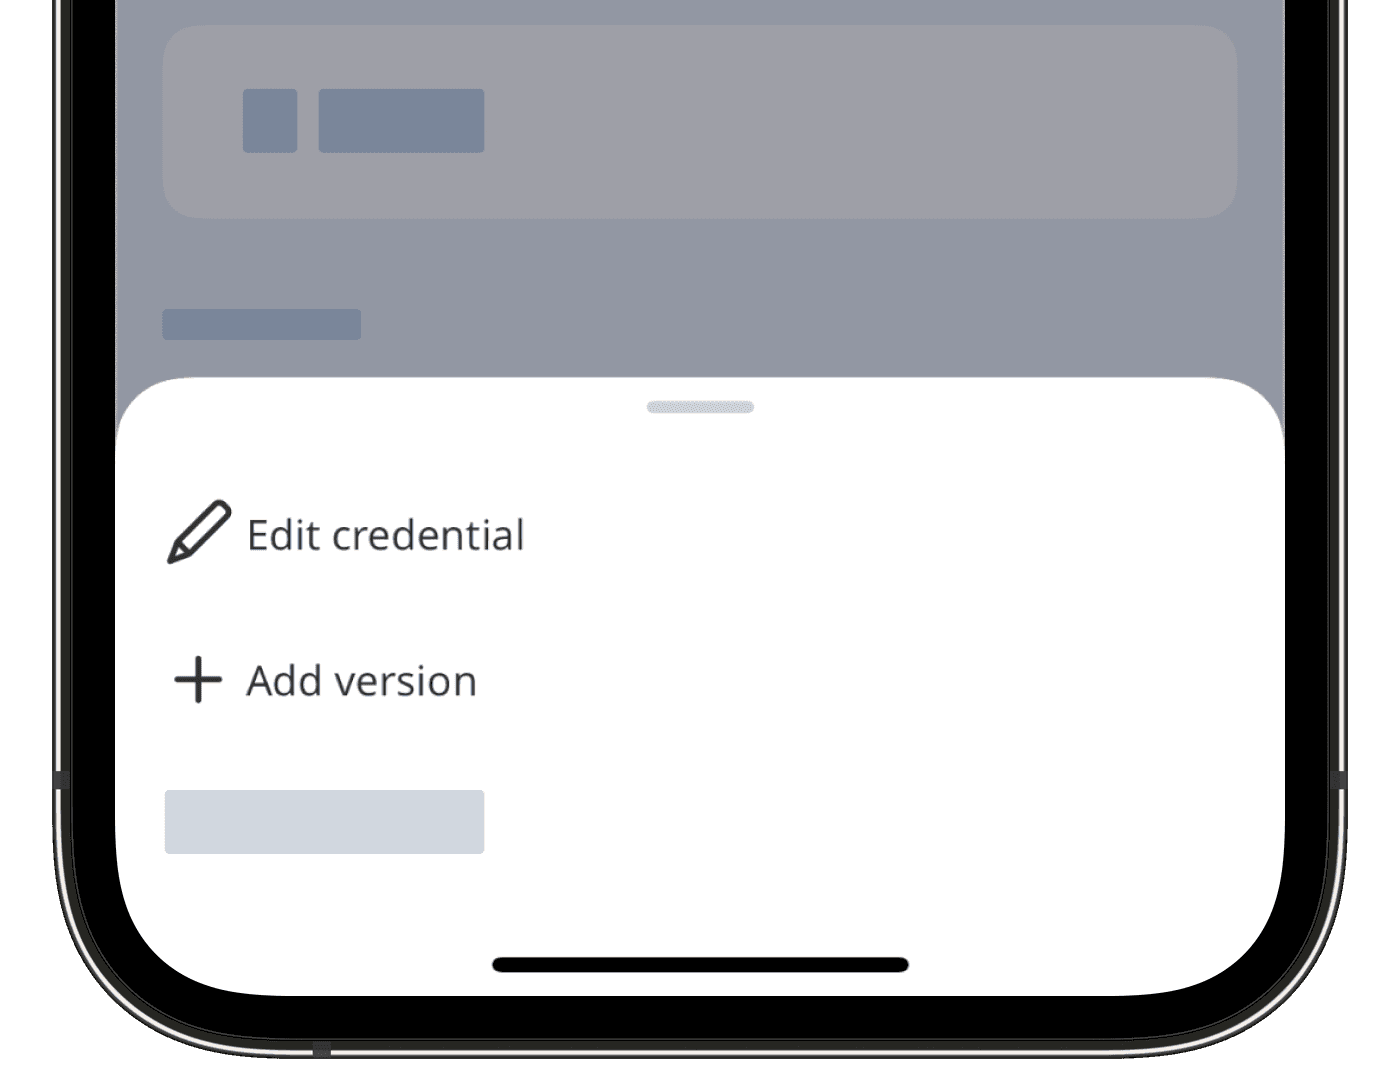
Tap
at the upper-right of your screen. Select
 Referenz bearbeiten or Version hinzufügen to update an existing credential or create a new credential version.
Update the credential accordingly.
Tap Speichern at the upper-right corner of your screen.
Eine Qualifikationshistorie anzeigen
Click your username on the lower-left corner of the page and select Mein Profil.
Click
on the credential's right-hand side, and select  Verlauf anzeigen.
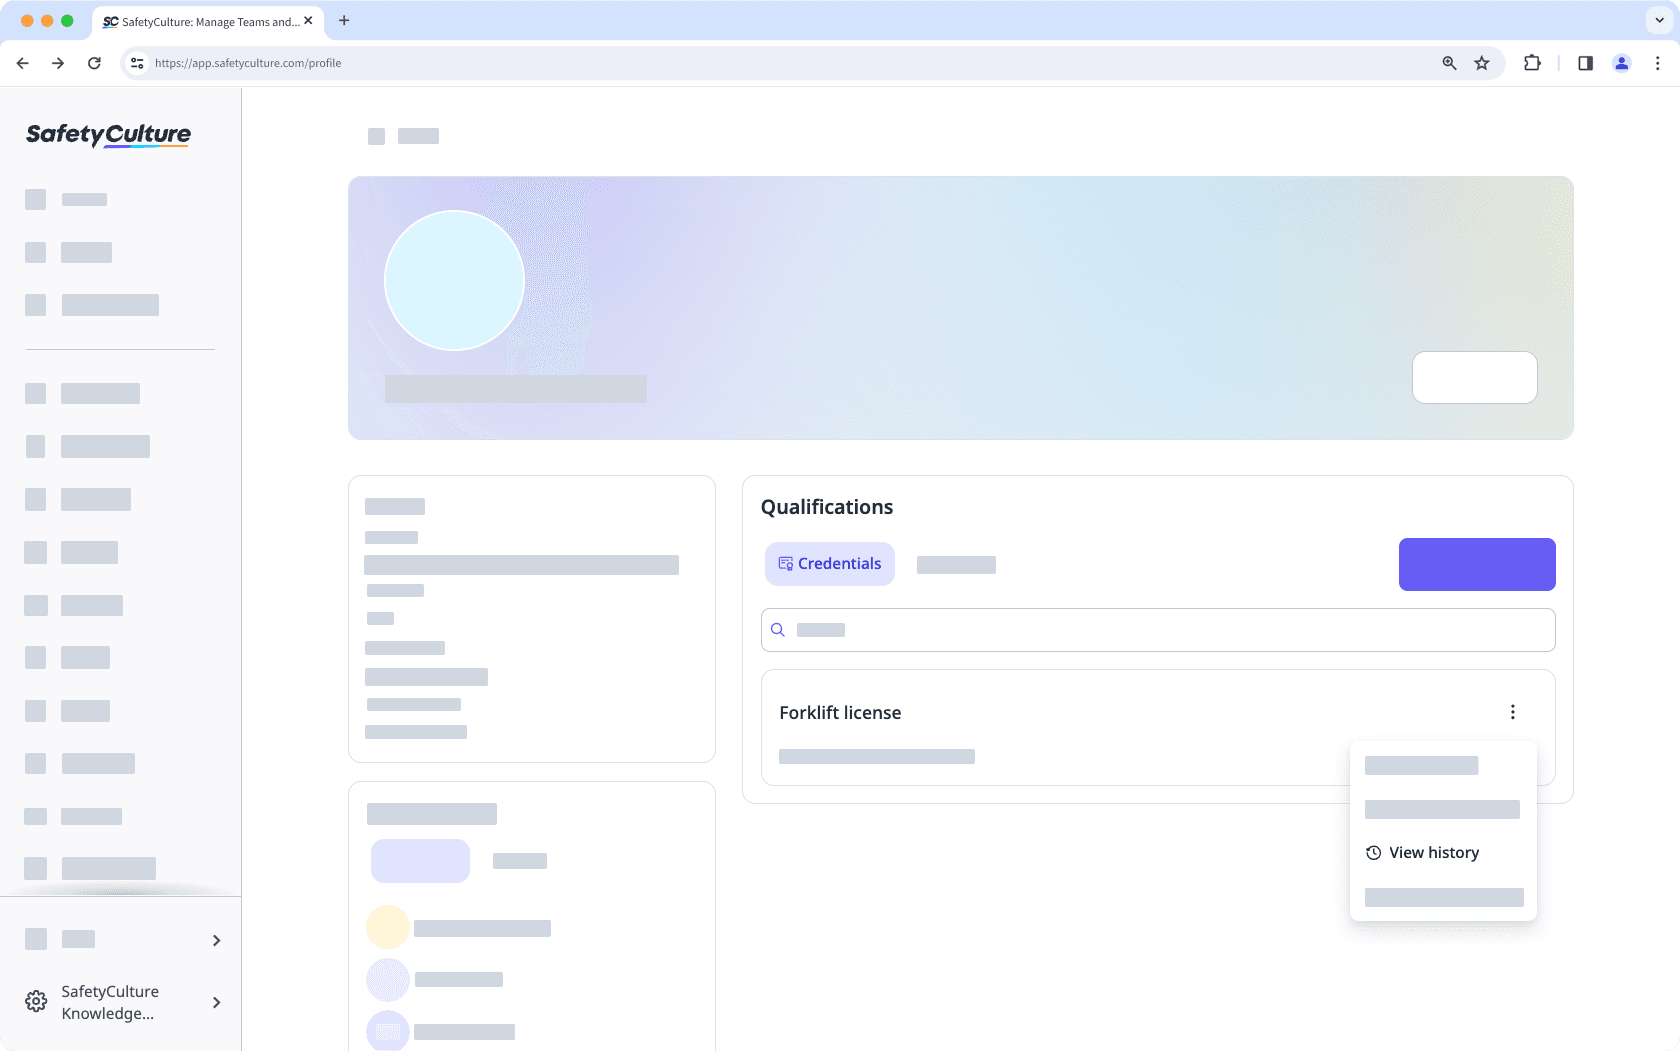
On this page, you can view all versions of the credential and select any of the versions to view more details.
Öffnen Sie die mobile App.
Tippen Sie am unteren Rand Ihres Bildschirms auf
Start.Tippen Sie auf das Symbol Ihres Nutzerprofils in der oberen rechten Ecke Ihres Bildschirms.
Tippen und wählen Sie Sie im unteren Pop-up
Referenzen aus.Tippen Sie auf
oben rechts auf Ihrem Bildschirm und tippen Sie aufAuf diesem Bildschirm können Sie alle Versionen des Berechtigungsnachweises anzeigen und eine der Versionen auswählen, um weitere Details anzuzeigen.
Verlauf anzeigen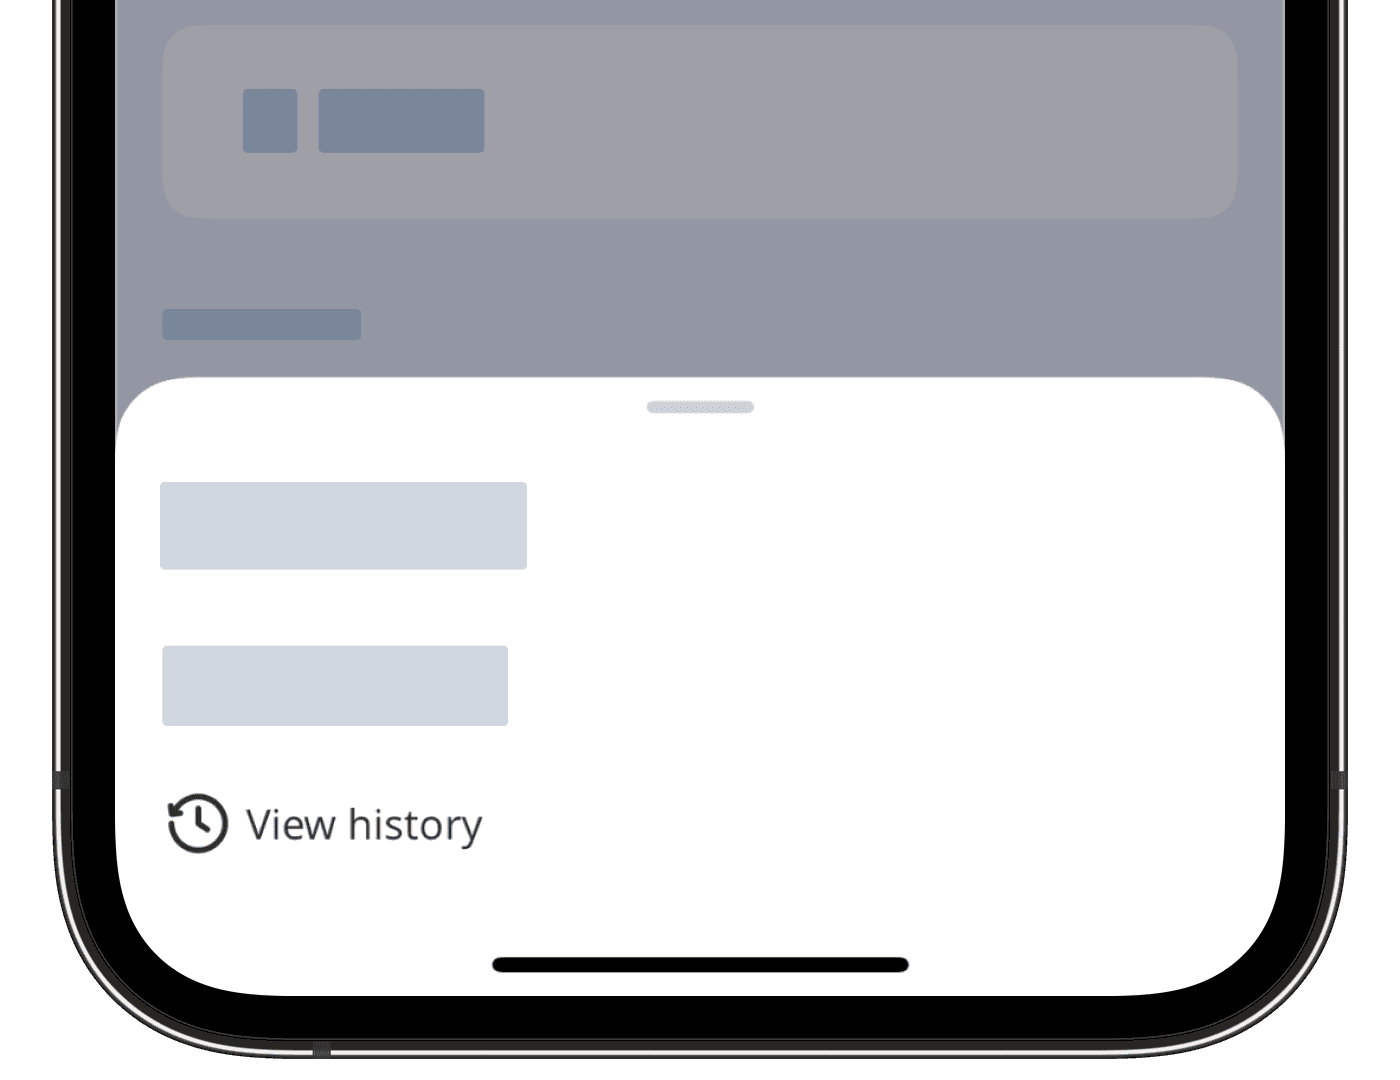
Auf diesem Bildschirm können Sie alle Versionen des Berechtigungsnachweises anzeigen und eine der Versionen auswählen, um weitere Details anzuzeigen.
Aktivitäten für eine Referenzversion anzeigen
Click your username on the lower-left corner of the page and select Mein Profil.
Select a credential.
Click Aktivität from the tab on the left-hand side of the page.
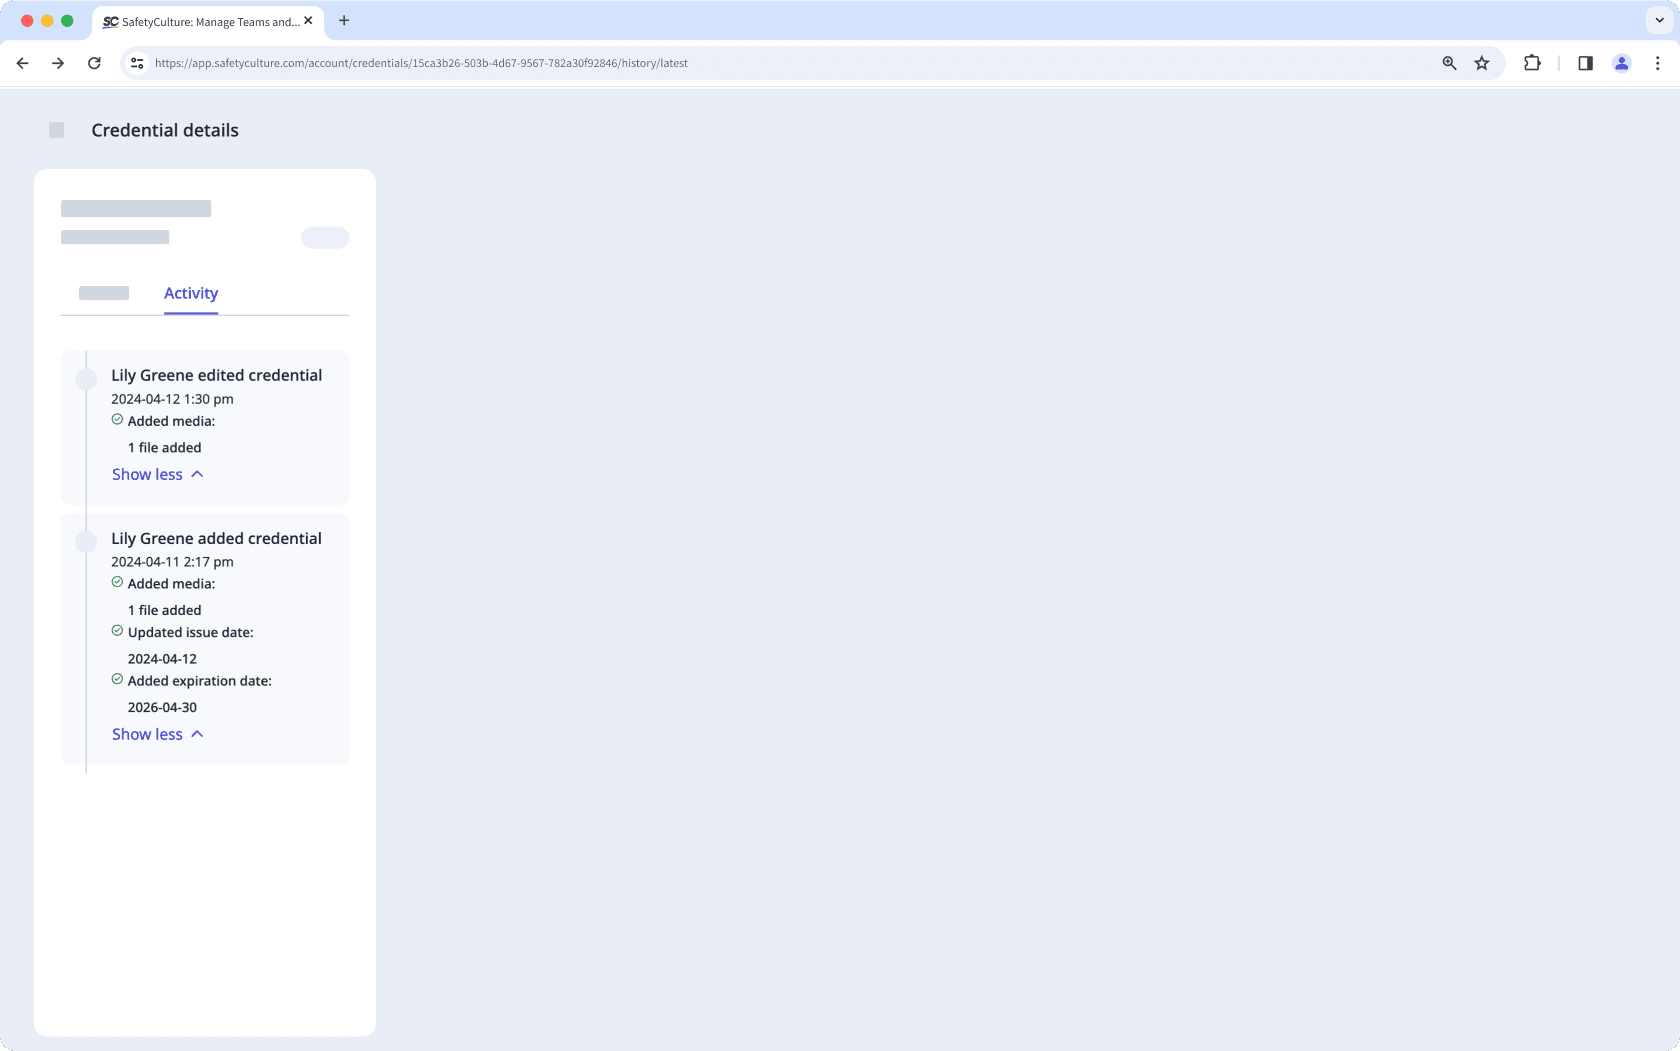
In this tab, you can view changes made to the following fields of the user’s credential over time:
Issue date
Expiration date
Media files
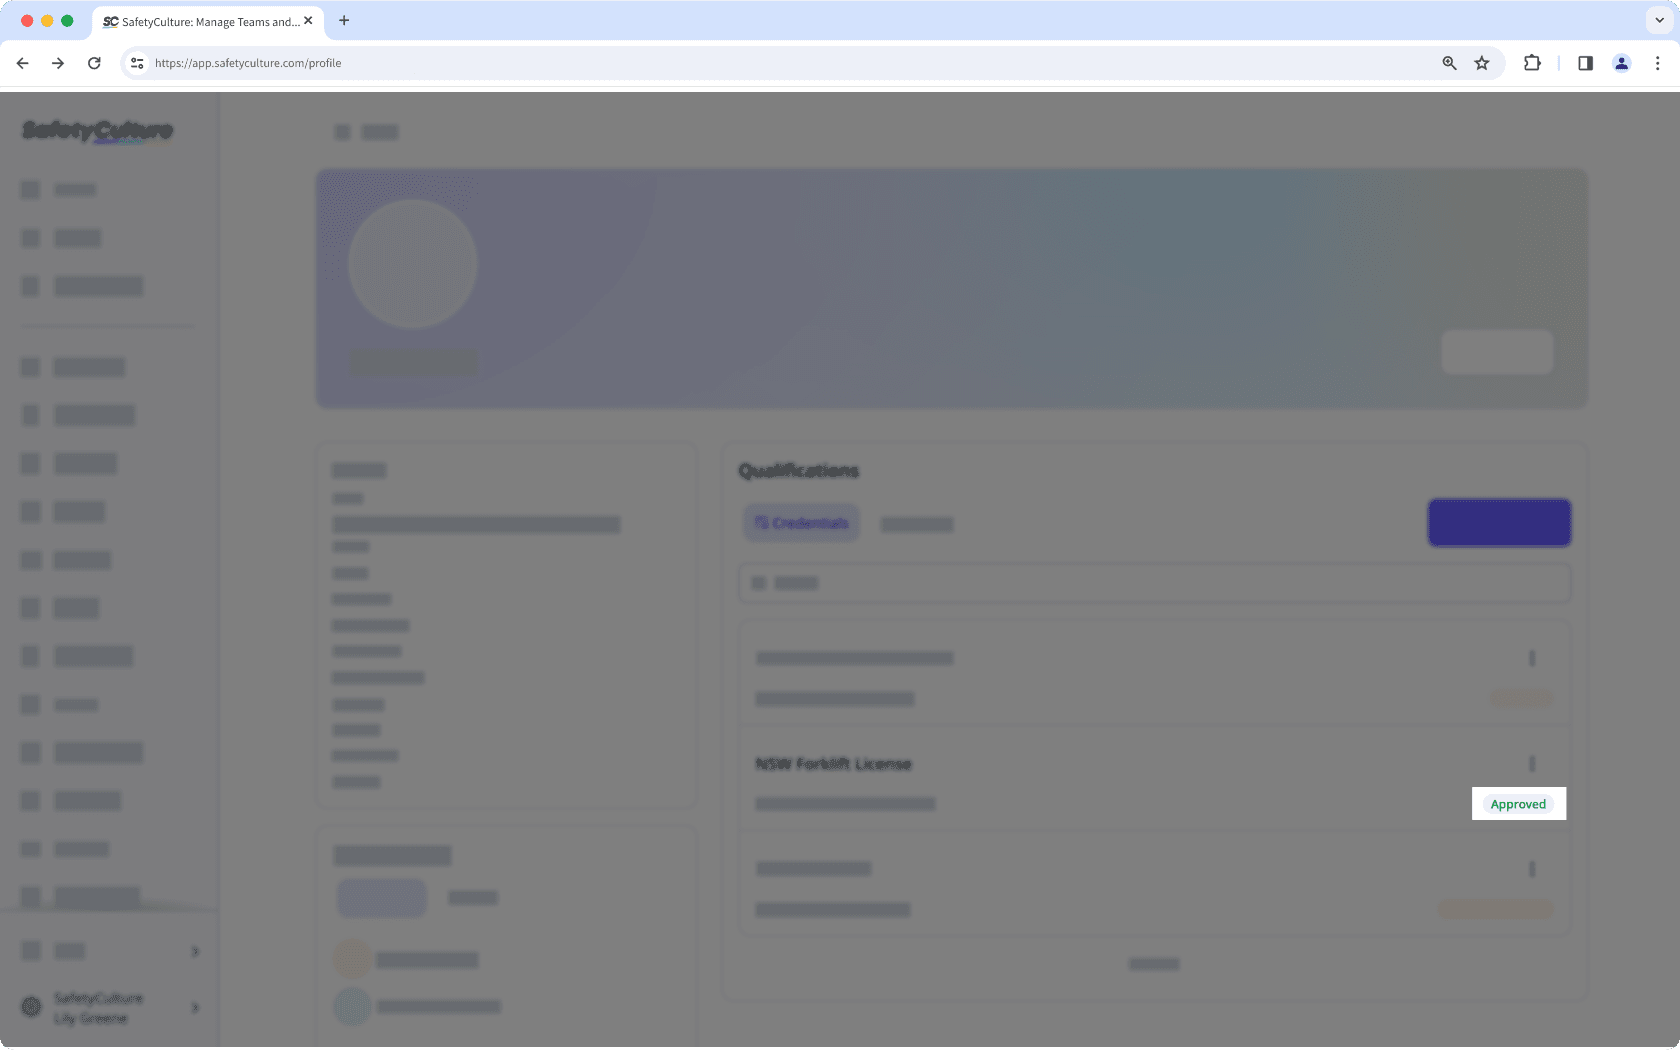
Den Genehmigungsstatus einer Referenz anzeigen
Click your username on the lower-left corner of the page and select Mein Profil.
Select or search for the credential you want to view.
View the approval status on the lower-right of the credential.
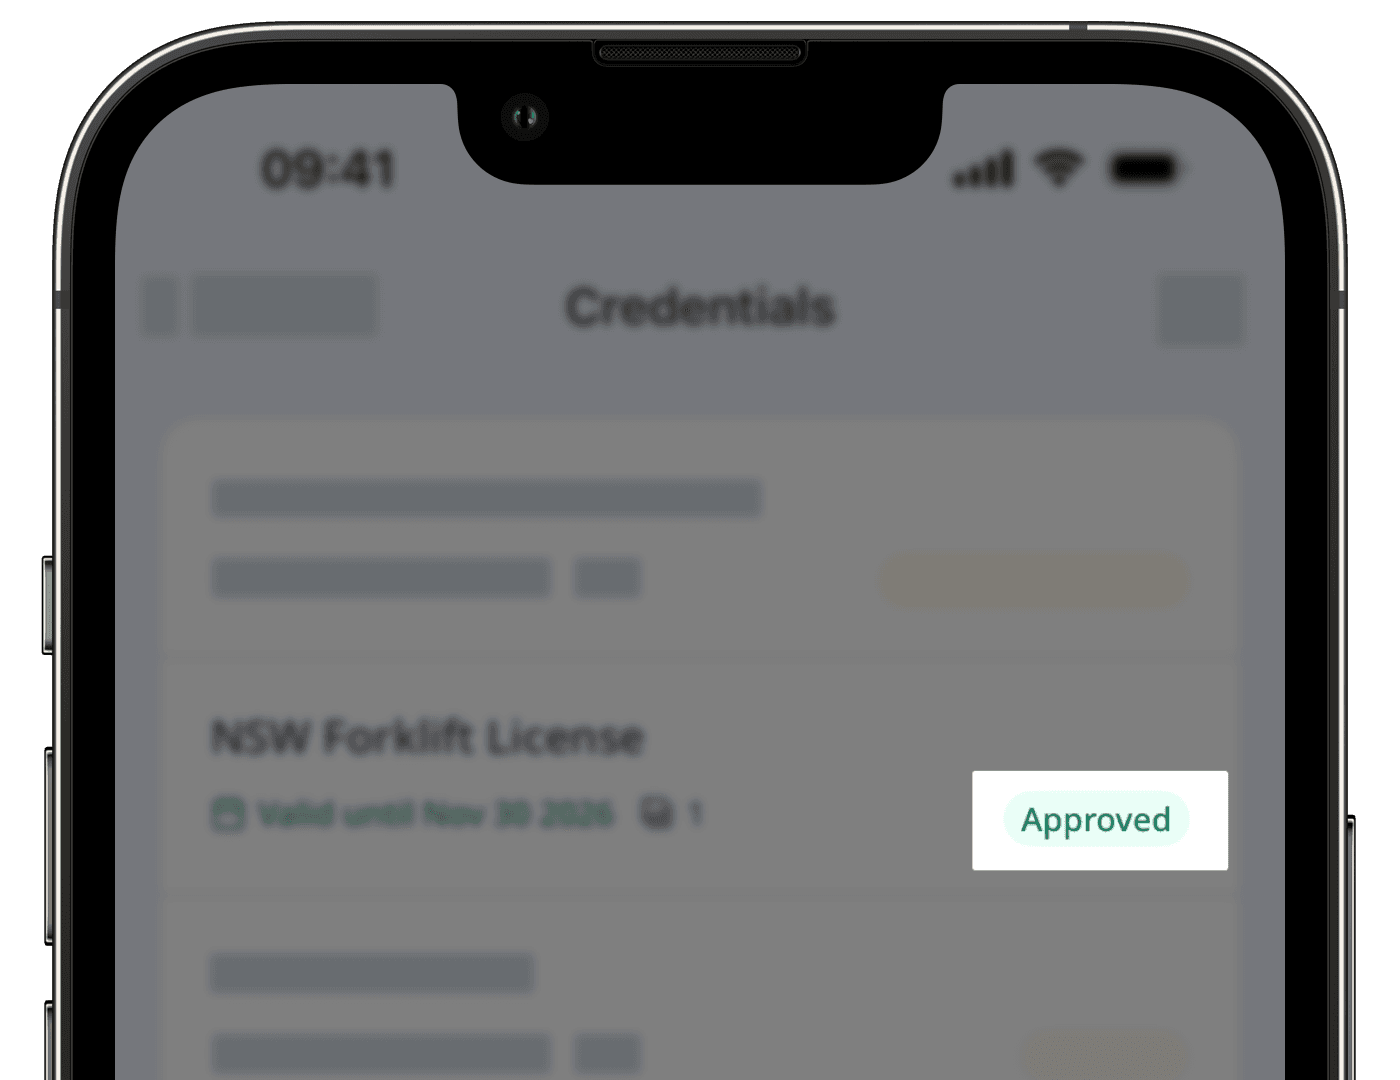
Open the mobile app.
Tap
Start at the bottom of your screen.Tap your user profile icon at the upper-right corner of your screen.
In the bottom pop-up, tap and select
Referenzen.On this screen, you can view the list of your credentials.
View the approval status on the lower-right of the credential.
Sie benötigen Berechtigung "Platform-Verwaltung: Referenzen", um die von Ihnen erstellten Referenzen und die zugehörigen Medien zu löschen.
War diese Seite hilfreich?
Vielen Dank für Ihre Anmerkungen.