¿Por qué personalizar las notificaciones por correo electrónico de contratiempos?
Adapte las notificaciones por correo electrónico de los contratiempos de su organización para compartir información confidencial y privada únicamente con usuarios o grupos autorizados. Esto garantiza que todos tengan la información correcta para abordar los contratiempos de manera efectiva sin comprometer la confidencialidad.
Ajustes de notificaciones por correo electrónico
Cada vez que se identifica un nuevo contratiempo para una categoría específica, puede asegurarse de que solo los usuarios o grupos seleccionados recibirán notificaciones por correo electrónico. También puede enviar notificaciones según el grupo de un usuario o la afiliación del sitio (opens in new tab). Elija cualquiera de las siguientes opciones para personalizar el nivel de detalle incluido en estas notificaciones:
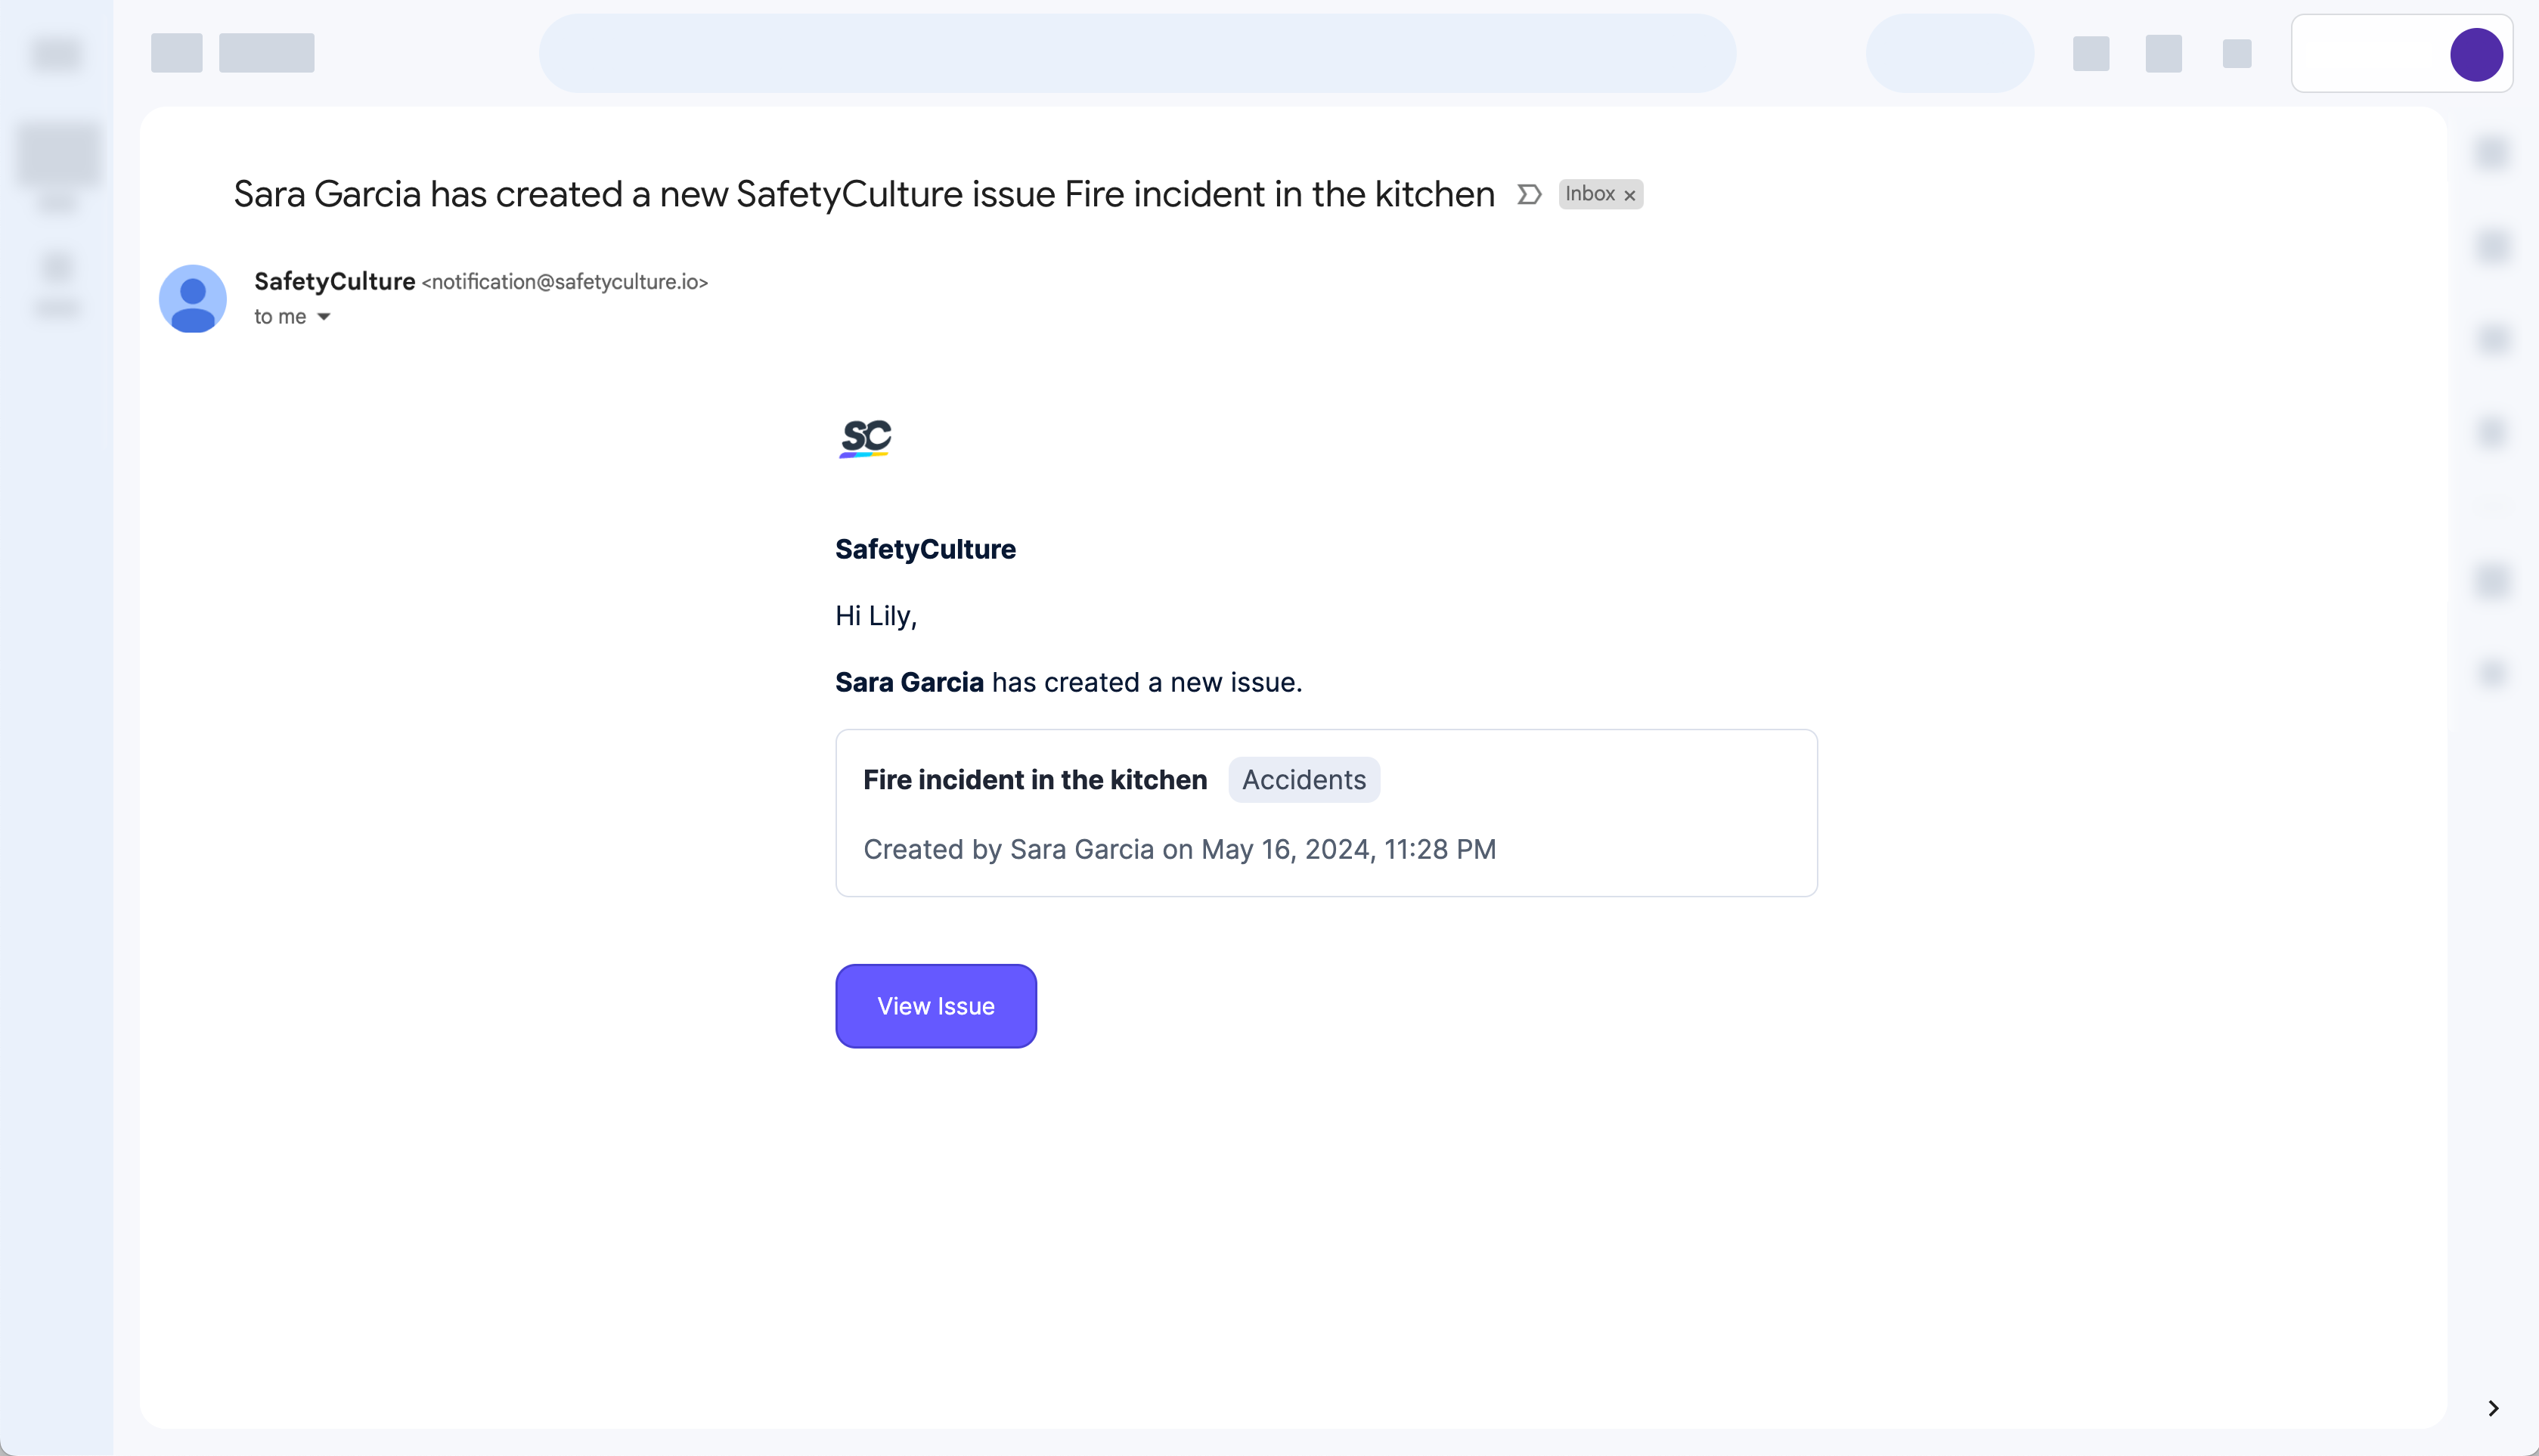
Privada (predeterminada): esta opción está seleccionada de forma predeterminada. La notificación por correo electrónico incluirá únicamente información esencial, específicamente el título, la categoría, la persona que lo identifica y la fecha y hora en que se creó el contratiempo.
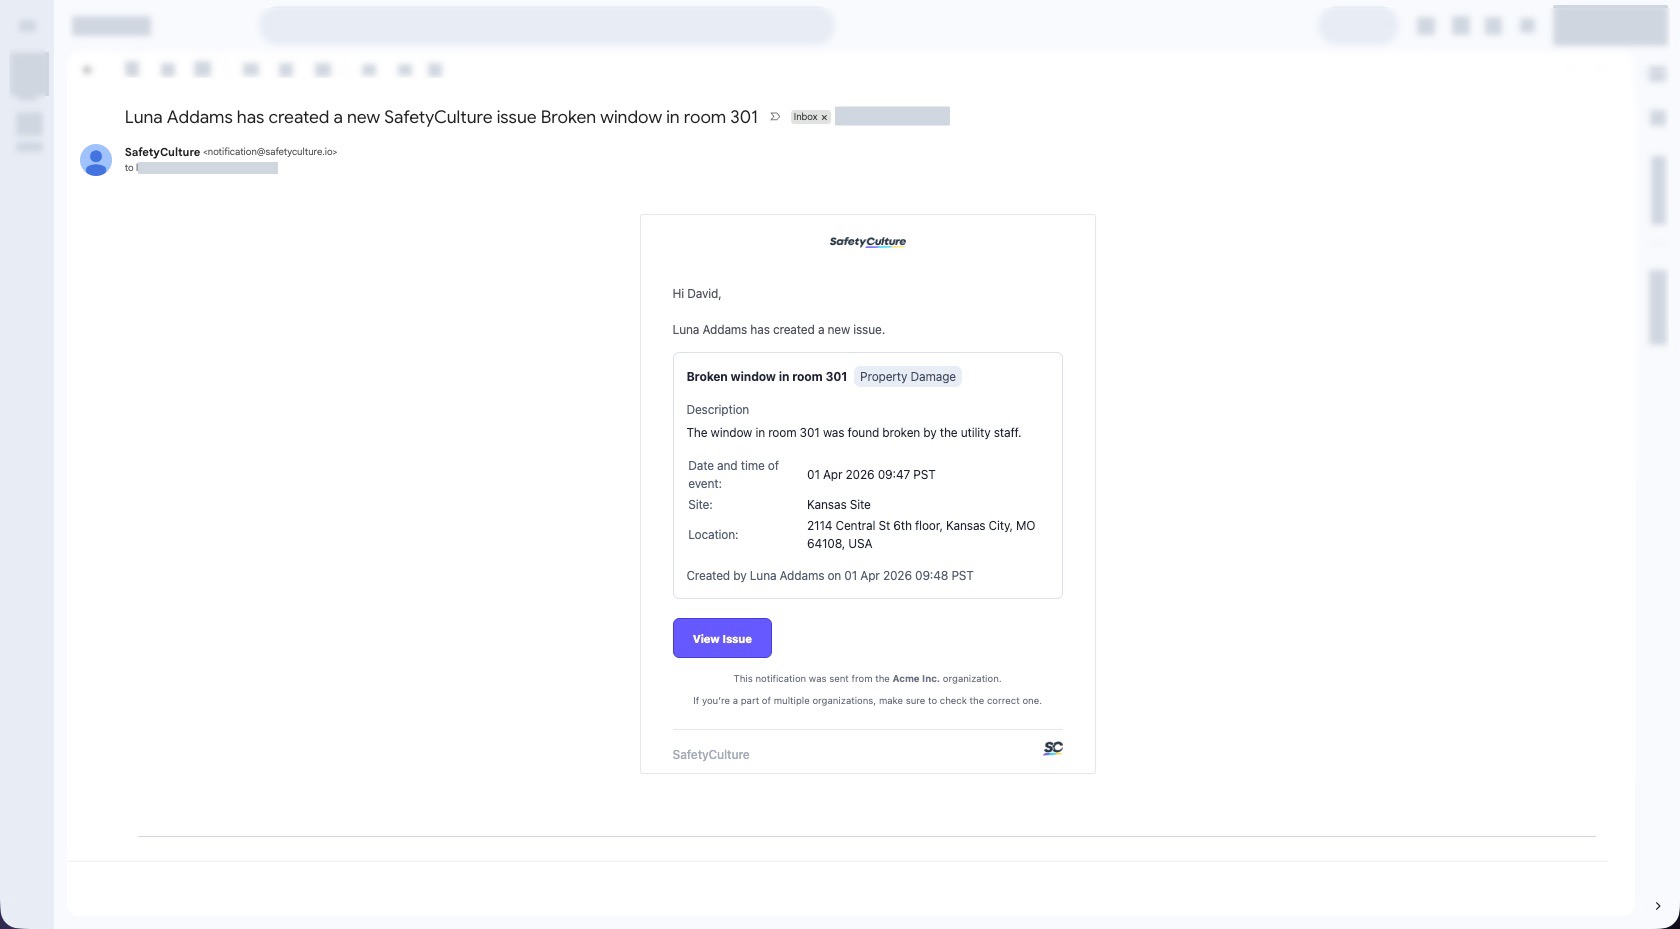
Resumen: seleccione esta opción si desea incluir la descripción, el sitio y la ubicación del contratiempo con los detalles principales.
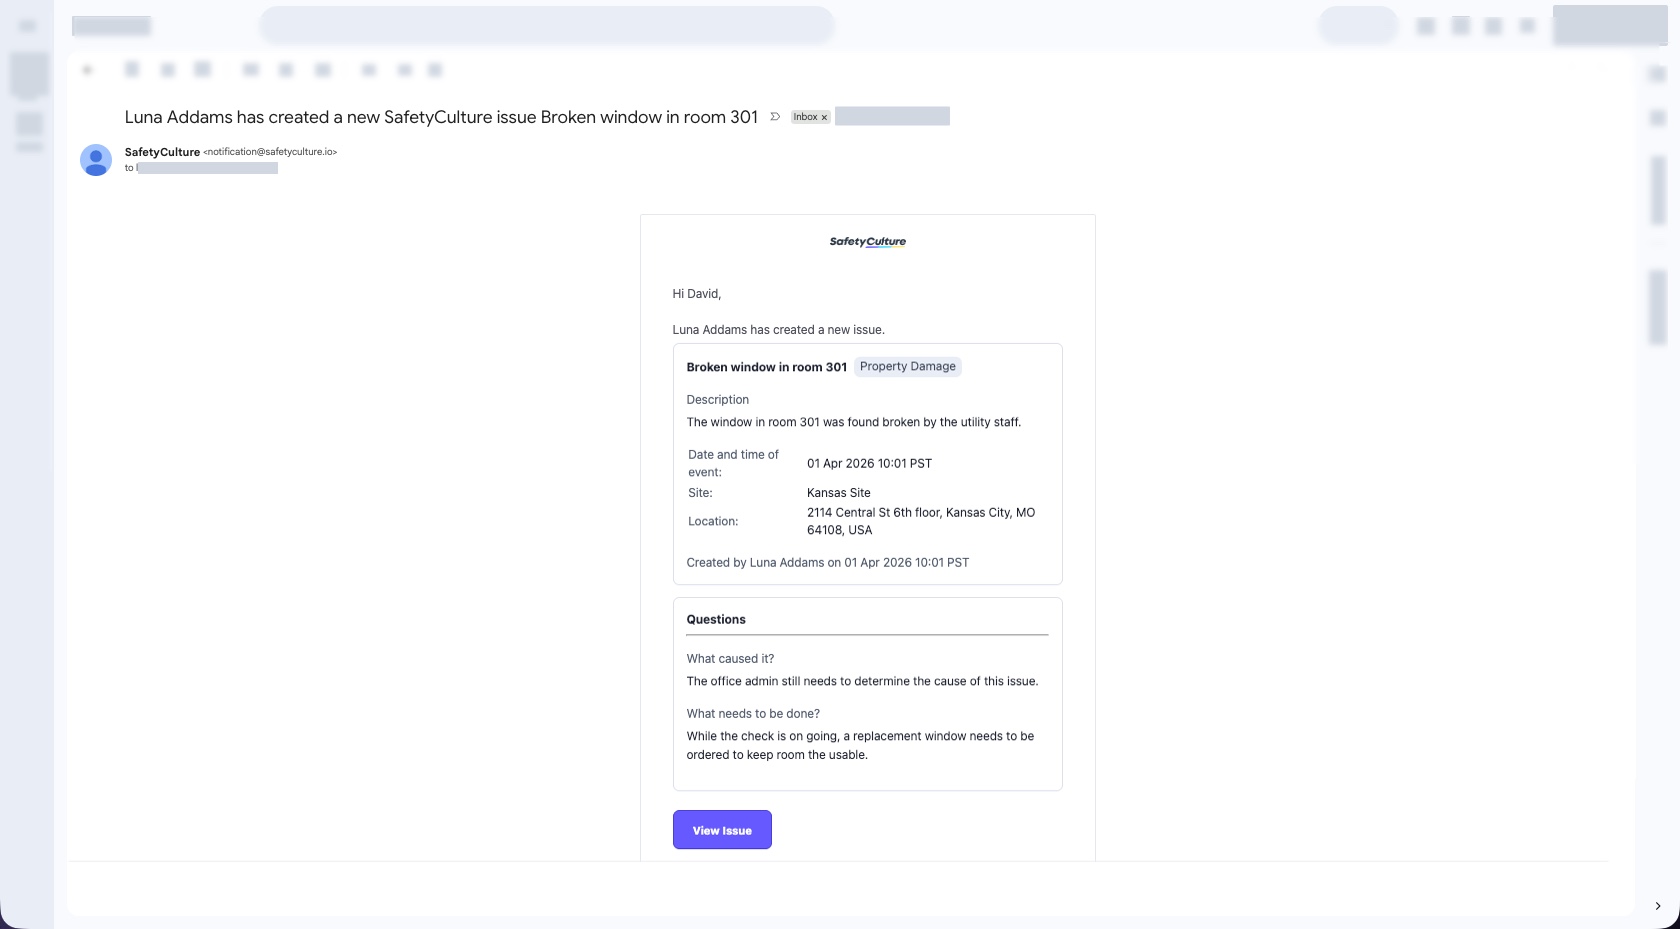
Detallada: seleccione esta opción para enviar notificaciones completas que incluyan toda la información del contratiempo identificado.
Mantenga a sus usuarios informados durante las emergencias con Alertas críticas. Configúrelas para cada categoría de contratiempos y asegúrese de que los usuarios reciban notificaciones incluso cuando sus dispositivos estén en silencio o en el modo de "No molestar".
Lo que necesitarás
Si no recibe notificaciones por correo electrónico después de configurar sus ajustes de notificación, asegúrese de que el filtro de spam de su bandeja de entrada o su firewall no estén bloqueando los correos electrónicos de "notification@safetyculture.io".
Configurar notificaciones de contratiempos por correo electrónico
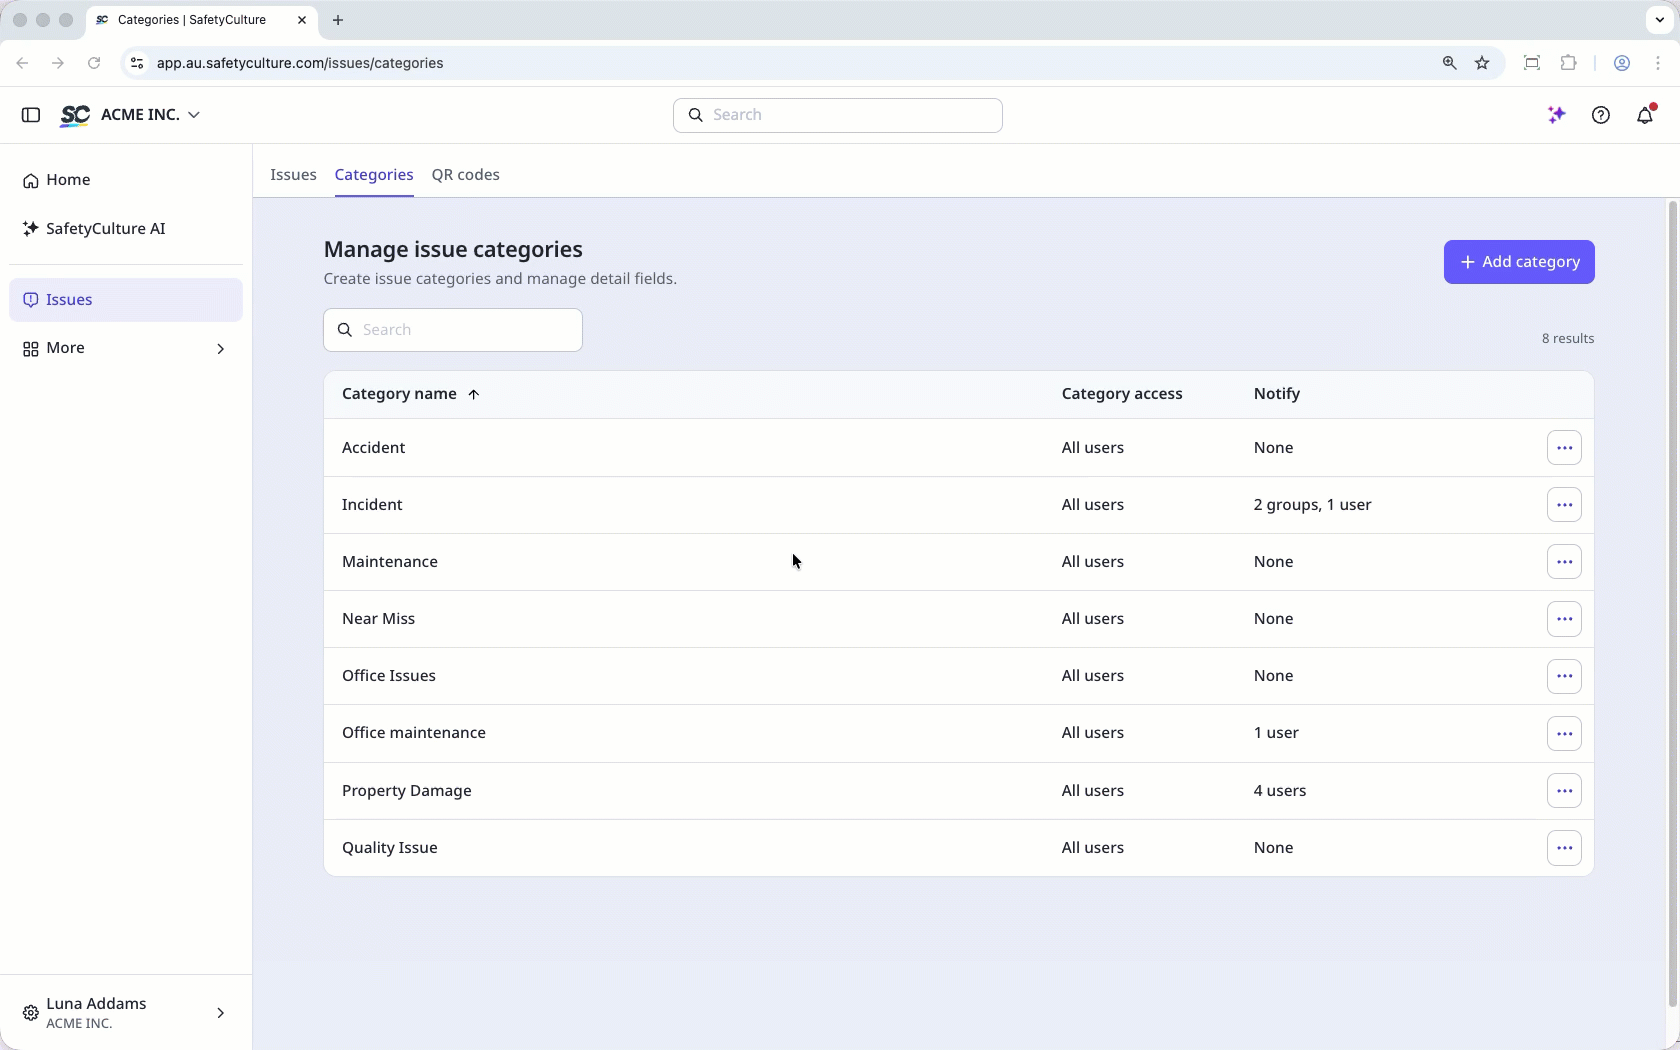
Seleccione Contratiempos en la barra lateral o selecciónelo en Más.
Seleccione Categorías en la parte superior de la página.
Haga clic en en el lado derecho de la categoría y seleccione Editar.
En la pestaña Flujo de trabajo, vaya a la sección "Notificaciones" y haga clic en Editar.
En "Enviar una notificación a", haga clic en el menú desplegable y seleccione los usuarios, grupos o miembros del sitio a los que se debe notificar cada contratiempo identificado de esta categoría según corresponda.
Haga clic en Hecho.
En "Tipo de notificación por correo electrónico", seleccione un ajuste para personalizar el nivel de detalles incluidos en la notificación por correo electrónico para esta categoría de contratiempo.
Haga clic en Guardar.