The preventative asset maintenance feature is currently in Early Access. If you're interested, go to the web app, select Assets from the menu on the left-hand side. Select Maintenance from the tab at top of the page and click Get Early Access.
Is Maintenance not in your menu? Reach out to your Customer Success Manager to express your interest.
Why track the last service details of your assets?
Tracking the last service details helps establish a reliable starting point for each asset’s maintenance cycle. Whether it’s a reading or a date, this baseline ensures plans trigger accurately and consistently across your fleet. It provides context for current usage data, helping you validate asset activity and align servicing with real-world conditions. Otherwise maintenance programs can drift. Over time, recording last service details builds a complete maintenance history that supports better forecasting and operational decisions.
What you'll need
Depending on asset access settings, the assets you can view and manage may vary based on your site membership.
You can quickly review when the last service entry was updated and by whom by checking the change history. This helps you confirm asset activity, trace updates across your team, and maintain a reliable maintenance record
Add an asset's last service details
Select Assets in the sidebar or select it in More.
Select the Maintenance tab on the top of the page.
Use filters in the maintenance table to select which assets, programs, or sites to view.
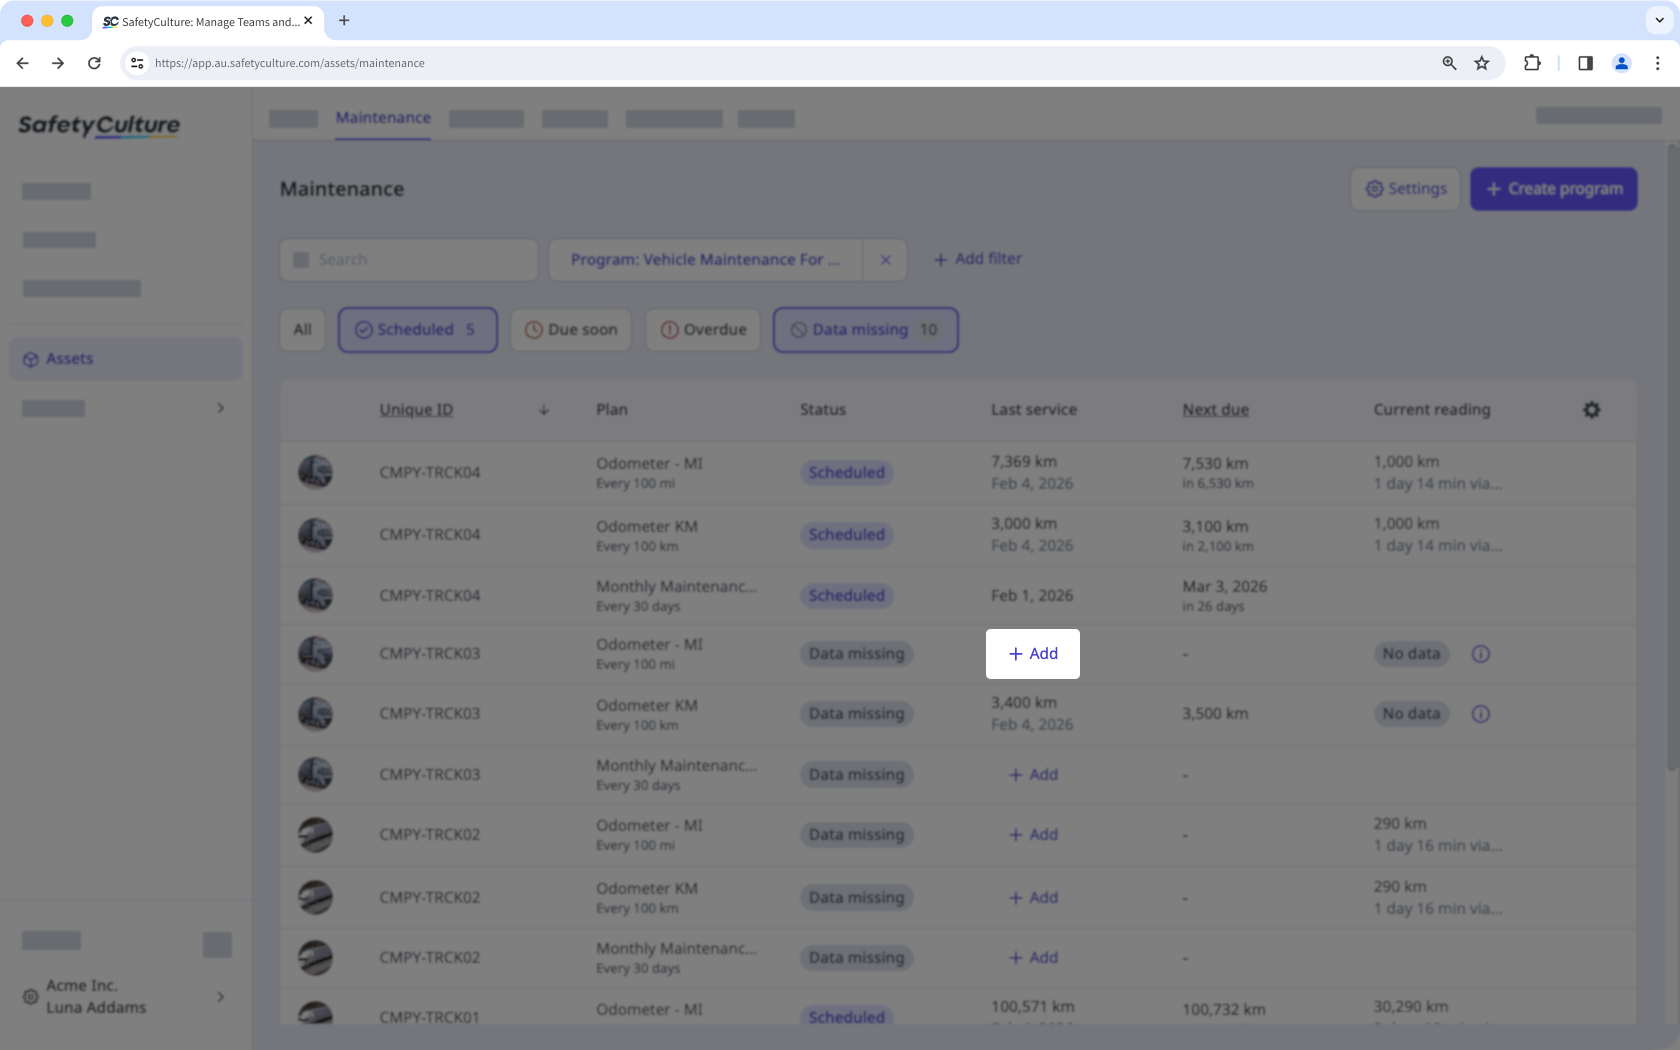
Search for the asset you want to add the last service details to.
In the Last service column, click Add.
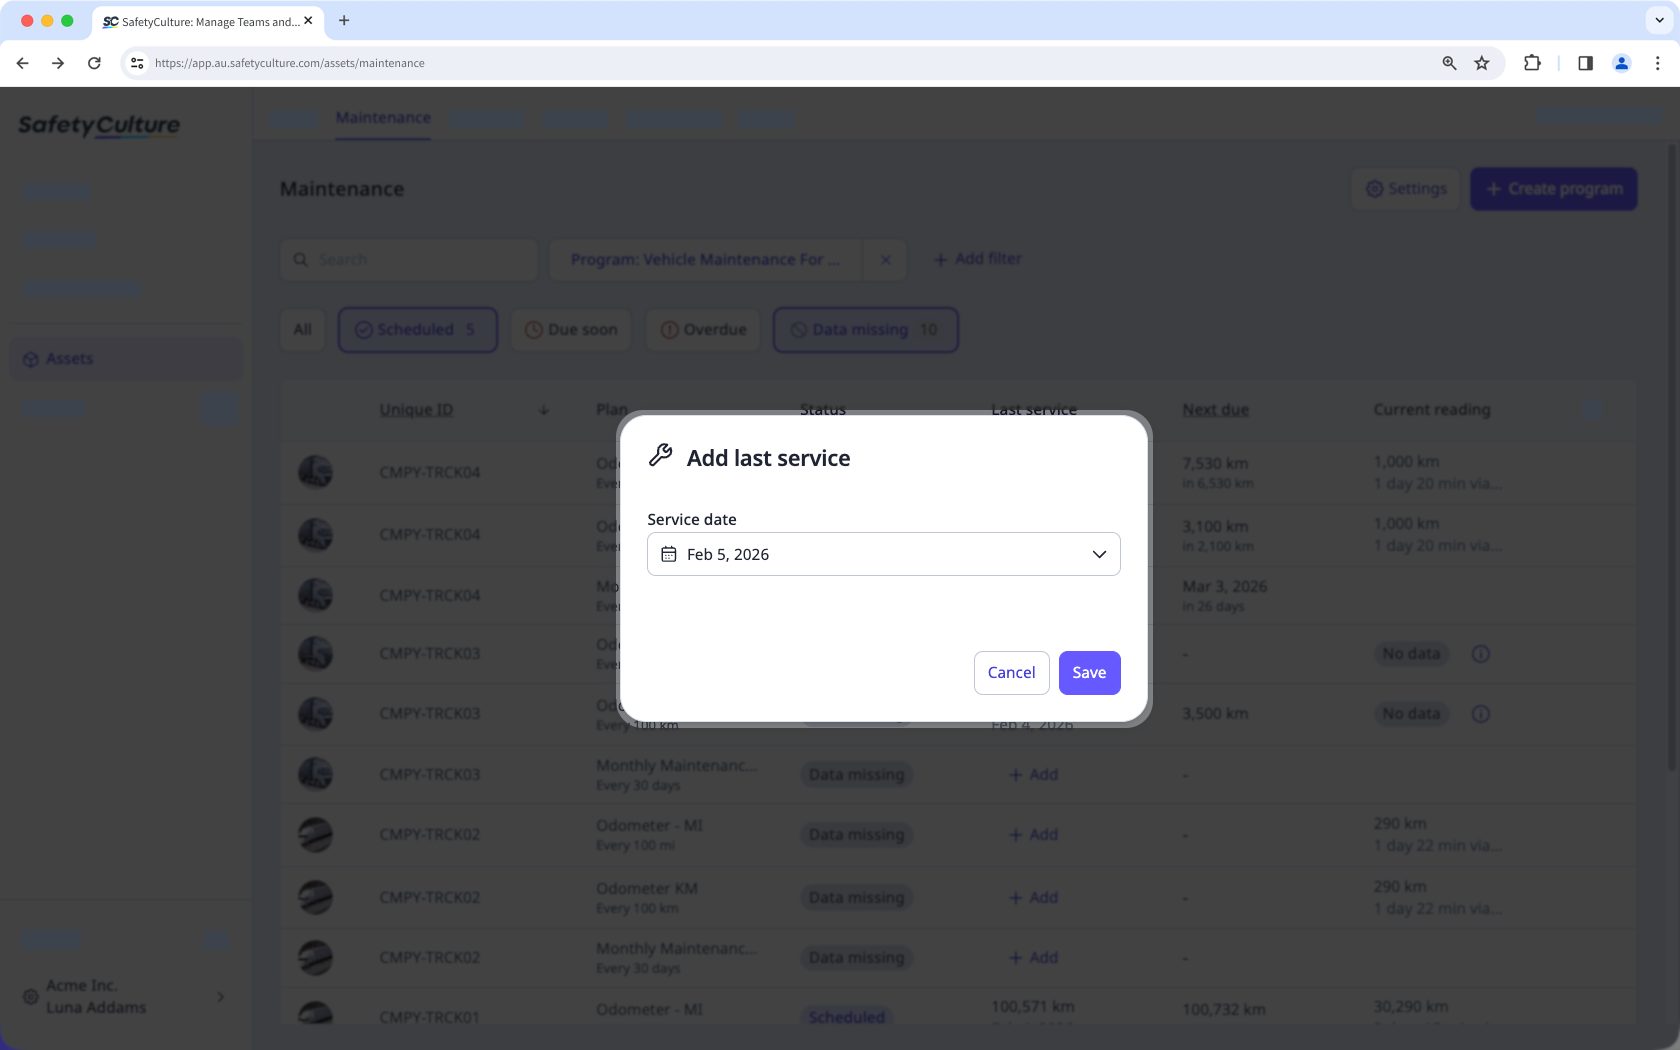
In the pop-up window, enter the odometer or runtime reading from the last service, or date of the last service.
Click Save.
Edit an asset's last service details
Select Assets in the sidebar or select it in More.
Select the Maintenance tab on the top of the page.
Use filters in the maintenance table to select which assets, programs, or sites to view.
Search for the asset you want to edit the last service details of.
Click a plan.
In the side panel, click Update last service.
In the pop-up window, enter the odometer or runtime reading from the last service, or date of the last service.
Click Save.