We recommend you create groups, upload sites, assign permissions, and then add users for the best experience.
This approach would help you visualize your organization's overall structure better, determine how to group your users accordingly, choose areas or projects you can use as sites, and narrow down which permissions are appropriate for everyone.
Site settings
One way to take ownership of your organization, projects, workflows, and even team structure is through site selection and user visibility settings, which you can configure on the web app.
What are site selection settings?
The site selection settings control which sites are available to users when selecting or filtering across SafetyCulture features. This helps ensure users only see the sites that are relevant to their role. Depending on the setting, users will either see all sites in your organization or only the sites they’re a member of when selecting and filtering across features such as Inspections, Actions, Issues, Schedules, Assets, Analytics, and more. This supports better access control by limiting unnecessary access to sites and helps manage site visibility effectively.
Configure site selection settings
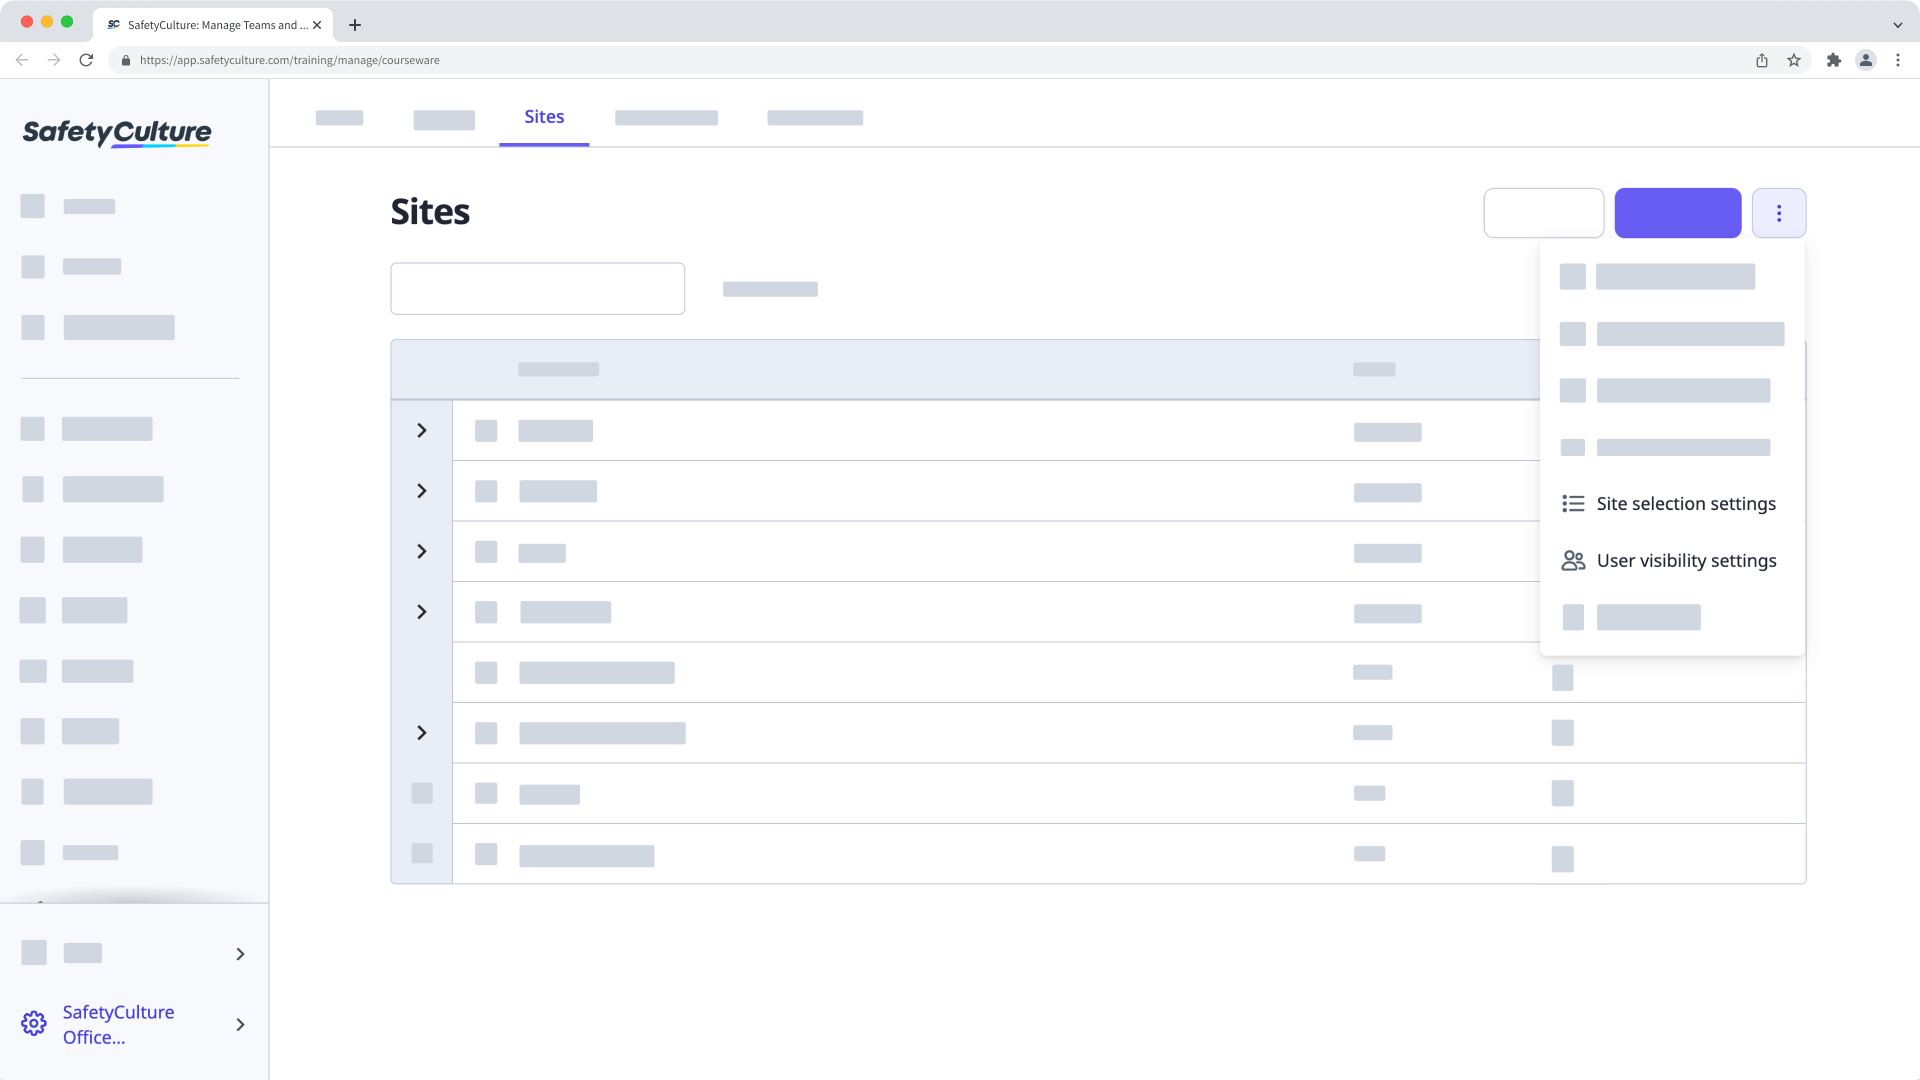
Click your organization name on the lower-left corner of the page and select Sites.
Click on the upper-right of the page and select Sites settings.
In the "Configure site selection settings" section, select one of the following options:
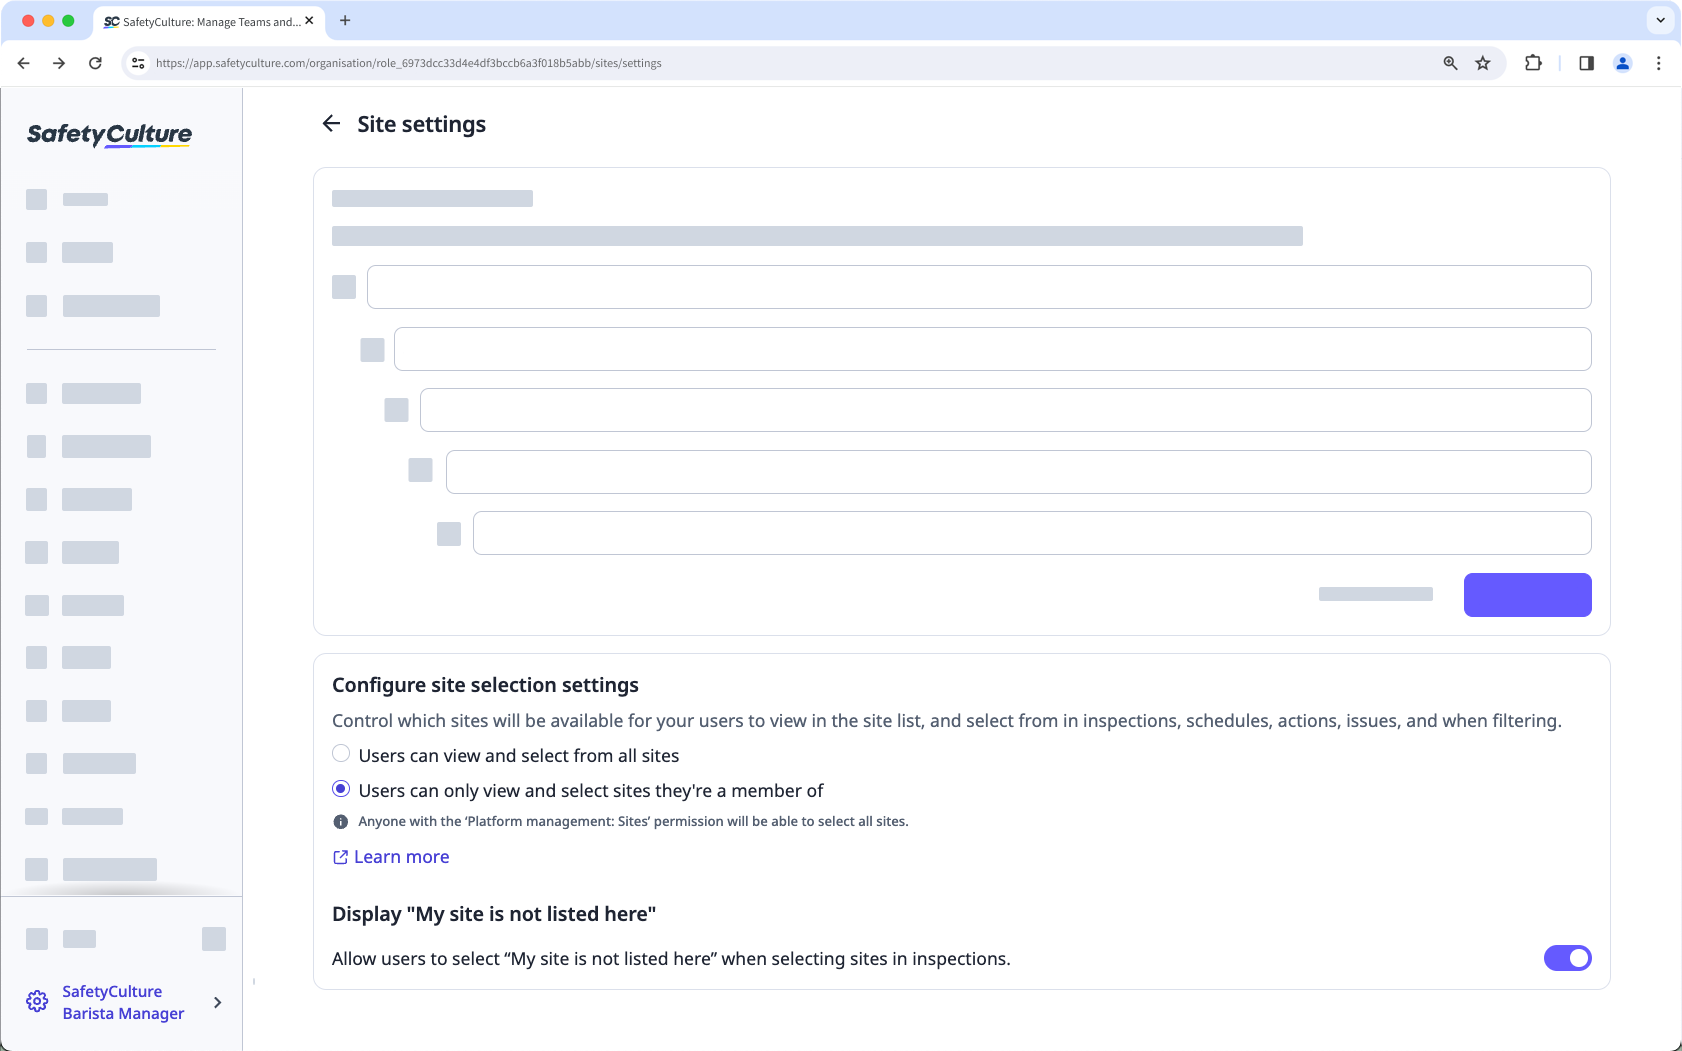
Users can select from all sites: Allow users to see and select from all sites.
Users can only select sites they're a member of: Limit users to only see and select from sites they've been added to. Please note that users who are not members of any sites will only be able to select "My site is not listed here" if you opt to display this.
To allow users to select "My site is not listed here" when selecting sites in inspections, turn Display "My site is not listed here" on.
How do user visibility settings work?
User visibility settings help you simplify collaboration while protecting your team's privacy by limiting which users are visible to each other. You can restrict visibility based on users'site and group memberships, so that your team can only see what's relevant when they're collaborating across the platform.
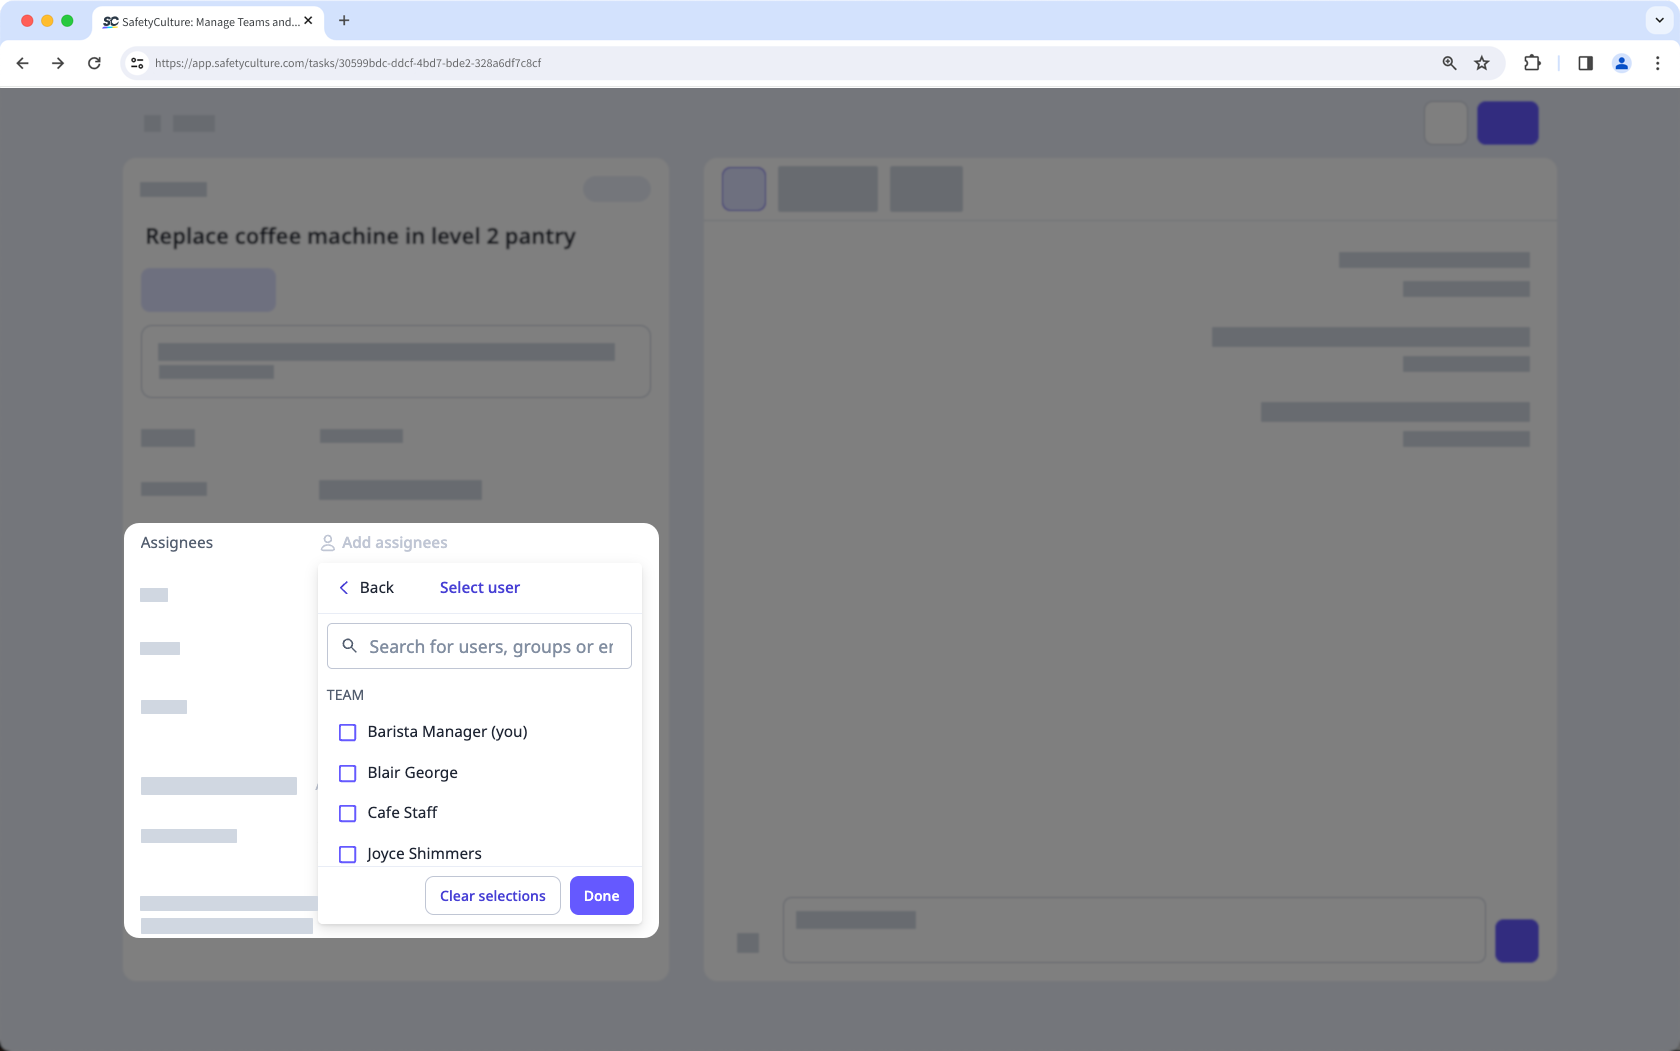
For example, a user assigning actions only sees other users from the same site or groups that they're part of, helping reduce noise and keep things focused.
What you'll need
Configure user visibility settings
Click your organization name on the lower-left corner of the page and select Users.
Click on the upper-right of the page and select
 User visibility settings.
In the pop-up window, choose which setting you want to apply for your organization:
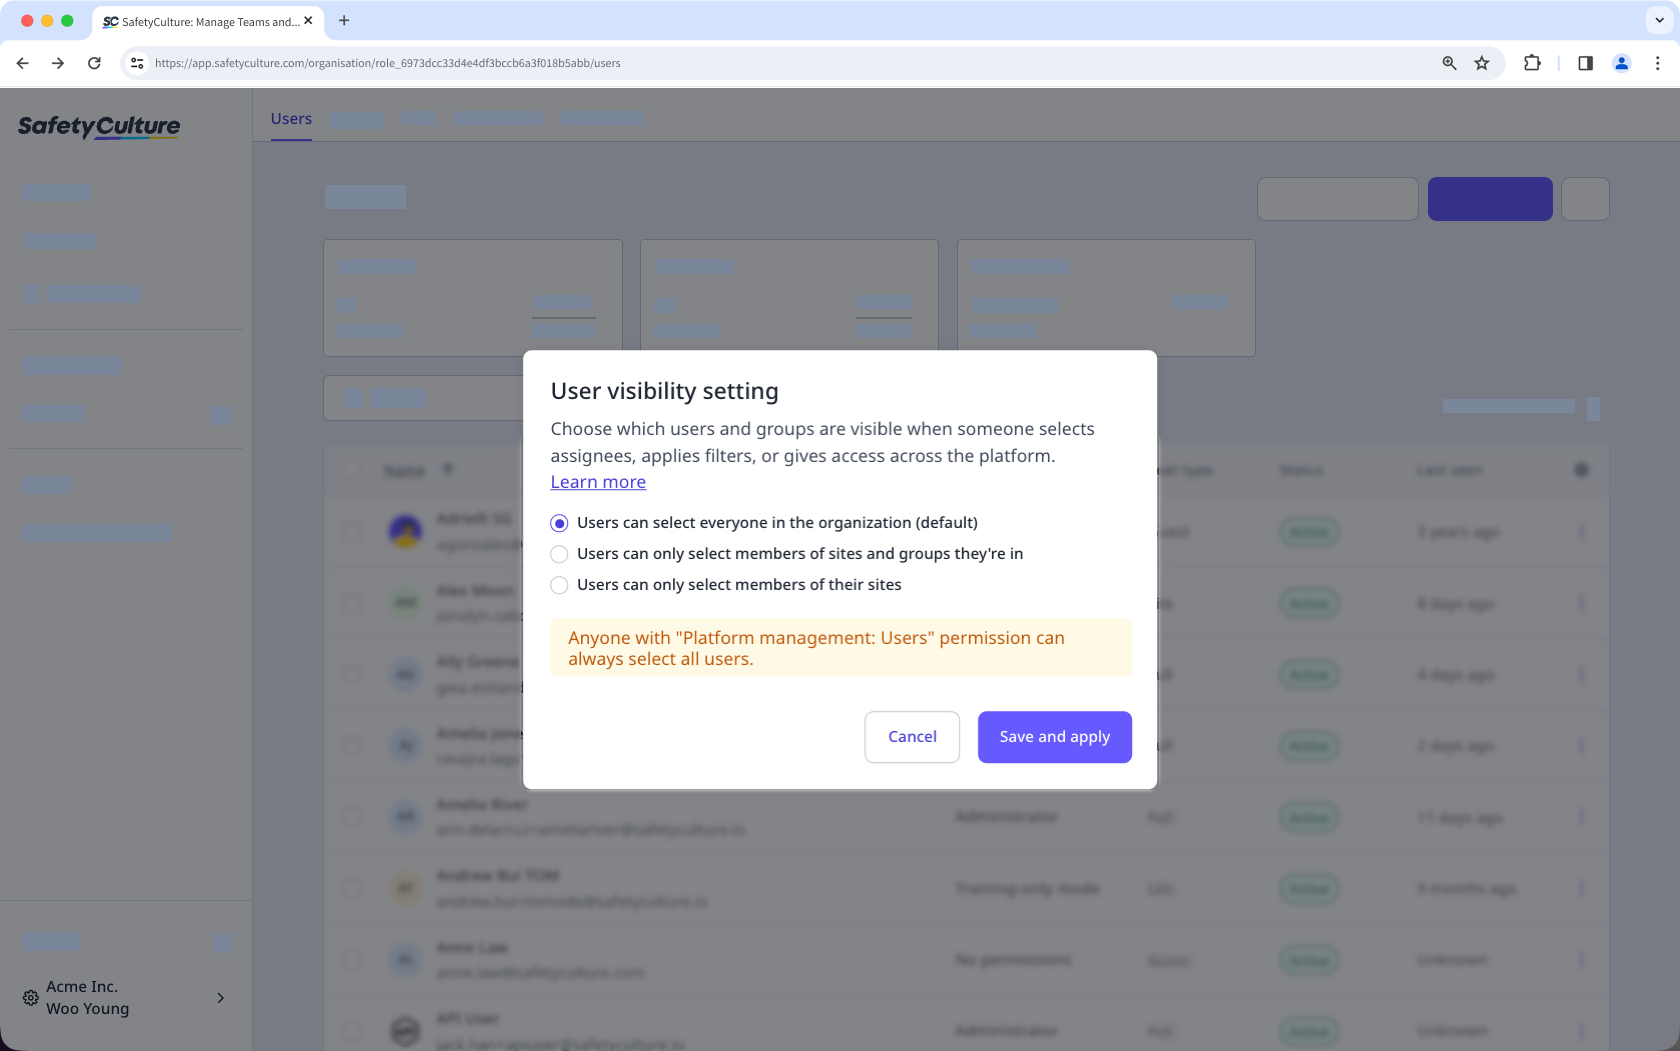
Users can select everyone in the organization: Everyone can view and select all users and groups in the organization.
Users can only select members of sites and groups they're in : Users can view and select members of the same sites, or from a list of groups they're part of.
Users can only select members of their sites : Users can view and select members of the same sites.
Click Save and apply.
← Previous article: Structure your organization (Part 1) | Next article: Manage your users (Part 1) →