- Administration
- Credentials
- Manage your credentials
Manage your credentials
Learn how to manage your credentials via the web app and the mobile app.What are credentials?
The Credentials feature in SafetyCulture simplifies and streamlines the management of your workforce's qualifications. Whether it's certifications or external qualifications, like driver's licenses and first aid courses, our platform offers a single, organized repository for them all.
You can manage your own credentials or those of your workforce by categorizing them into different credential types. You can add new versions of credentials that are about to expire, view their approval status, and review their history. You can also track each version's activity, which logs the changes made on the issue date, expiration date, and media attachments.
Pairing with Training in SafetyCulture, Credentials ensures your teams have complete compliance. For example, a forklift operator can take a site induction course and have a forklift license as a credential for seamless on-site operations.
What you'll need
If you have "Platform management: Credentials" permission, you can also manage another user's credentials in your organization.
Add a credential
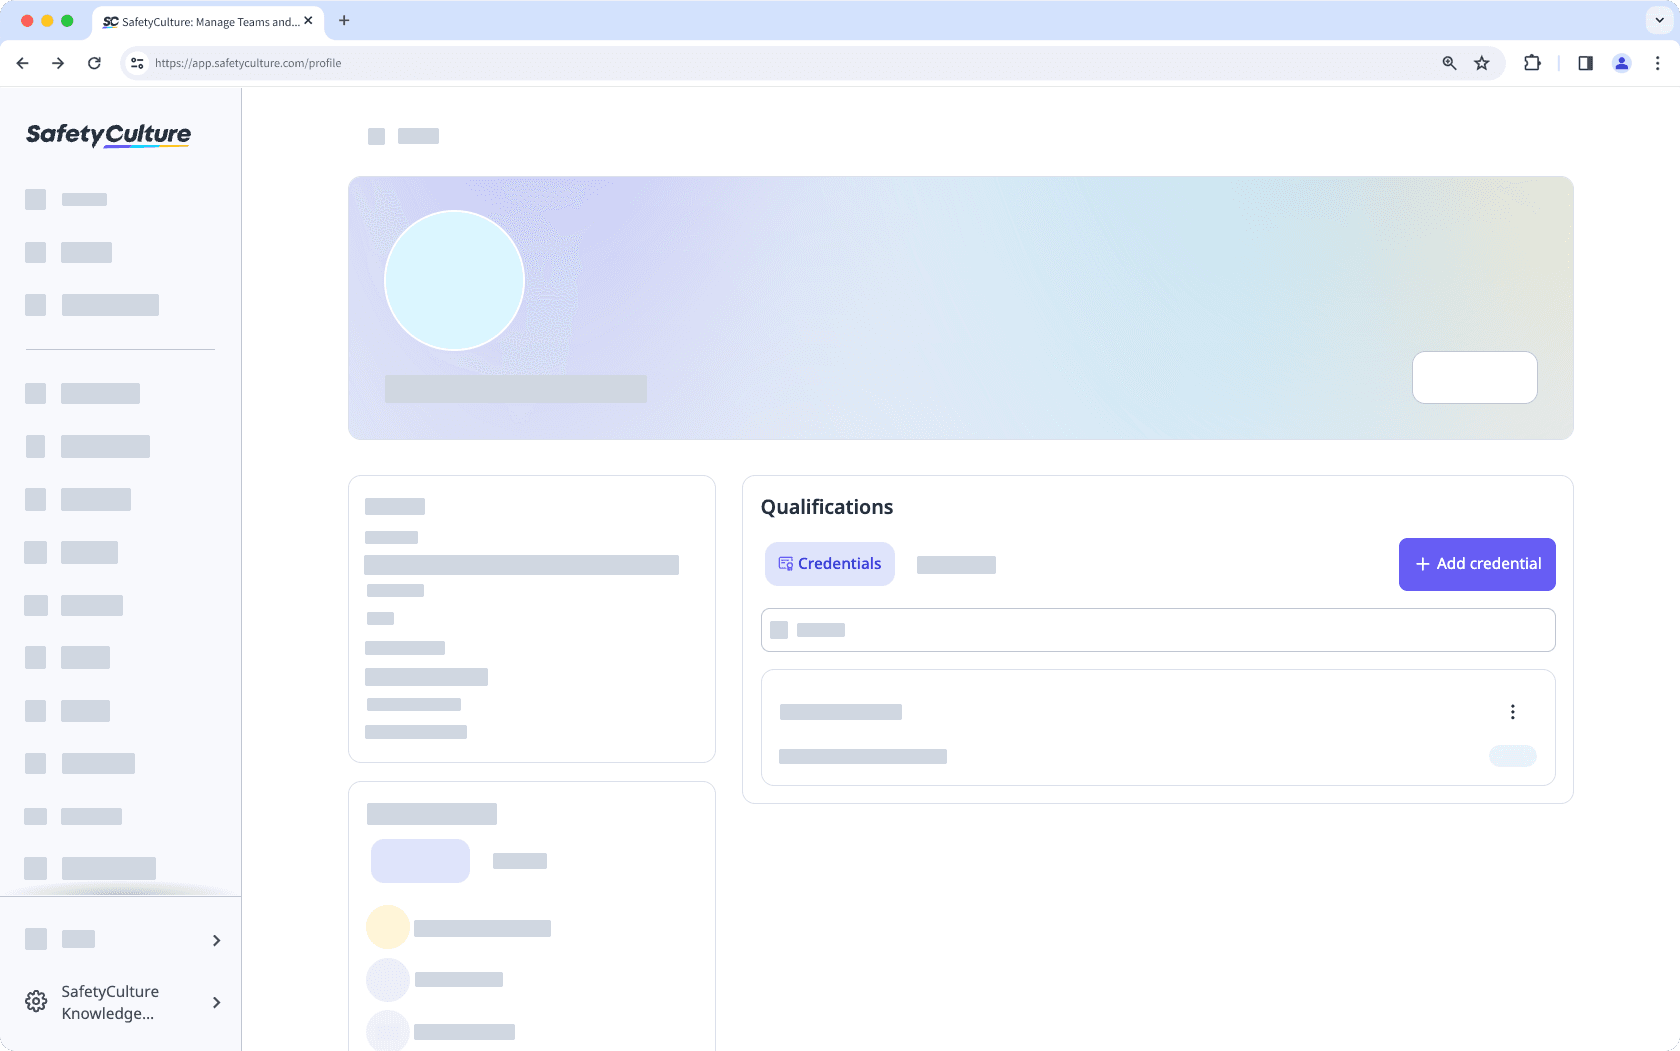
Click your username on the lower-left corner of the page and select My Profile.
Click
 Add credential on the right-hand side of the page.
Upload photos or PDF files of your credential.
Enter the following required credential details:
Credential type: The type of a credential. For example, "Driver's license".
Issue date: The issue date of a credential.
Expiration date: The expiration date of a credential.
Click Save.
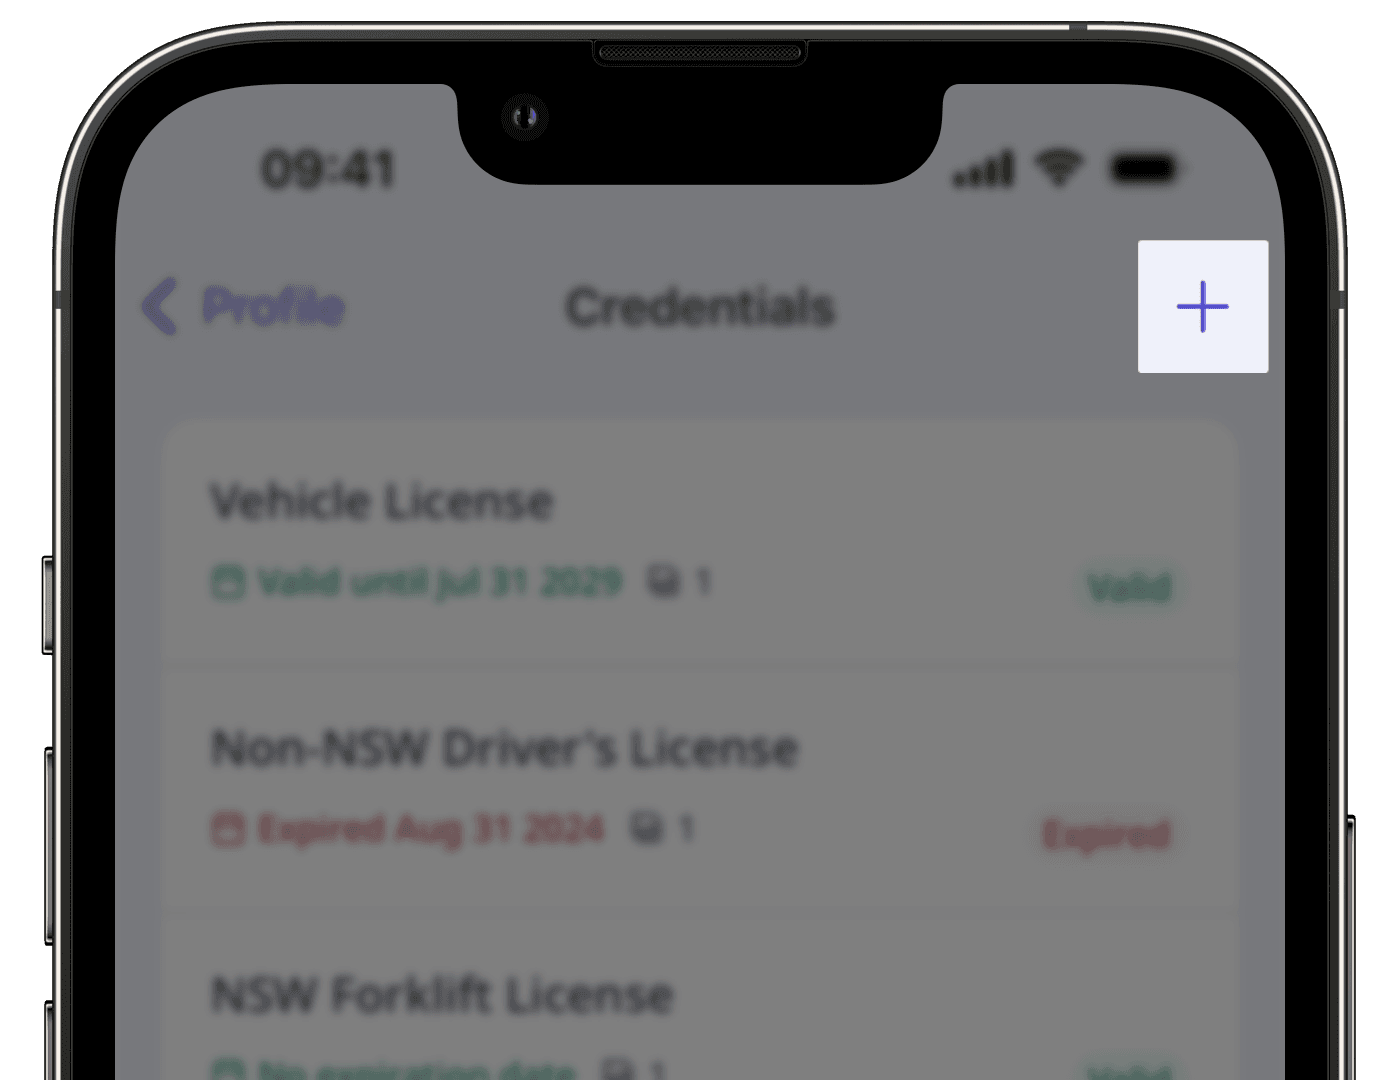
Open the mobile app.
Tap
 Home at the bottom of your screen.
Tap your user profile icon at the upper-right corner of your screen.
In the bottom pop-up, tap
 My profile and select
  Credentials.
Tap
at the upper-right of your screen.
Upload photos or PDF files of your credential.
Enter the following required credential details:
Credential type: The type of a credential. For example, "Driver's license".
Issue date: The issue date of a credential.
Expiration date: The expiration date of a credential.
Tap Save at the upper-right corner of your screen.
Edit a credential
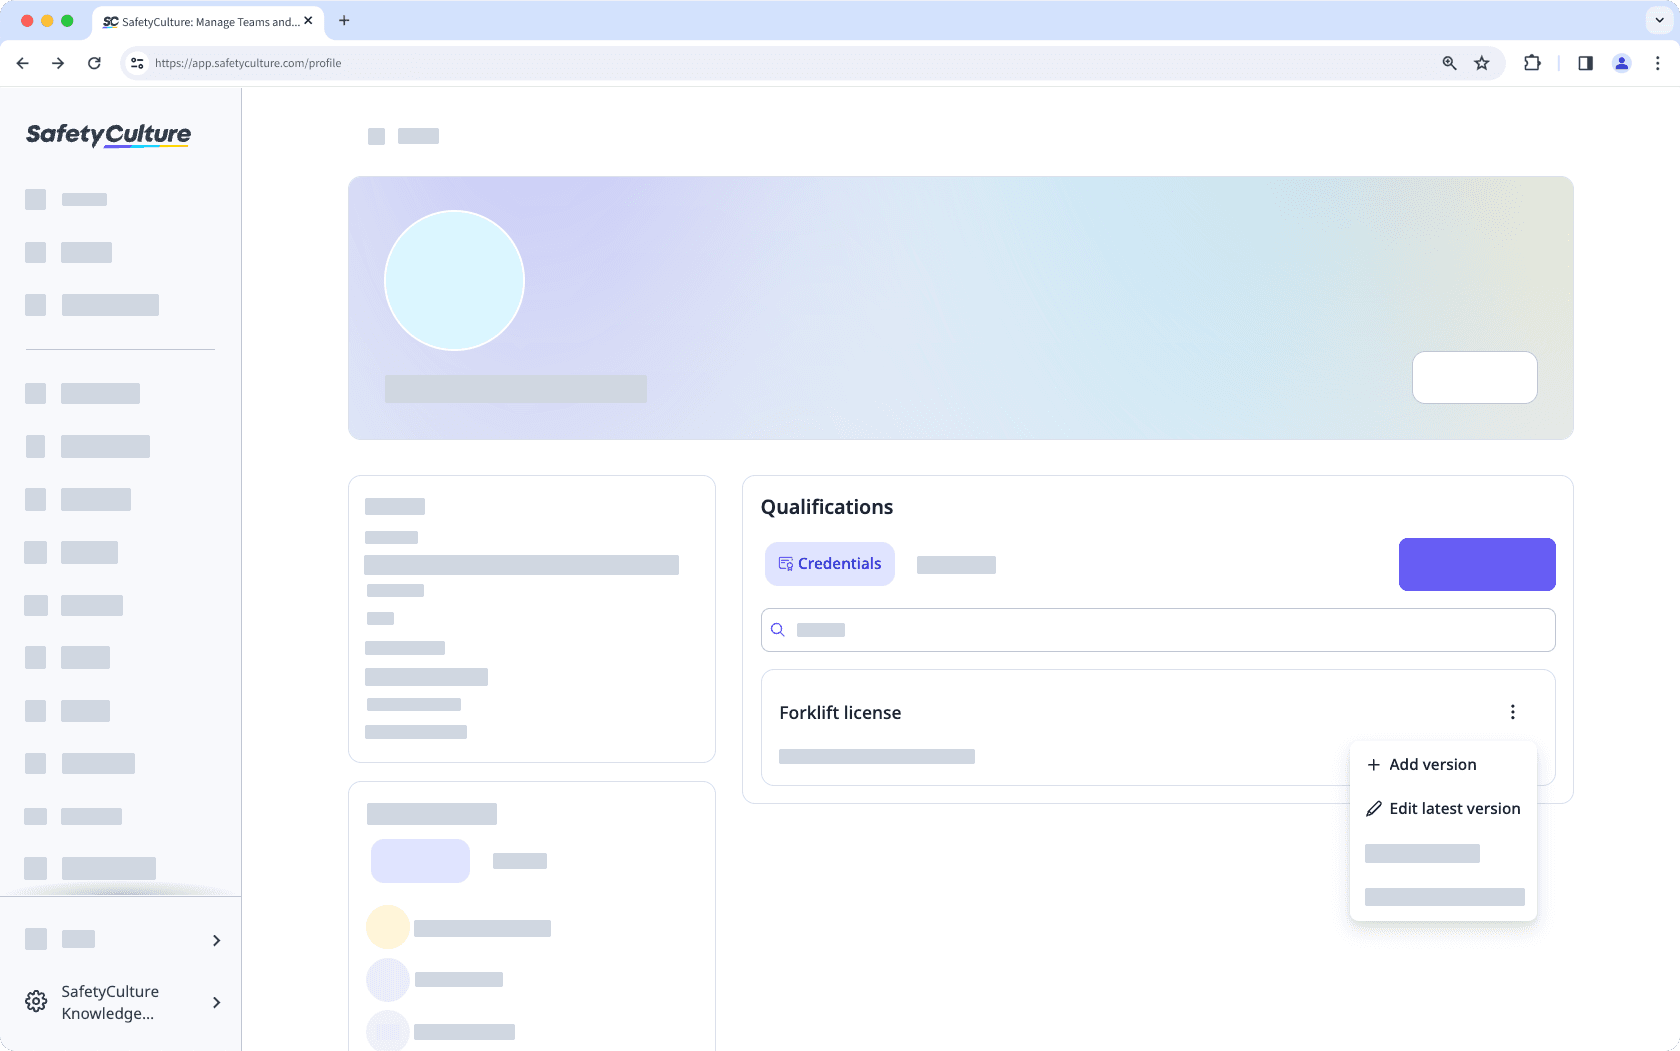
Click your username on the lower-left corner of the page and select My Profile.
Click
 on the credential's right-hand side.
Select
Add version or  Edit latest version to create a new credential version or update an existing one.
Update the credential accordingly.
Click Save.
Open the mobile app.
Tap
Home at the bottom of your screen.Tap your user profile icon at the upper-right corner of your screen.
In the bottom pop-up, tap
My profile and selectCredentials.Select a credential.
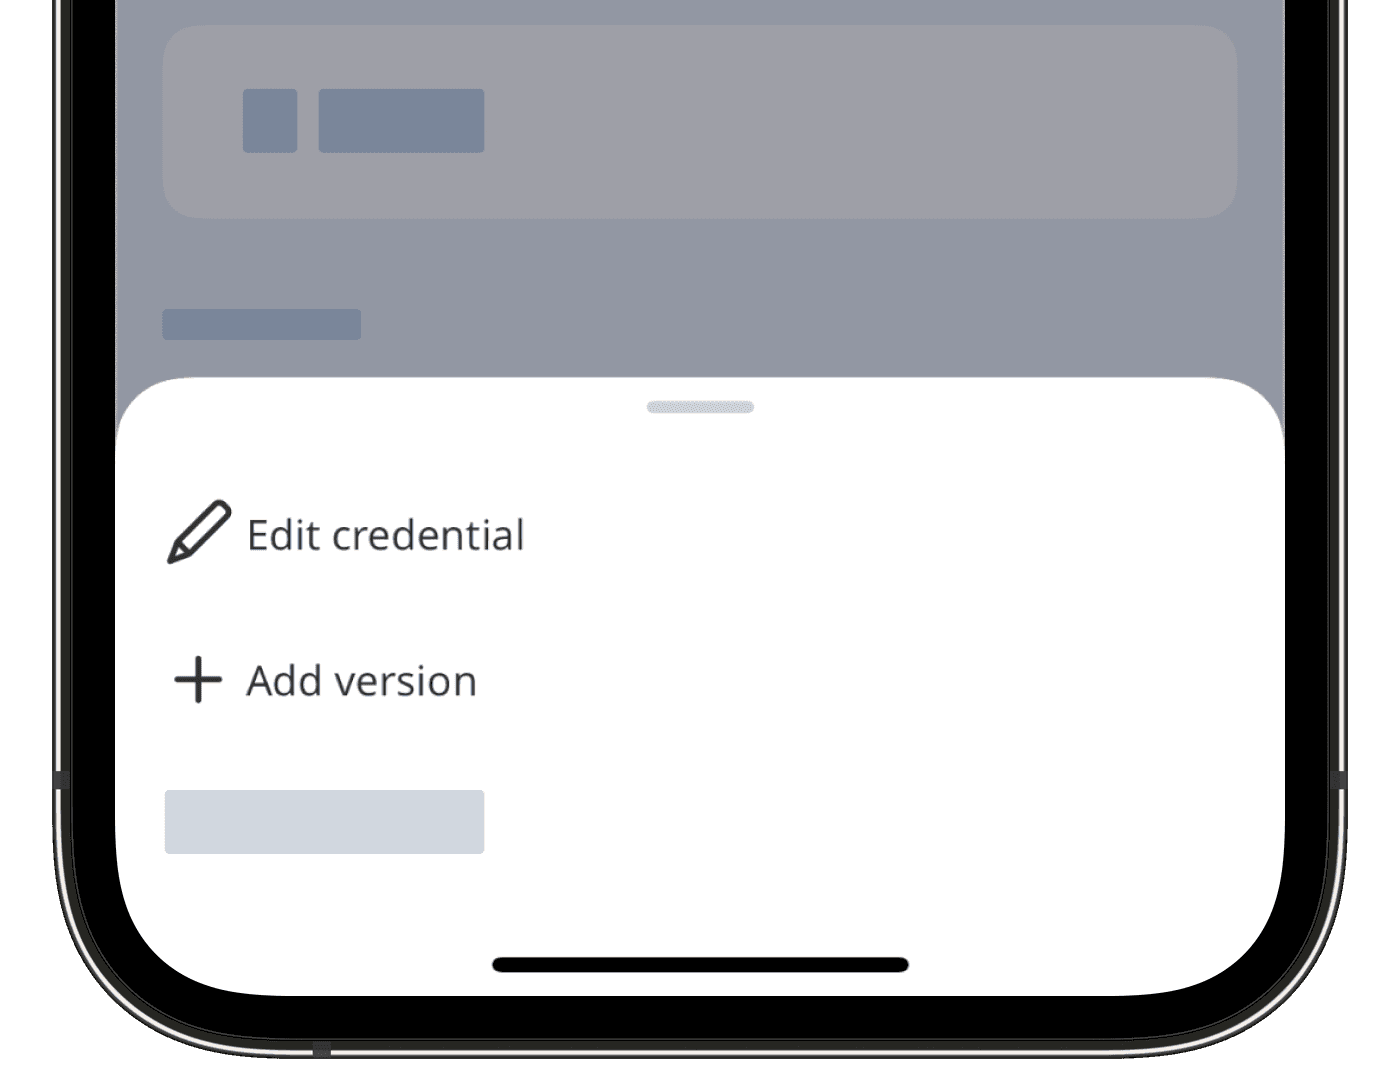
Tap
at the upper-right of your screen. Select
 Edit credential or Add version to update an existing credential or create a new credential version.
Update the credential accordingly.
Tap Save at the upper-right corner of your screen.
View a credential's history
Click your username on the lower-left corner of the page and select My Profile.
Click
on the credential's right-hand side, and select  View history.
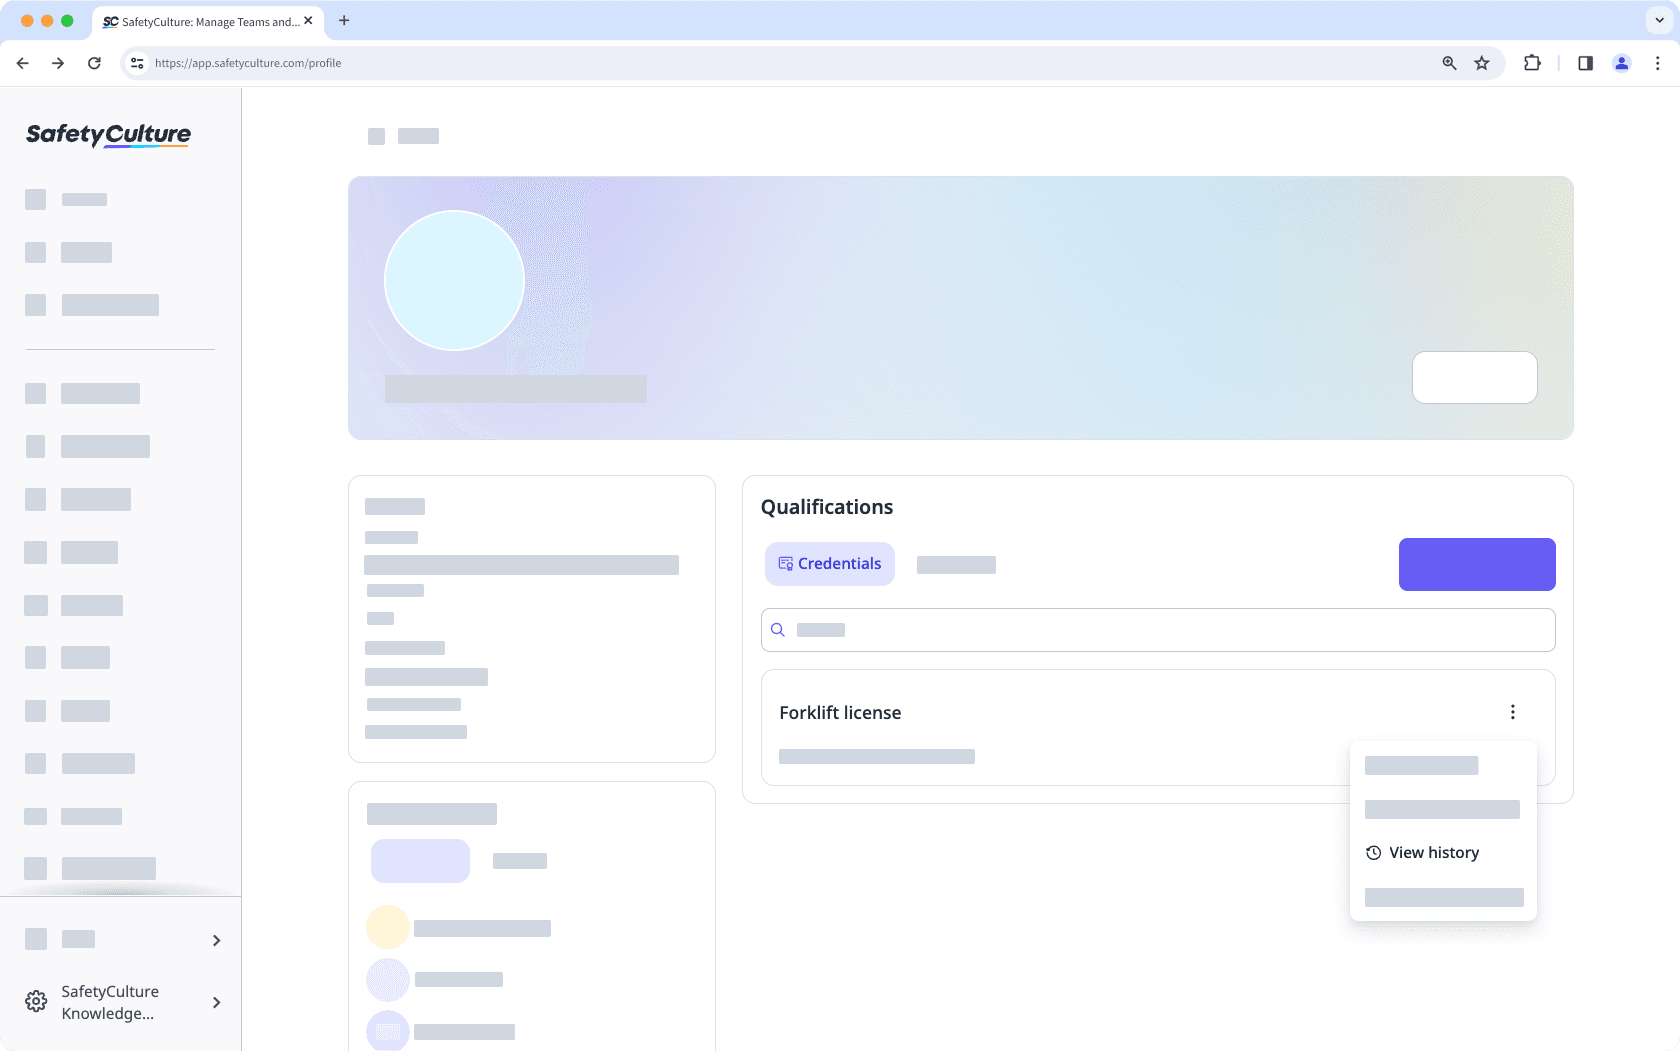
On this page, you can view all versions of the credential and select any of the versions to view more details.
Open the mobile app.
Tap
Home at the bottom of your screen.Tap your user profile icon at the upper-right corner of your screen.
In the bottom pop-up, tap and select
Credentials.Select a credential.
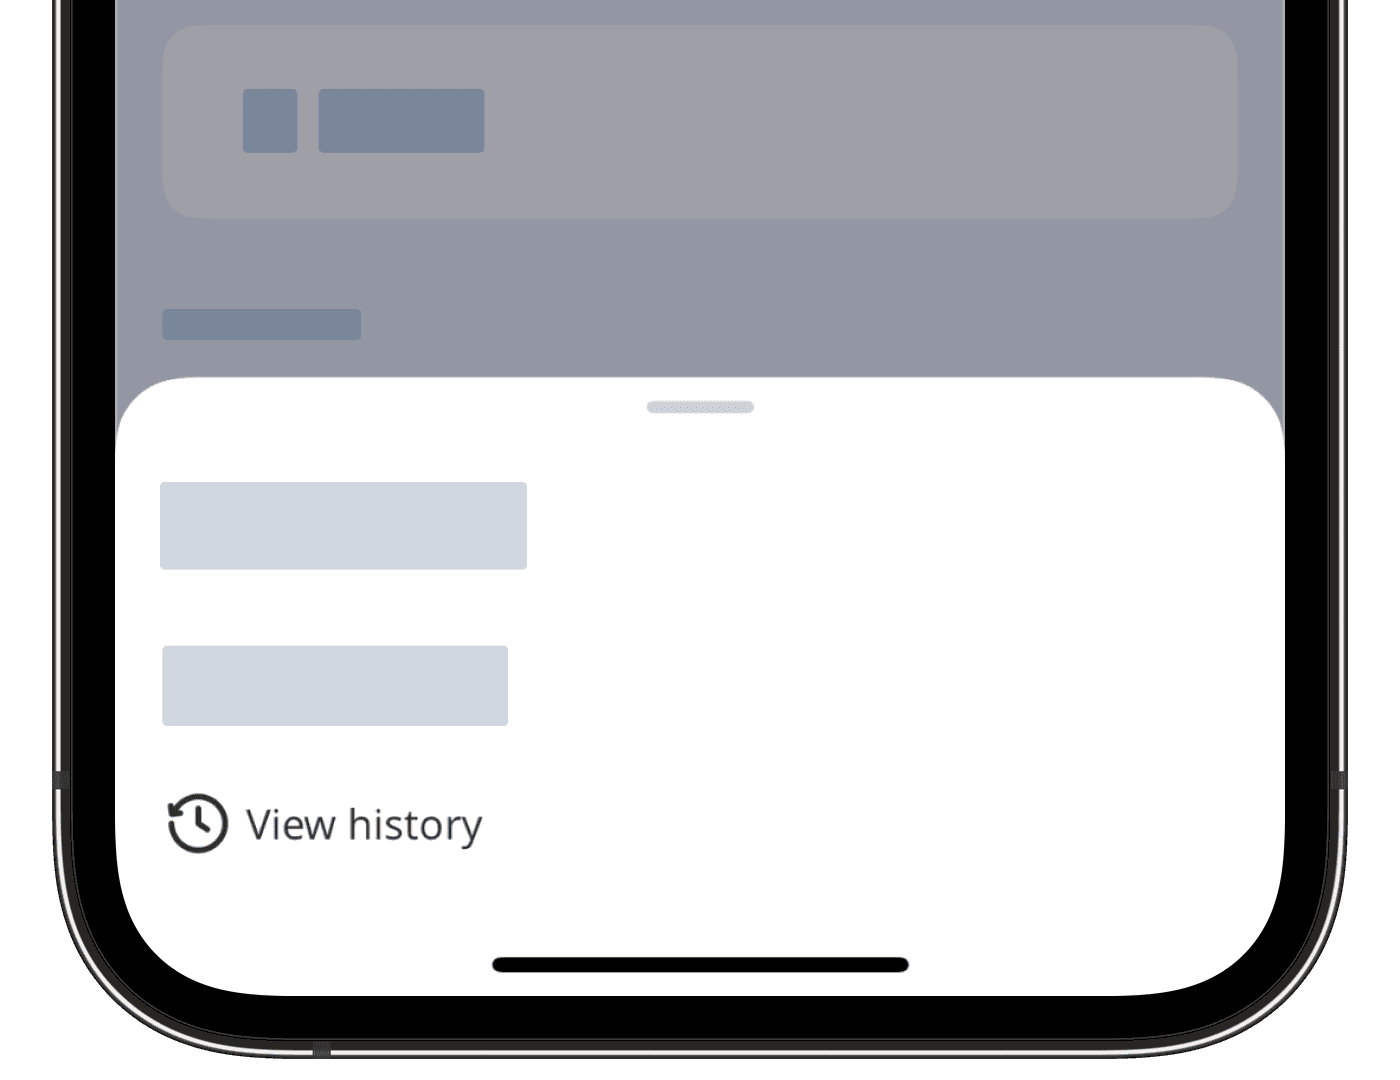
Tap
at the upper-right of your screen and tap View history
On this screen, you can view all versions of the credential and select any of the versions to view more details.
View a credential version’s activity
Click your username on the lower-left corner of the page and select My Profile.
Select a credential.
Click Activity from the tab on the left-hand side of the page.
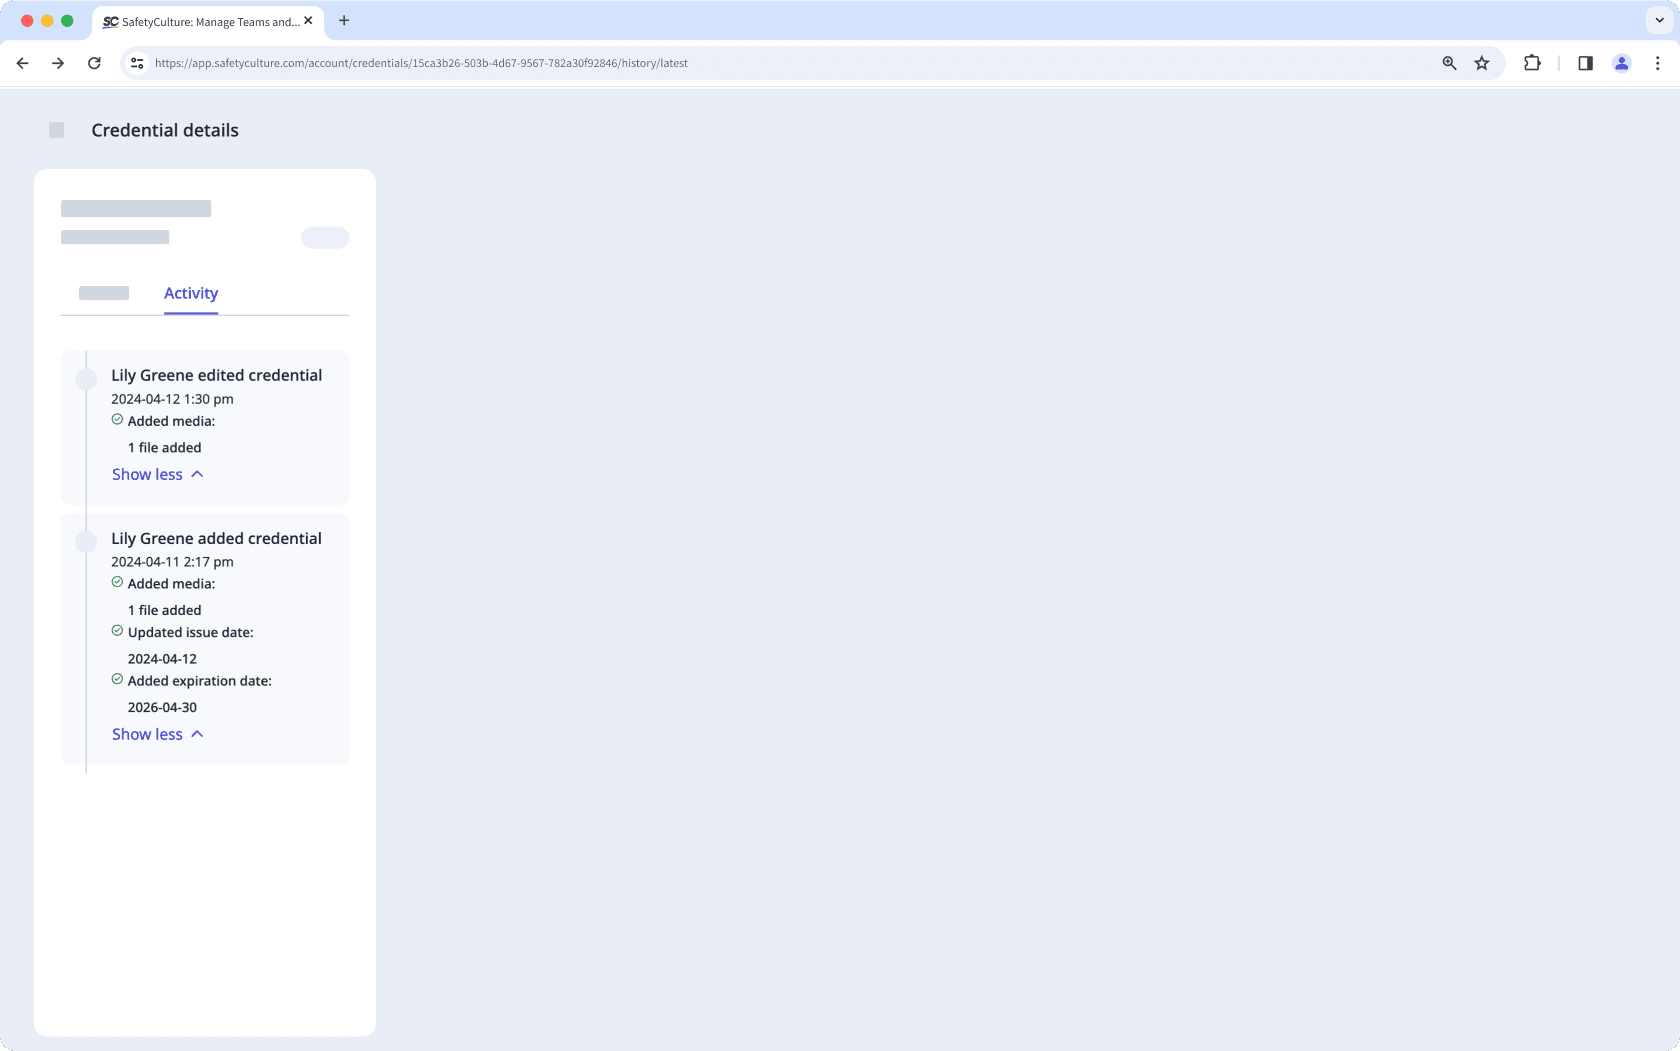
In this tab, you can view changes made to the following fields of the user’s credential over time:
Issue date
Expiration date
Media files
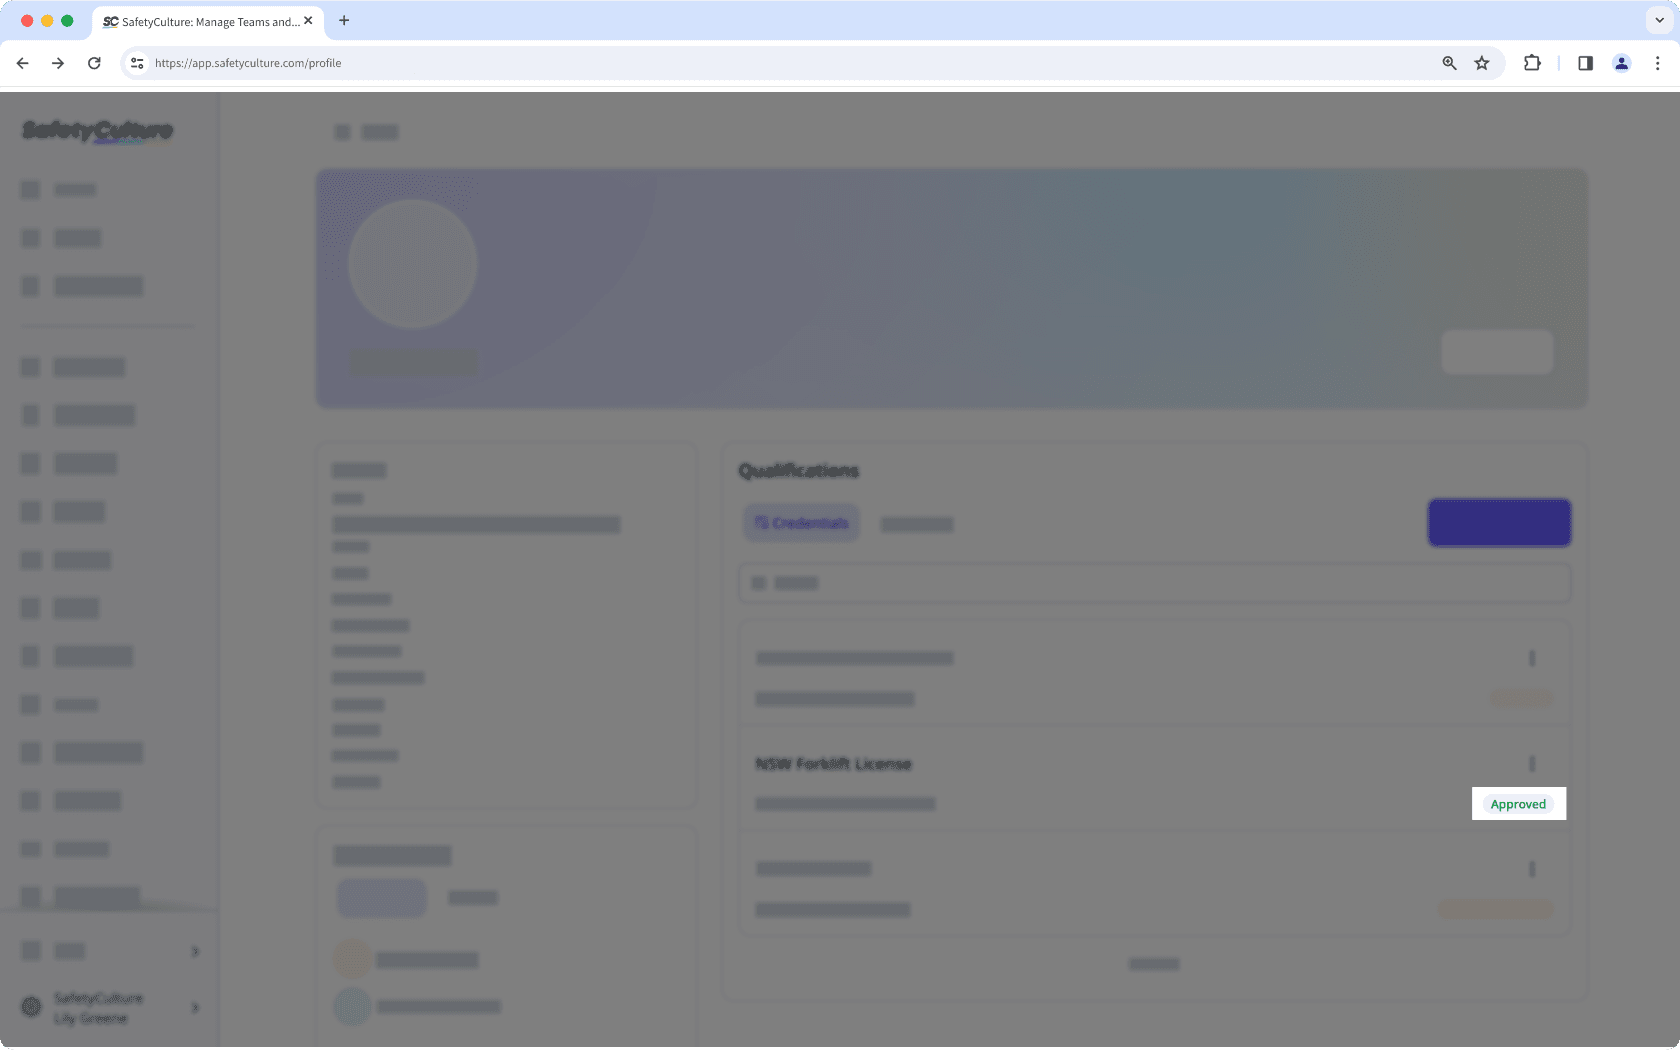
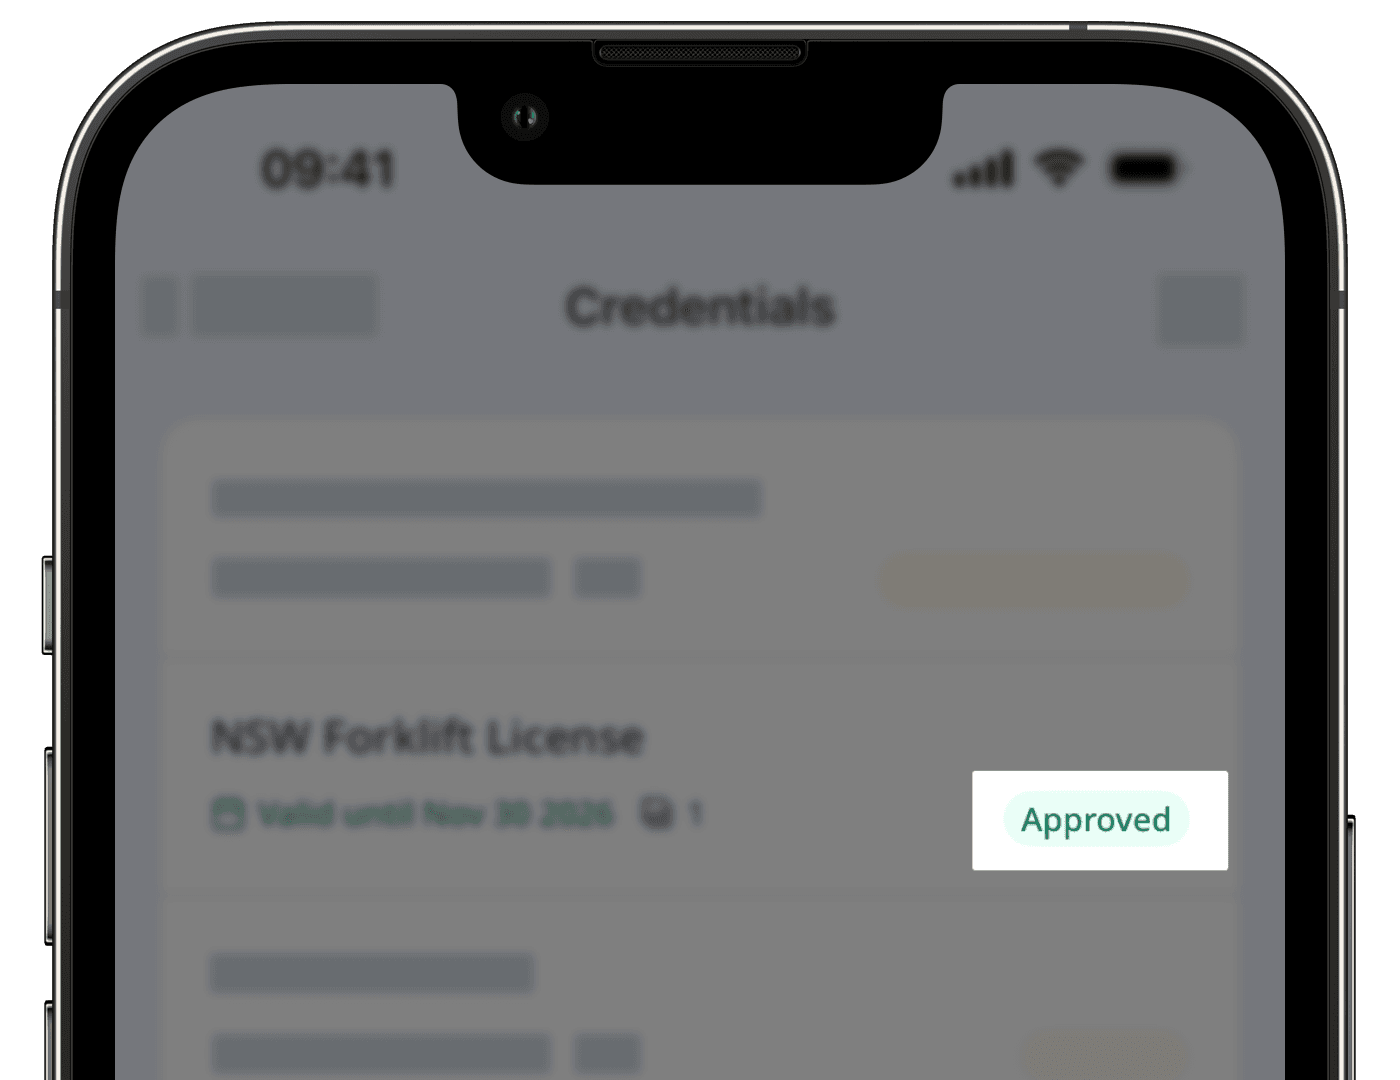
View a credential’s approval status
Click your username on the lower-left corner of the page and select My Profile.
Select or search for the credential you want to view.
View the approval status on the lower-right of the credential.
Open the mobile app.
Tap
Home at the bottom of your screen.Tap your user profile icon at the upper-right corner of your screen.
In the bottom pop-up, tap and select
Credentials.On this screen, you can view the list of your credentials.
View the approval status on the lower-right of the credential.
You need to have "Platform management: Credentials" permission to delete credentials you’ve created and their associated media.
Was this page helpful?
Thank you for letting us know.