What are weather data feeds?
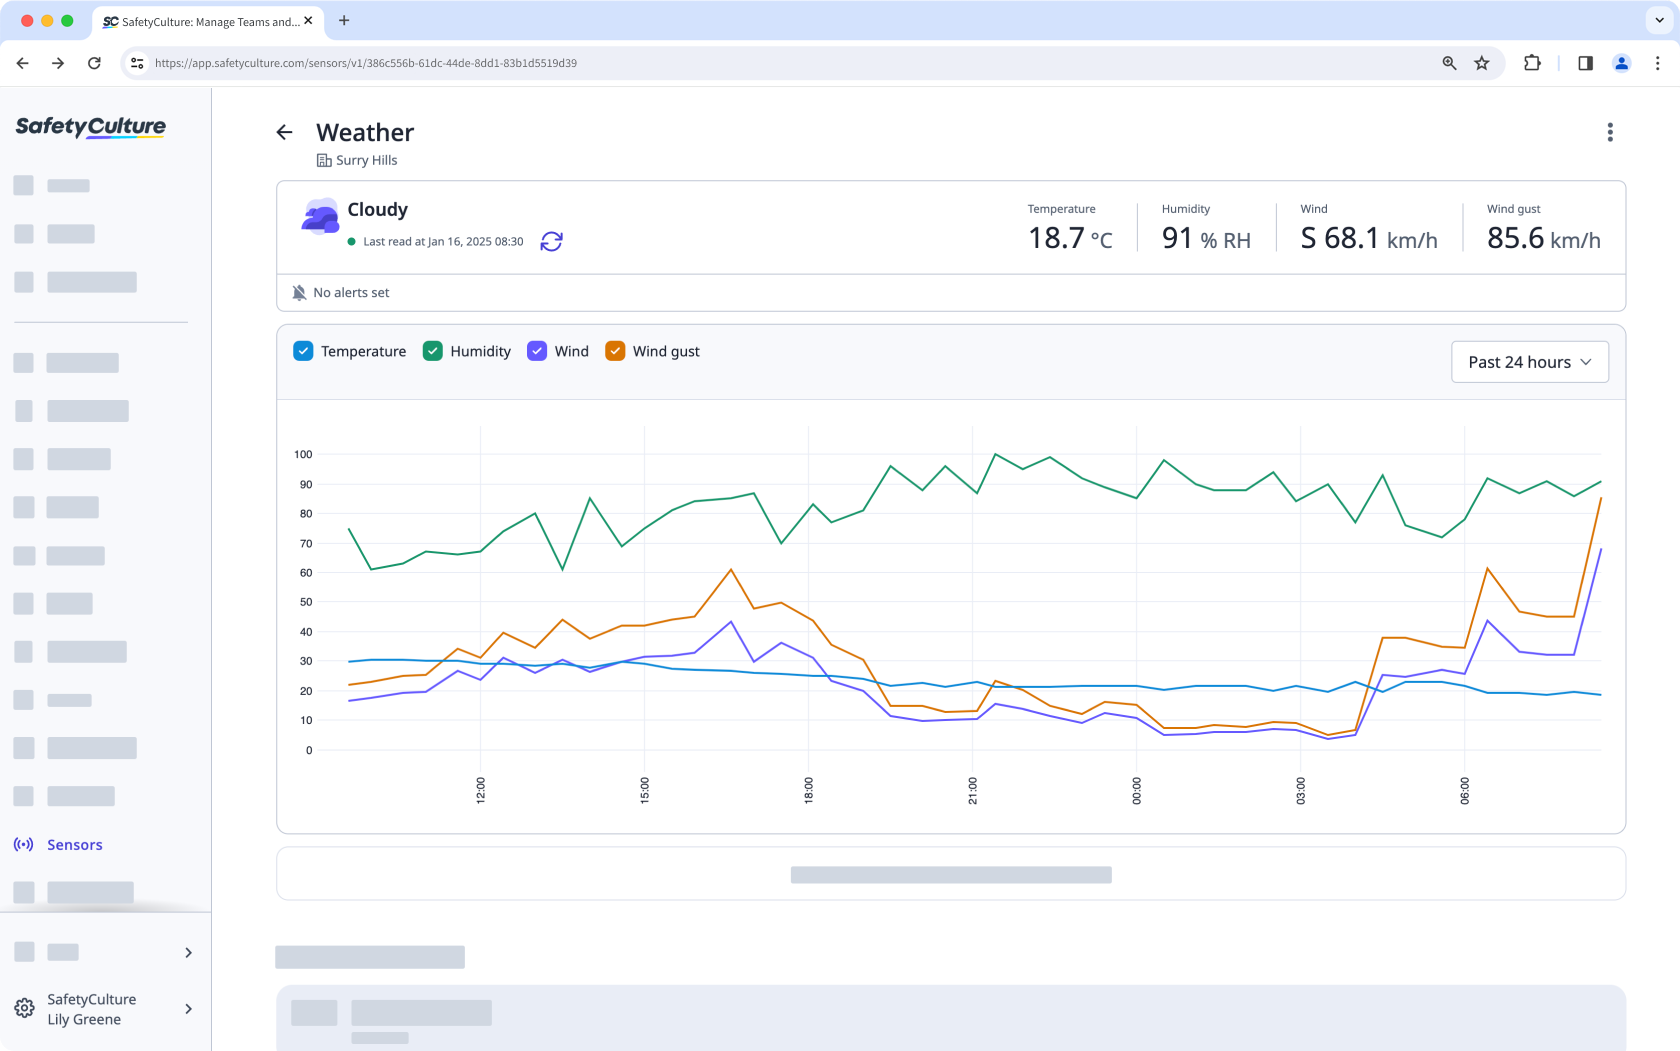
Weather data feeds are used to capture environmental conditions of work areas. This can be helpful if an inspection is required or if tasks aren't safe to perform due to certain weather conditions. With SafetyCulture, you can add temperature, humidity, as well as wind speed and gust readings to your organization. With these data feeds, you can access historical logs of weather conditions and set them up to alert team members when conditions go outside of acceptable ranges.
Currently, we support temperature, humidity, as well as wind speed and gust readings as part of weather data feeds. If there's a type of data feed that you want to see, please let us know by providing your feedback.
Add a weather data feed
Select Sensors in the sidebar or select it in More.
Click Add sensor or weather on the upper-right corner of the page.
Select Weather under "Weather Monitoring".
Search for the location you want to monitor.
Click Next.
Create a new or select an existing location name. We recommend that you name the location after the asset or area you want to monitor.
Click Add. If you selected a location that already has a weather location data feed, a message would prompt you to select a different location or create a new location to continue.
It may take a few seconds to add the weather data feed, during which you can click Skip this step to return to the Sensors dashboard.
Once the weather is successfully added, click Done to return to the Sensors dashboard or click Add another location to add another weather data feed.
You can make use of data feeds by setting up alerts when readings go outside your defined range.
Once a weather feed is archived, you cannot restore it. If you need access to the data later, consider exporting it before archiving.
Archive a weather data feed
Select Sensors in the sidebar or select it in More.
Click on the upper-right of the weather data feed you want to archive.
Select
 Archive weather.
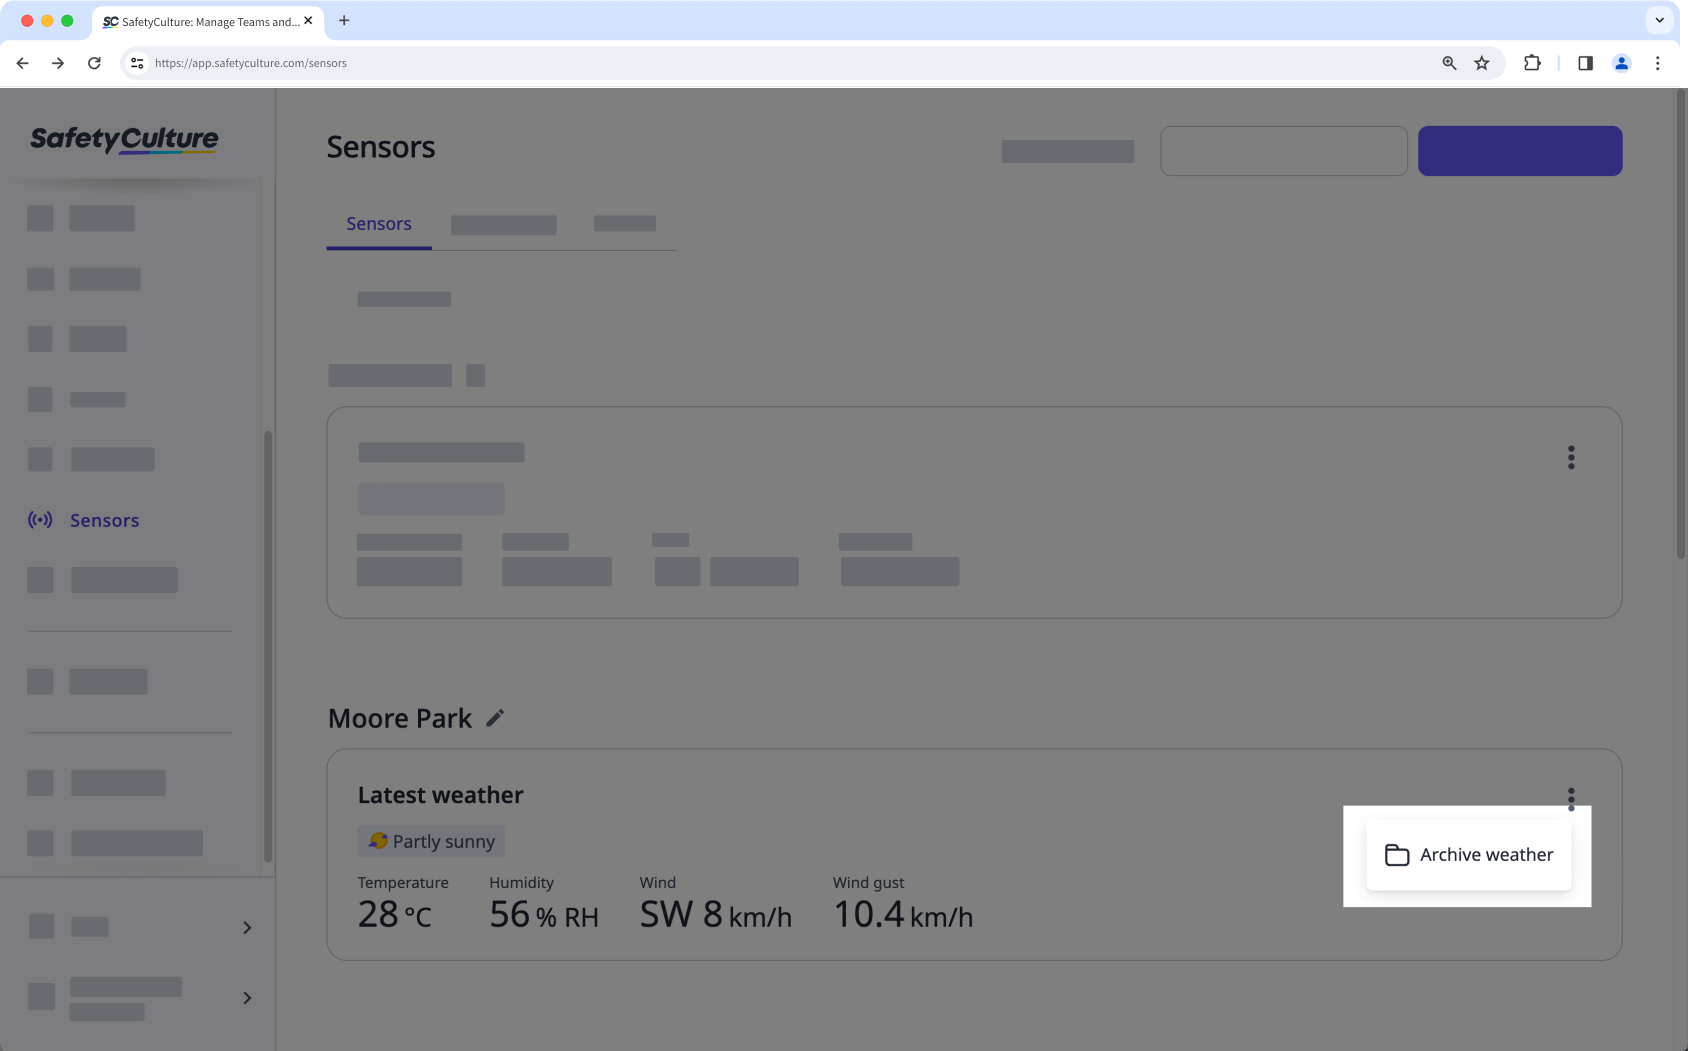
In the pop-up window, click Continue. You can view the archived weather data feed in Archive from the tab at the top of the page.