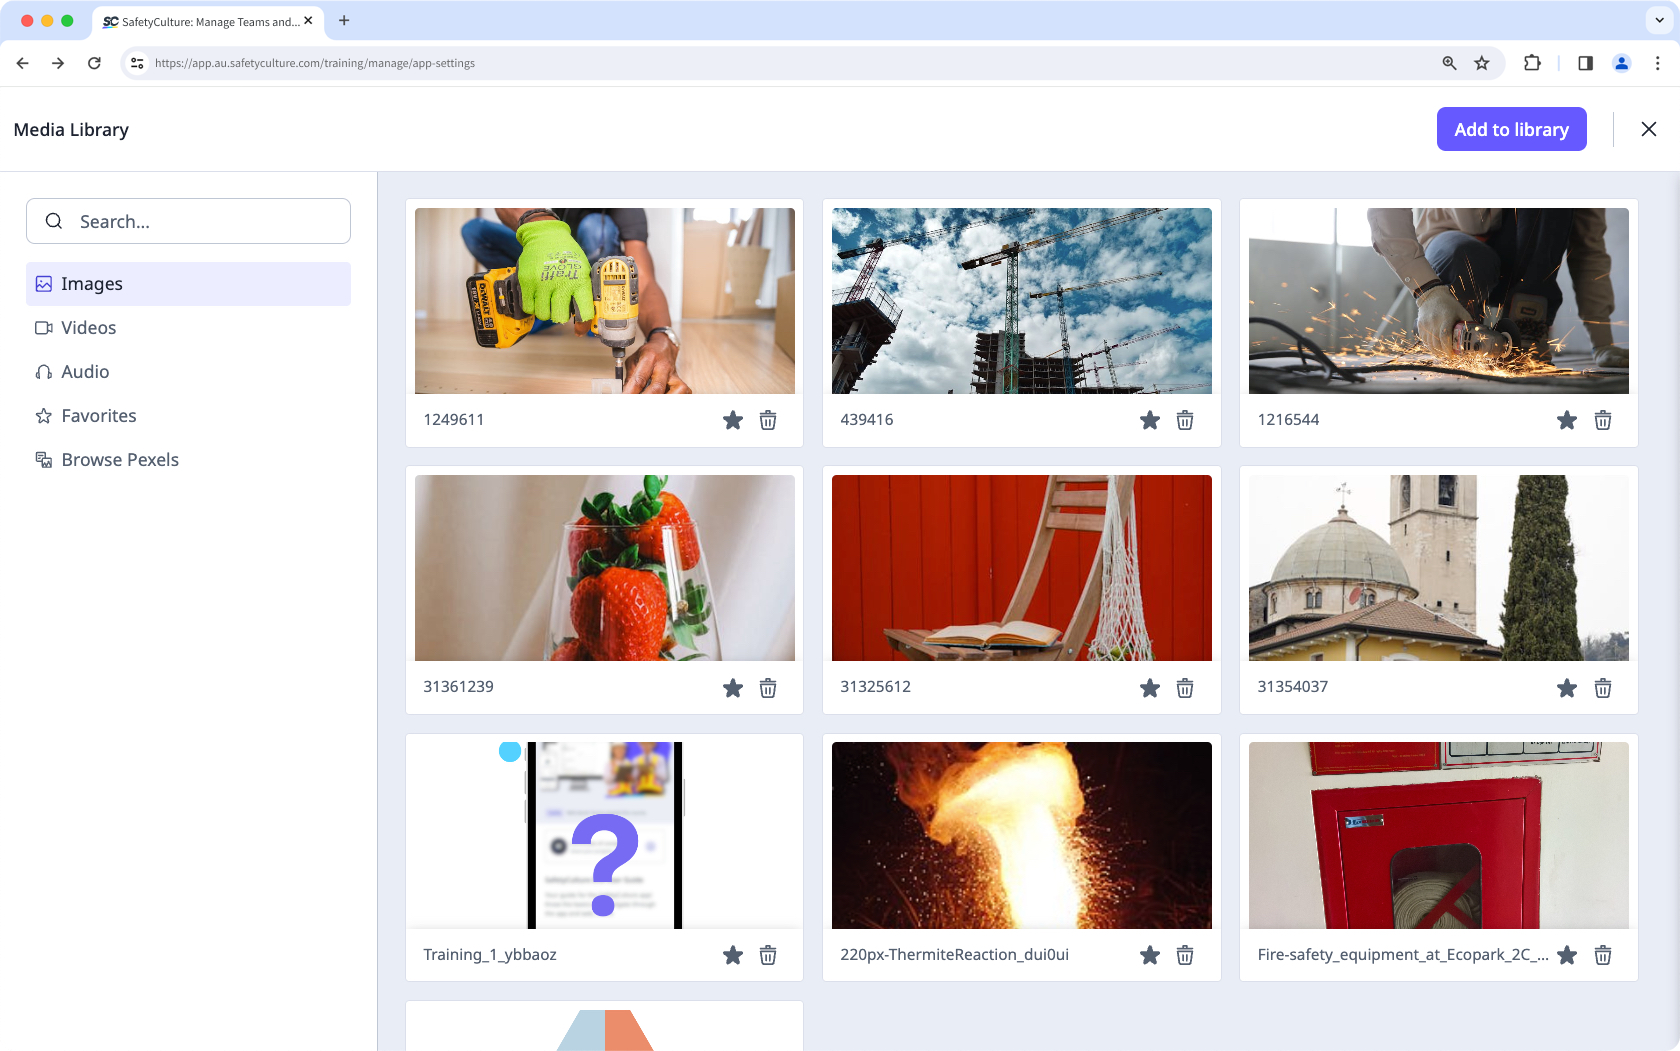
Was ist die Medienbibliothek in Schulungen?
Die Medienbibliothek ist ein zentraler Ort für die Verwaltung all Ihrer Medien, einschließlich Bildern, Audiodateien und Videos, die in Lektionen, Quizzen und benutzerdefiniertem Markendesign verwendet werden. Alle hochgeladenen Medien werden hier automatisch gespeichert, was den Zugriff und die Wiederverwendung in Ihren Schulungsinhalten erleichtert. Sie können auch nach kostenlosen Bildern von Pexels suchen und sie direkt zu Ihrer Medienbibliothek hinzufügen.
Sie vereinfacht die Erstellung von Inhalten, indem sie alle Ihre Medien organisiert und leicht verfügbar hält. Anstatt dieselben Medien mehrmals hochzuladen, können Sie vorhandene Medien schnell auswählen und einfügen und so die Konsistenz Ihrer Schulungsmaterialien gewährleisten. Außerdem wird die Verwaltung und Aktualisierung von Medien effizienter, wenn alles an einem Ort gespeichert ist.
Was Sie brauchen
Wenn Sie über Berechtigung "Schulungen: Kurse erstellen (beschränkt)" verfügen, können Sie Medien zur Medienbibliothek hinzufügen, wenn Sie Bilder, Videos oder Voiceover direkt zu einer Lektion hochladen.
Medien hinzufügen
Select Schulungen in the sidebar or select it in Mehr.
Click Einstellungen on the upper-right corner of the page.
In the "Media Library" section, click Zugriff auf Medienbibliothek.
Select a media type on the left-hand side of the page:
Bilder: Upload GIF, JPEG (JPG), and PNG files up to 40MB.
Video: Upload MP4 and MOV files up to 250MB.
Audio: Upload MP3 files up to 40MB.
Pexels durchsuchen: Search for a photo, hover over it, and click Zur Bibliothek hinzufügen.
Click Zur Bibliothek hinzufügen on the upper-right of the page.
Upload your media accordingly.
Ein Medium bearbeiten
Wählen Sie Schulungen in der Seitenleiste oder in Mehr aus.
Klicken Sie oben rechts auf der Seite auf Einstellungen.
Klicken Sie im Abschnitt „Medienbibliothek“ auf Zugriff auf Medienbibliothek.
Wählen Sie am linken Rand der Seite entweder Bilder oder Video aus.
Bewegen Sie den Mauszeiger über ein Bild oder Video und klicken Sie auf Bearbeiten.
Bearbeiten Sie Ihr Bild oder Video entsprechend im Pop-up-Fenster.
Klicken Sie oben rechts im Popup-Fenster auf Fertig.
Medien löschen
Select Schulungen in the sidebar or select it in Mehr.
Click Einstellungen on the upper-right corner of the page.
In the "Media Library" section, click Zugriff auf Medienbibliothek.
Select a media type on the left-hand side of the page.
Click on the lower-right corner of the media.
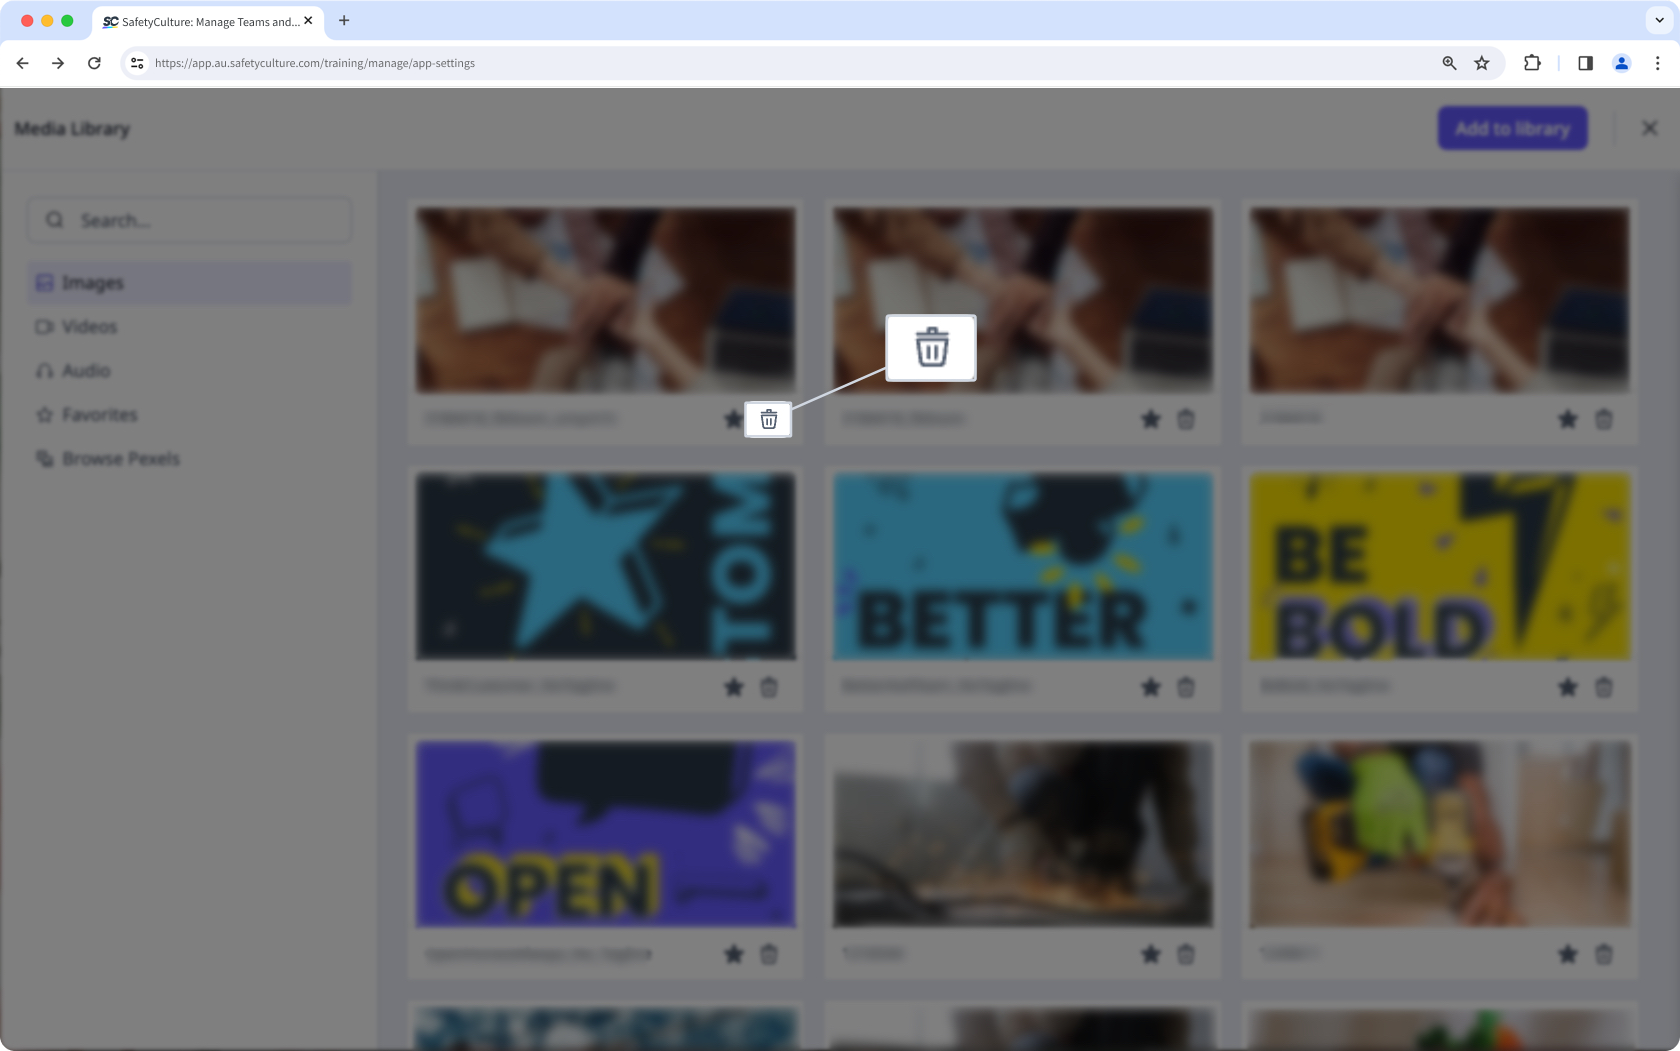
In the pop-up window, click Gerät entfernen.
Das Löschen einesr Mediendatei entfernt diese aus der Medienbibliothek, aber nicht aus Lektionen, Quizzen oder benutzerdefiniertem Markendesign, in denen sie bereits verwendet wurde.