- Verwaltung
- Nutzerverwaltung
- Nutzerdetails verwalten
Nutzerdetails verwalten
Erfahren Sie, wie Sie Nutzerdaten mit Nutzerfeldern über die Web-App verwalten können.Was bedeutet es, Nutzerdetails zu verwalten?
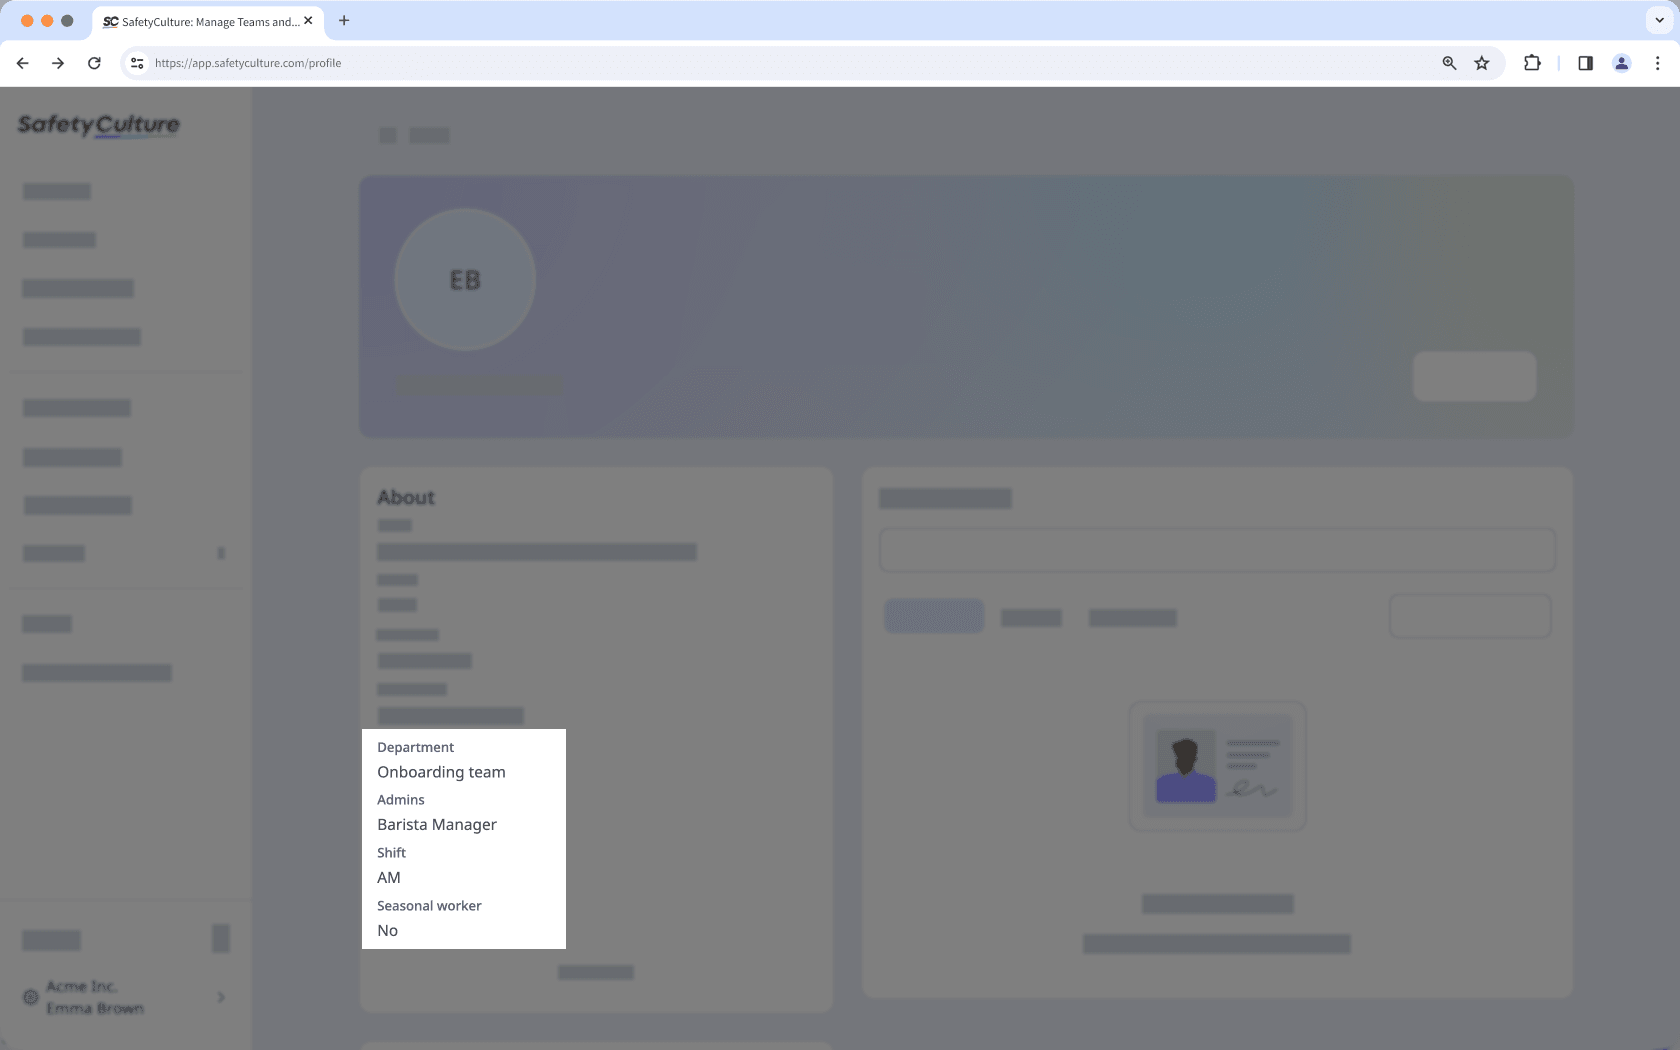
Mit Nutzerfeldern können Sie zusätzliche Informationen über Ihre Nutzer erfassen. Dazu gehört das Hinzufügen und Bearbeiten von Daten, um sicherzustellen, dass die Nutzerinformationen stets aktuell sind. Ob Basisinformationen oder benutzerdefinierte Daten wie Jobtitel oder Abteilung – Nutzerfelder erleichtern die Verwaltung und helfen Ihnen, jederzeit mit den richtigen Informationen zu arbeiten.

Sie können Details mit Nutzerfeldern nur in großen Mengen aktualisieren. Aktualisierungen in großen Mengen für Felder wie Name und E-Mail werden derzeit jedoch nicht unterstützt.
Nutzerdetails verwalten
Click your organization name on the lower-left corner of the page and select Nutzer.
Click the user's name.
Click
Einstellungen on the upper-right of the page.
Click
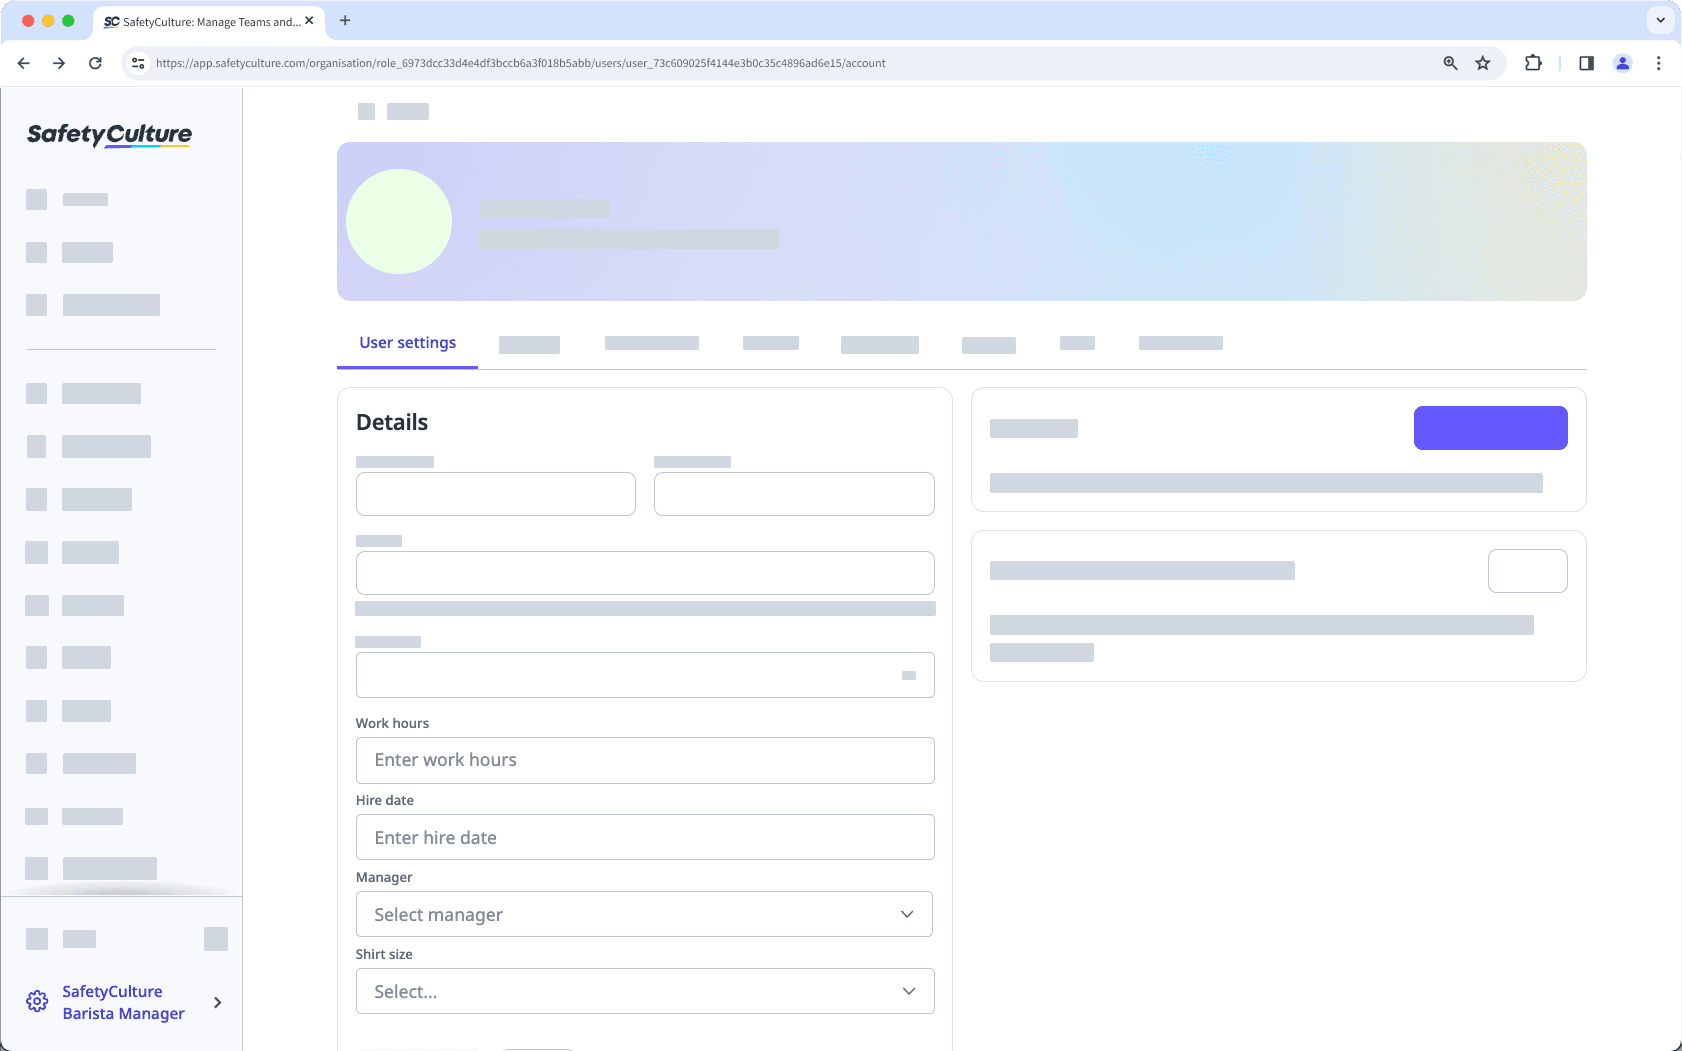
Bearbeiten in the "Details" section.
Update the details in the user fields accordingly.

Click Änderungen speichern.
Sie können auch benutzerdefinierte Felder, Benutzereinstellungen und Details wie Namen, Berechtigungssätze und mehr in in großen Mengen mit CSV oder Excel verwalten, um sicherzustellen, dass die Informationen Ihres Teams auf dem neuesten Stand sind.
Nutzerdaten in großen Mengen verwalten
Klicken Sie unten links auf der Seite auf den Namen Ihrer Organisation und wählen Sie Nutzer aus.
Aktivieren Sie die Kästchen links neben den Namen der Nutzer.
Klicken Sie am unteren Rand der Seite auf Felder bearbeiten und wählen Sie das Nutzerfeld aus.
Aktualisieren Sie im Pop-up-Fenster die Nutzerdetails entsprechend.
Klicken Sie auf Aktualisieren.
Das Hinzufügen neuer Antworten für Nutzerfelder mit dem Datentyp "Multiple-Choice" wird derzeit nicht unterstützt. Sie können nur existierende Antworten zur CSV-Datei hinzufügen.
Häufig gestellte Fragen
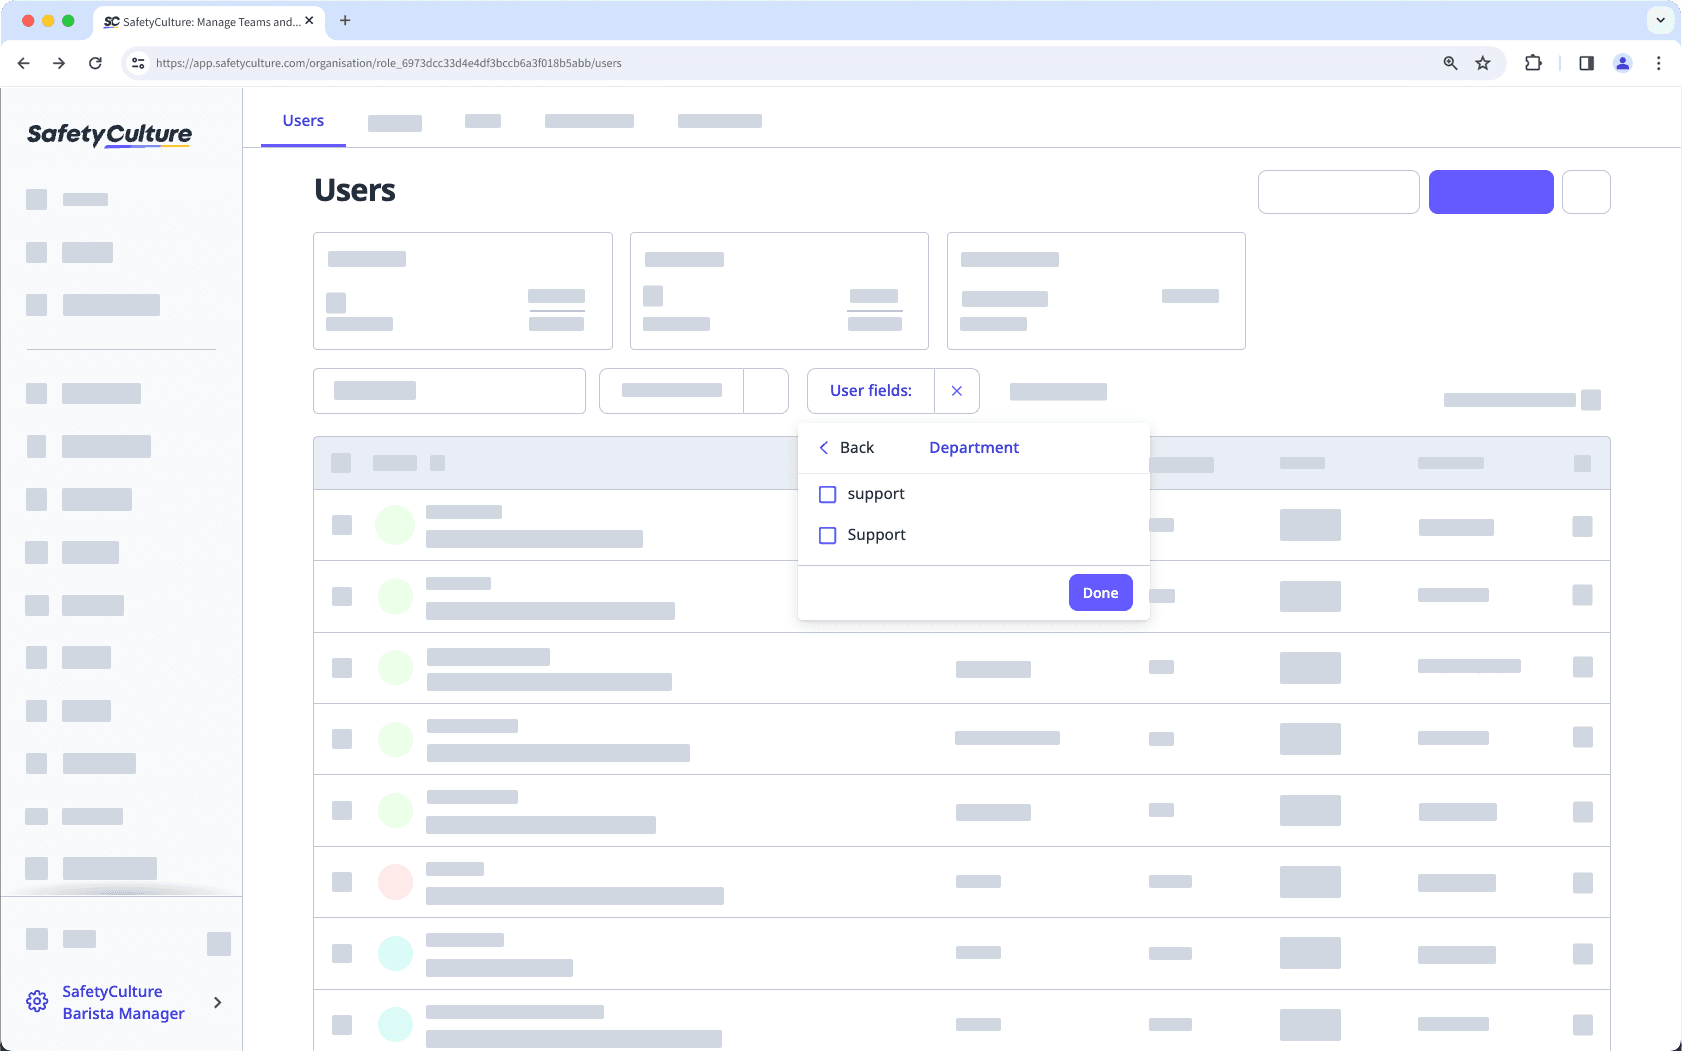
Ja, bei den Details, die für Nutzerfelder mit dem Datentyp „Text“ hinzugefügt werden, wird die Groß-/Kleinschreibung beachtet, um sicherzustellen, dass Nutzer mit denselben Details unter demselben Detail zusammengefasst werden, insbesondere beim Filtern Ihrer Nutzerliste.
Wenn Sie beispielsweise für einen Nutzer „Sopport“ und für einen anderen „Support“ eingeben, werden beim Filtern Ihrer Nutzerliste zwei verschiedene Details zur Auswahl angezeigt:

War diese Seite hilfreich?
Vielen Dank für Ihre Anmerkungen.