Was sind Bezeichnungen in Dokumenten?
Labels in Dokumenten helfen Ihrem Team, organisiert zu bleiben, indem sie Ihre Dateien kategorisieren und so leichter auffindbar machen. Sie können Labels verwenden, um Dateien nach Projekt, Abteilung, Status oder anderen Kriterien zu sortieren, zu filtern und zu gruppieren, die zum Arbeitsablauf Ihres Teams passen. Dies vereinfacht die Dokumentenverwaltung und stellt sicher, dass Sie schnell auf die benötigten Dateien zugreifen können.
Verwenden Sie Standorte für „wo diese Datei verwendet wird“ und Labels für „worüber es in dieser Datei geht“, zum Beispiel Gerätetyp, Abteilung oder Dokumentstatus.
Was Sie brauchen
Eine Dateibezeichnung erstellen
Select Dokumente in the sidebar or select it in Mehr.
Click Einstellungen on the upper-right of the page.
Click Bezeichnung hinzufügen.
In the pop-up window, enter the label name and click Erstellen.
Jede Organisation kann maximal 50 Bezeichnungen haben.
Eine Dateibezeichnung-Label umbenennen
Select Dokumente in the sidebar or select it in Mehr.
Click Einstellungen on the upper-right of the page.
Click on the label's right-hand side and select Label umbenennen.
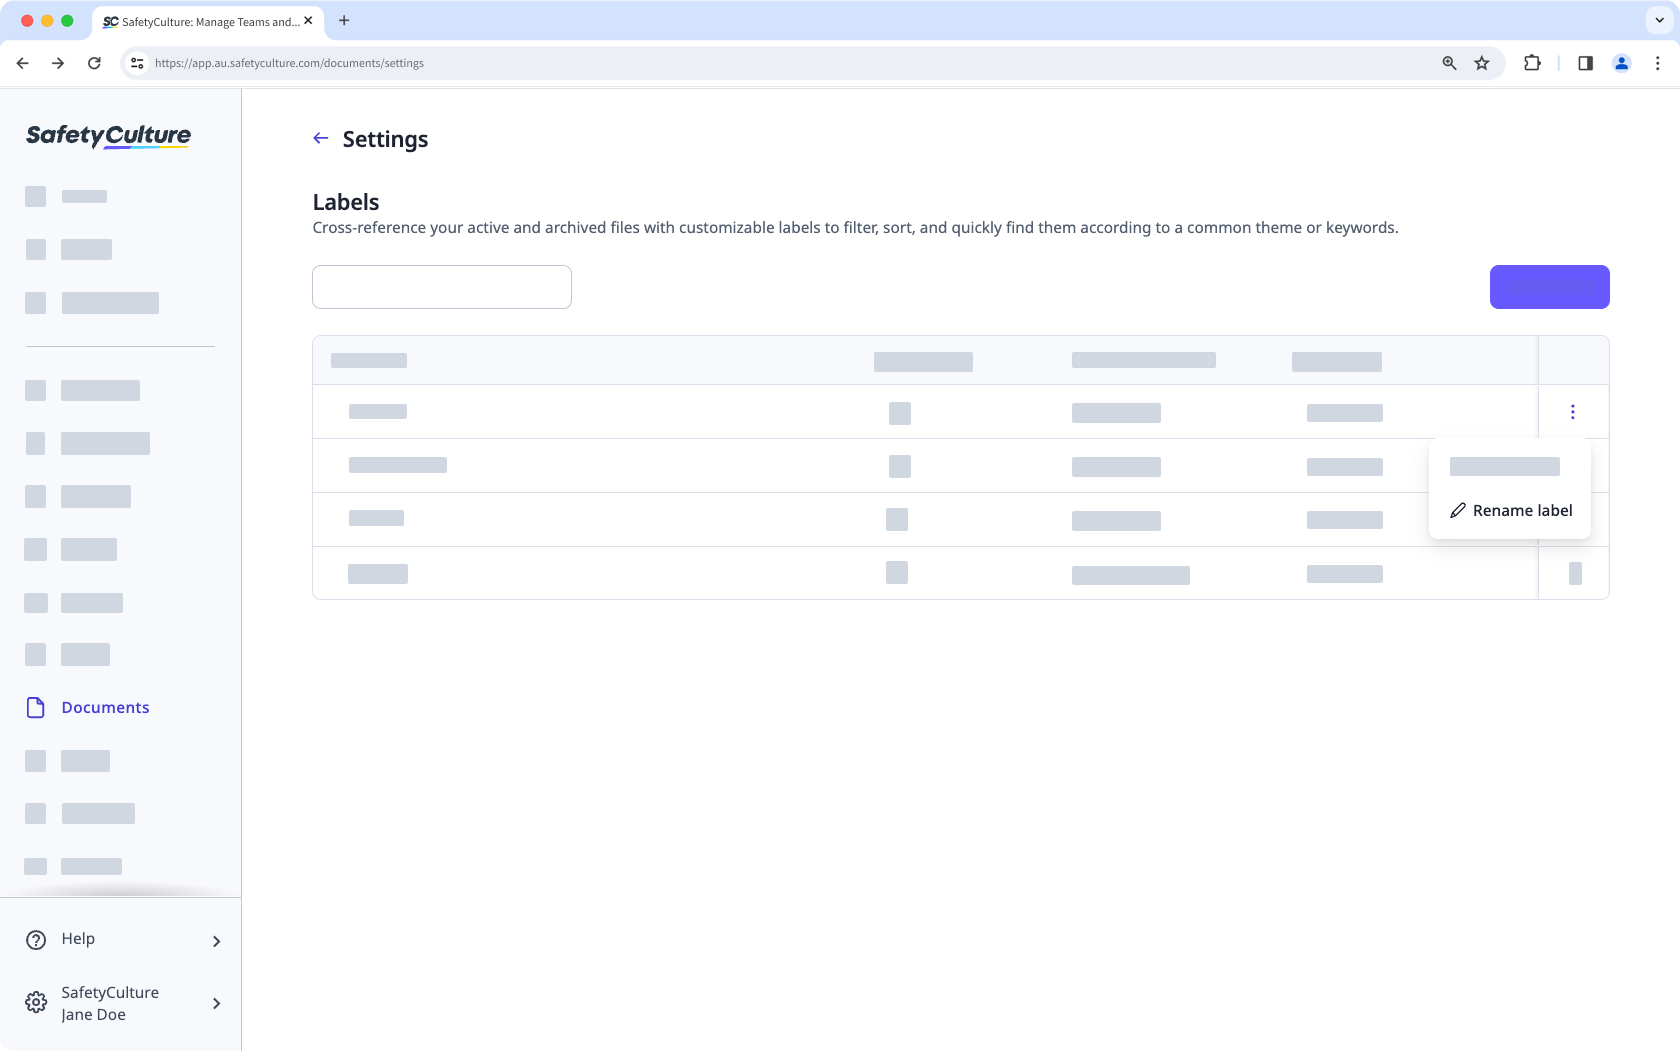
In the pop-up window, enter the label name and click Umbenennen.
Eine Dateibezeichnung löschen
Wählen Sie Dokumente in der Seitenleiste oder in Mehr aus.
Klicken Sie in oben rechts auf der Seite auf Einstellungen.
Klicken Sie rechts neben der Bezeichnung auf und wählen Sie Label löschen aus.

Klicken Sie im Pop-up-Fenster auf Löschen.
Durch das Löschen eines Dateilabels wird diese aus allen Dateien entfernt, denen sie hinzugefügt wurde.