Que sont les étiquettes dans Documents ?
Les étiquettes dans Documents aident votre équipe à rester organisée en catégorisant vos fichiers, ce qui les rend plus faciles à trouver. Vous pouvez utiliser les étiquettes pour trier, filtrer et regrouper les fichiers par projet, service, statut ou tout autre critère correspondant au flux de travail de votre équipe. Cela simplifie la gestion des documents et vous permet d'accéder rapidement aux fichiers dont vous avez besoin.
Utilisez des sites pour « où ce fichier est utilisé » et étiquettes pour « ce dont traite ce fichier », comme le type d'équipement, le service ou le statut du document.
Ce dont vous aurez besoin
Créer une étiquette de fichier
Select Documents in the sidebar or select it in Plus.
Click Paramètres on the upper-right of the page.
Click Ajouter une étiquette.
In the pop-up window, enter the label name and click Créer.
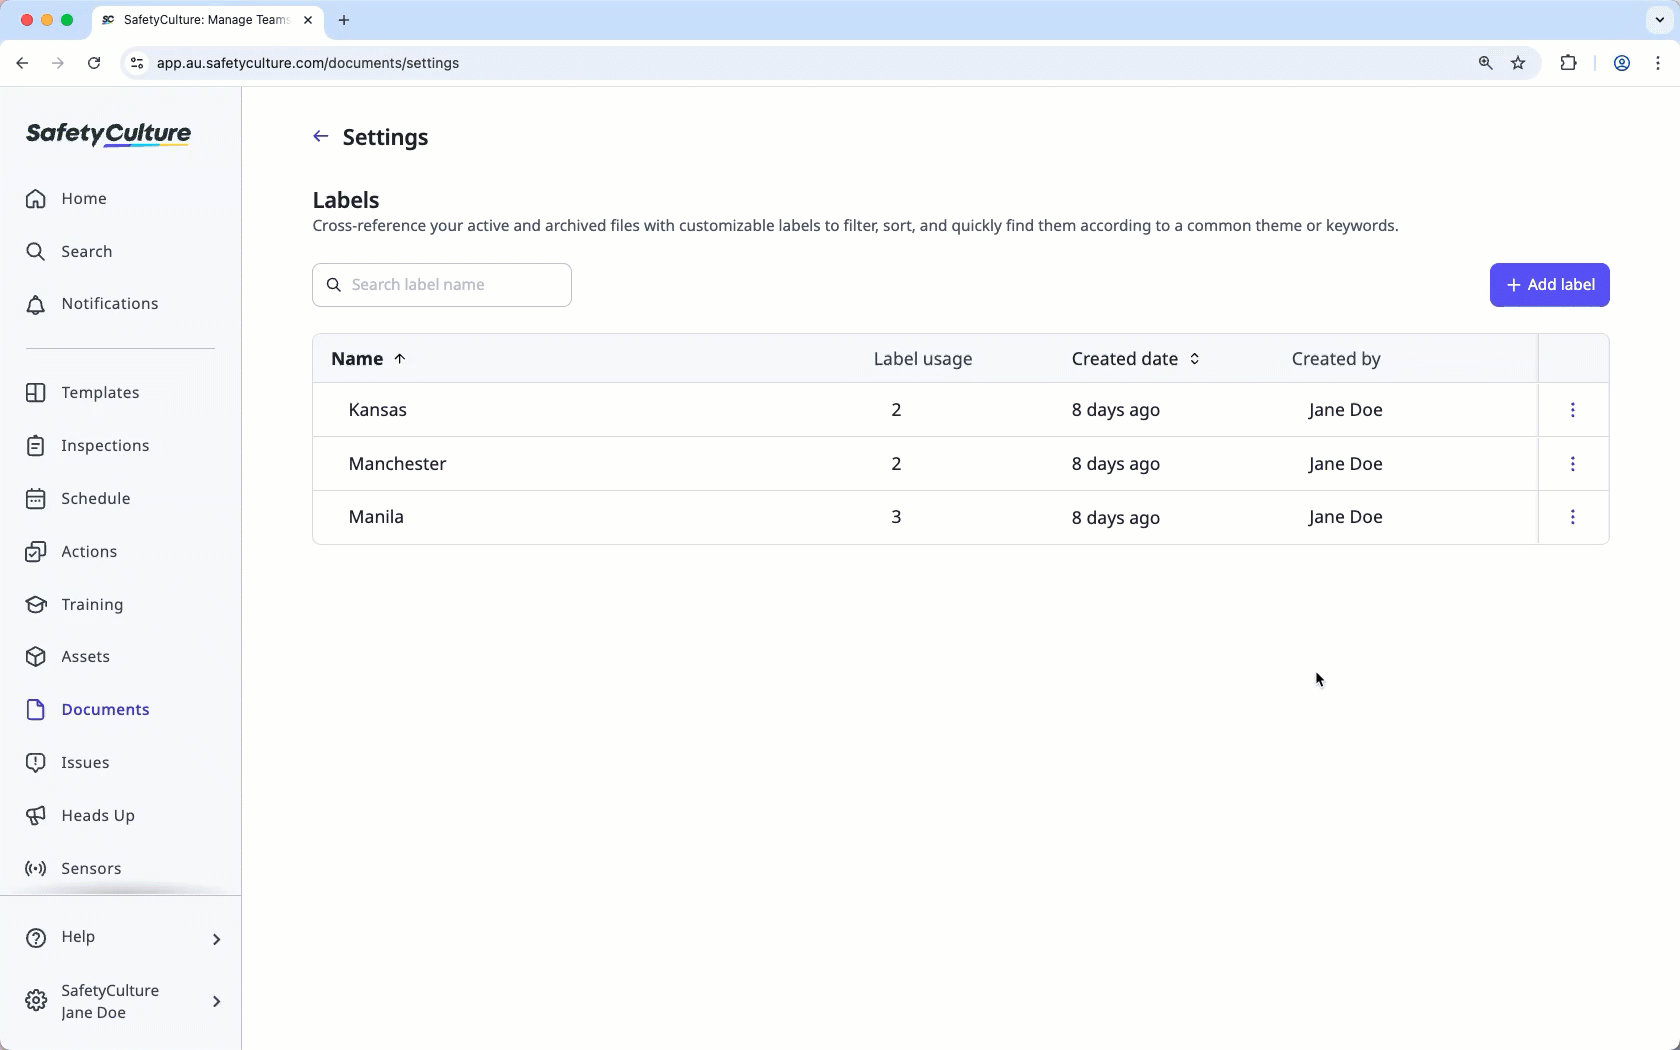
Chaque organisation ne peut avoir plus de 50 étiquettes.
Renommer une étiquette de fichier
Select Documents in the sidebar or select it in Plus.
Click Paramètres on the upper-right of the page.
Click on the label's right-hand side and select Renommer l'étiquette.
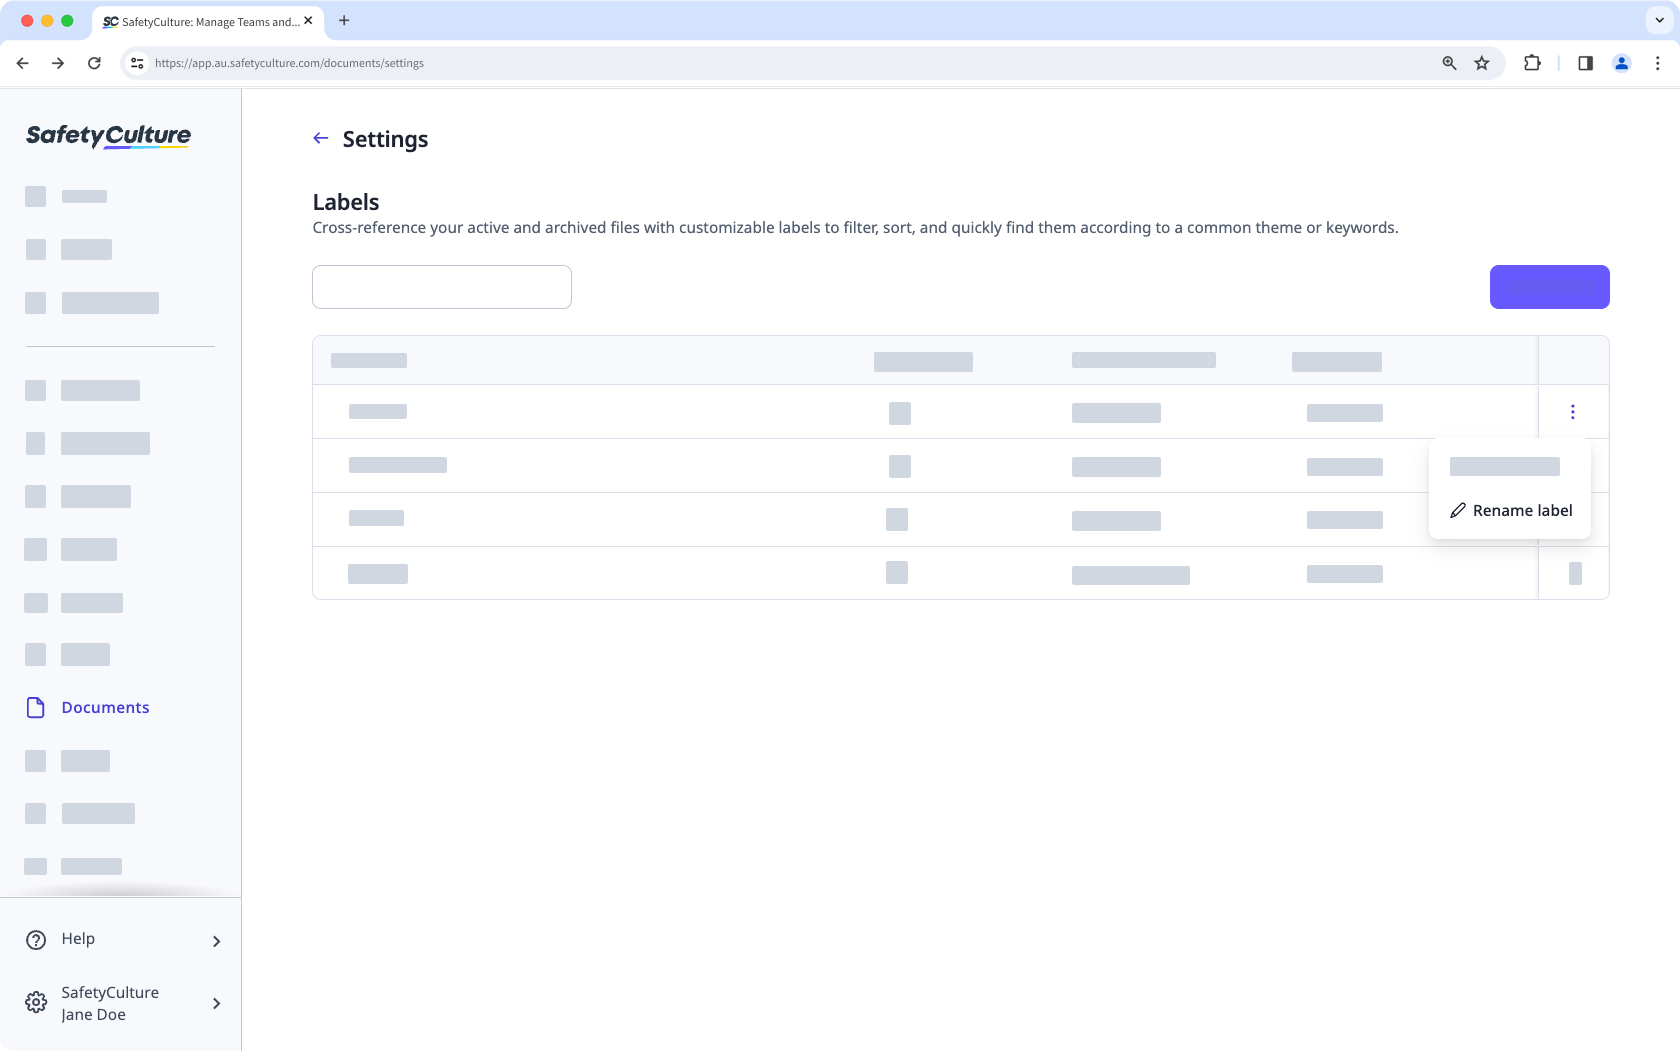
In the pop-up window, enter the label name and click Renommer.
Supprimer une étiquette de fichier
Sélectionnez Documents dans la barre latérale ou sélectionnez-le dans Plus.
Cliquez sur Paramètres en haut à droite de la page.
Cliquez sur à droite de l'étiquette et sélectionnez Supprimer l'étiquette.

Dans la fenêtre contextuelle, cliquez sur Supprimer.
La suppression d'une étiquette de fichier la supprimera de tous les fichiers auxquels elle a été ajoutée.