¿Qué son las etiquetas en Documentos?
Las etiquetas en Documentos ayudan a su equipo a mantenerse organizado al categorizar los archivos, lo que facilita su búsqueda. Puede usar etiquetas para clasificar, filtrar y agrupar archivos por proyecto, departamento, estado u otros criterios que se ajusten al flujo de trabajo de su equipo. Esto simplifica la gestión de documentos y garantiza que pueda acceder rápidamente a los archivos que necesita.
Utilice los sitios para "dónde se utiliza este archivo" y las etiquetas para "de qué trata este archivo", como el tipo de equipamiento, el departamento o el estado del documento.
Lo que necesitarás
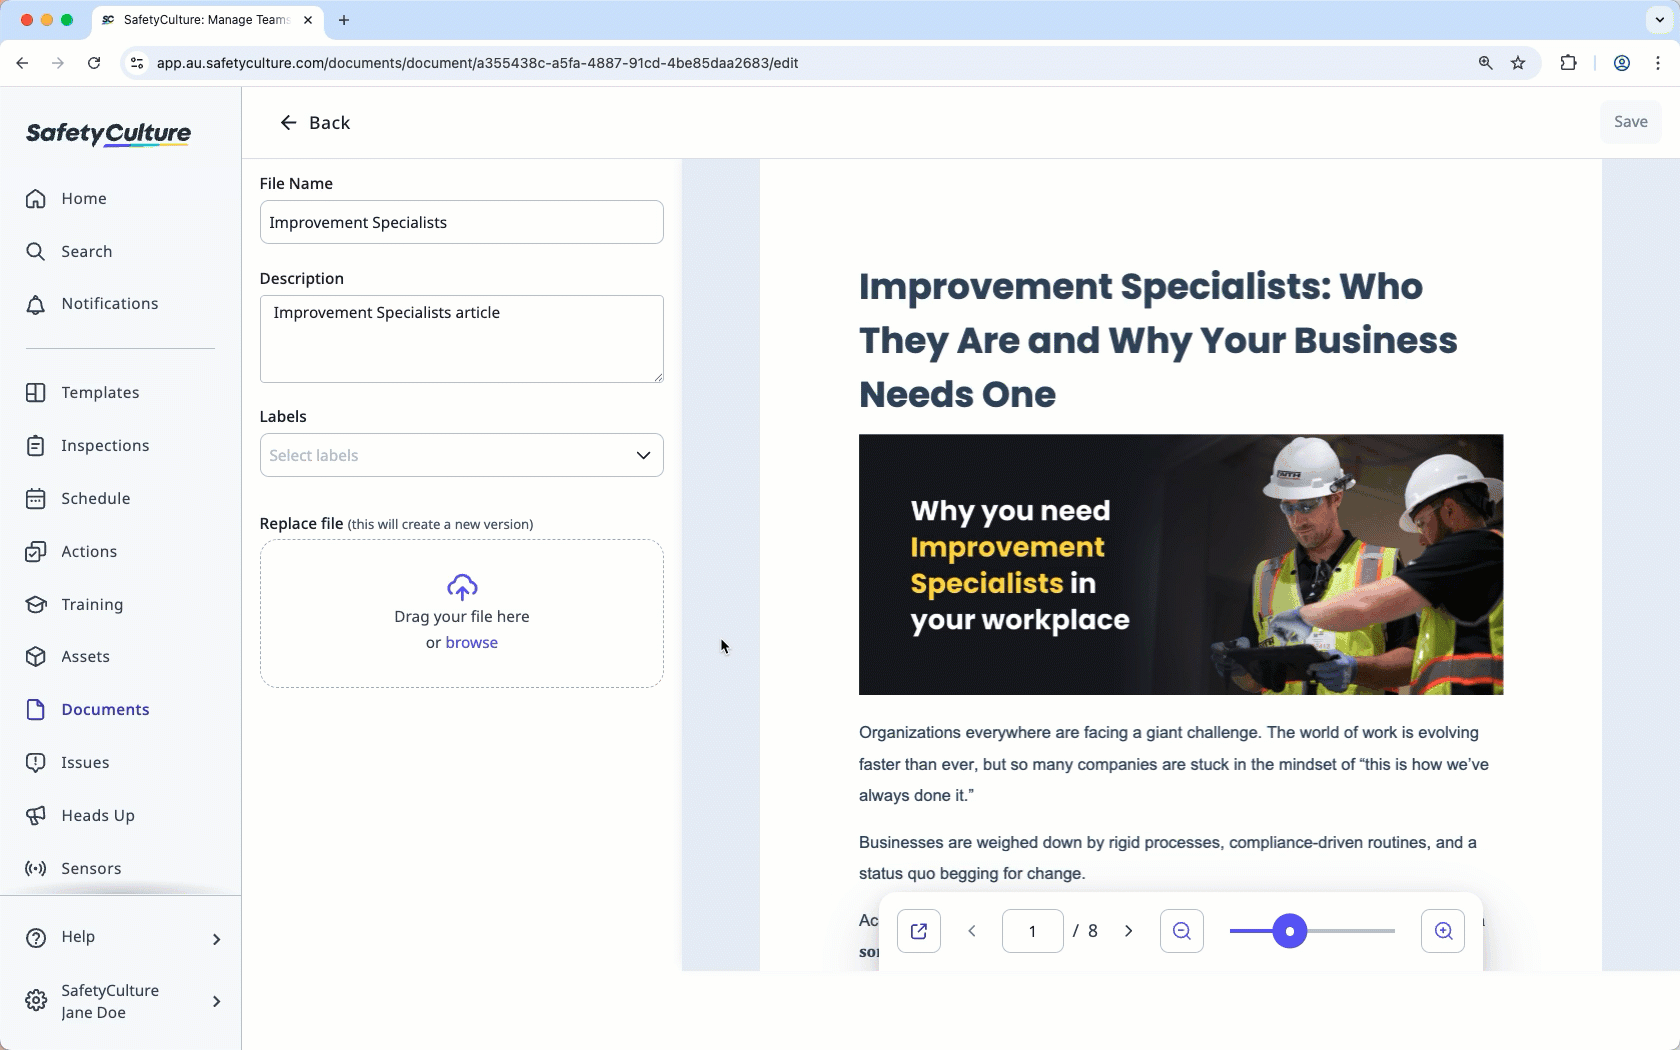
Crear una etiqueta de un archivo
Select
 Documentos in the sidebar or select it in Más.
Click Ajustes on the upper-right of the page.
Click Añadir etiqueta.
In the pop-up window, enter the label name and click Crear.
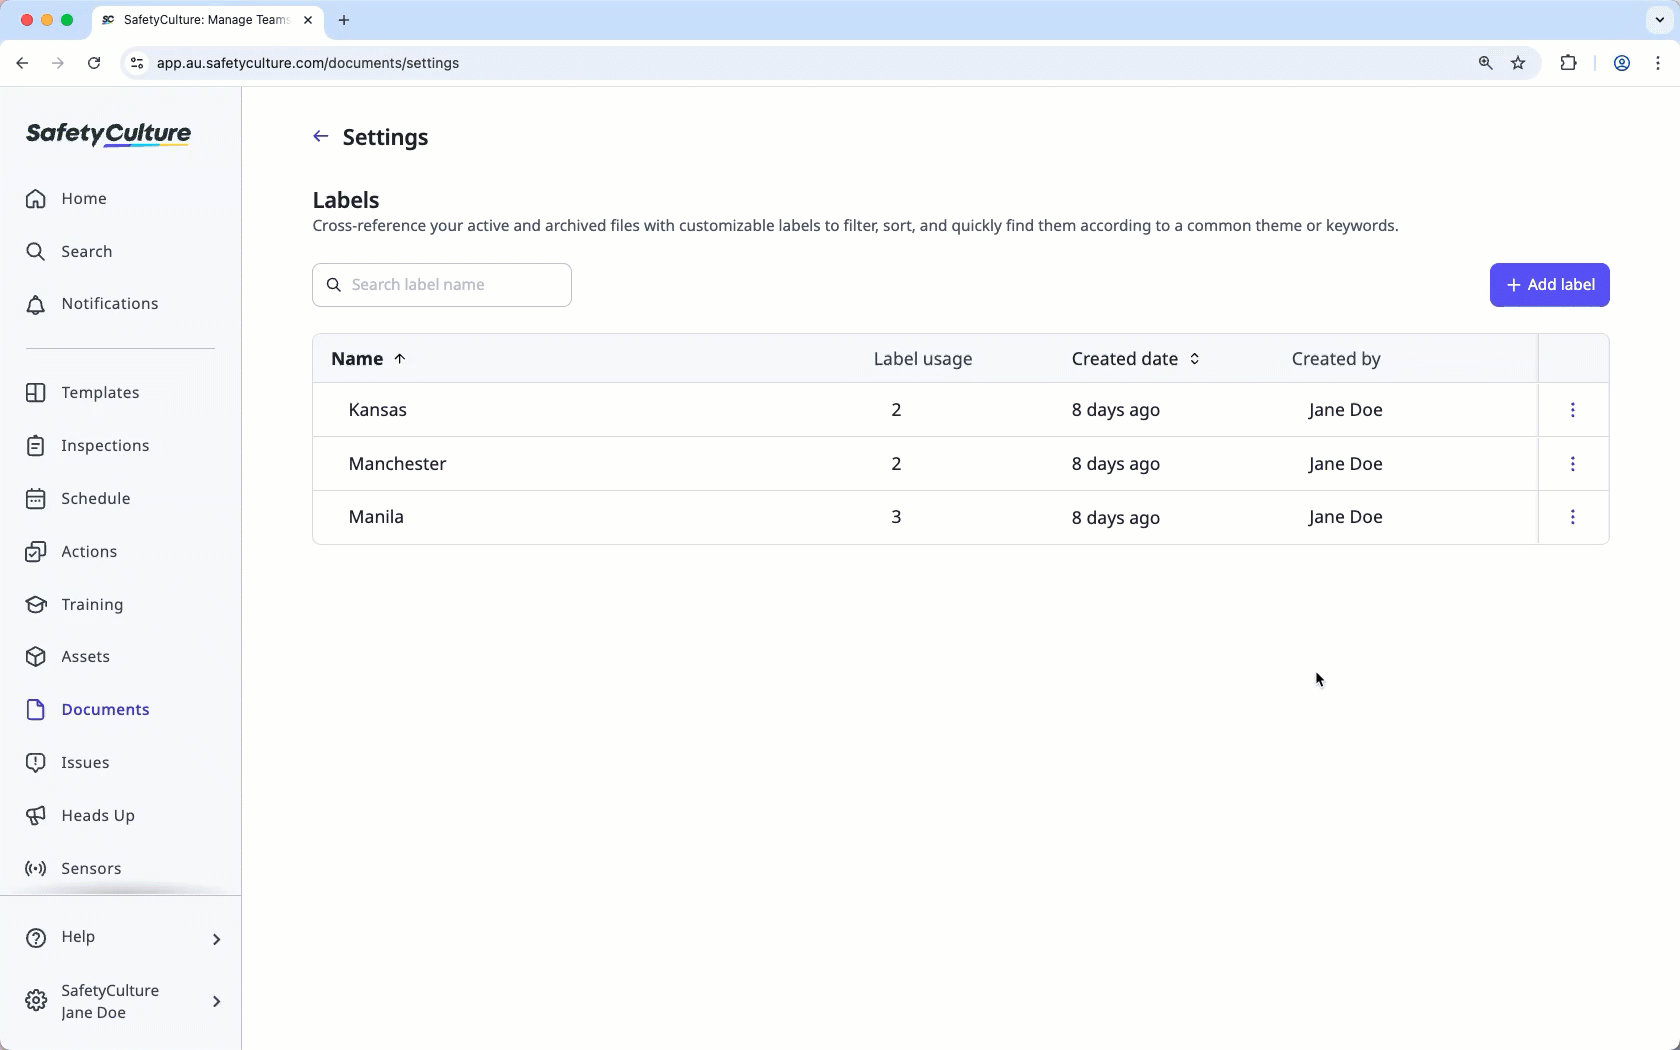
Cada organización sólo puede tener hasta 50 etiquetas.
Cambiar el nombre de la etiqueta de un archivo
Select
Documentos in the sidebar or select it in Más.Click Ajustes on the upper-right of the page.
Click on the label's right-hand side and select Cambiar nombre de etiqueta.
In the pop-up window, enter the label name and click Cambiar nombre.
Eliminar una etiqueta de un archivo
Seleccione
Documentos en la barra lateral o selecciónelo en Más.Haga clic en Ajustes en la parte superior derecha de la página.
Haga clic en en el lado derecho de la etiqueta y seleccione Eliminar etiqueta.

En la ventana emergente, haga clic en Eliminar.
Al eliminar una etiqueta de archivo, esta desaparecerá de todos los archivos a los que se haya añadido.