What are custom alerts in Lone Worker?
Custom alerts in Lone Worker automatically notify designated group contacts in real time when key worker events occur, such as when a lone worker starts or completes a job, checked-in, or enters or leaves a geofenced area. Selected contacts will receive notifications via email, SMS, or phone call. Once you set them up, they reduce the need for constant dashboard monitoring and help your team respond faster when something needs attention.
For example, a supervisor can stay aware of worker status while focusing on other tasks, instead of actively watching the Lone Worker dashboard all day. 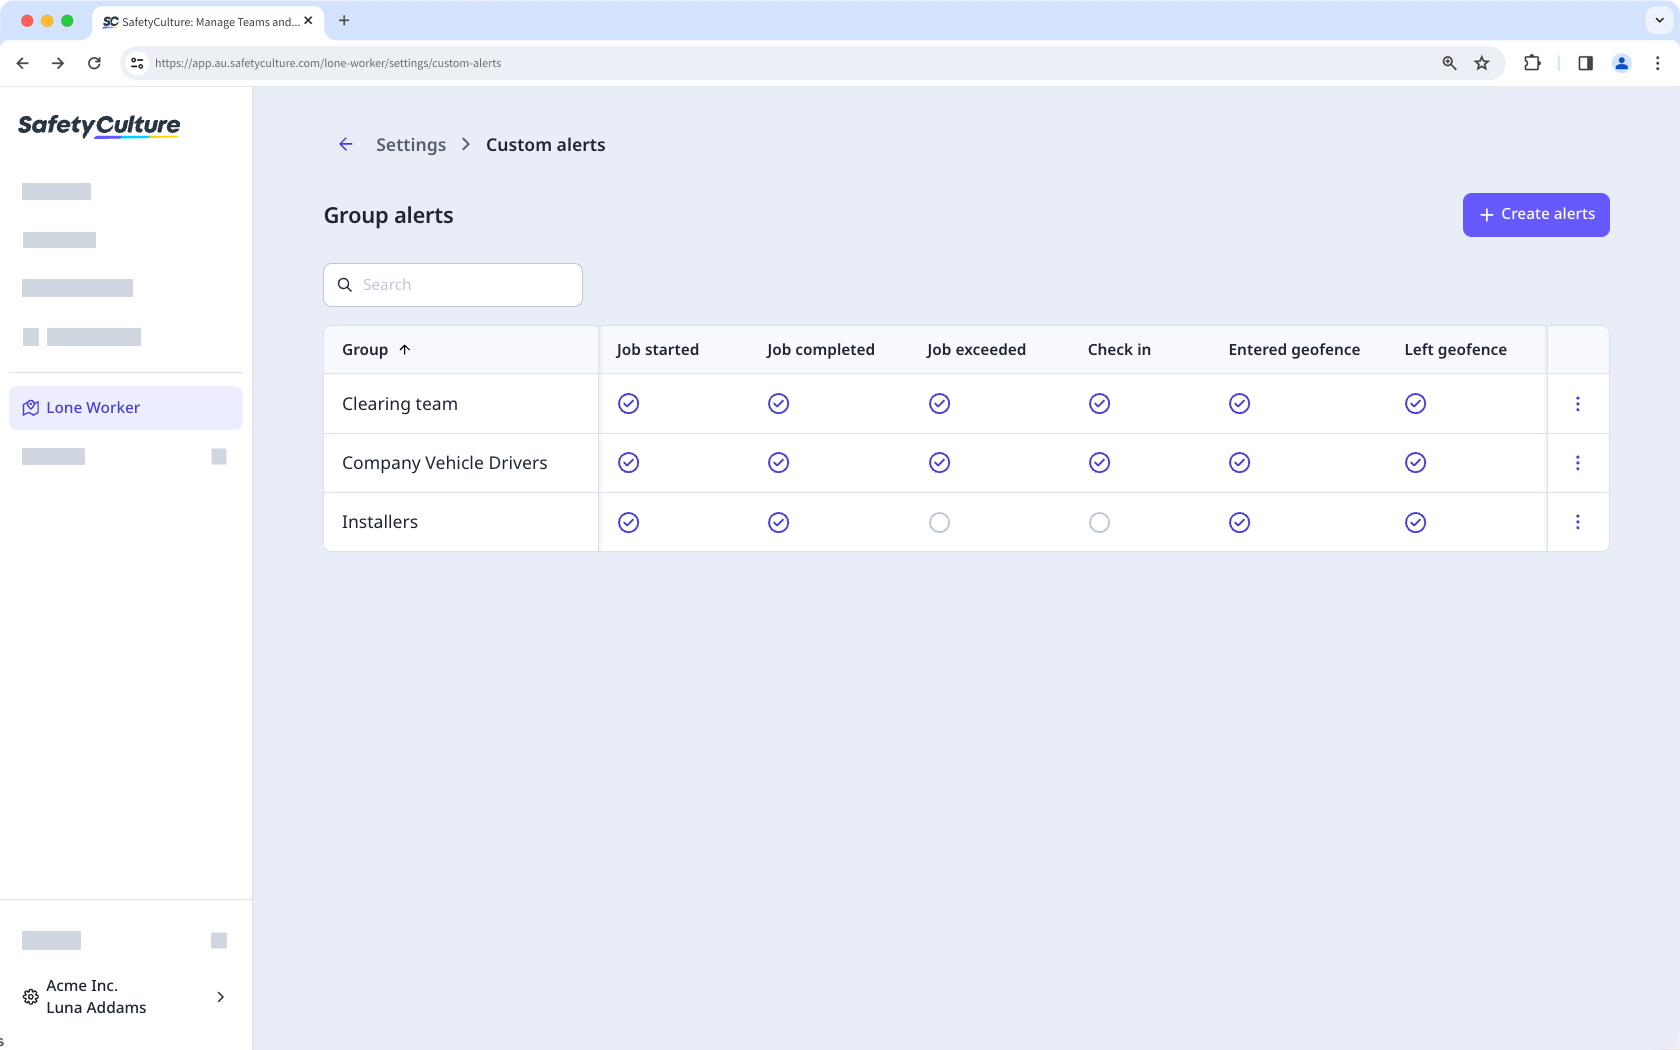
Job events and alert triggers
Alerts are sent when the following job events occur:
Job started: Triggers when a worker starts a job.
Job completed: Triggers when a worker completes a job.
Job exceeded: Triggers when a job exceeds its expected duration.
Check-in: Triggers when a worker completes or misses a scheduled check-in.
Entered geofence: Triggers when a worker enters a specified geofence area.
Left geofence: Triggers when a worker leaves a specified geofence area.
Before you can set up custom alerts, you need to set up a group escalation first.
Create a custom alert
Select Lone Worker in the sidebar or select it in More.
Select Settings at the top of the page.
Click Custom alerts.
Click Create alerts on the upper right of the page.
In the dropdown menu, select the group escalation.
In the "Custom alerts" section, turn on the job event that you want to create an alert for. Alternatively, turn on "Event" to set up alerts for all events in the list.
In the side panel, select the contacts who will receive the event alert via email, SMS, and a phone call. Each alert can have up to 5 contacts.
Click Save on the upper-right corner of the page.
Each escalation contact needs to add their mobile number to their SafetyCulture account to receive SMS notifications and automated calls.
Edit a custom alert
Select Lone Worker in the sidebar or select it in More.
Select Settings at the top of the page.
Click Custom alerts.
Click on the right-hand side of the group and select Edit alerts.
Edit the custom alerts accordingly, then click Save on the upper-right corner of the page.
Deleting is irreversible, and we cannot restore permanently deleted items. Confirmation is always required before any deletion, so be sure you're not accidentally deleting the wrong item.
Delete a custom alert
Select Lone Worker in the sidebar or select it in More.
Select Settings at the top of the page.
Click Custom alerts.
Click on the right-hand side of the group and select Delete alerts.
In the pop-up window, click Delete.
View group alerts
Select Lone Worker in the sidebar or select it in More.
Select Settings at the top of the page.
Click Custom alerts to view a list of groups with custom alerts. A appears in the event column for groups that have a custom alert set up.