Add or link files to courses
Learn how to add or link files from Documents to courses via the web app so your team can easily access training documents in one place while taking the course.How does adding and linking files work?
When you add or link files to a course, you can either upload new files or reuse existing ones from the Documents feature. Adding a file allows you to upload training materials that are specific to a course, such as reference guides, and store them directly in Documents. Linking a file lets you reuse existing manuals, procedures, or policies from Documents without uploading them again.
By managing files in Documents, this helps teams keep training materials consistent across courses, as updates apply wherever the file is used. It also reduces duplication and ensures users always see the most current materials as they move through a course.
You can only link files from the Documents feature that you have access to.
Add or link files to a course
Select
 Training in the sidebar or select it in
  More.
More.If you're on the "Learn" page, click Content at the top of the page and select Courses.
Create a new course or click View or Edit on an existing one.
If you're editing an existing course and it's published, click
 Edit on the upper-right of the page.
Click
 on the upper-left and select
  Standard.
Click
 New slide on the left-hand side of the page.
In the pop-up window, click
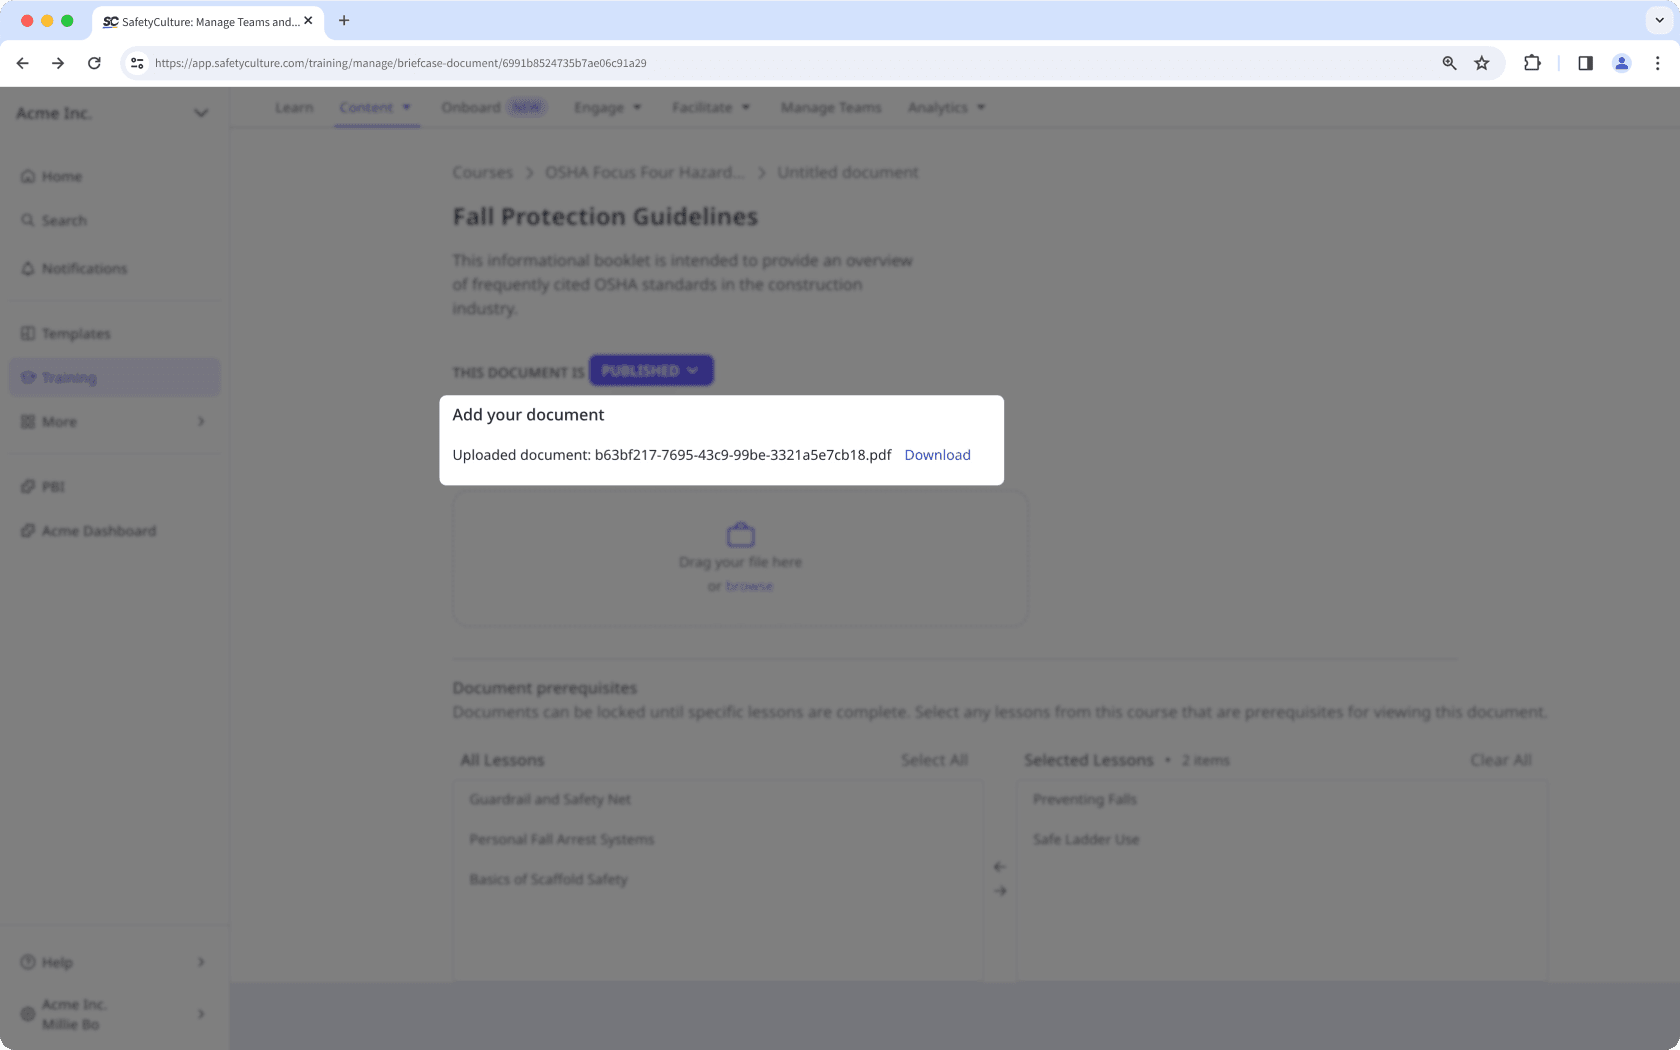
 File and select Add file.
Click Browse in the "File" section on the right-hand side panel to select files.
In the pop-up window, choose whether to link an existing file from Documents or upload a new one:
To link a file: Click Link, then select the file you want to link from Documents.
To upload a file: Click Upload, then drag your file or click browse to select it from your device. Select a folder from the dropdown, or create a new one, to save your file in Documents. Then, click Save here.
Once you're ready, click Add file.
You can upload files up to 100MB in PDF, DOCX, DOC, XLS, and XLSX formats.
Frequently asked questions
Download the documents from the course briefcase in your course. Then, add a new file slide to upload the files. Once uploaded, you can manage the files from Documents while keeping them accessible within the course.
Anyone assigned to the course can see the file even if they do not have "View" file access.
If a linked file has expired, you will can still view the file in the slide and continue the course as usual. To access the latest version of the file, check with your administrator.
The linked file will remain linked to the course. Anyone taking the course can still view the file, even if it is moved to a different folder in Documents.
When a course is translated, linked files are not translated and remain in their original language. To keep the content consistent, add the translated version of the file separately to the translated course.
Was this page helpful?
Thank you for letting us know.