What are investigation sections?
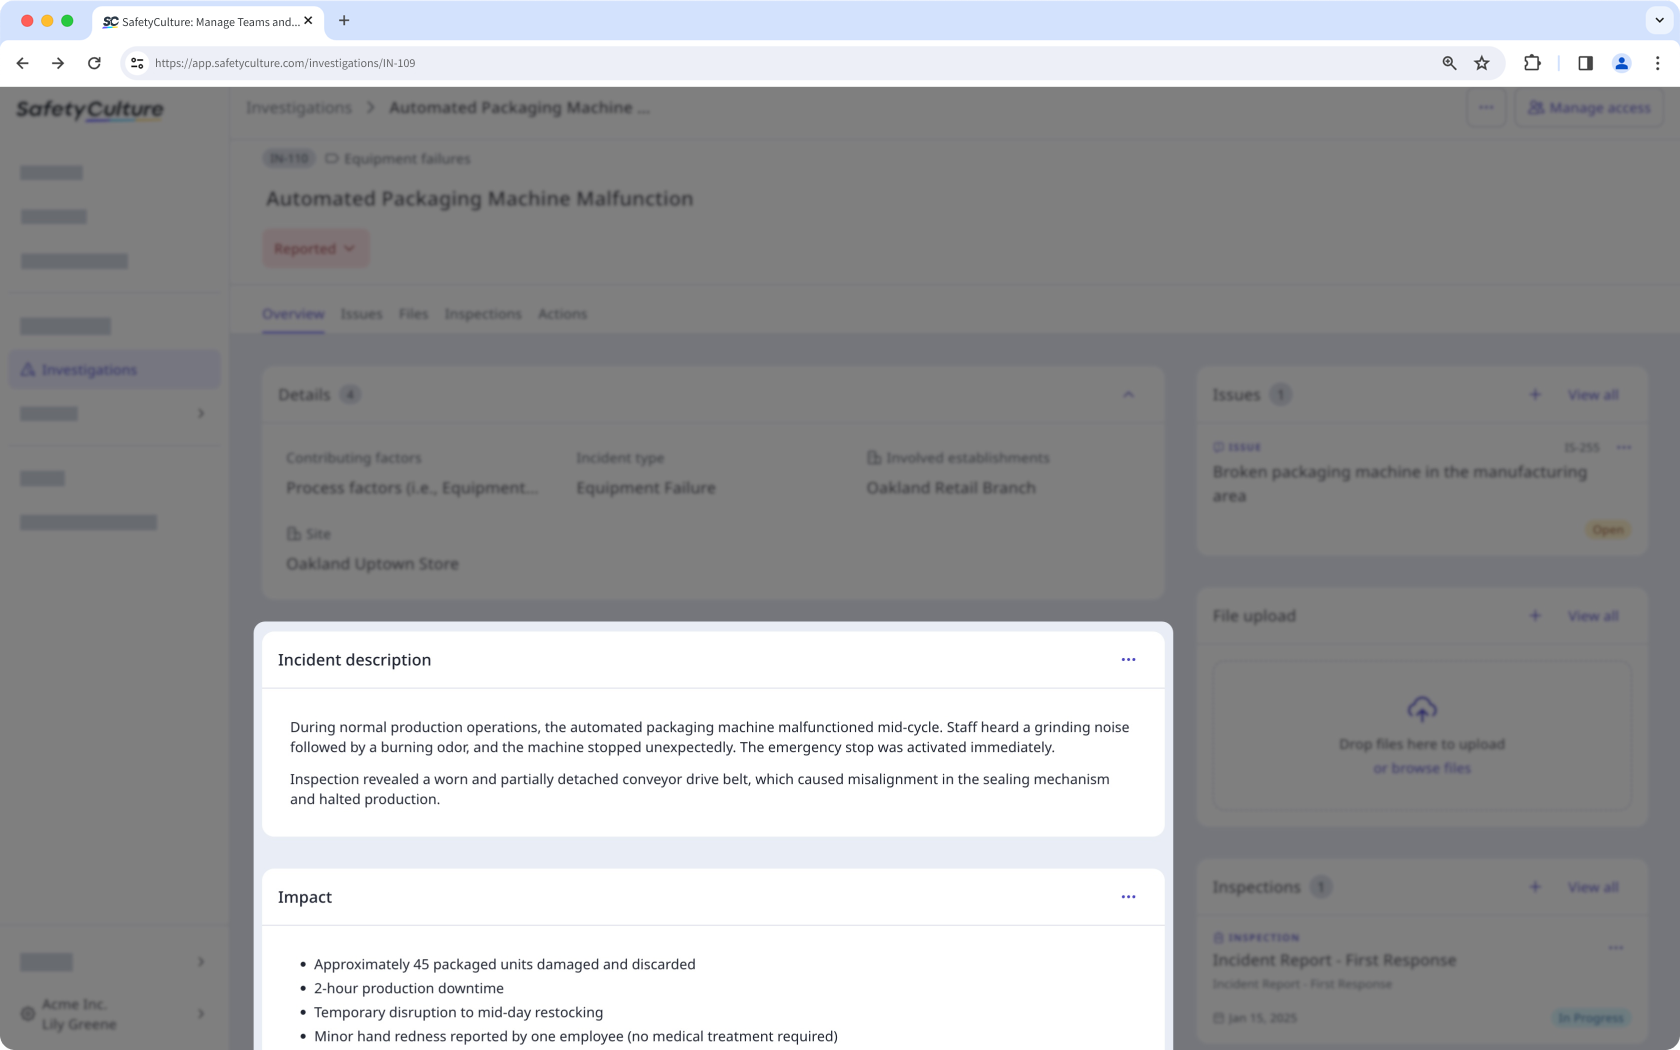
Sections in investigations allow you to structure how incident details are captured. You can customize these sections to guide your team on what to include during a workplace incident investigation, such as the incident description, timeline of events, people involved, and potential impact. This helps ensure consistent reporting and standardizes the investigation process across your team.
What you'll need
When you create a new category, 8 sections are shown by default on the Overview tab of an investigation.
You can create up to 25 custom sections to use in your investigations. Each title field is limited to 255 characters, and each default text field can contain up to 30,000 characters.
Create a custom investigation section
Select Investigations in the sidebar or select it in More.
Click Settings at the top of the page.
Select an investigation category or create a new one.
In the "Sections" section, click Edit.
Click Add section at the bottom of the page. Enter a title and default description accordingly.
Click Save on the upper-right corner of the page.
Any custom description fields or sections you’ve set up will automatically appear when you create a new investigation.
Edit a custom investigation section
Select Investigations in the sidebar or select it in More.
Click Settings at the top of the page.
Select an investigation category.
In the "Sections" section, click Edit.

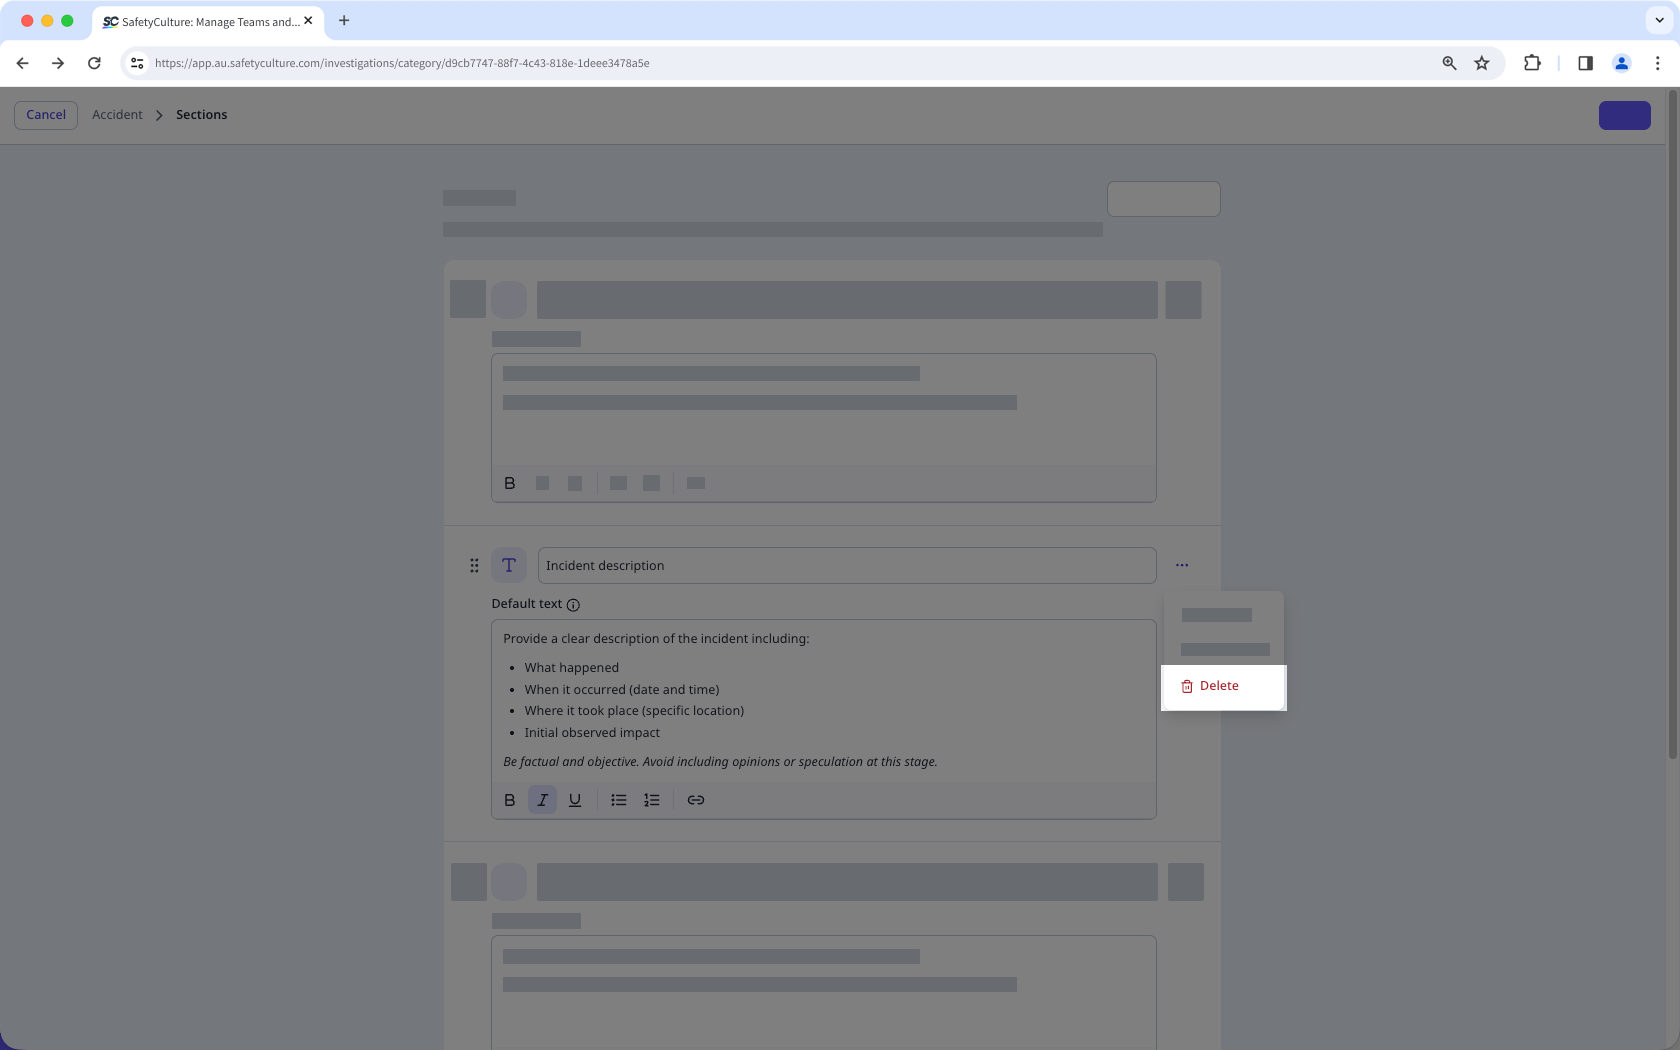
Select a section and edit the title and default description accordingly.
Click Save on the upper-right corner of the page.
Sort a custom investigation section
Select Investigations in the sidebar or select it in More.
Select Settings at the top of the page.
Select an investigation category.
In the "Sections" section, click Edit.
Click on the right-hand side of the field, then select Move up or Move down. Alternatively, click and hold
 on the left-hand side of the section to sort it as needed.
Click Save on the upper-right corner of the page.
Delete a custom investigation section
Select Investigations in the sidebar or select it in More.
Select Settings at the top of the page.
Select an investigation category.
In the "Sections" section, click Edit.
Click on the right-hand side of the field and select Delete.
Click Save on the upper-right corner of the page.